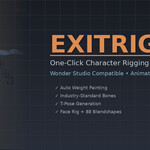
Exit Rig
 Exit Strategy Productions


## Installation
1. Download the ExitRig .zip file
2. Open Blender → Edit → Preferences → Add-ons
3. Click "Install..." and select the downloaded .zip
4. Enable the checkbox next to "Rigging: ExitRig"
5. Find ExitRig in the 3D Viewport sidebar (press N) → ExitRig tab
---
## Quick Start
### Basic Workflow
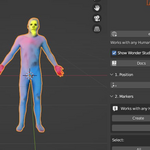
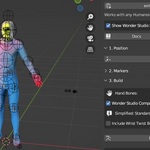
**Step 1: Position**
- Select your character mesh
- Click "Auto-Position" to center and align your character
**Step 2: Markers**
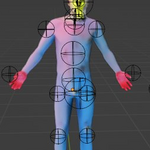
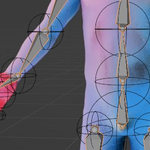
- Click "Create" to generate marker spheres on your character
- Use the selection buttons (L Arm, R Arm, L Leg, etc.) to quickly select marker groups
- Adjust marker positions to match your character's joints
- Use "Mirror L → R" to copy left side markers to the right
**Step 3: Build**
- Choose hand bone options:
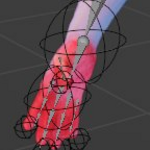
- "Wonder Studio Compatible Hands" for Wonder Studio export
- "Simplified: Standard finger bones" for general use
- Click "Build from Markers" to generate the rig
- Click "Apply Weights" for automatic weight painting
**Step 4: Finalize**
- For Wonder Studio: Click "Set to T-Pose"
- Apply scale and transforms as needed
- Click "Validate" to check for issues before export
---
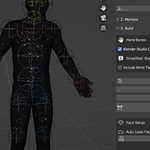
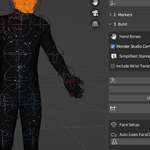
## Panel Overview
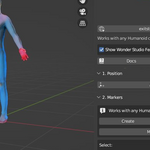
### 1. Position
Centers and aligns your character for rigging. Use Auto-Position for quick setup.
### 2. Markers
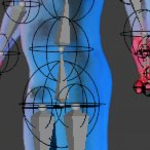
Interactive joint markers you position on your mesh:
- **Create/Delete**: Add or remove all markers
- **Mirror L → R**: Copy left side to right for symmetry
- **Select buttons**: Quick selection by body region
### 3. Build
Generates the armature from your markers:
- **Hand Bones**: Choose finger bone complexity
- **Wonder Studio Compatible Hands**: Required for Wonder Studio
- **Include Wrist Twist Bone**: Optional forearm twist bone
- **Build from Markers**: Creates the armature
- **Edit Bones**: Enter edit mode for manual adjustments
- **Update from Markers**: Rebuild after marker changes
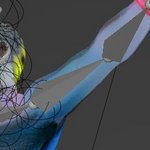
- **Apply Weights**: Automatic weight painting
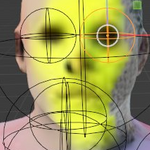
### 4. Face Setup
- **Create Face Mesh**: Auto-detect face region for blendshapes
- **Select Face Region**: Manual face selection for stylized characters
- **Add Blendshapes (88)**: Full ARKit-compatible facial blendshapes
### 5. Finalize
Prepare for export:
- **Set to T-Pose**: Required rest pose for Wonder Studio
- **Apply Scale/Transforms**: Clean up transforms
- **Add Lighting**: Preview lighting setup
- **Validate**: Check rig for common issues
---
## Wonder Studio Users
Toggle "Show Wonder Studio Features" at the top of the panel to reveal Wonder Studio-specific tools.
**Requirements for Wonder Studio:**
- Character in T-Pose
- Wonder Studio Compatible Hands enabled
- All transforms applied
- Pass validation check
**Blender-Only Animation:**
If you're not using Wonder Studio, toggle off "Show Wonder Studio Features" to simplify the interface. The T-pose requirement doesn't apply for standard Blender animation.
---
## Tips
- **Works with any humanoid**: Stylized, realistic, or non-standard proportions
- **Marker adjustments**: Take time positioning markers accurately — rig quality depends on it
- **Symmetry**: Use "Mirror L → R" after positioning one side
- **Face rig**: For stylized characters, use "Create from Selection" instead of auto-detect
- **Iterate**: Use "Update from Markers" to refine without starting over
---
## Compatibility
- Blender 3.6 LTS and newer
- Blender 4.0, 4.1, 4.2, 4.3
- Works with Cycles and Eevee
- Export-ready for Wonder Studio / Flow Studio
---
## Support
Documentation: exitstrategy.productions/documents
Support: exitstrategy.productions/pages/support
Have questions about this product?
Login to message
| Blender Extension Compatible | Yes |
| Published | 9 months ago |
| Blender Version | 3.6 - 4.5 |
| Extension Type | Add-on |
| Render Engine Used | Cycles, Eevee |
| License | GPL |
Discover more products like this
armature facial rig humanoid wonder studio rigging mocap Animation ready weight painting Character rigging auto-rig motion capture blendshapes