 bhdesign
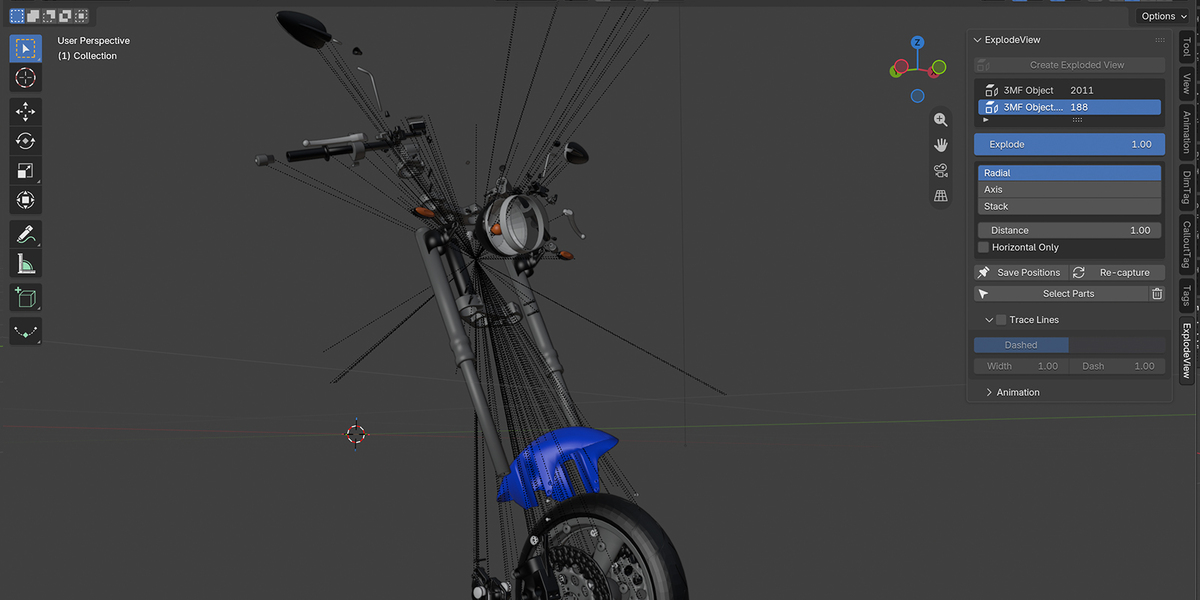
ExplodeView Documentation
Installation
- Download
explodeview-x.x.x.zip. Do not unzip it. - In Blender, open Edit → Preferences → Get Extensions.
- Click the ⌄ menu (top right) → Install from Disk… and select the zip.
- Press N in the 3D Viewport and open the ExplodeView tab.
To update, uninstall the previous version first, then install the new zip.
Quick Start
- In Object Mode, select the parent object of your assembly, or select the parts directly.
- Click Create Exploded View.
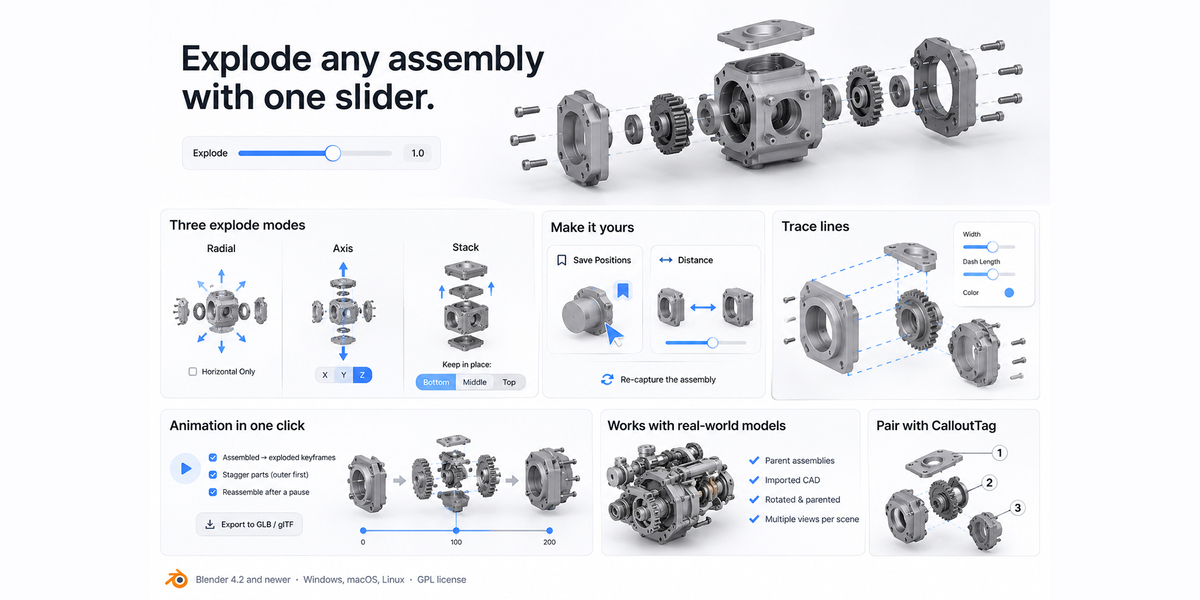
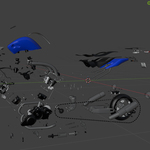
- Drag the Explode slider: 0 = assembled, 1 = exploded. Values above 1 push parts further.
What counts as a part?
- One object with children selected: each direct child becomes a part. Its own children move with it.
- Several objects selected: each selected object becomes a part. If both a parent and its child are selected, the child moves with its parent.
Explode Modes
| Mode | What it does | Best for |
|---|---|---|
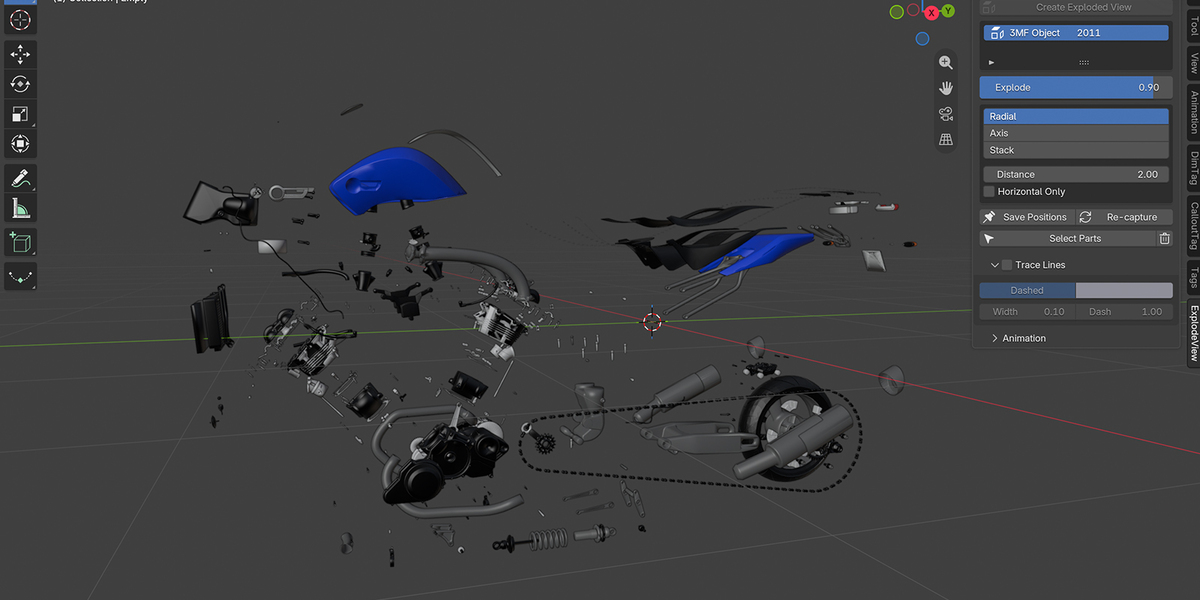
| Radial | Parts move away from the assembly center | Products, compact objects |
| Axis | Parts move along one axis, proportionally to their distance from the center | Long assemblies, symmetric parts |
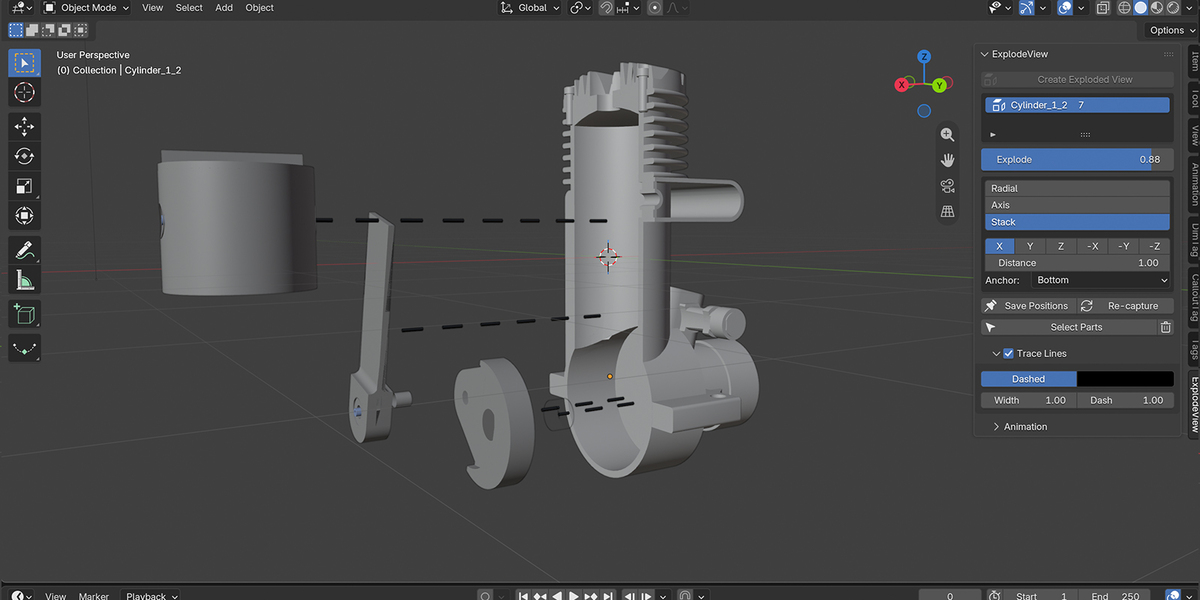
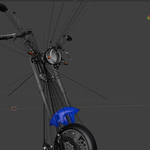
| Stack | Each part rises just enough to clear the parts it overlaps, with a gap | Layered assemblies, housings, electronics, furniture |
Settings
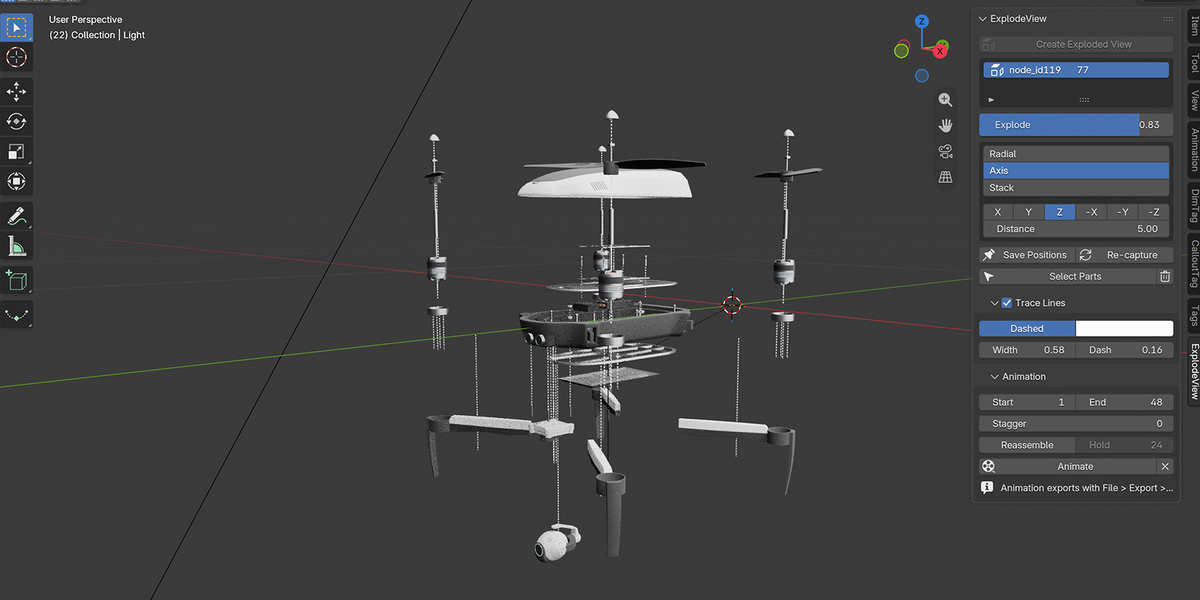
- Axis (Axis and Stack modes): X, Y, Z or the negative directions.
- Distance: how far parts travel at Explode = 1. In Stack mode, it controls the gap between parts.
- Horizontal Only (Radial): parts keep their height and explode sideways.
- Anchor (Stack): which part stays in place, Bottom, Center or Top.
Changing the mode, axis or distance recalculates the explosion instantly.
Adjusting Parts by Hand
- Set Explode above 0, for example 1.
- Move any part with G.
- Click Save Positions.
The moved parts keep their new exploded position, and the slider still works from 0 to that position.
Note: changing the Mode, Axis or Distance afterwards recalculates every direction and replaces the saved positions.
Re-capture
If you edit the assembly itself (move a part in its assembled state, add details), set Explode to 0, make your changes, and click Re-capture. The current positions become the new assembled state.
Trace Lines
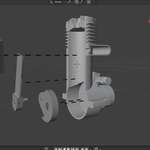
Enable Trace Lines to draw lines from each part’s assembled position to its current position.
- Dashed or solid lines
- Width, Dash length and Color
- Lines are real geometry (
ExplodeView Lines · <name>). They render, export and update with the slider and the animation.
Animation
Open the Animation panel:
| Setting | Description |
|---|---|
| Start / End | Frames of the explosion |
| Stagger | Delay in frames between parts. 0 = all parts move together. Outer parts leave first |
| Reassemble | Animate back to the assembled state |
| Hold | Pause in frames before reassembling |
Click Animate to create the keyframes. The scene frame range is extended automatically if needed. Clear Animation removes only the keyframes created by ExplodeView.
Export to GLB
Use File → Export → glTF 2.0 with Animation enabled. Each part is exported with its explode animation, ready to play in Three.js, Babylon.js, <model-viewer> or Sketchfab.
Managing Exploded Views
- A scene can contain several exploded views. Pick one in the list.
- Select Parts selects every part of the active view.
- Delete (trash icon) removes the view and puts every part back in its exact original position.
Tips
- CAD imports: if all your parts have their origin at world zero, that’s fine. ExplodeView uses each part’s geometry.
- Clean renders: use Stack mode with trace lines and a three-quarter camera angle for a classic technical look.
- Assembly instructions: combine with CalloutTag to number every part.
- Web: keep the animation short (1–2 seconds) and use Stagger for a polished reveal.
Known Limitations
- Parts move in straight lines. Rotations during the explosion are not animated.
- In Stack mode, the overlap test uses each part’s bounding box, so parts with very irregular shapes may get slightly more space than strictly needed.
- Trace lines are rebuilt when the slider moves or the frame changes. On very large assemblies (hundreds of parts) this can feel slower. Turn them off while working.
Support
Questions, bugs or feature requests: [email protected], or the Superhive product page. Please include your Blender version and, if possible, a screenshot or a small .blend file.
Have questions about this product?
Login to message
| Blender Extension Compatible | Yes |
| Published | 1 day ago |
| Blender Version | 4.2 - 5.2 |
| Extension Type | Add-on |
| Render Engine Used | Cycles, Eevee |
| License | GPL |
Discover more products like this
threejs exploded view technical E-commerce product-visualization animation 3D configurator glb explode animation cad for technical artists instructions