 SkdSam
Give your scene
its best light.
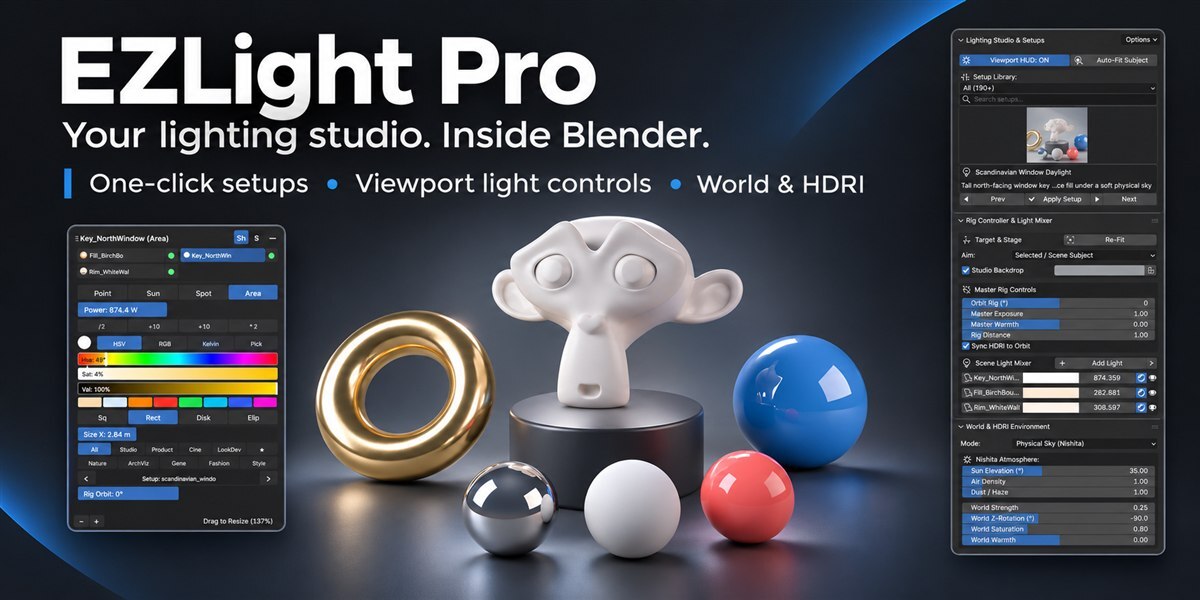
Find a look. Shape the light. Stay in Blender. A preset library, floating light HUD and world controls, together in one workflow.
Explore the workflow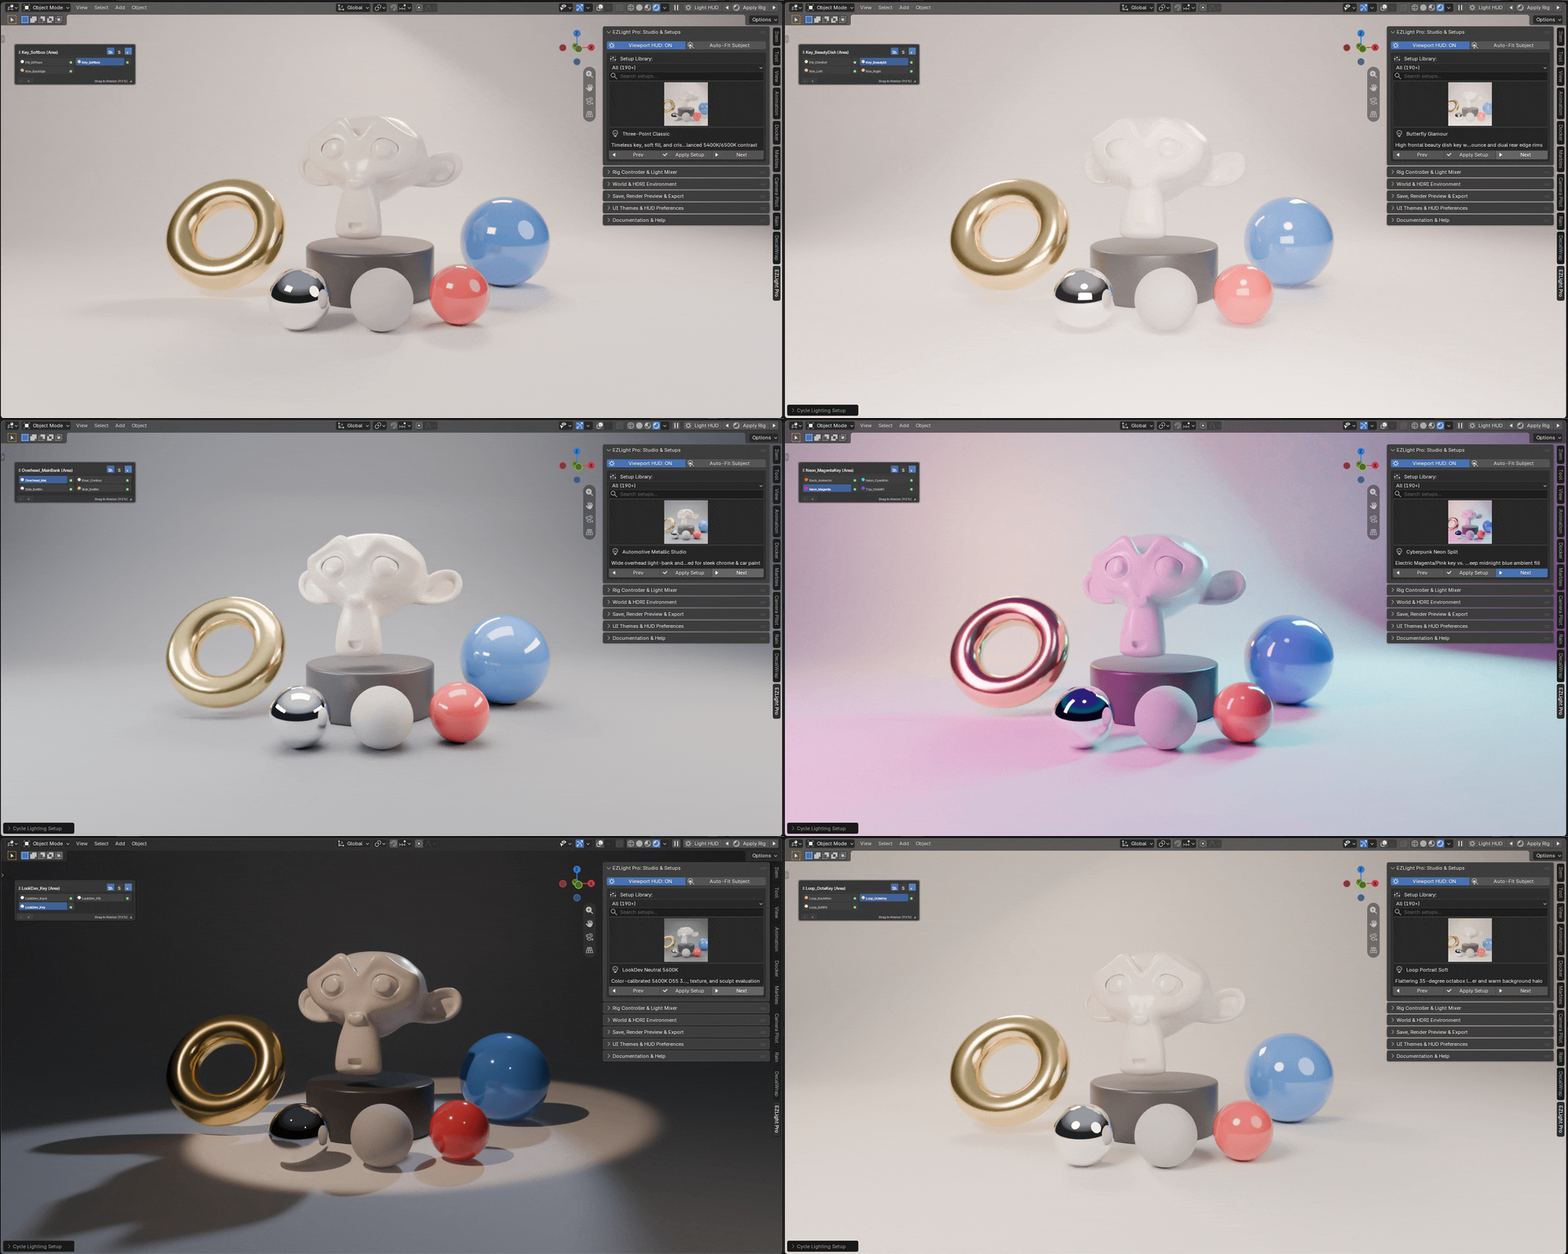
Real Blender workflow / View the interface still
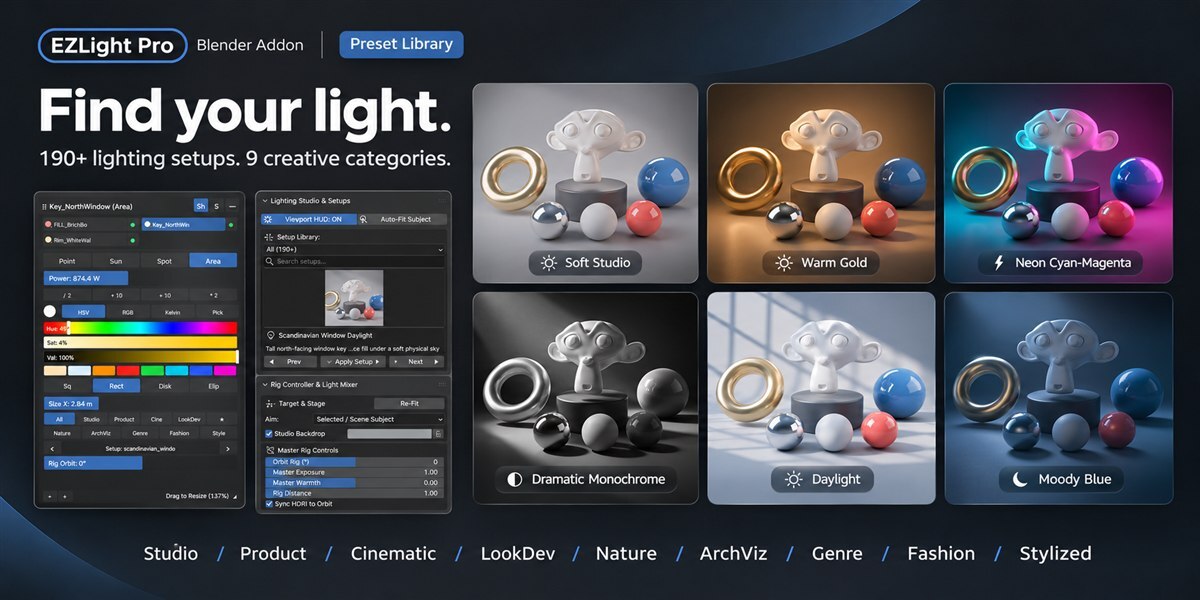
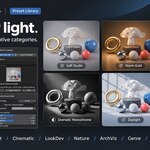
A whole library.
Your next look.
Clean product lighting. Sculpted portraits. Cinematic color. Start with a curated setup, then make it yours.
Browse visual previews, search by name or keyword, and filter by category. Auto-fit a rig to your subject so you can get straight to shaping the light.
Your lights.
Within reach.
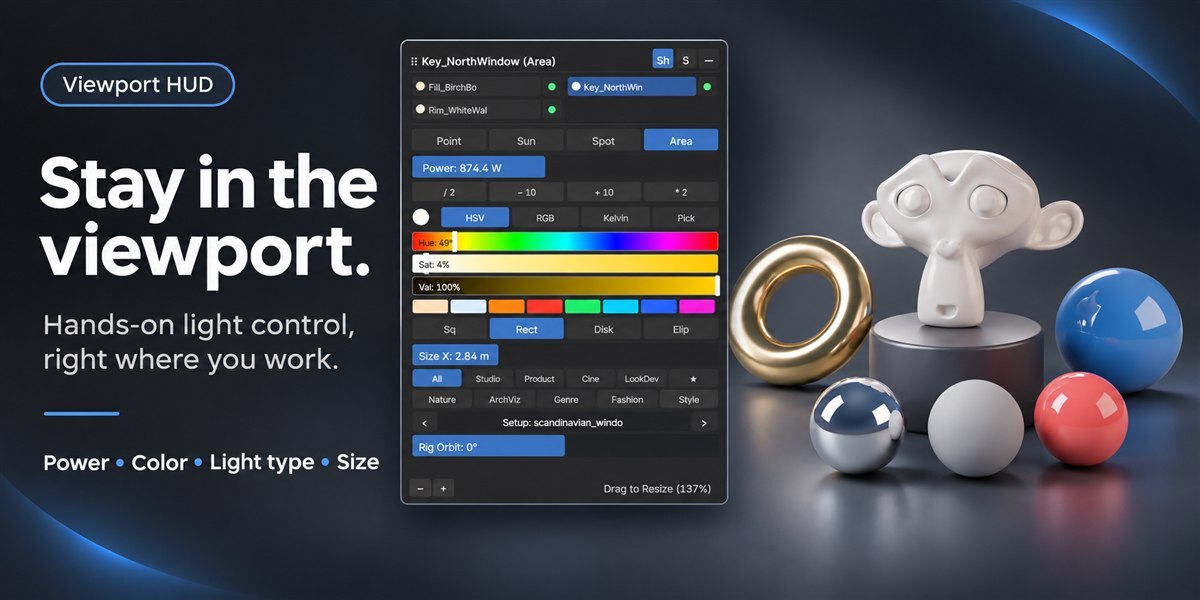
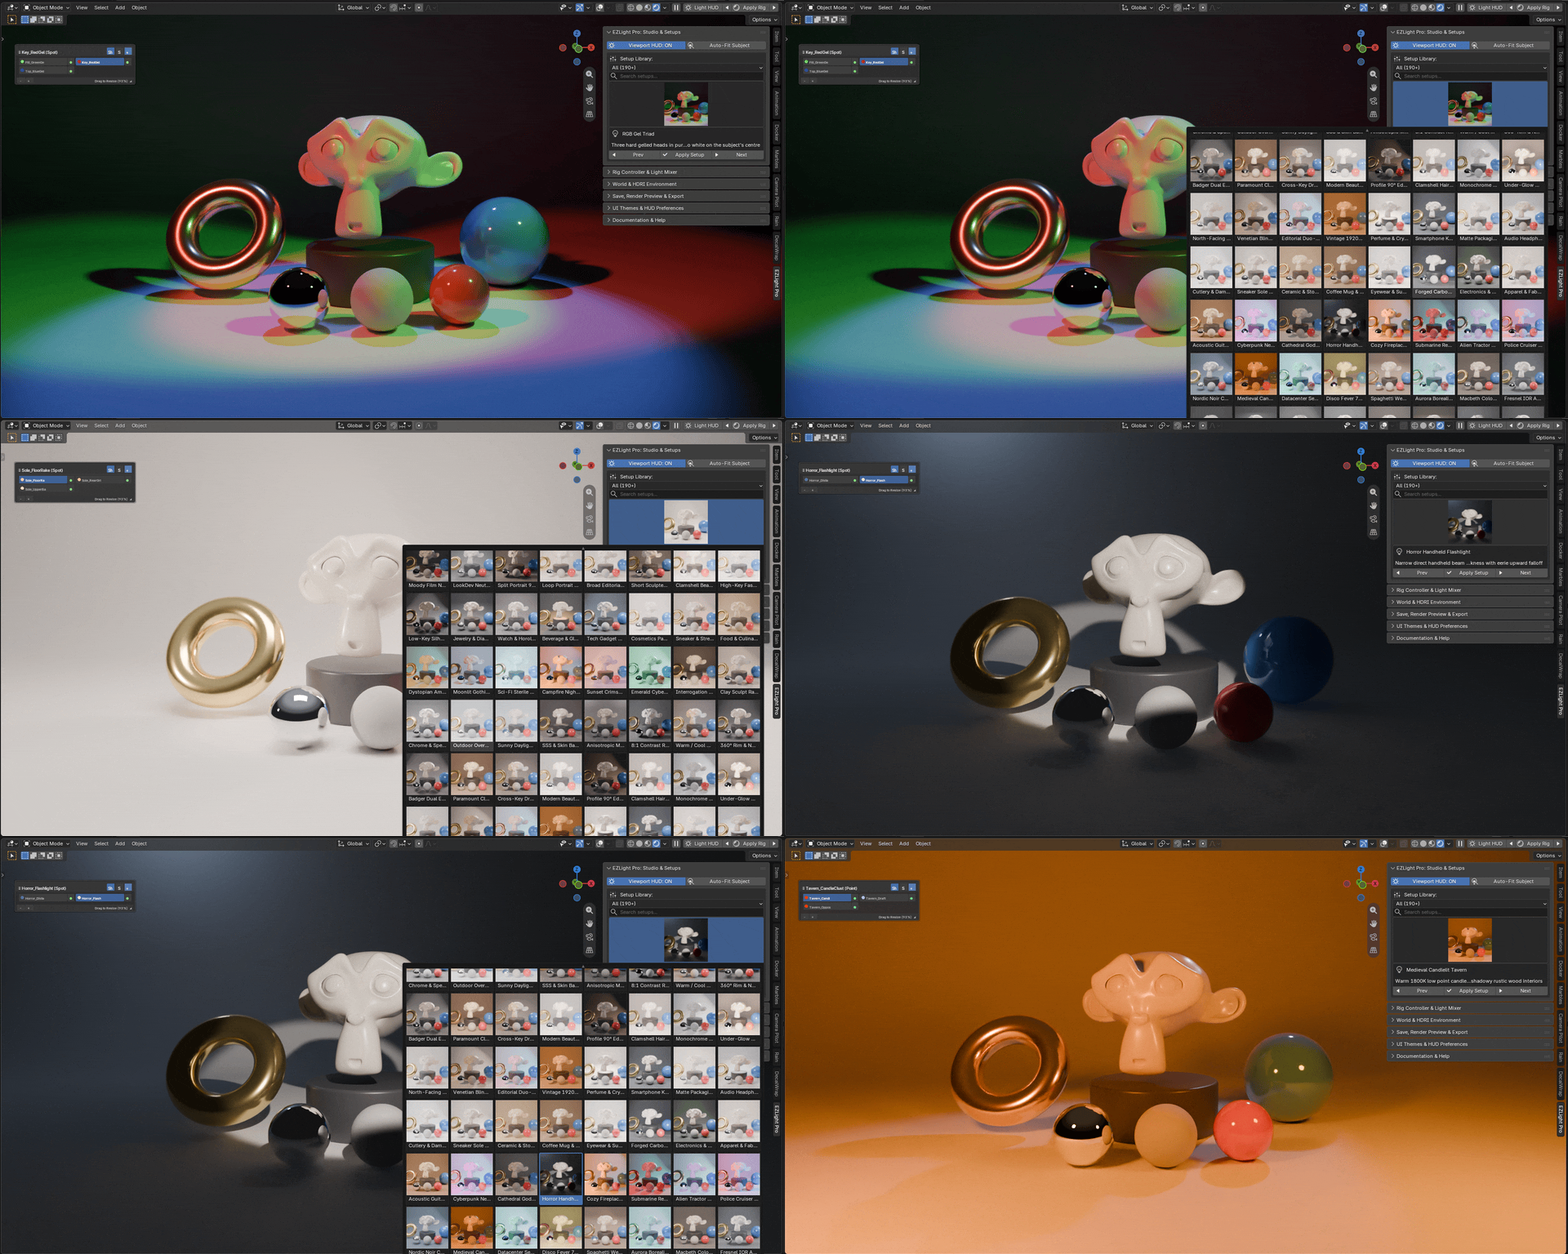
Keep your eyes on the scene. The floating Viewport Light HUD brings individual light controls alongside your work.
Power, color & size
Select a light and refine its energy, type, color and size.
An interface that fits you
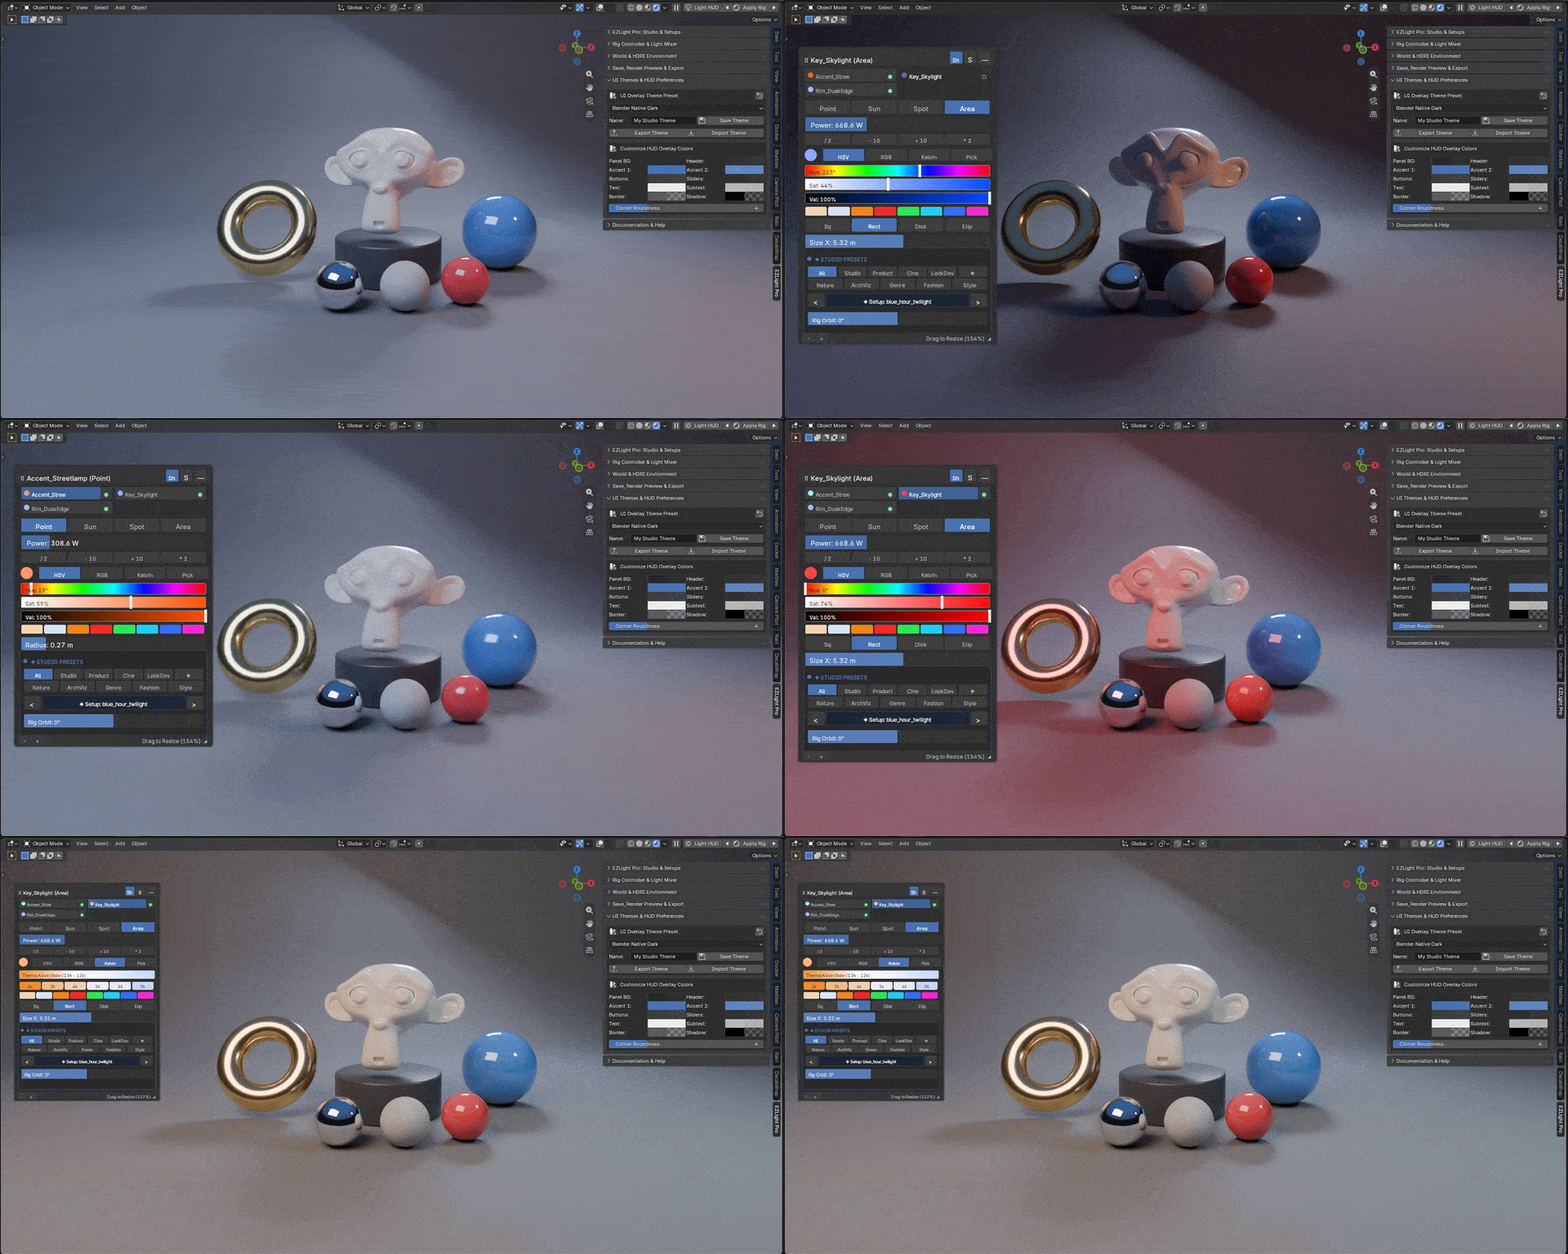
Choose from 22 HUD themes, customize the appearance and resize the overlay.
See the scene.
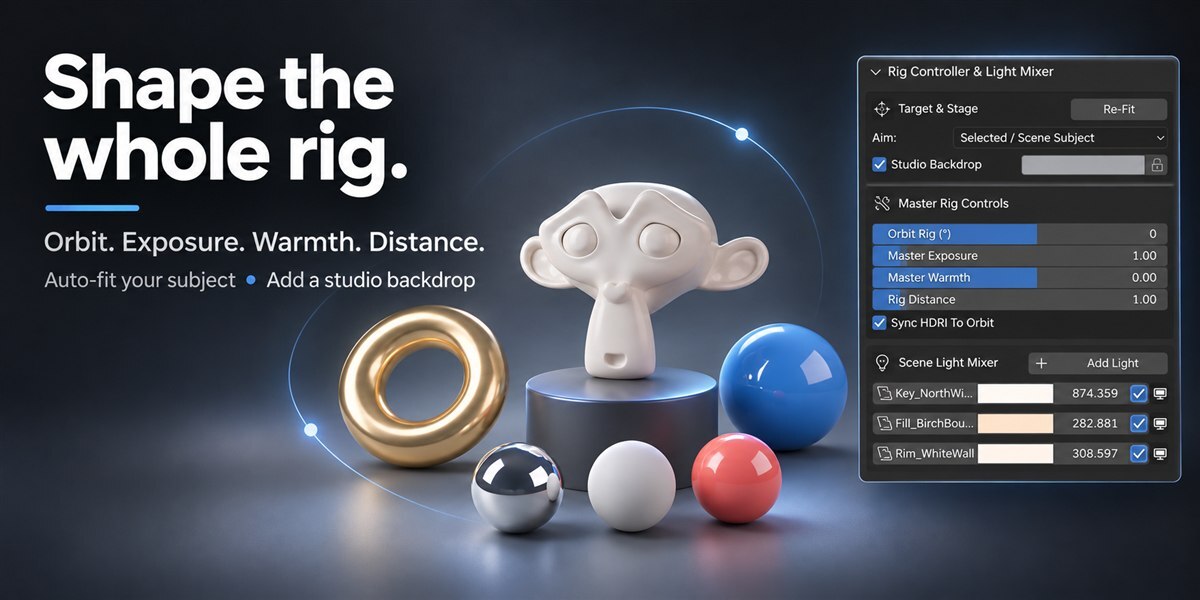
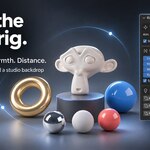
Shape the whole rig.
The viewport HUD and sidebar work together. Make broad adjustments to the setup, then fine-tune each light.
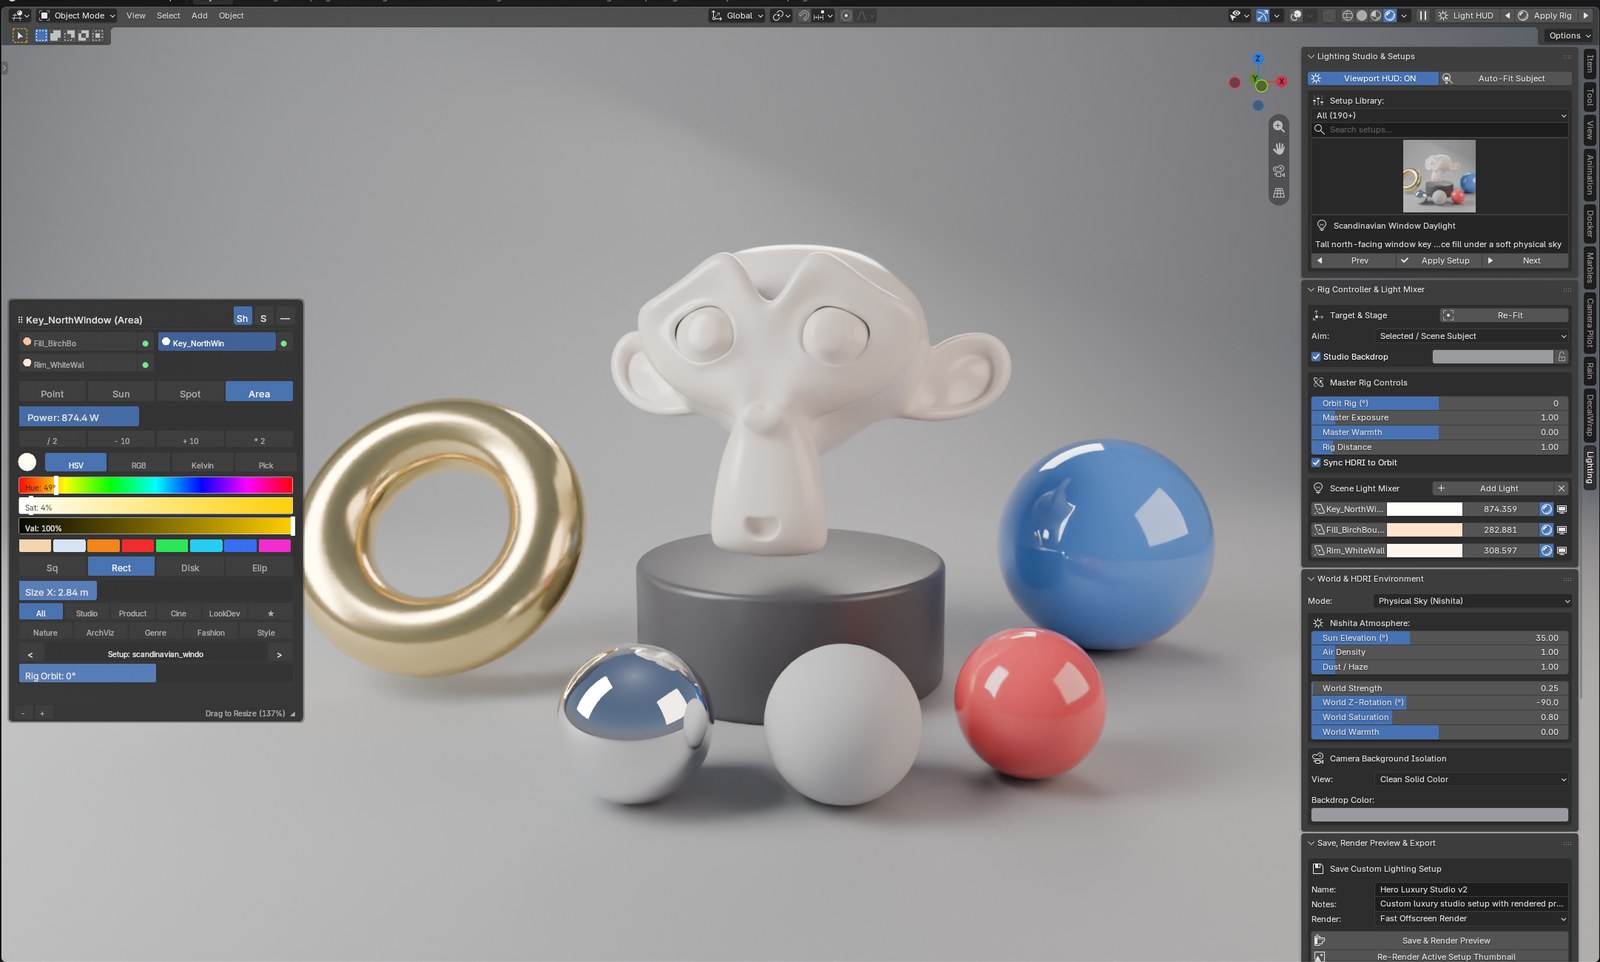
Orbit & distance
Rotate the rig around the target and move lights closer or farther away.
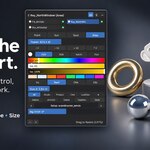
Exposure & warmth
Shape overall energy and color balance across the lighting setup.
Auto-fit & backdrop
Fit the rig to your subject and add a curved studio cyclorama.
Set the world.
Set the mood.
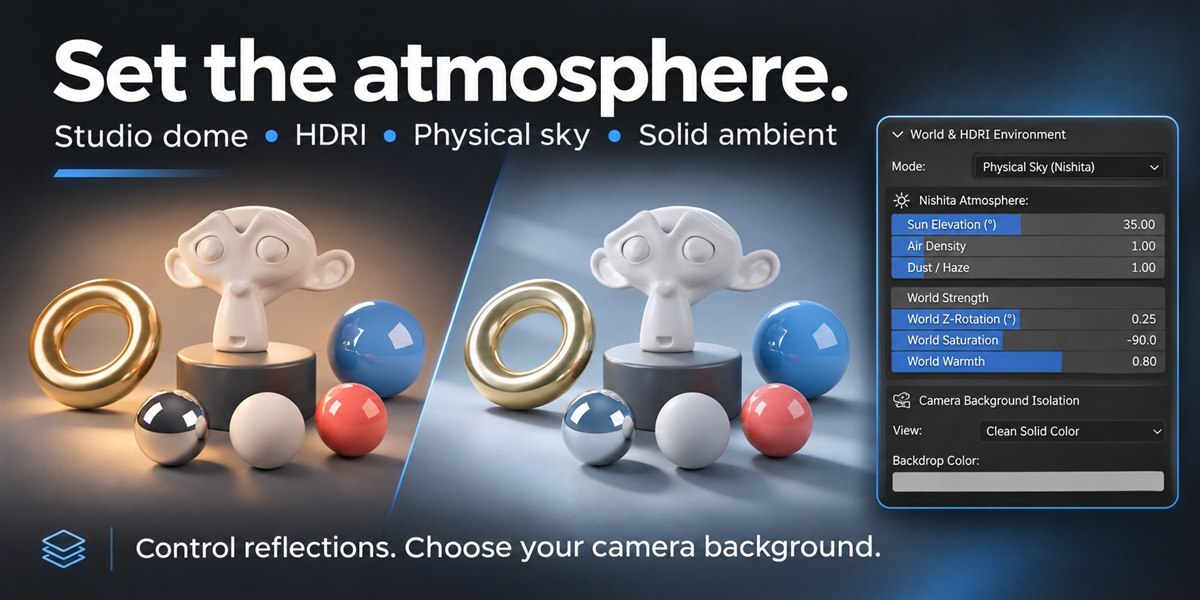
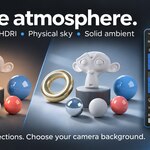
Your environment is part of the lighting. Choose a procedural studio dome, physical Nishita sky, solid ambient light or your own HDRI panorama.
Light, reflections & background
Tune the environment while controlling what the camera sees.
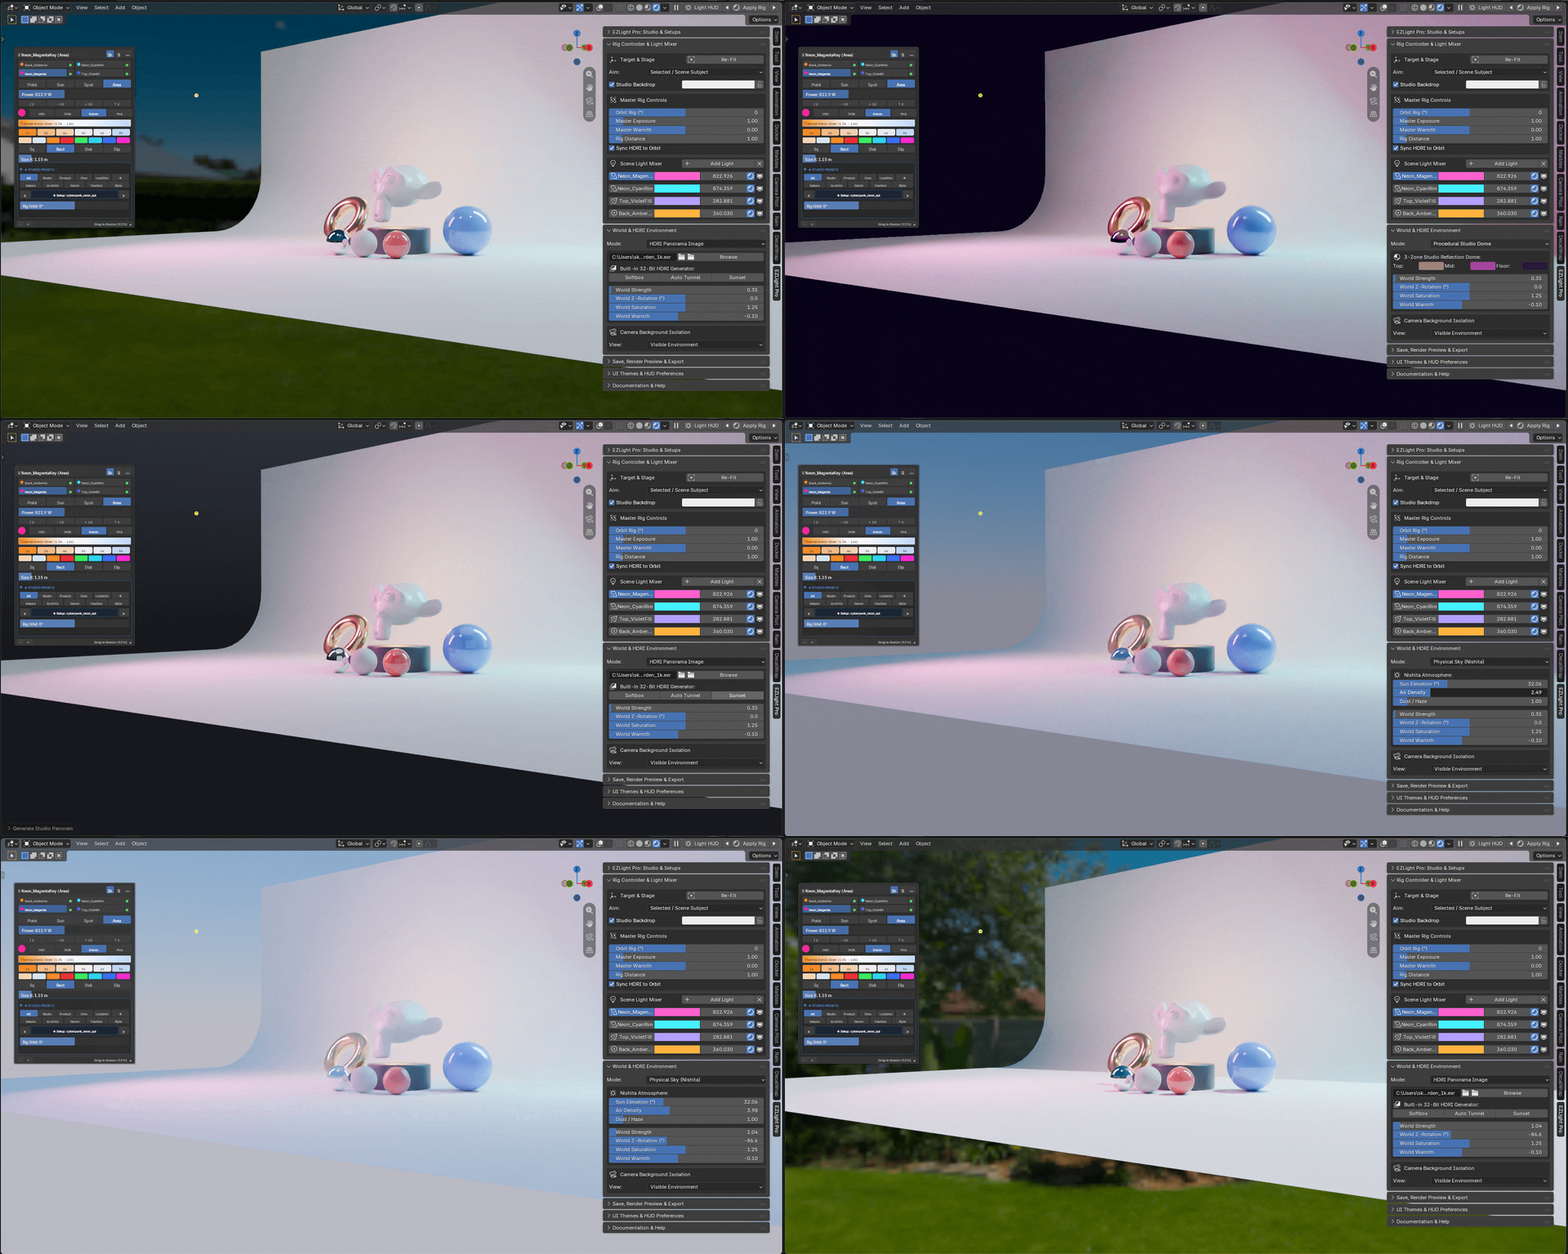
Rotate. Balance. Refine.
Adjust world strength, rotation, saturation and warmth. Optionally sync HDRI rotation with the rig.
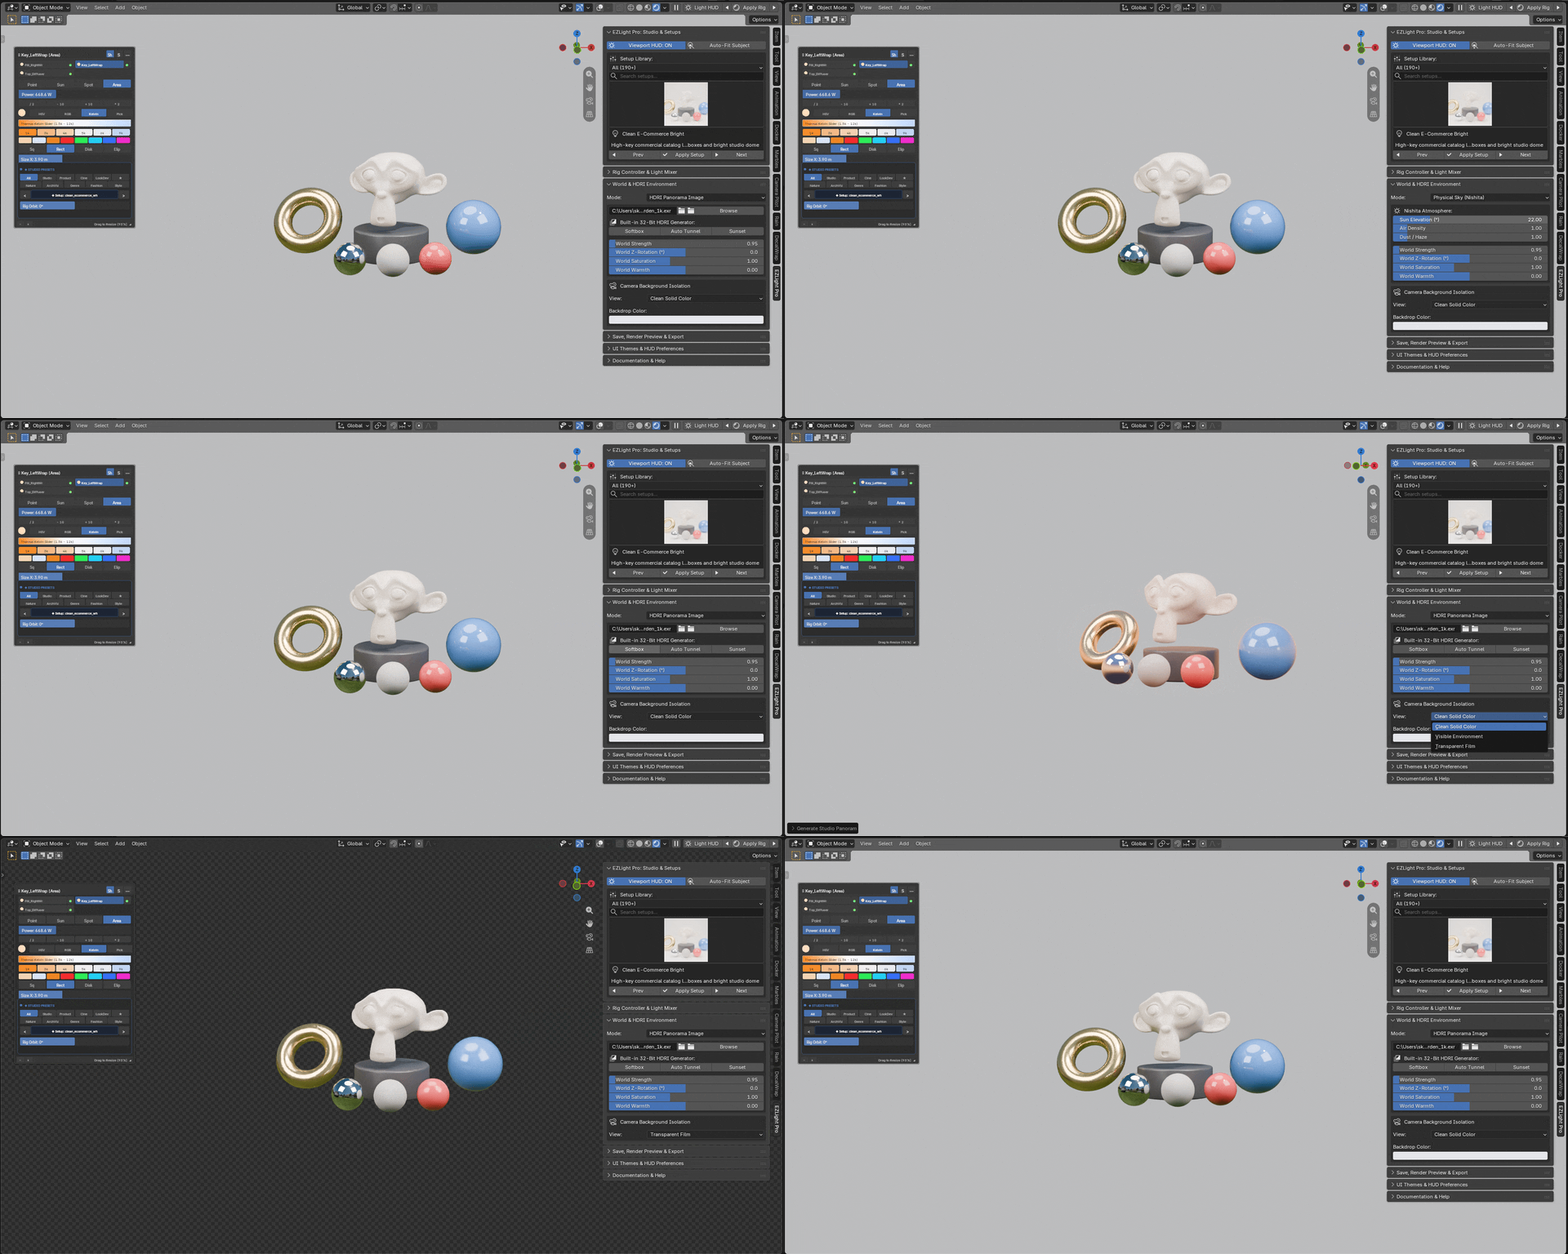
Choose the camera background
Show the HDRI, choose a solid camera background or use transparent film while retaining environment lighting.
Build an environment
Generate synthetic HDRI panoramas for softbox, automotive tunnel and sunset-style lighting.
Good light.
Worth keeping.
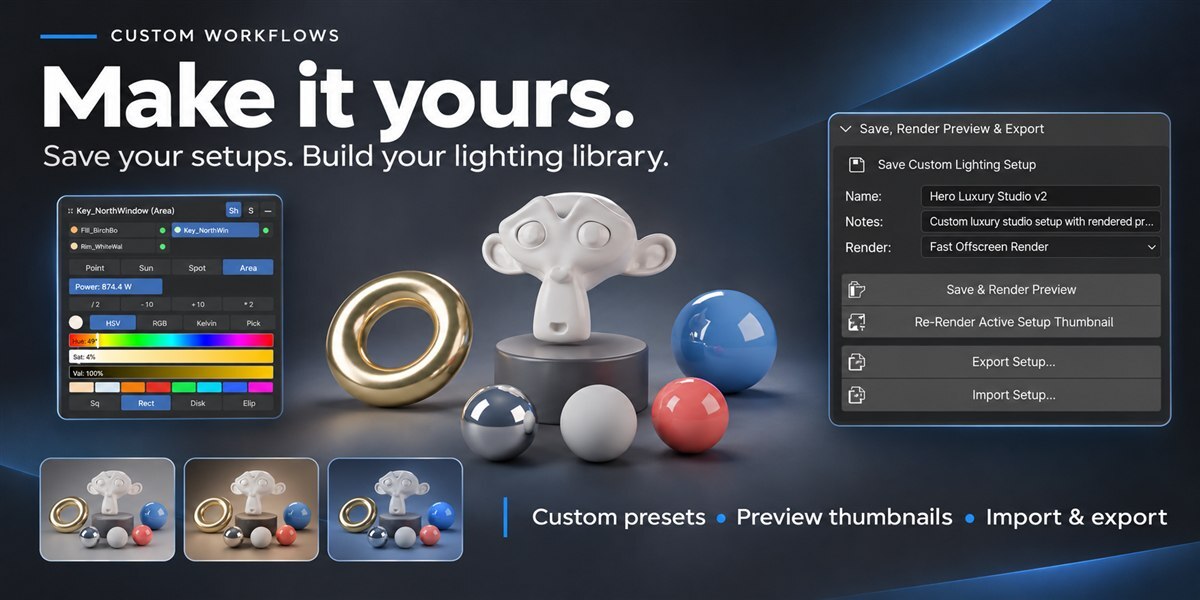
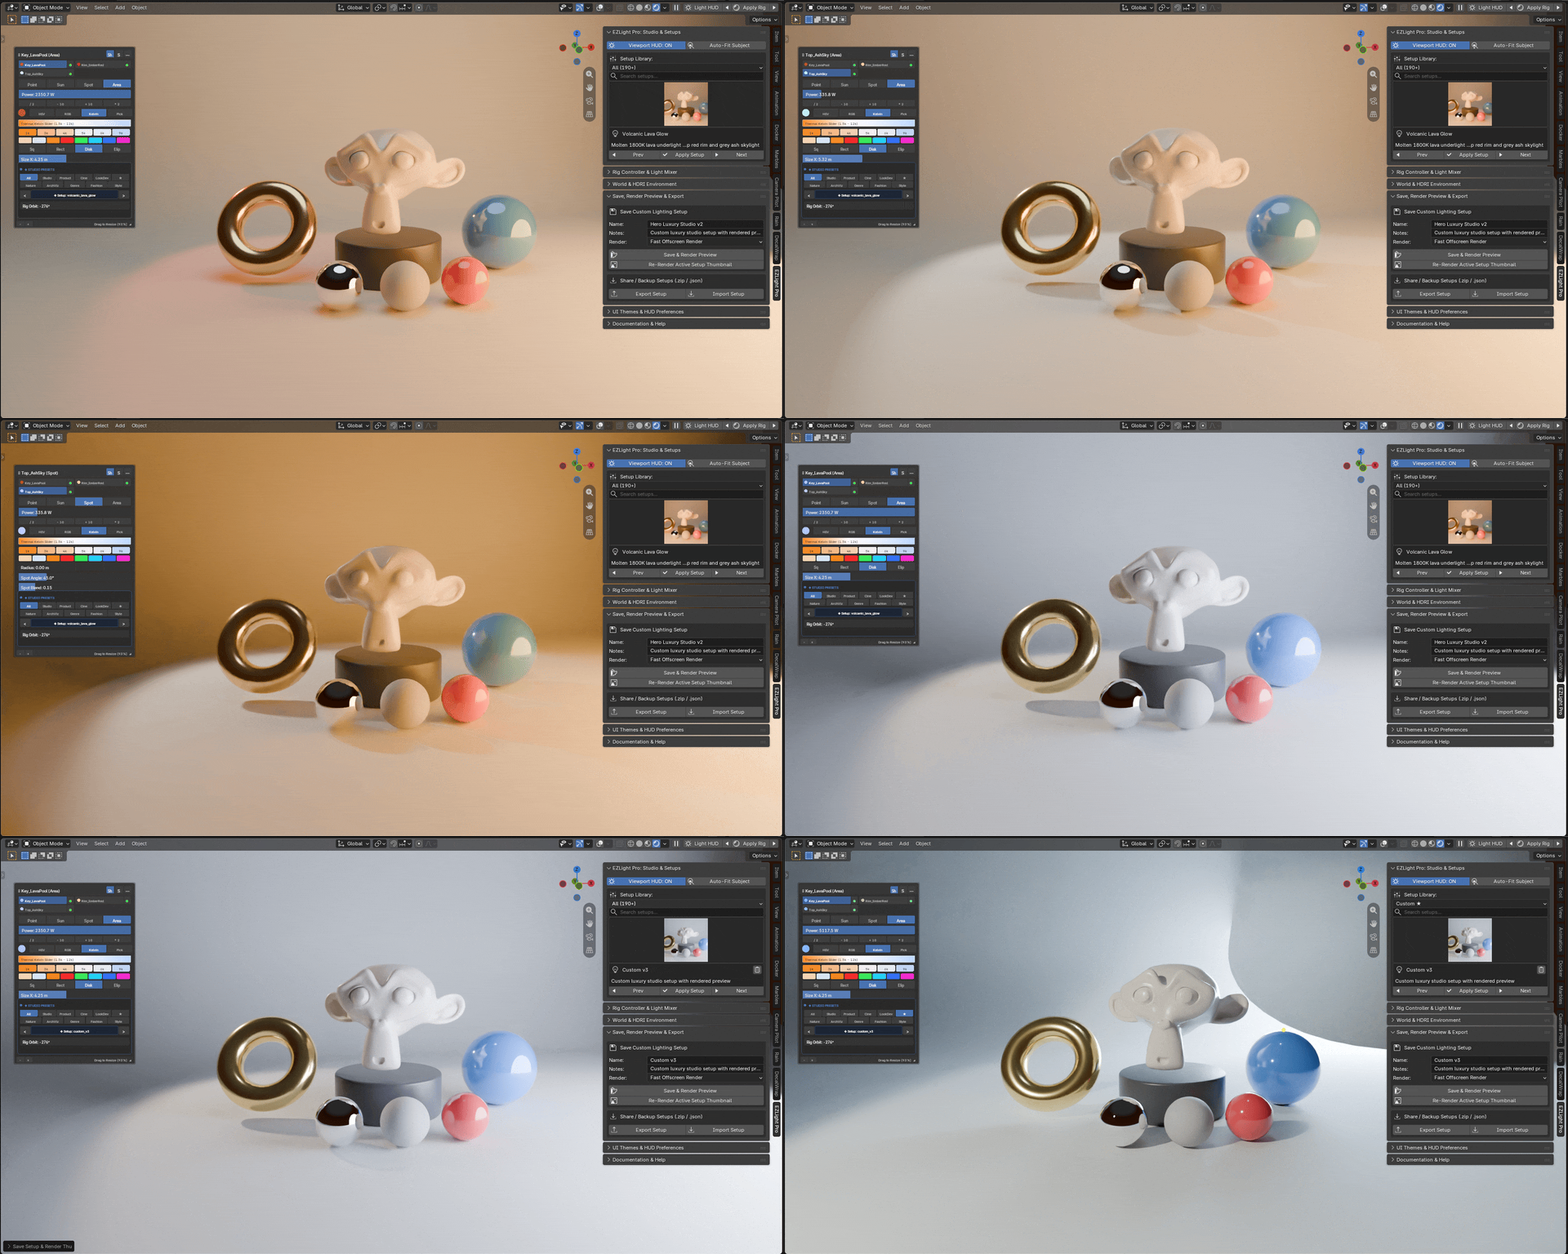
Turn a setup you love into a starting point for the next project. Save your lights and world settings as a custom preset with a preview thumbnail.
Save it. Move it. Use it again.
Export and import setup archives with their preview and external HDRI. Share custom HUD themes as JSON.
From install to first light.
-
01
Install & enable
Install the supplied add-on ZIP in Blender.
-
02
Choose your subject
Open the EZLight Pro sidebar and use Auto-Fit Subject.
-
03
Find your setup
Apply a preset and switch to a rendered viewport.
-
04
Make it yours
Refine the rig, adjust the world and save your look.
Inside the kit.
A lighting workflow, from your first preset to your own saved studio.
- 190+ lighting setups with visual previews
- Floating Viewport Light HUD & 22 themes
- Whole-rig controls & scene light mixer
- World, HDRI & environment tools
- Custom preset saving, export & import
- Offline, searchable HTML user guide
Made for your Blender workflow.
Blender 3.6 and later
Legacy add-on installation and Blender 4.2+ extension packaging.
Eevee, Eevee Next & Cycles
Use the render engine that fits your scene.
External HDRIs are optional
Start with built-in environment options or load your own panorama.
A few useful details.
Do I need an HDRI to get started?
No. Begin with a preset and use the procedural studio dome, physical sky or solid ambient lighting. Load your own HDRI or generate a synthetic panorama when you want one.
Can I adjust the lights after applying a preset?
Yes. Use the master rig controls for broad changes, then refine individual lights through the floating HUD or scene light mixer.
Can I use my setups in another project?
Yes. Save custom presets with preview thumbnails, then export and import them. Custom HUD themes can also be exported and imported.
Where is the documentation?
Open the offline, searchable HTML user guide from Documentation & Help in the EZLight Pro sidebar.
The recordings show EZLight Pro in Blender. Demonstration models are not a separate model asset pack. Render appearance and performance depend on your scene, materials, engine and hardware.
EZLight Pro
Your scene.
Your eye. Your light.
Give your next Blender scene a considered start. Find a setup, shape the result and build a lighting library of your own.
See the workflow again