 VK Gamedev


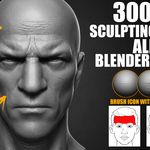
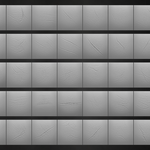
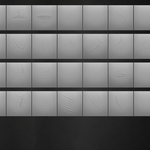
300+ Skin Sculpting Brushes
Professional skin detail library for Blender & ZBrush. Create realistic wrinkles, pores, eyelid folds, eye bags, lips, chin details, and facial surface breakup faster.
| 337 Skin Brushes & Alphas | 4K High-Resolution Alpha Maps | Face Area Usage Previews |
See the Skin Brushes in Action
Quick animated previews showing Blender, ZBrush, and general facial skin detailing workflows.
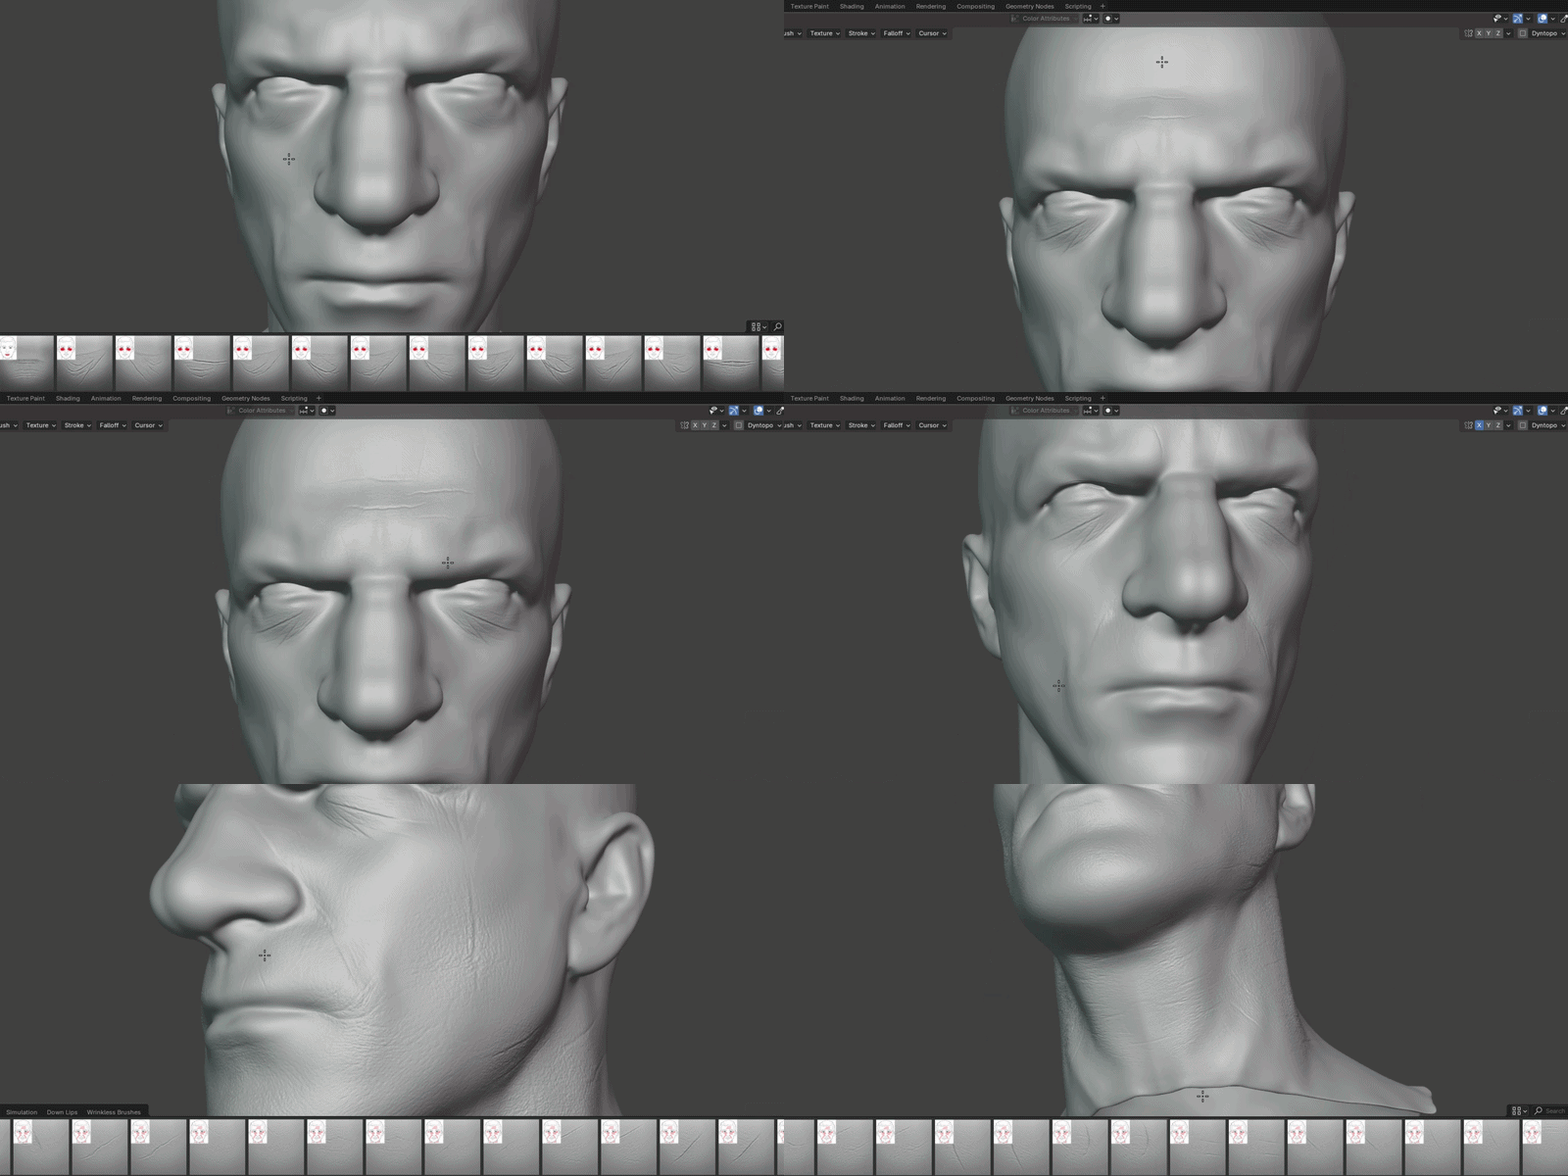
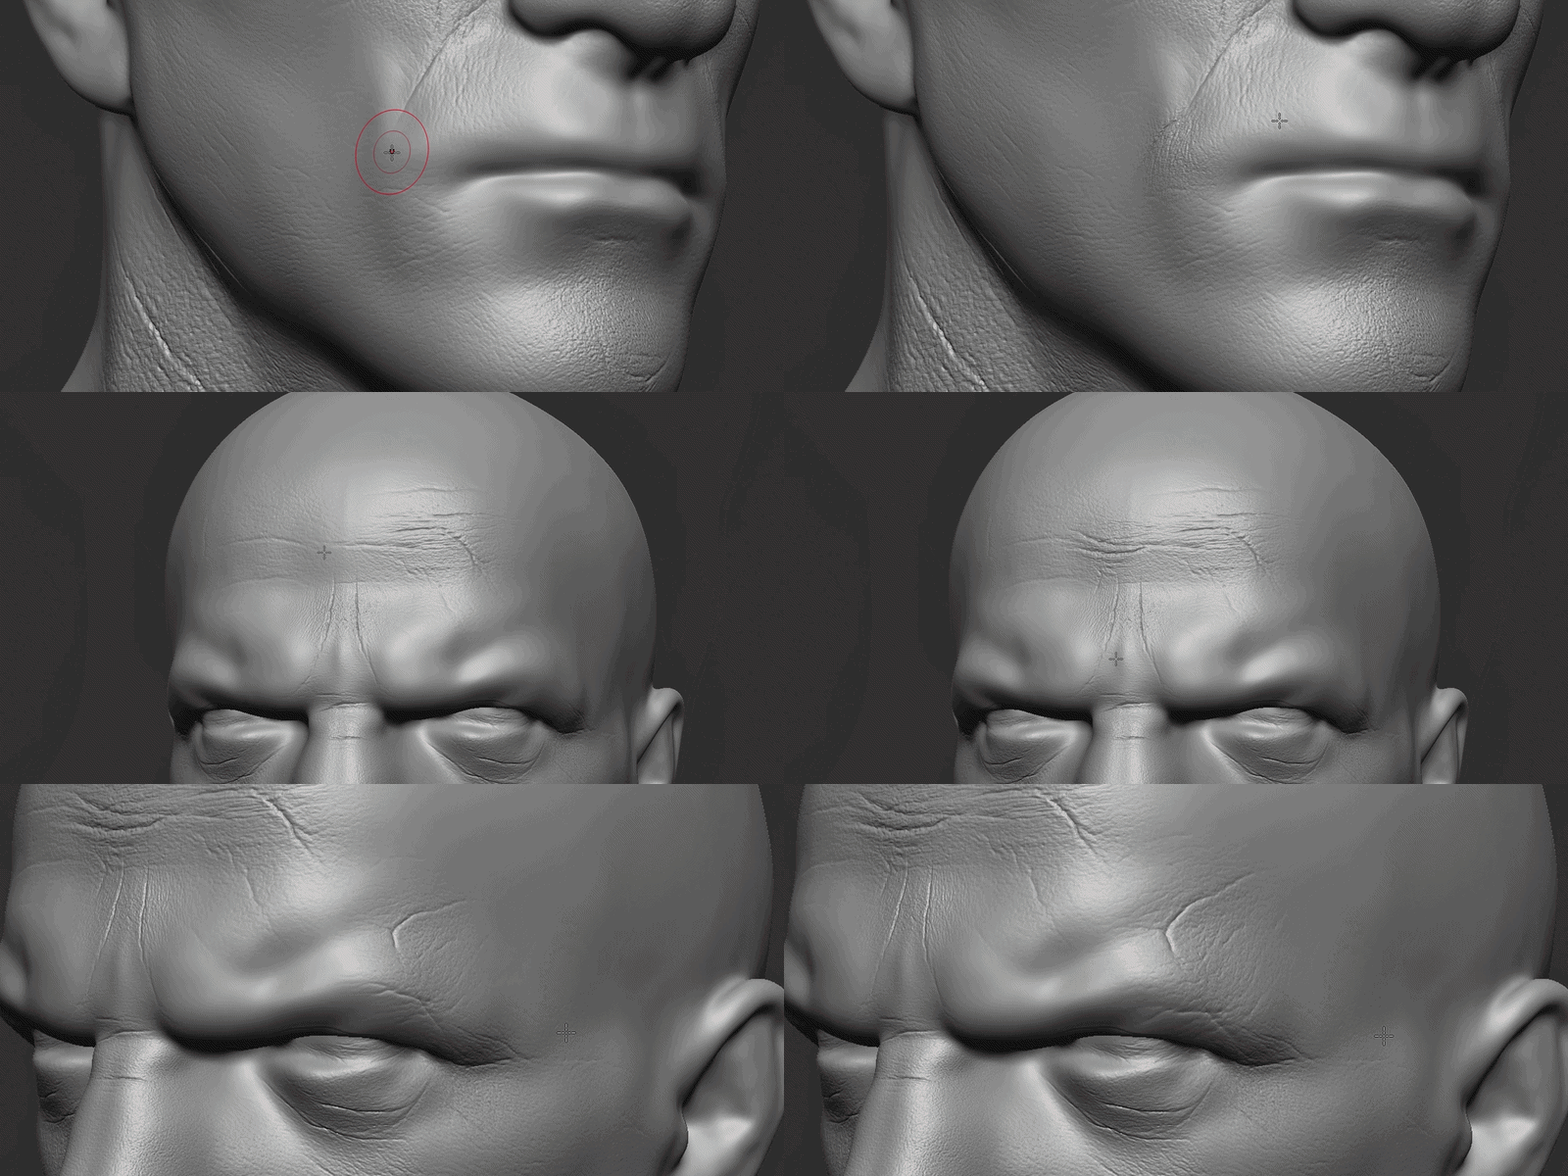
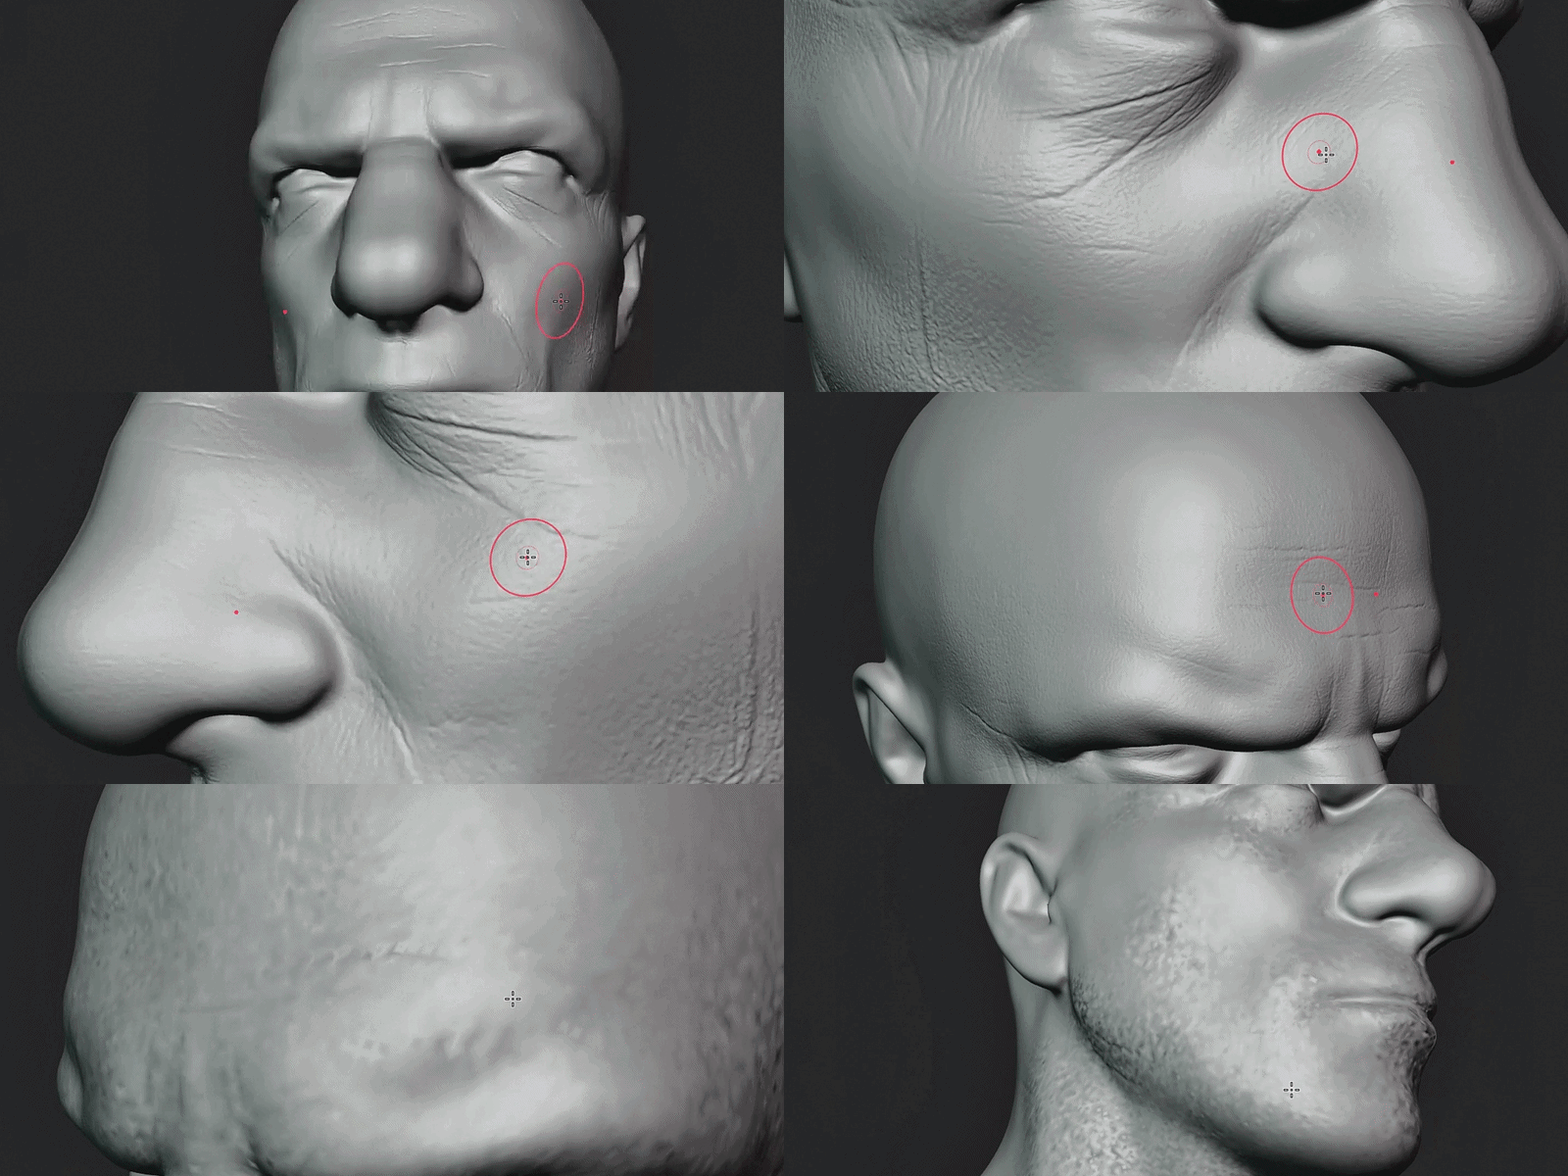
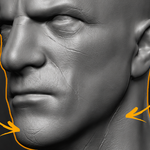
Realistic Skin Details
High-quality facial skin brushes made for close-up character sculpting and production workflows.
- Fast wrinkle stamping
- Clean pore and skin surface detail
- Great for portrait sculpting
- Useful for realistic and stylized characters
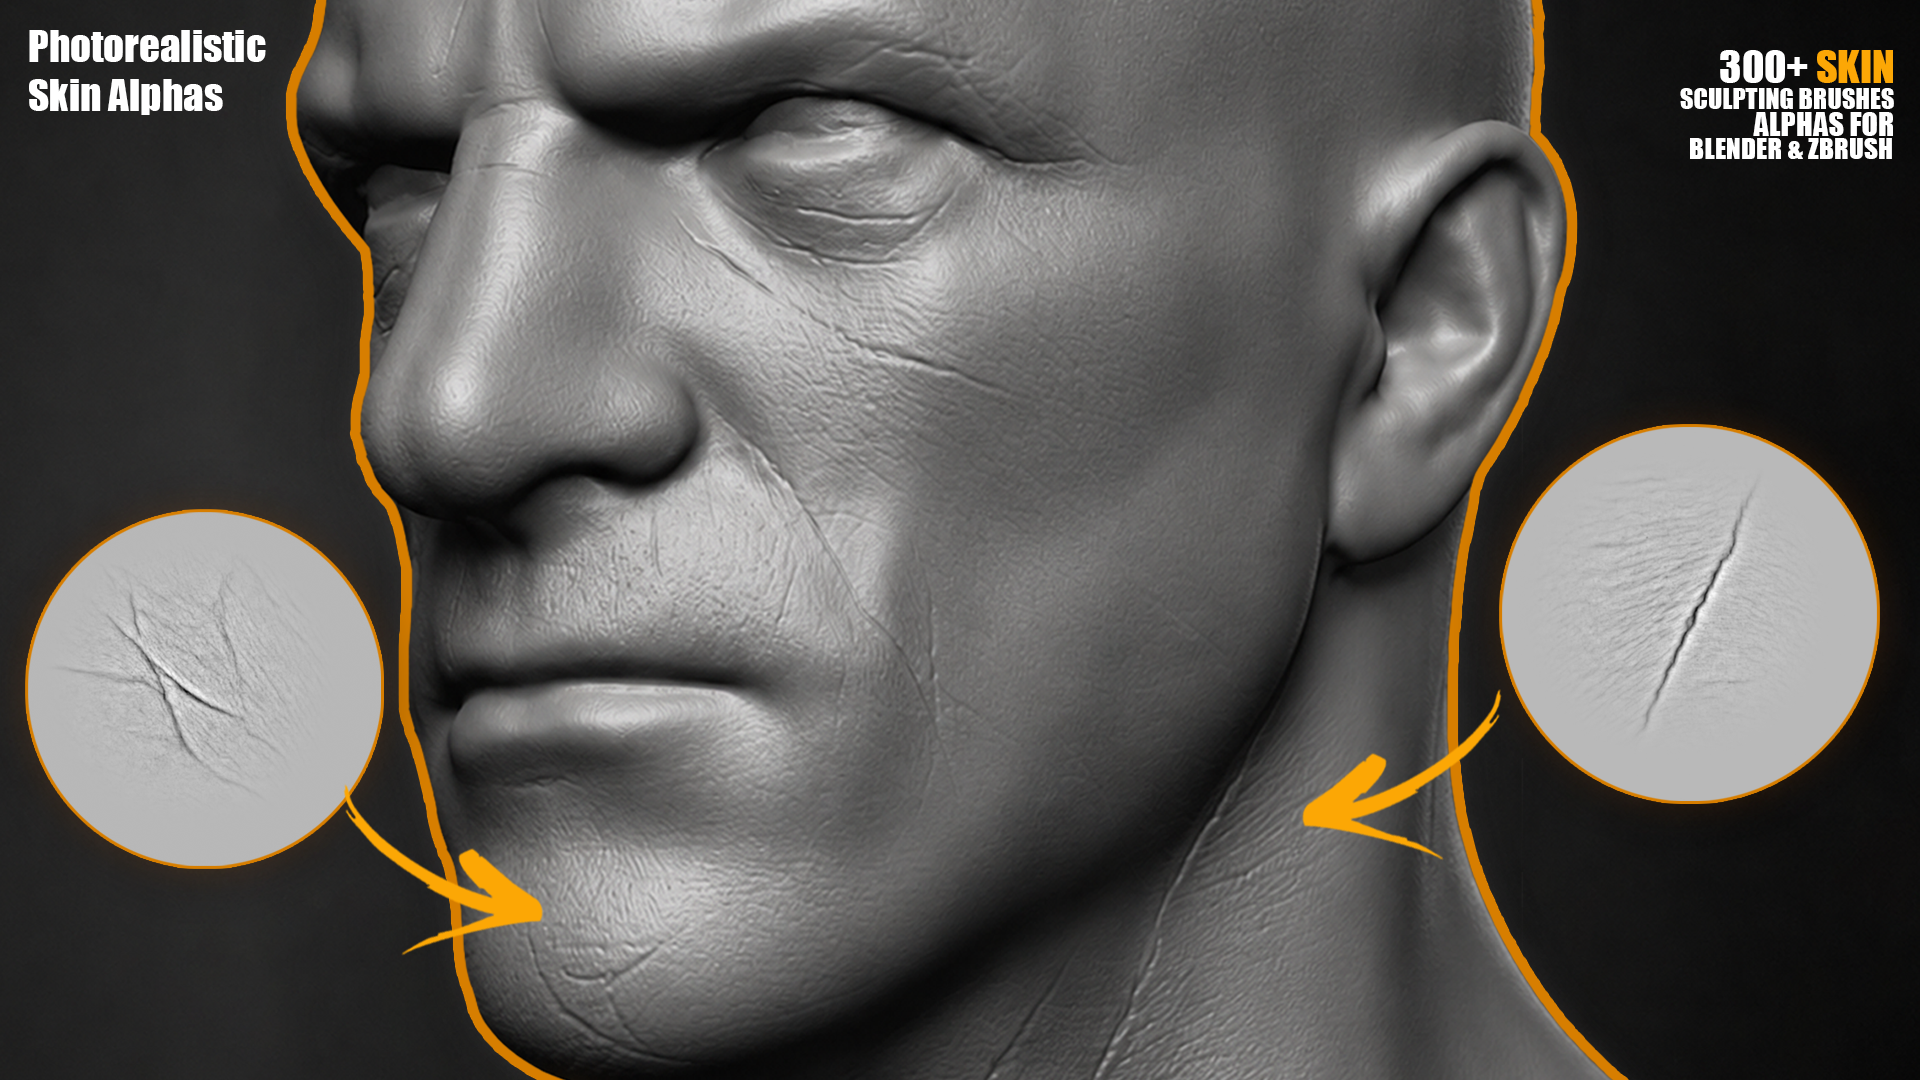
Face Area Categories
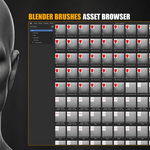
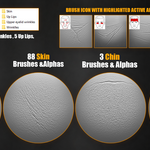
Brushes are organized by facial region, so you can quickly choose the right detail.
| General Wrinkles | 190 |
| Skin / Pores / Surface Detail | 89 |
| Eye Bags Wrinkles | 20 |
| Upper Eyelid Wrinkles | 18 |
| Forehead Wrinkles | 9 |
| Upper Lips Details | 5 |
| Lower Lips Details | 3 |
| Chin Details | 3 |
4K Alpha Maps
High-resolution alpha maps for clean close-up sculpting and detailed facial skin work.
- Sculpting
- Displacement
- Bump details
- Masks
- Skin surface breakup
Preview Guidance
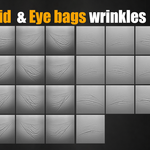
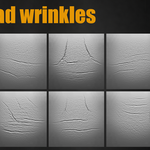
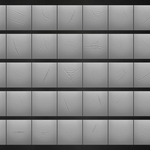
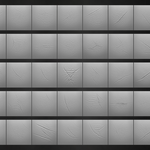
Preview images include face-area labels, making it easier to choose brushes for forehead wrinkles, eyelids, eye bags, lips, chin, pores, or general facial wrinkles.
Perfect For
- Realistic human faces
- Character sculpting
- Portrait work
- Game characters
- Cinematic assets
- VFX characters and digital doubles
Software
Built for Blender and ZBrush workflows, and usable in any software that supports alpha maps.
- Blender Sculpt Mode
- ZBrush alpha and brush workflows
- Alpha-based sculpting, bump, masks, and displacement
Installation
Blender - Add the Brush Library Through File Paths
- Place the included Blender brush folder in a permanent location on your computer.
- Open Blender.
- Go to Edit > Preferences > File Paths.
- Find the Asset Libraries section.
- Click + and add the folder that contains the brush library.
- Click Save Preferences.
- Open the Asset Browser or Sculpt Mode and use the brushes in your sculpting workflow.
ZBrush - Add Alphas to a Brush or to the Alpha Catalog
You can use the included 4K alpha maps in ZBrush in two common ways.
Option 1 - Load an Alpha to the Current Brush
- Open ZBrush.
- Select the brush you want to use.
- Open the Alpha palette.
- Click Import.
- Select one of the included alpha maps.
- The alpha will be assigned to the current brush and ready for sculpting.
Option 2 - Add Alphas to the ZBrush Alpha Folder
- Copy the included alpha maps.
- Paste them into your ZBrush alpha folder.
C:\Program Files\Pixologic\ZBrush 2021\ZStartup\Alphas After restarting ZBrush, the alphas will be available from the Alpha palette.
Videos
Watch the brushes in action and preview how the skin details work in production-style sculpting workflows.
FAQ
Do I need to sculpt every wrinkle manually?
No. The brushes help you quickly stamp and build realistic skin detail.
Are alpha maps included?
Yes. High-resolution 4K alpha maps are included.
Are the previews useful for choosing brushes?
Yes. The previews include face-area labels showing where each brush works best.
Can I use the alphas outside Blender or ZBrush?
Yes. The alpha maps can be used in any software that supports grayscale alpha maps, masks, bump, or displacement textures.
Other Sculpting Packs
Explore more sculpting brush libraries for skin, creatures, fabric, rocks, damage, ornaments, metal, and fur detailing.


Questions or installation help? Message me anytime.
