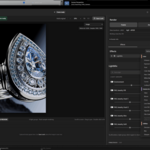
FinalTouch
RENDER & REFINE
Getting started & user guide
Version 1.0.0 · By Aymen Selmi
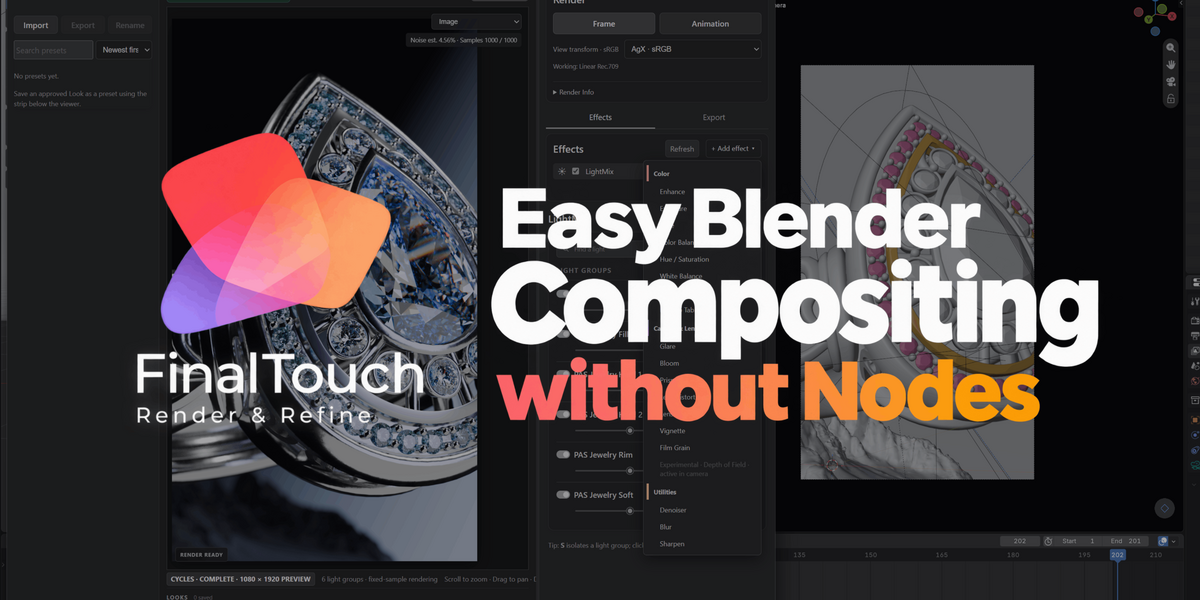
Render in Cycles, refine the captured image and create multiple finished looks in a dedicated viewer connected to Blender.
✦ 01 · Install & open
Requirements: Blender 5.0 or newer and a hardware-accelerated WebGL 2 browser with float render-target support. Chrome or Microsoft Edge is recommended. Cycles is required for LightMix.
- Download the FinalTouch ZIP. Do not extract it.
- Open Blender Preferences, choose Install from Disk and select the ZIP. Enable FinalTouch if prompted.
- Set up your scene, camera and render settings in Blender.
- Choose Render → FinalTouch, then click Frame in the viewer.
After updating, close FinalTouch and restart Blender. The viewer connects locally to Blender; no account or cloud service is required.
✦ 02 · Your first finished render
-
Render: click Frame and wait for the captured passes to become available.
-
Refine: adjust LightMix, add colour corrections and choose finishing effects.
-
Save: click Save Look to capture this version.
-
Explore: change the treatment and save another Look.
-
Compare: use A/B to choose your preferred direction.
-
Deliver: set your output options in Export and export your selected Looks.
Keep a finish for later: click Save as Preset on its Look thumbnail. Saving a Look alone does not save a reusable preset.
✦ 03 · Navigate & manage effects
-
Scroll: zoom. Drag: pan.
-
Double-click / Fit: fit the image. 1:1: view actual pixels.
-
Hold original: compare against the unadjusted render.
-
Render status: blue means working; green means ready.
-
Cancel render: stop rendering. An available preview may remain.
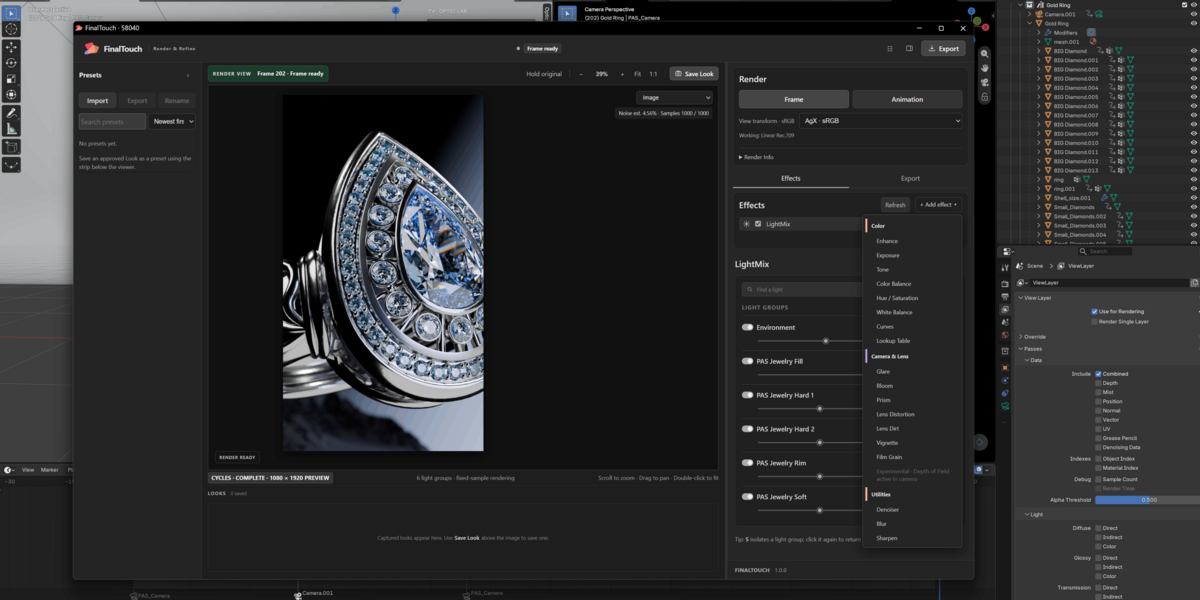
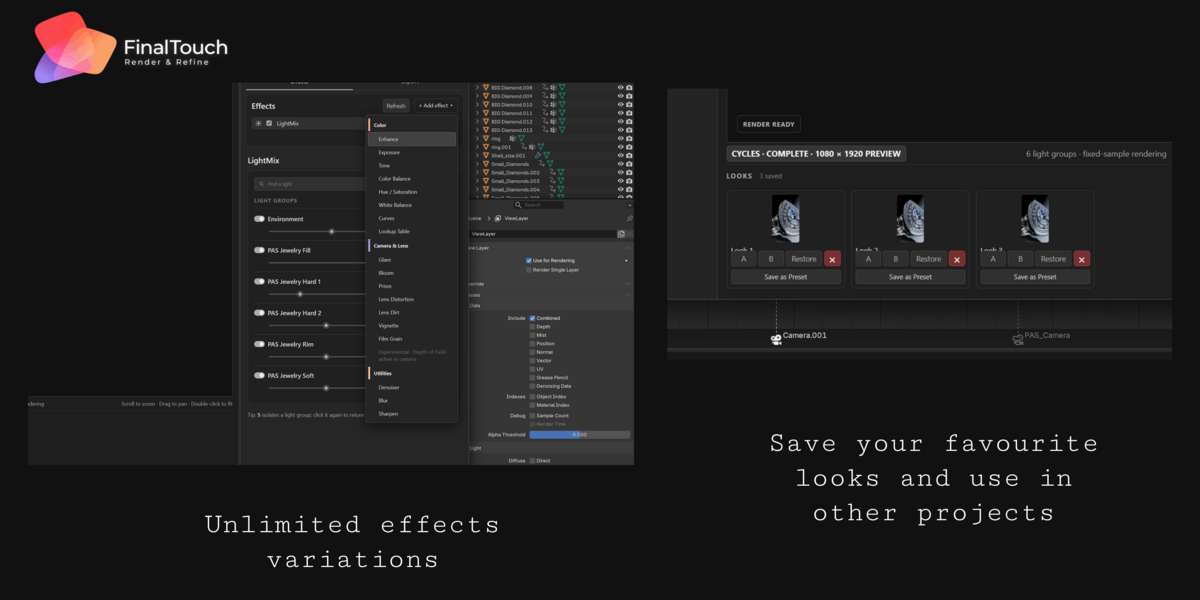
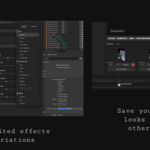
Use Add effect to choose tools under Color, Camera & Lens or Utilities. Click an effect to edit it. Use its checkbox to bypass it, drag or use arrows to reorder it, Copy to duplicate it and × to remove it.
Most effects follow stack order. Refresh rebuilds the preview from captured passes; it does not replace a new scene render when scene information has changed.
✦ 04 · LightMix & Enhance
Adjust captured lighting
In LightMix, adjust the gain and tint of captured light groups. Toggle contributions or use Solo to inspect one group at a time.
Large lighting changes may need a new render because the illumination was calculated for the original scene.
Target reflections & ambient occlusion
Add Enhance and adjust Reflection or Ambient Occlusion. Intensity starts at zero, meaning no change. Without masks, the adjustment affects the full pass.
- Add a mask to display coloured object IDs.
- For a material selection, change Mask by to Material.
- Click the coloured surface you want to target.
- Set that mask’s intensity and blend operation.
- Add more masks as needed. Use Pick in viewer to change a selection, or Cancel / Escape to leave picking.
Available blends: Add, Multiply, Screen, Overlay, Soft Light, Subtract and Mix. When masks exist, only their selected regions apply; overlapping masks blend in list order.
Reflection adjustments use the original captured glossy pass. They do not retrace reflections or recalculate them for changed LightMix settings.
✦ 05 · Colour & creative LUTs
Add Exposure, Tone, Color Balance, Hue/Saturation, White Balance or Curves to refine your image.
In Lookup Table, choose Amber, Fade, Neon, Film or Portrait, then adjust Intensity. You can also import a custom .cube LUT.
Bundled LUTs use sRGB input. For imported LUTs, select sRGB, Rec.709/Gamma 2.4 or scene linear as specified by the LUT’s creator.
Emissive only: Exposure’s checkbox changes directly visible emission, not the indirect light it casts onto other objects.
Display conversion happens after the effect stack. AgX, Filmic and ACES 2.0 availability depends on Blender and Python OpenColorIO support. Standard sRGB remains available. Custom scene-linear configurations are not a validated workflow.
✦ 06 · Lens & finishing effects
Bloom & Glare
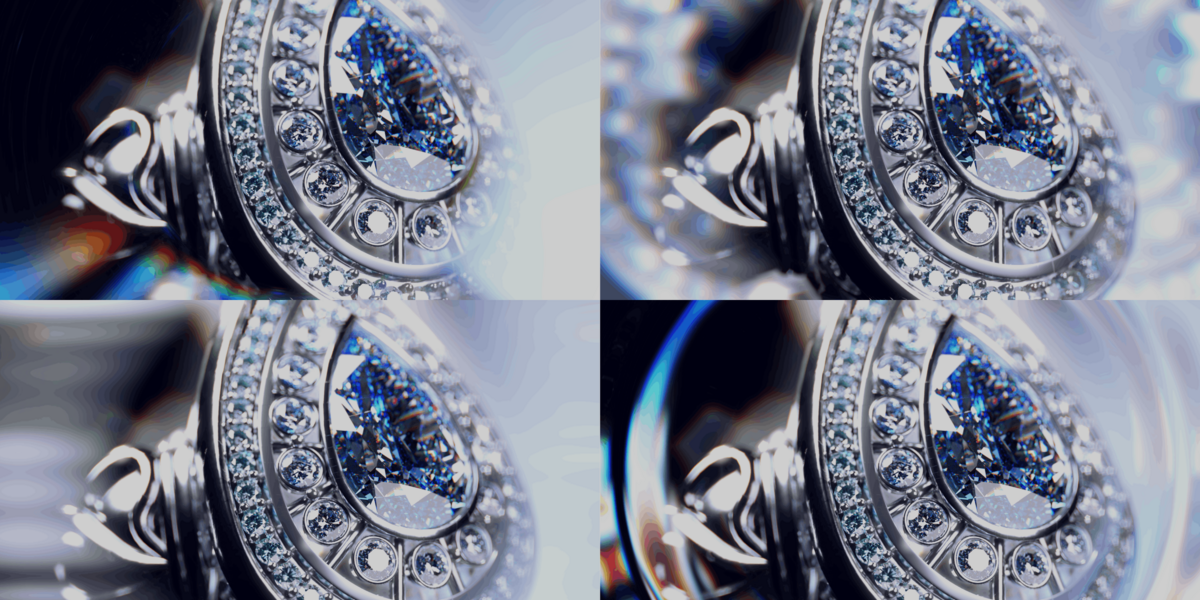
Use Bloom for Fog Glow or Bloom treatments, and Glare for streaks. Adjust threshold, strength and the available shape controls. These use Blender’s native compositor processing; updates can take a moment without restarting the scene render. Bloom’s Use reflection option uses captured reflections as its highlight source.
Lens Distortion, Vignette & Film Grain
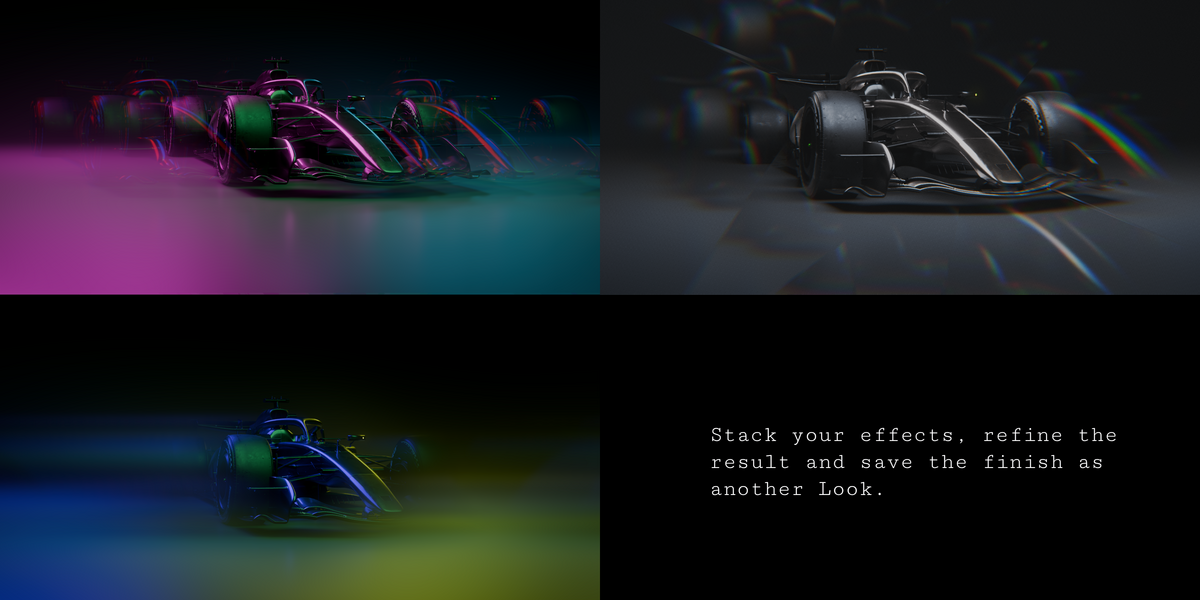
Adjust distortion and dispersion, darken image edges or add grain with controls for size, softness, colour and tonal weighting.
Lens Dirt
Import your own PNG, JPEG or WebP, then adjust intensity, scale and rotation. Choose Illuminated or Darkened, and Overall or Highlights coverage. Show mask is for inspection only. No dirt textures are bundled; the effect needs an imported image. Imports support up to 20 MB and are resized to a maximum dimension of 1024 pixels.
Prism
Choose a shape and adjust its position, size, rotation, strength, separation and mix. Shape-specific options vary. Use Center protection to preserve an area, or Invert to apply the effect outside the shape.
Prism ray tracing uses the rendered image as its environment. It cannot reveal hidden geometry and is not scene path tracing. Replicator, Stretch and Kaleidoscope remain procedural.
✦ 07 · Depth of Field — experimental
- Use a perspective camera and disable camera DOF before rendering if you want post DOF.
- Render a frame to capture depth.
- Choose Pick focus, Follow object, Camera or Distance to set focus.
- Use Focus zones to inspect near, focused and far areas.
- Adjust Blur amount and the aperture settings.
Six built-in apertures are available: Standard, Oval, Pentagon, Hexagon, Octagon and Soft Disc. You can import PNG, JPEG or WebP aperture images. Kernel rotation changes aperture orientation.
Follow object has a searchable object list. Objects whose origins are at or behind the camera cannot provide a positive focus distance.
Camera-baked blur cannot be undone and disables additional post DOF. Post DOF uses a single depth image: transparency, overlaps, hidden surfaces and strong blur can produce artifacts. Use camera DOF when complete scene visibility is essential.
✦ 08 · Denoising & diagnostics
Denoiser defaults to Final image, processing the combined LightMix and Enhance result before grading and lens effects. Adjust Strength to blend the result. Quality and prefilter changes process the captured image without rerendering the scene.
Optional Reflection, Transmission, Diffuse and Emission controls denoise those contributions before recombination. Combining pass and final-image denoising may soften detail. Denoising requires a Blender build with OpenImageDenoise support.
Blur offers Gaussian or box filtering. Sharpen provides amount and radius controls.
The top-right viewer dropdown includes exposure, clipping, estimated noise, noise heatmap and convergence views. Noise estimates need enough render batches and are not a guarantee of a clean image. Diagnostic overlays are not exported as creative effects.
✦ 09 · Looks, presets & export
Save & compare Looks
Save Look stores settings and a comparison capture in the strip below the viewer. Use A/B and drag the divider to compare. Double-click a Look thumbnail or name, or use Restore, to reapply it. Use × to delete a capture.
Keep reusable presets
On the Look you want to keep, click Save as Preset and name it. This saves that selected Look, not unsaved changes in the current editor. Use the left Presets panel to load, search, sort, rename, delete, import or export presets. Preset files use .ftlook.
Looks belong to the active session. They survive reopening the viewer while Blender stays open. Save as Preset for reuse across sessions and projects, and export important images before closing Blender.
Export images & sequences
- In Export, choose the destination, filename prefix and image format.
- Select the session Looks you want to output.
- Use Export looks to save the current frame for each enabled Look into named subfolders.
- For animation, configure your range and Export settings before using Animation.
- Check a still or short sequence before a long export.
Available formats depend on Blender. Check linear versus display-referred output in your receiving application. Image exports and preset exports are separate operations.
✦ 10 · Troubleshooting & support
Need help?
Contact through the Superhive product support inbox. Include your FinalTouch and Blender versions, operating system, GPU, steps to reproduce the issue and an example image.
 gigirenders