Flare Gen
 AA - Artem Academy
Installation
- Open Edit → Preferences → Get Extensions, click the drop-down arrow and choose Install from Disk.
- Select the downloaded ZIP and enable Flare Gen if it is not enabled yet.
- Blender 5.2 or newer is required.
Your first flare
- Make sure the scene has an active camera.
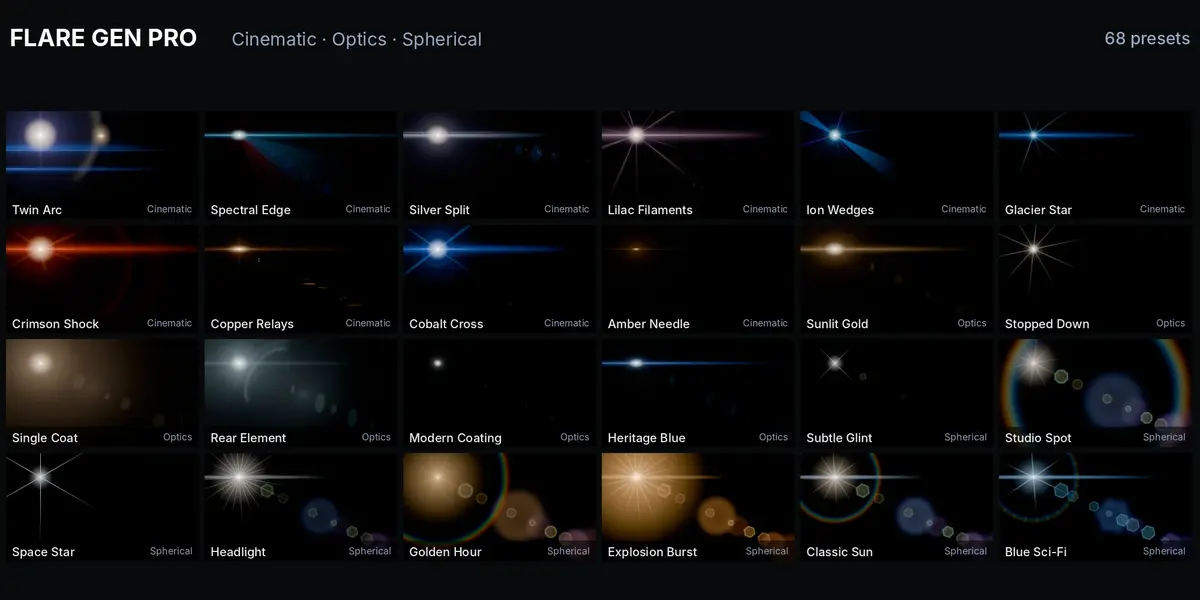
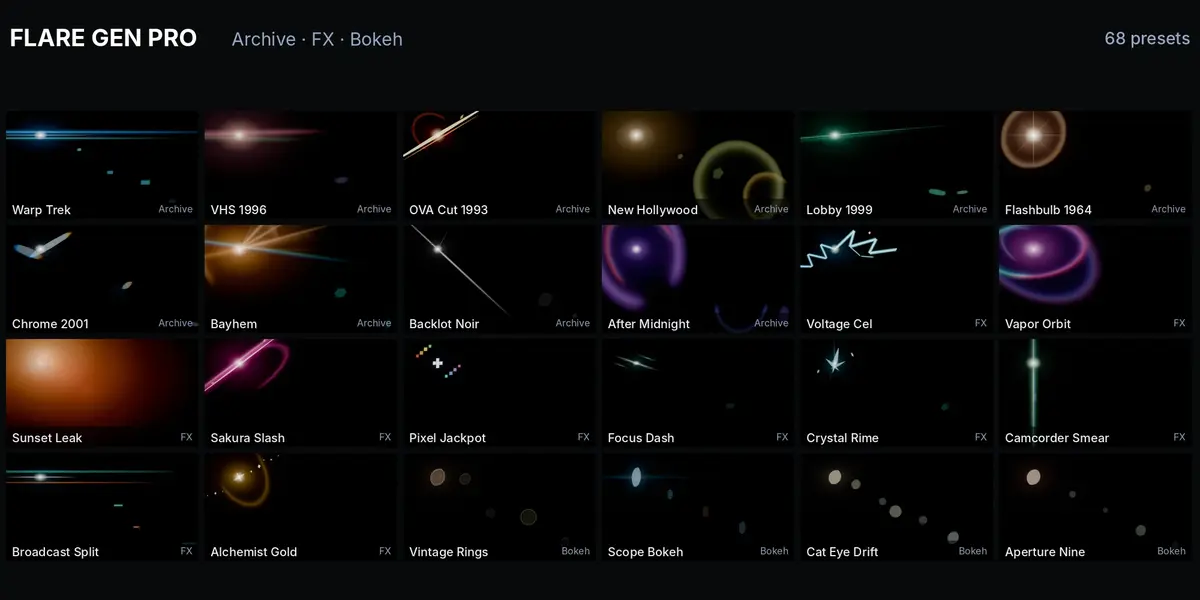
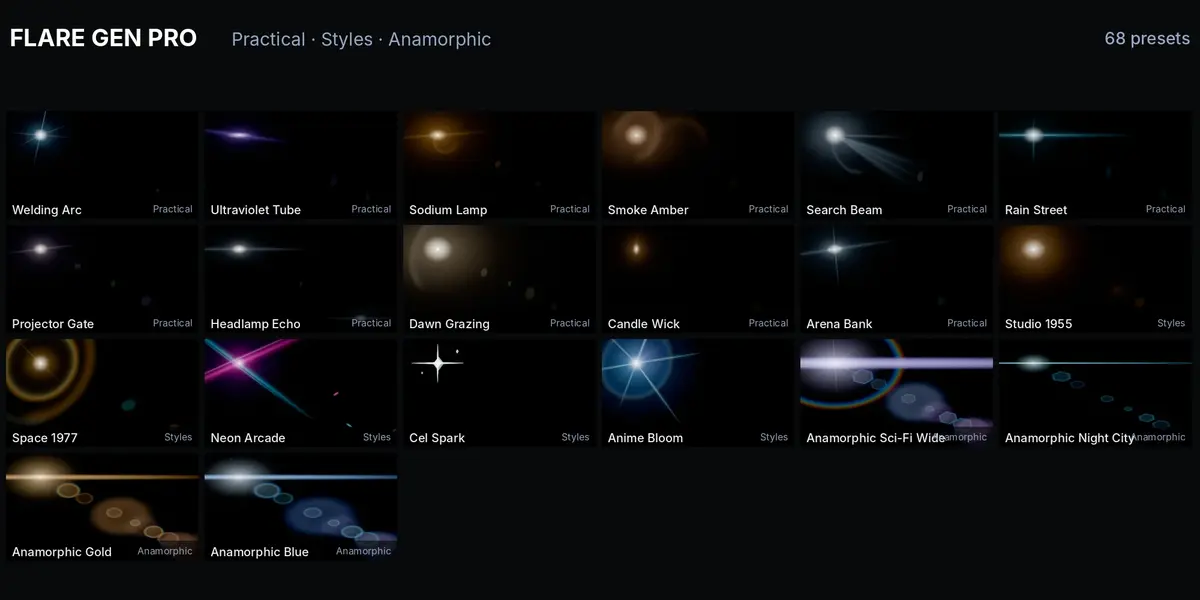
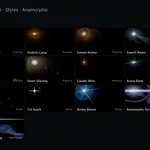
- Open N-panel → Gen → Flare Gen Pro → Browse Flare Presets, or pick the Flare Gen library in the Asset Browser. The button prepares and selects the library; import method is Append.
- Drag a preset into the scene.
- Select the flare object, open Modifiers → Flare Gen → Source → Light Source and pick your lamp. The flare now follows it. Without a source, the flare object's own position is used.
- View through the camera in Material Preview or Rendered mode, or render.
Changing the look
- Source → Preset switches between all presets on the same object, keeping the light link. Tint recolors the flare.
- Fine Tune: overall brightness, scale (element sizes and spacing) and anamorphic squeeze.
- Design: overall intensity plus separate Streaks, Rays, Rings, Reflections and Bokeh layers. 0 switches a layer off. Angle Response controls how reflections change as the source moves to the frame edge.
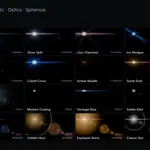
- Legacy Controls unlock manual Glow, Streak, Halo and Ghosts groups; the Spherical and Anamorphic catalogs use them directly.
Occlusion and frame edges
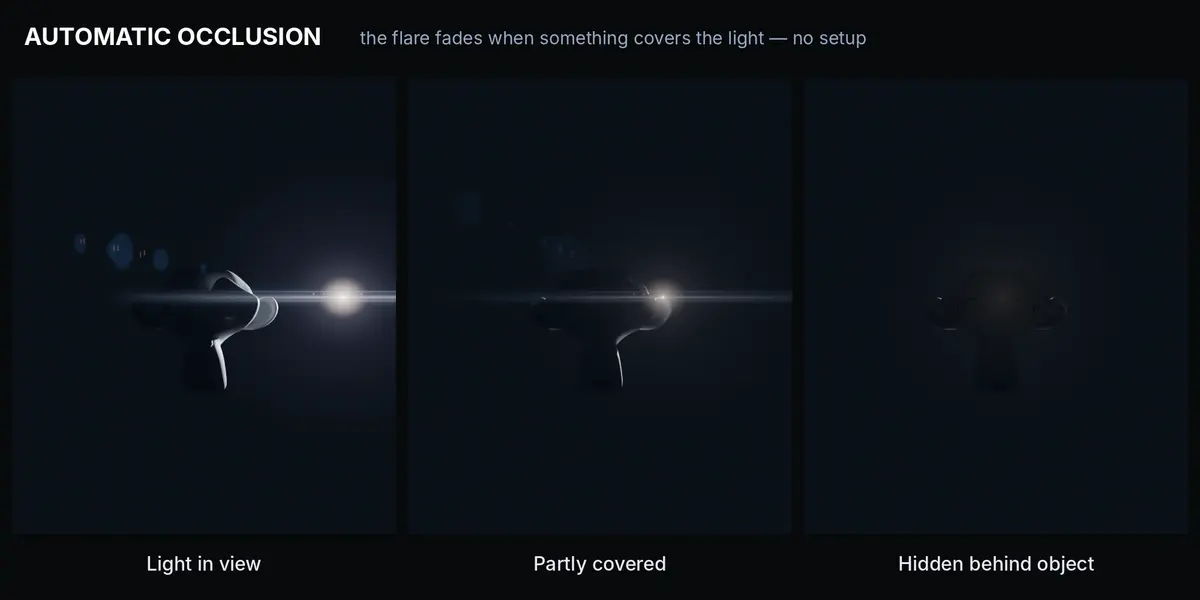
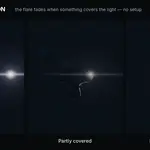
- Automatic Occlusion (side panel, on by default) keeps a collection of meshes that can hide the source. Visibility is computed with Geometry Nodes rays.
- Source Radius (scene units) and Samples control soft, partial occlusion.
- Edge Fade fades the flare as the source leaves the frame; reflections continue off-screen.
- Occluded Glow (default 3.5%) and Occluded Glow Radius leave a faint veil when the source is hidden. Set it to 0 for a full cut-off.
- For manual control, turn Automatic Occlusion off and assign your own Occluders collection.
- Pick a mesh as Light Source and enable Use Mesh Surface to spread rays over its faces (signs, windows, headlights).
Lens dirt and bokeh
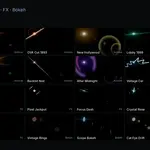
- Lens Dirt: choose one of 7 masks, set brightness and reveal radius. Orbs / Orb Size add dust discs; Stretch, Distortion, Aberration and Cat Eye shape them optically.
- Bokeh → Follow Focus uses the camera focus distance (including Focus Object). Place at Focus (DOF) moves the flare cards to the focus distance.
Limitations
- Flares are camera-facing geometry cards; panoramic cameras are not supported.
- Automatic occlusion treats glass and transparent surfaces as opaque. Use a manual Occluders collection for such shots.
- Brightness and color are set on the flare and are not read from the lamp.
Have questions about this product?
Login to message
| Blender Extension Compatible | Yes |
| Published | about 5 hours ago |
| Blender Version | 5.2 - 5.3 |
| Extension Type | Add-on |
| Render Engine Used | Cycles, Eevee |
| License | GPL |
Discover more products like this
bokeh Flare lens flare eevee Cycles anamorphic lens dirt cinematic optical flare light effects VFX geometry nodes