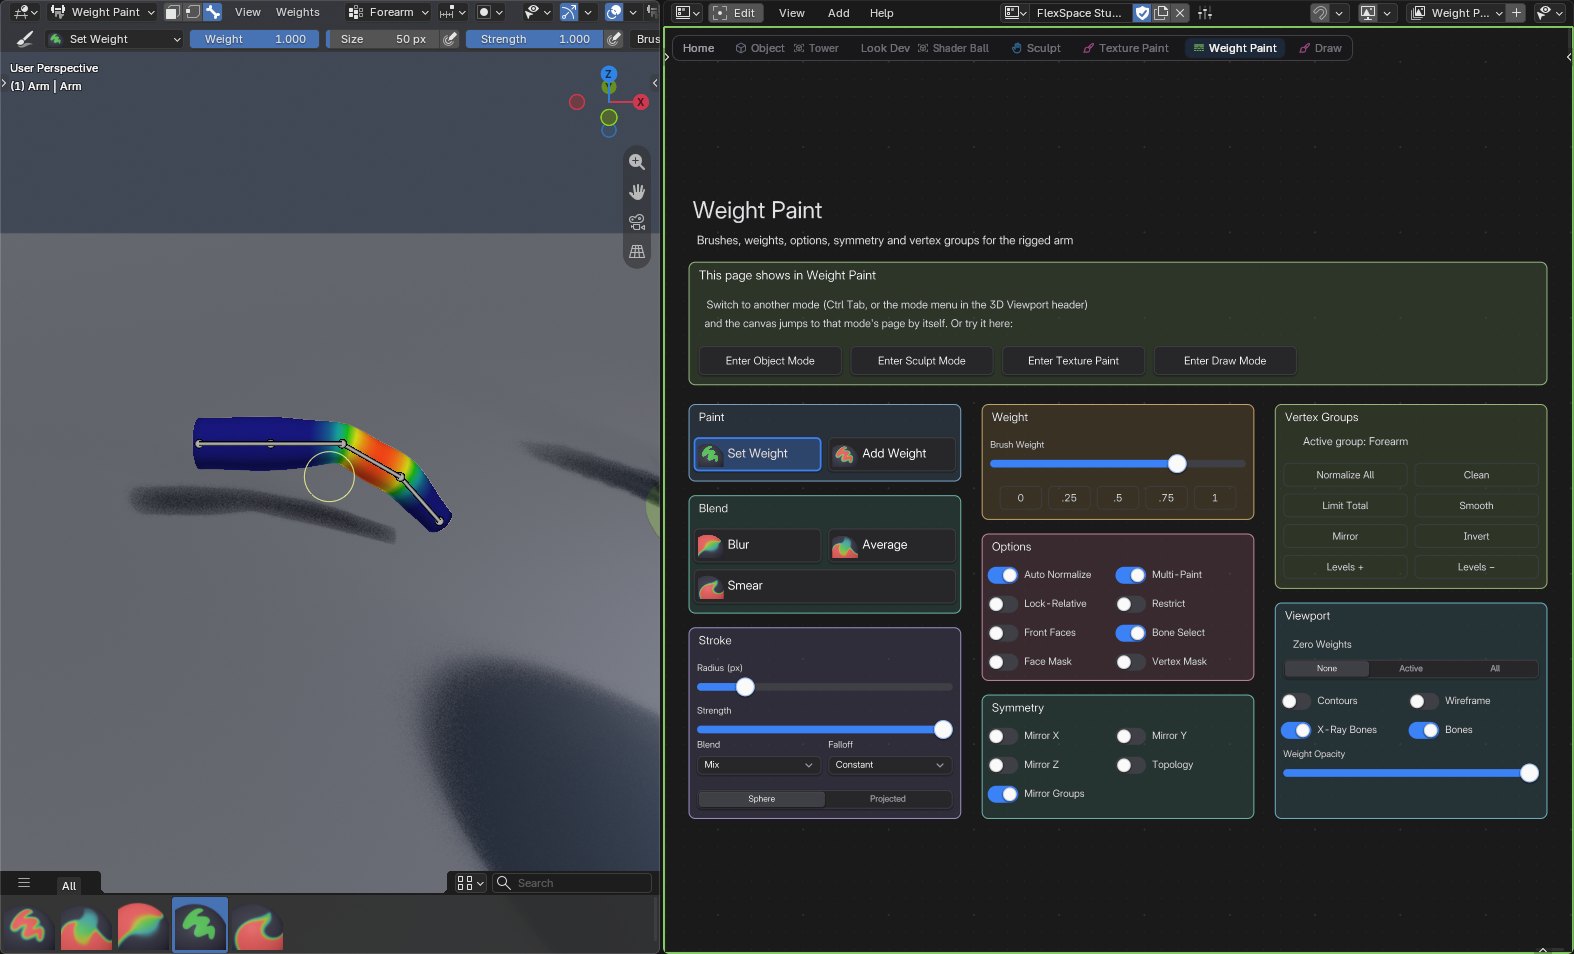
FlexSpace is a Blender extension for Blender 5.3 or newer.
1Download the zip from your Superhive library.
2In Blender, open Edit › Preferences › Get Extensions.
3Open the menu at the top right and choose Install from Disk..., then pick the zip.
Its settings are in Edit › Preferences › Add-ons › FlexSpace: Modules, Themes, Demo Files and Addon Settings (Appearance, widget animations, Key Hints, the Selection Bar, Update Unmodified Presets, the Shared Presets Folder and the theme library folder).
Three steps from an empty area to a working slider.
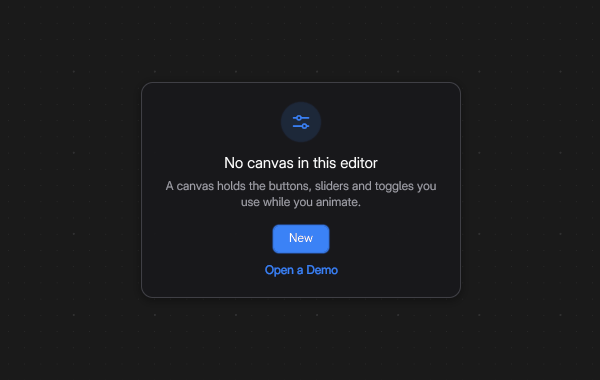
1Open an area's Editor Type menu (the first button of the header), pick Flex Space and click New.
2Press Tab for Edit Mode and Shift A to add a widget, for example Data › Numbers › Lineal (or just type lineal). Click to place it.
3In the sidebar (N), Widget tab, set its Data Path, such as scene.frame_current, or use From Property. Press Tab again and use it.
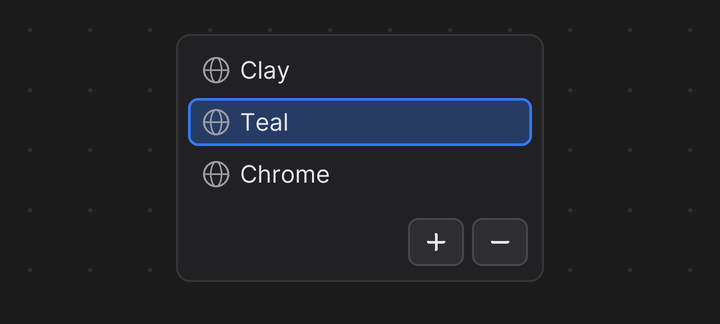
The canvas is a data-block saved in your .blend file, like a material or a node group. Pick, rename or make one from the selector in the middle of the header.
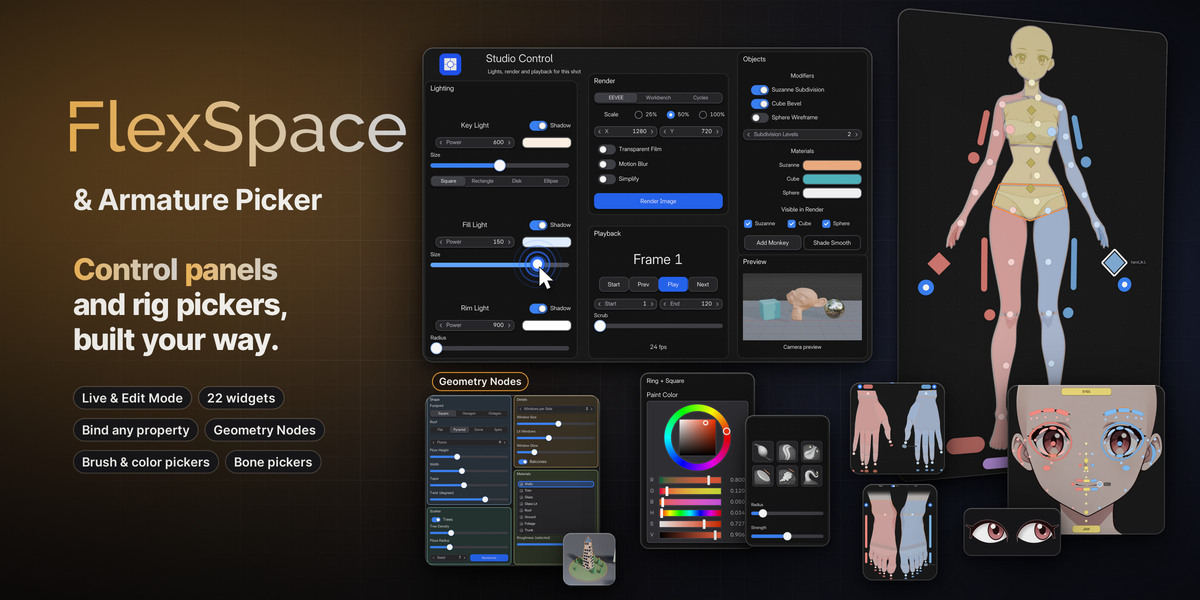
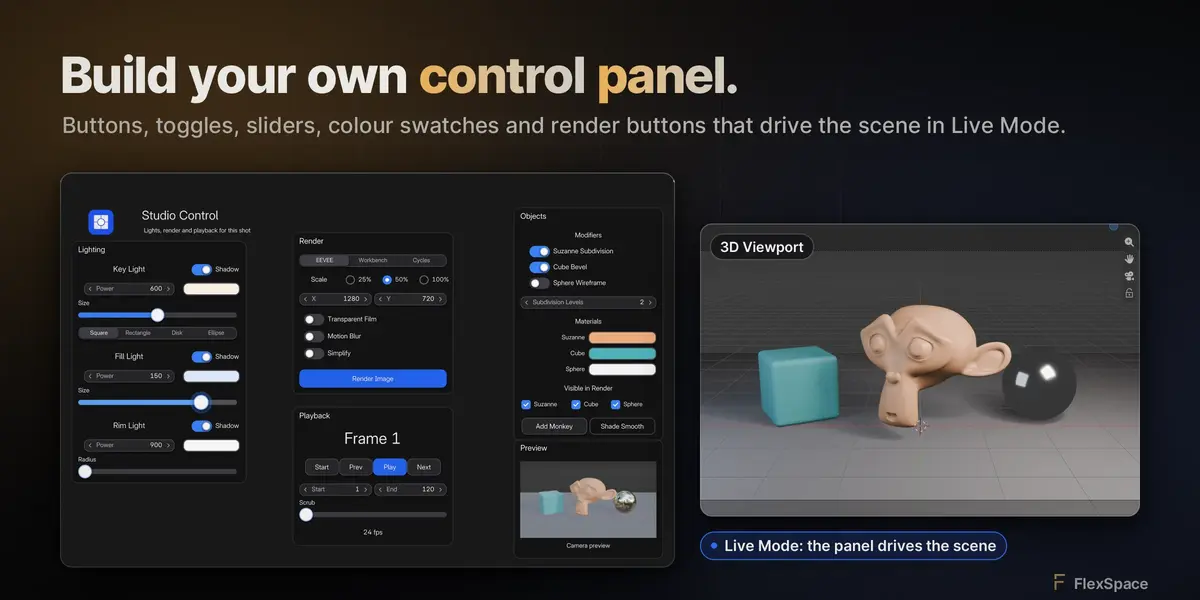
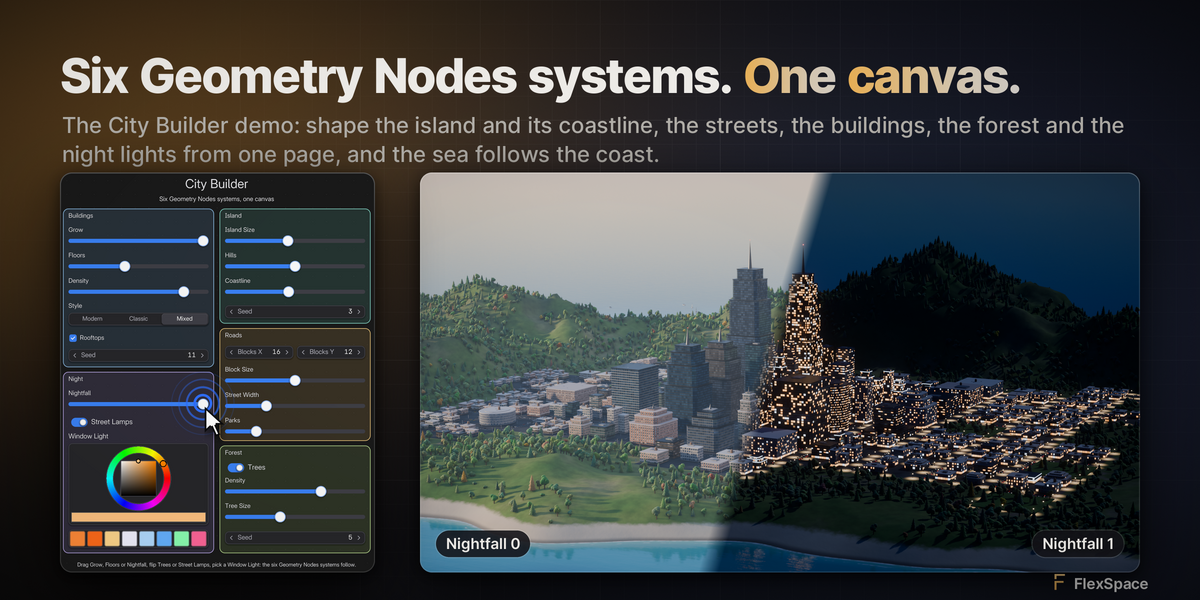
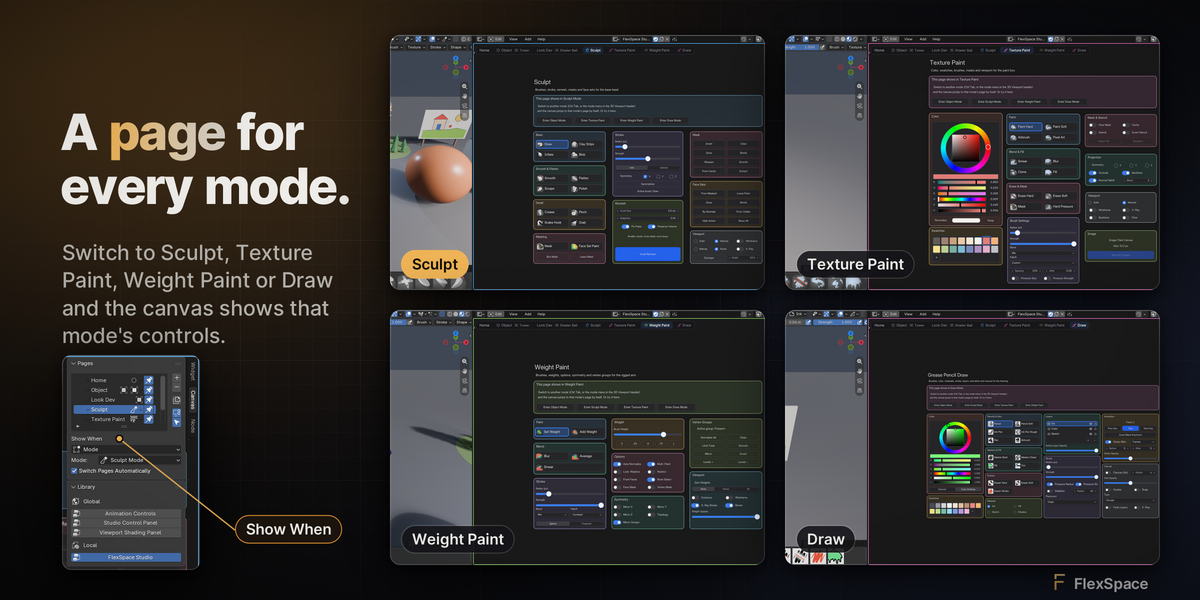
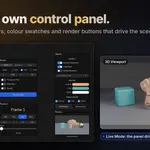
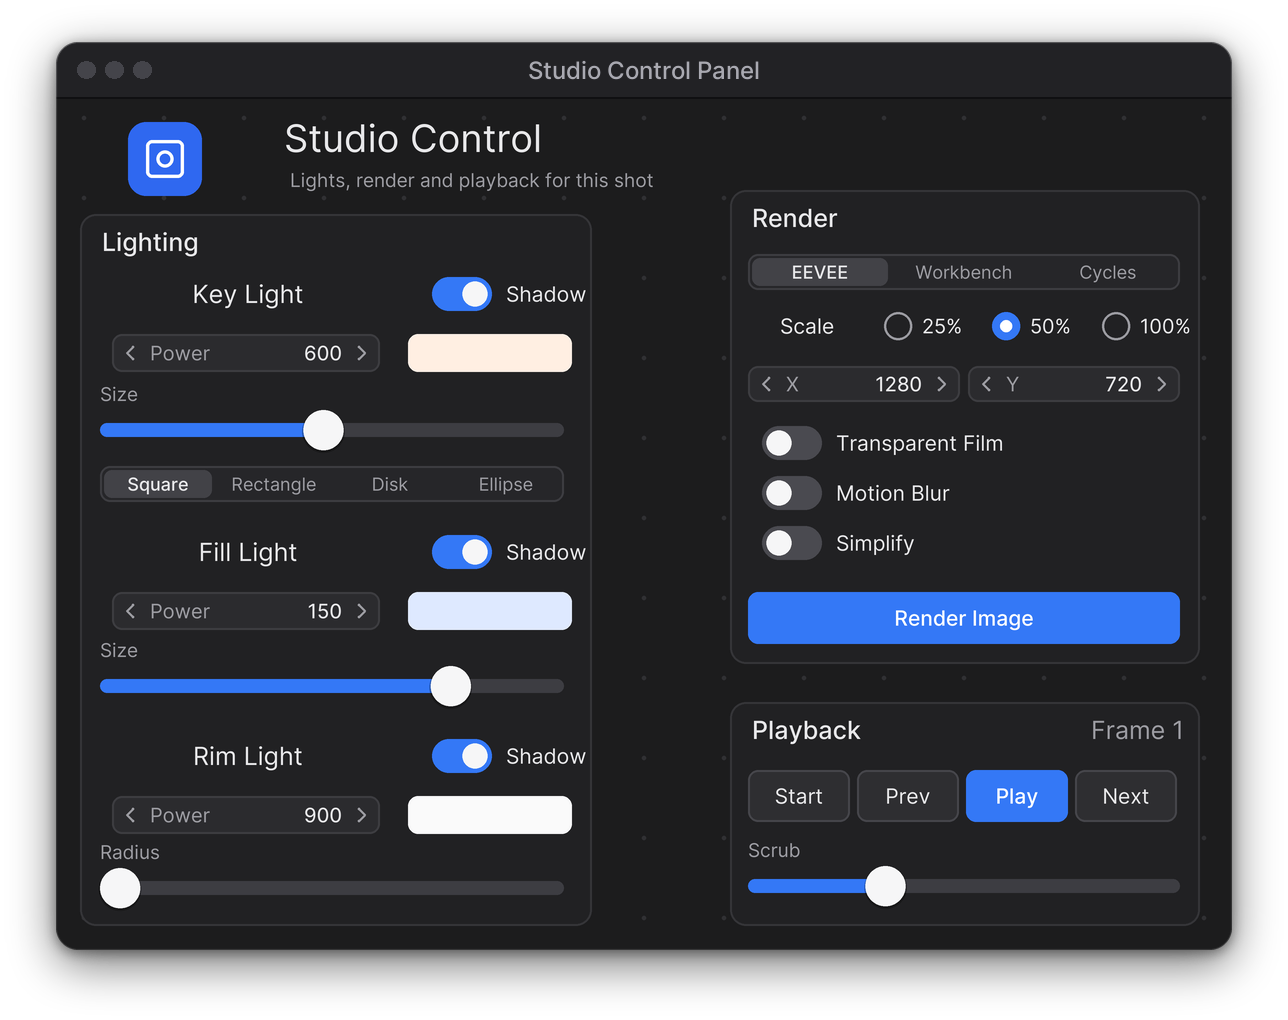
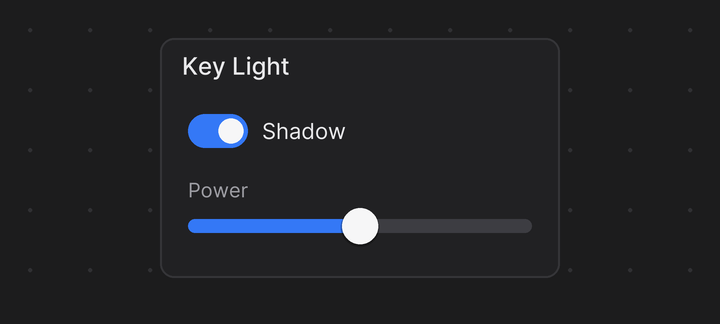
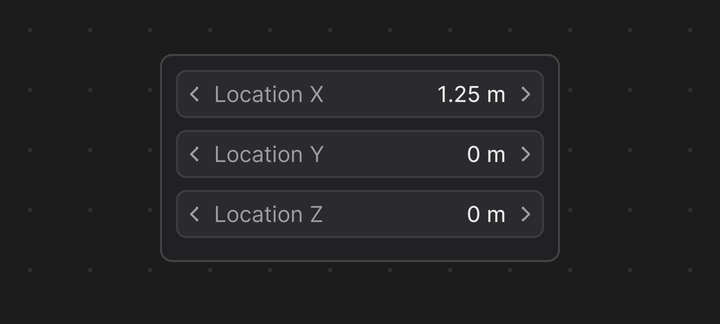
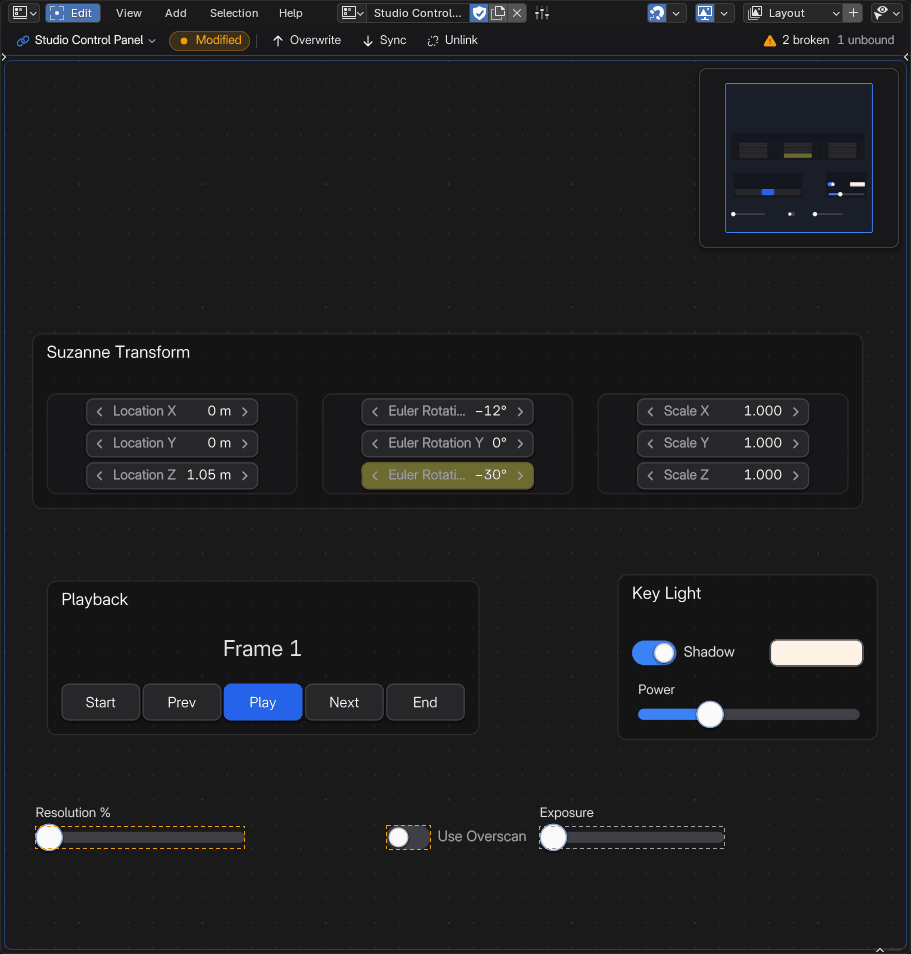
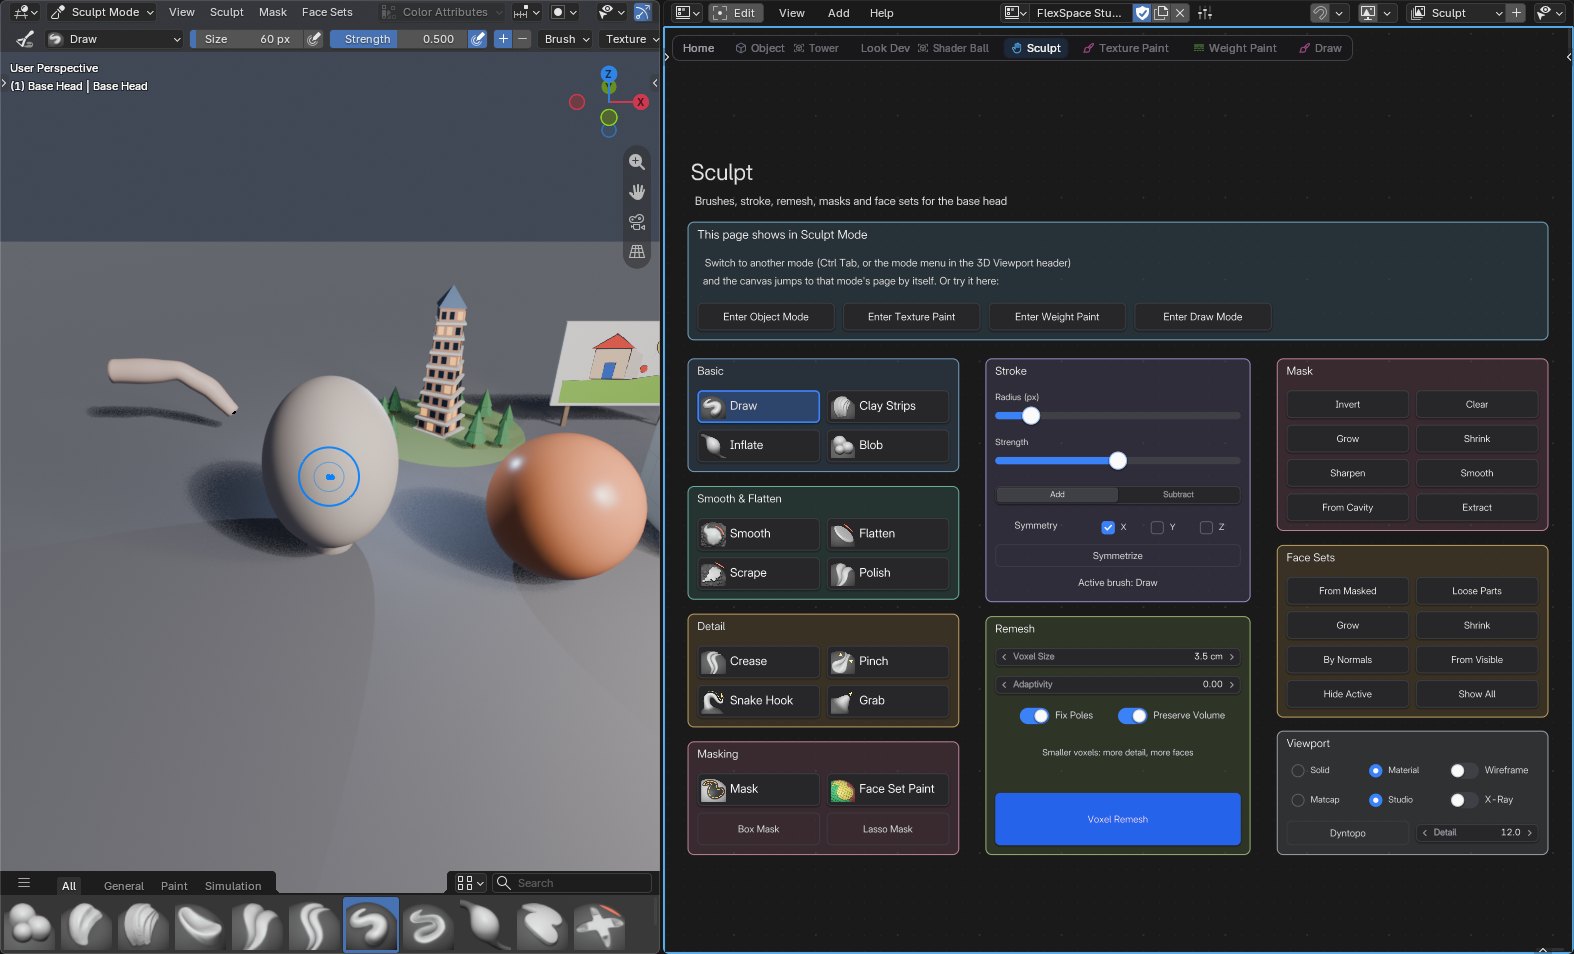
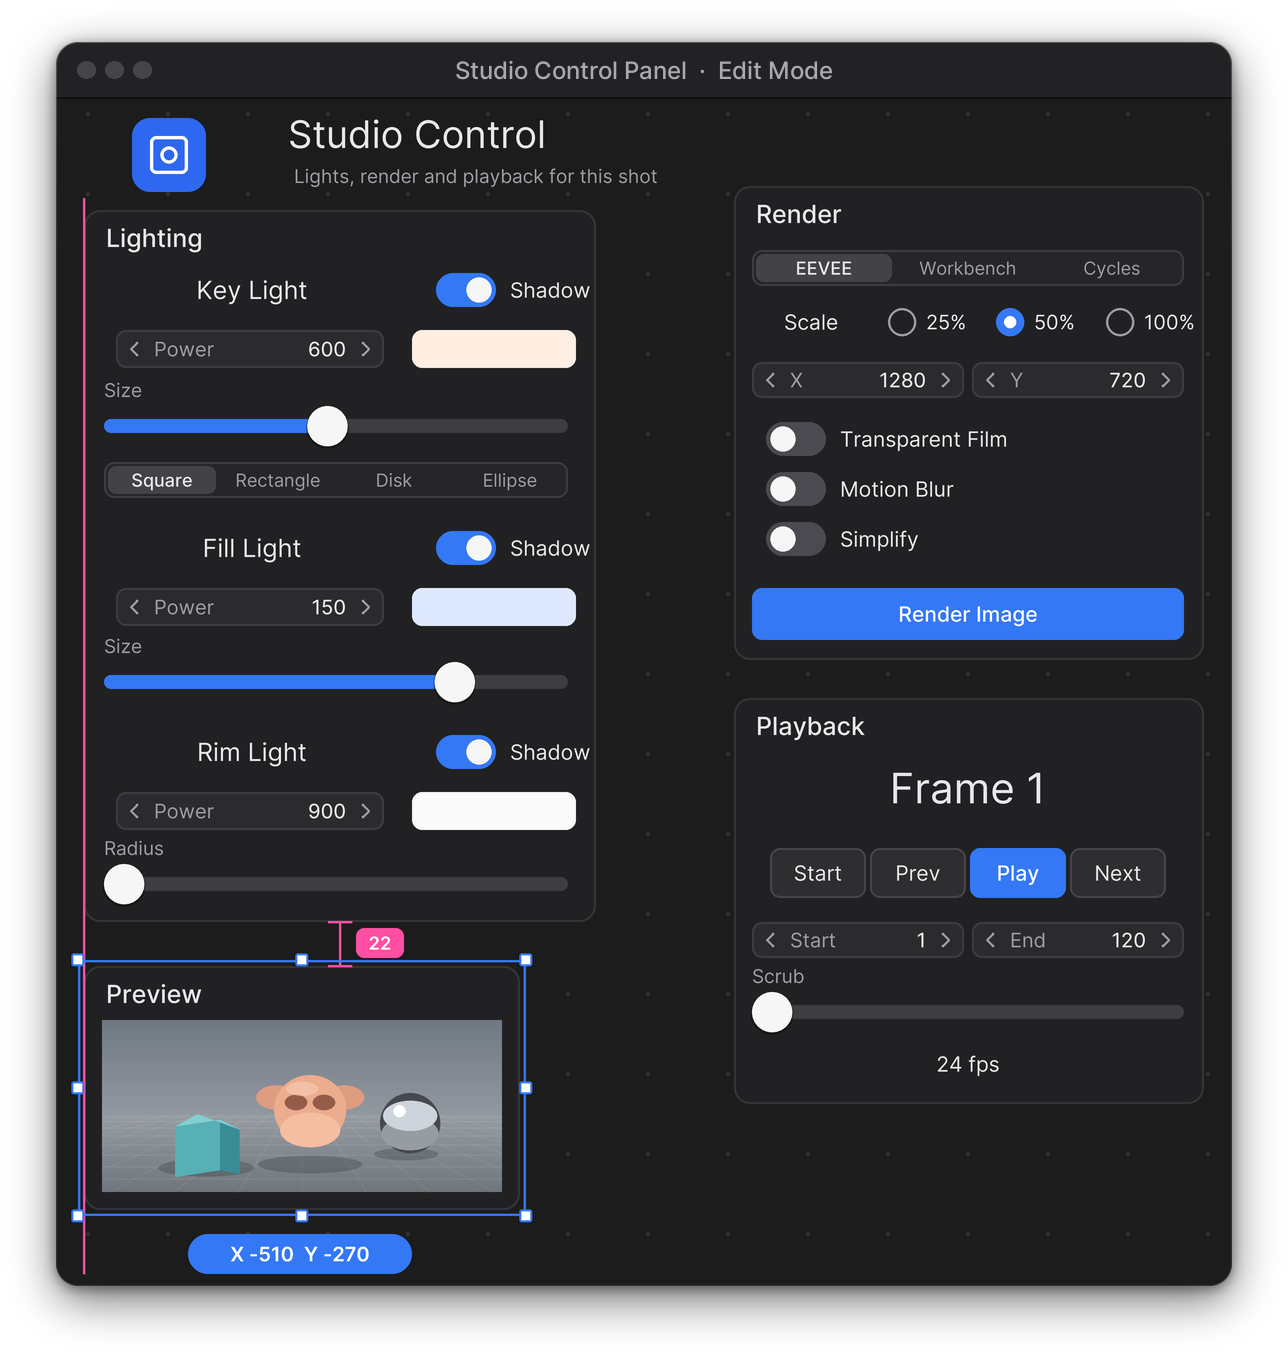
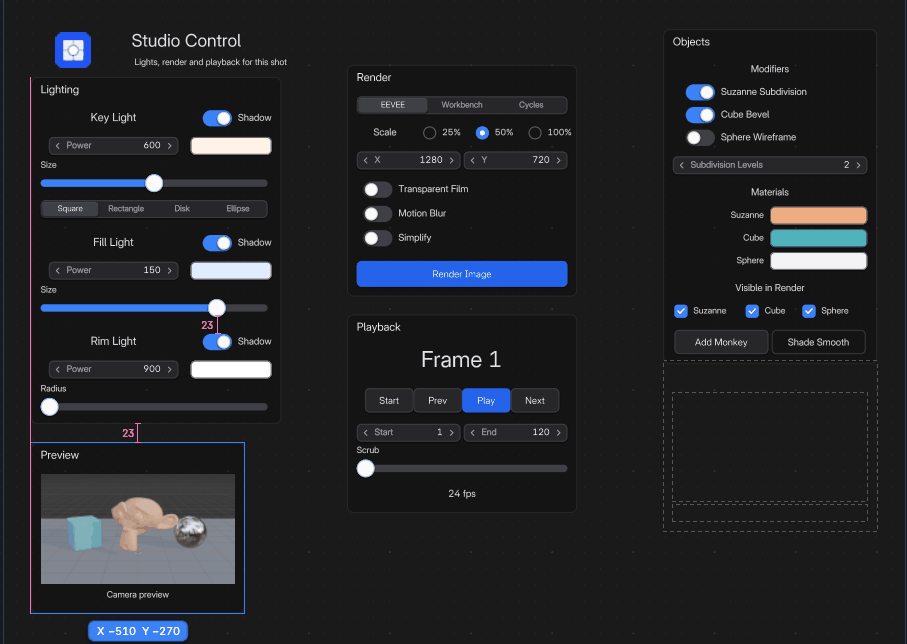
A finished canvas in Live Mode: lights, render settings, playback and objects, one click away.
IN BLENDER
SCREENSHOT
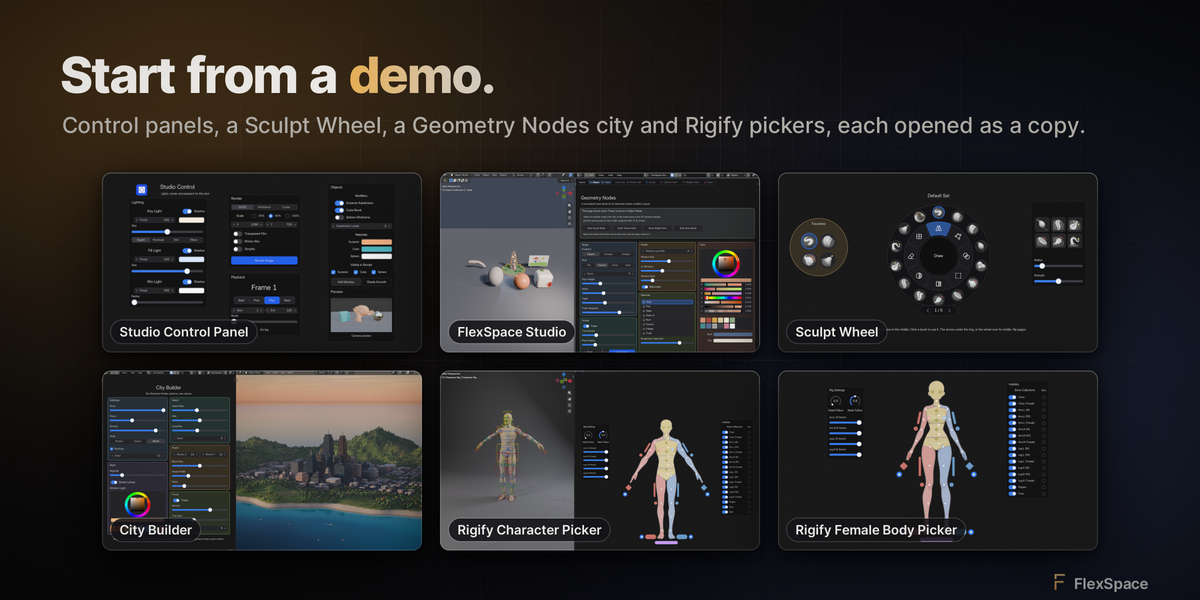
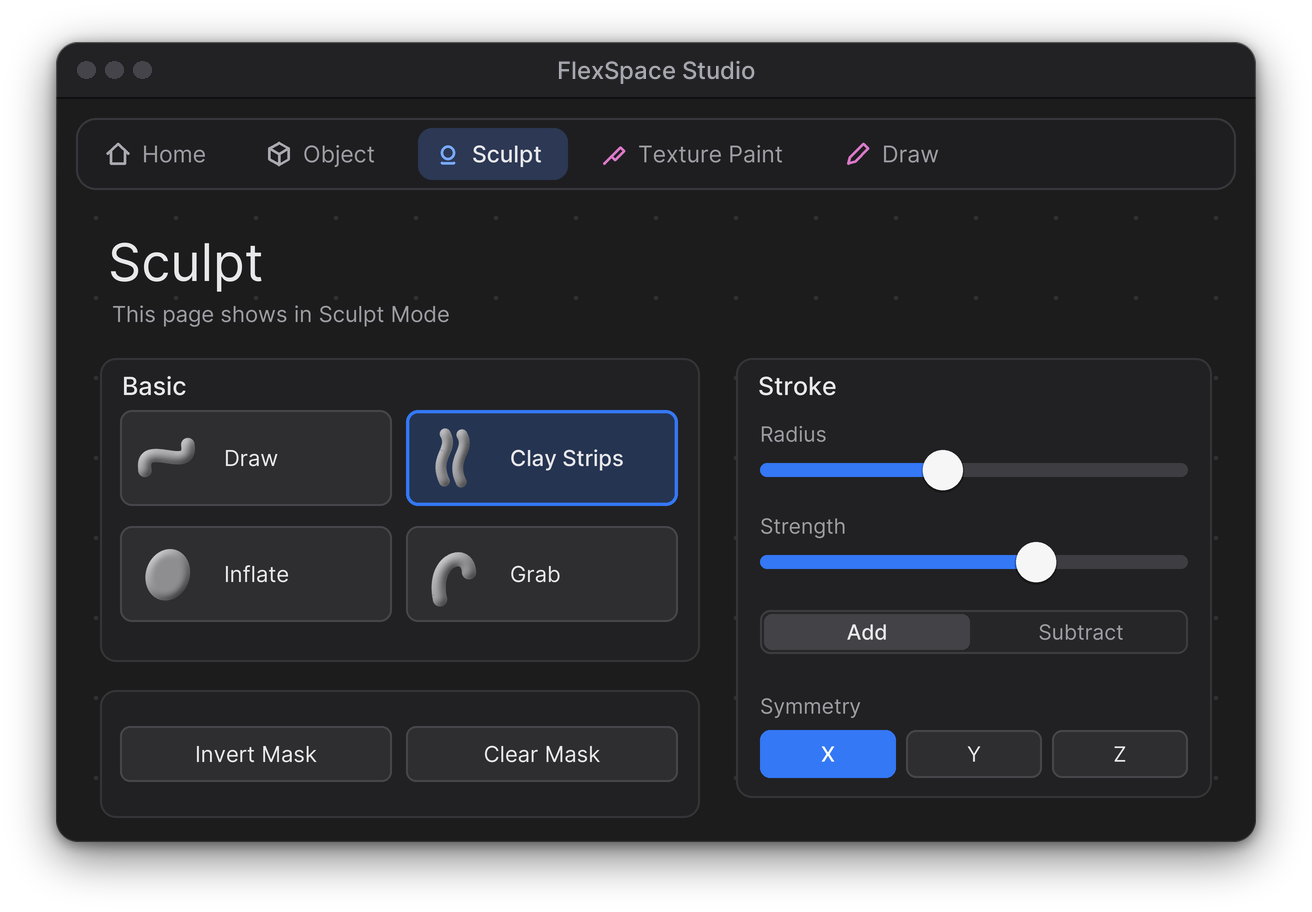
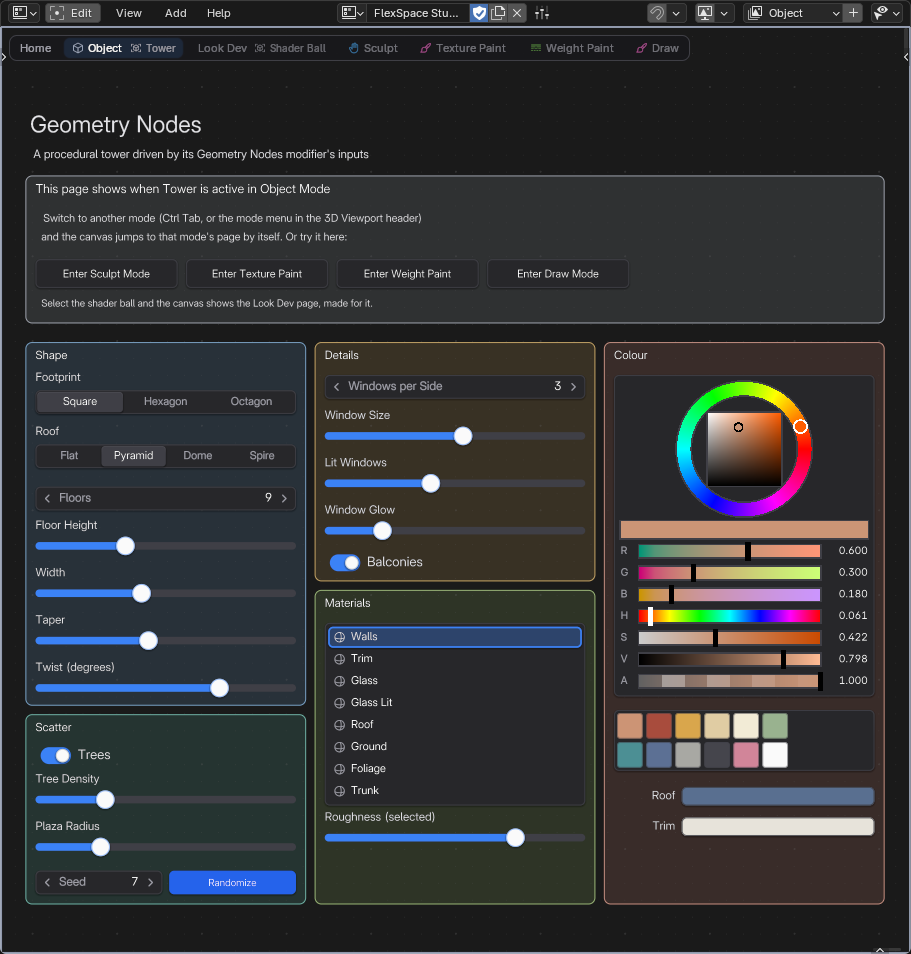
Get started. No canvas yet? One click makes one, or open a finished demo to see how it is built.
SCREENSHOT
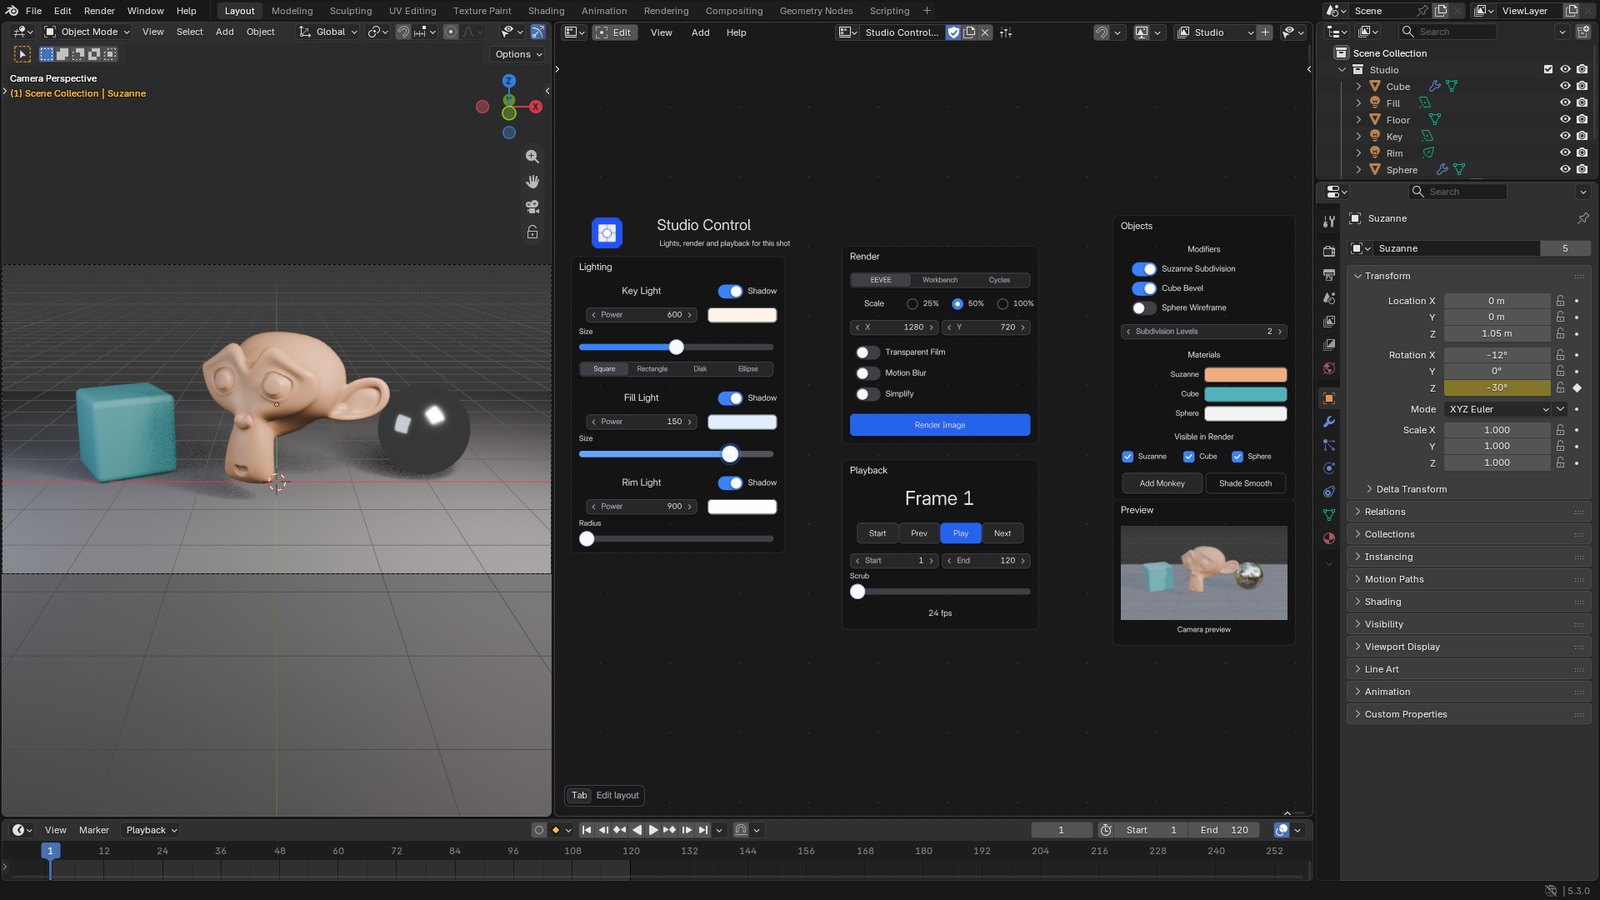
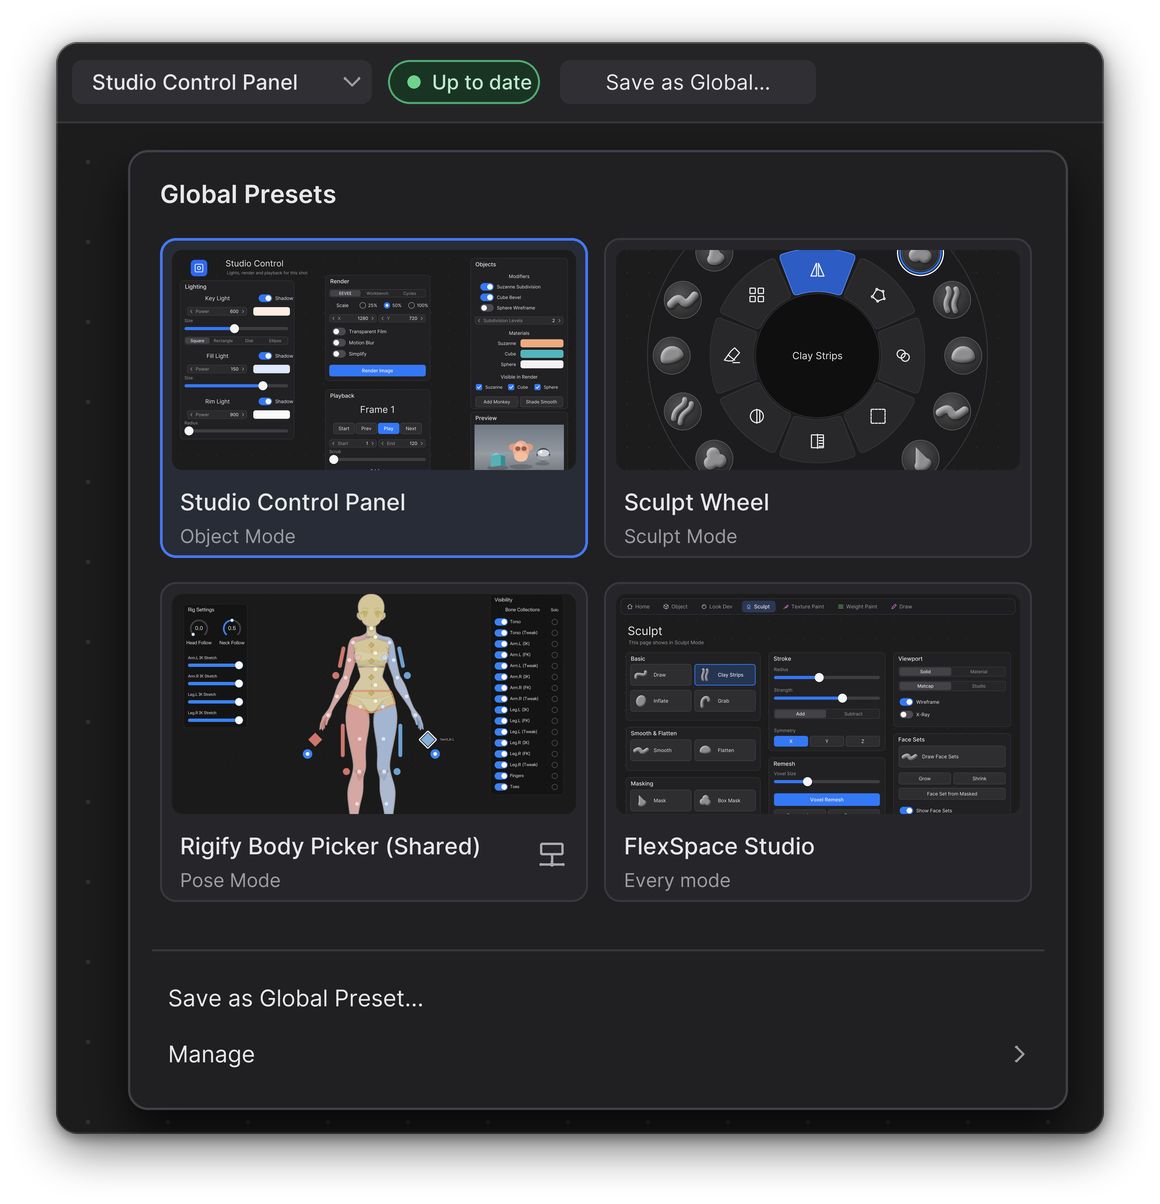
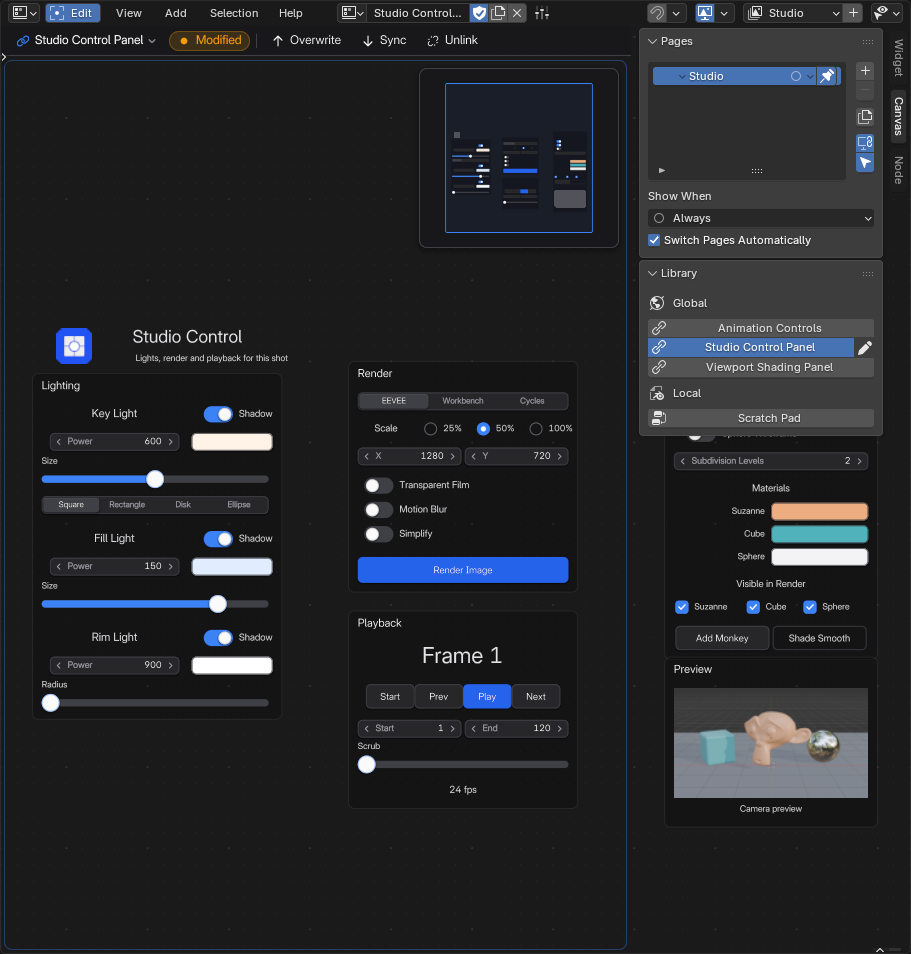
Studio control panel (Dark). A control panel canvas next to the 3D Viewport: lights, render settings, playback and objects one click away.
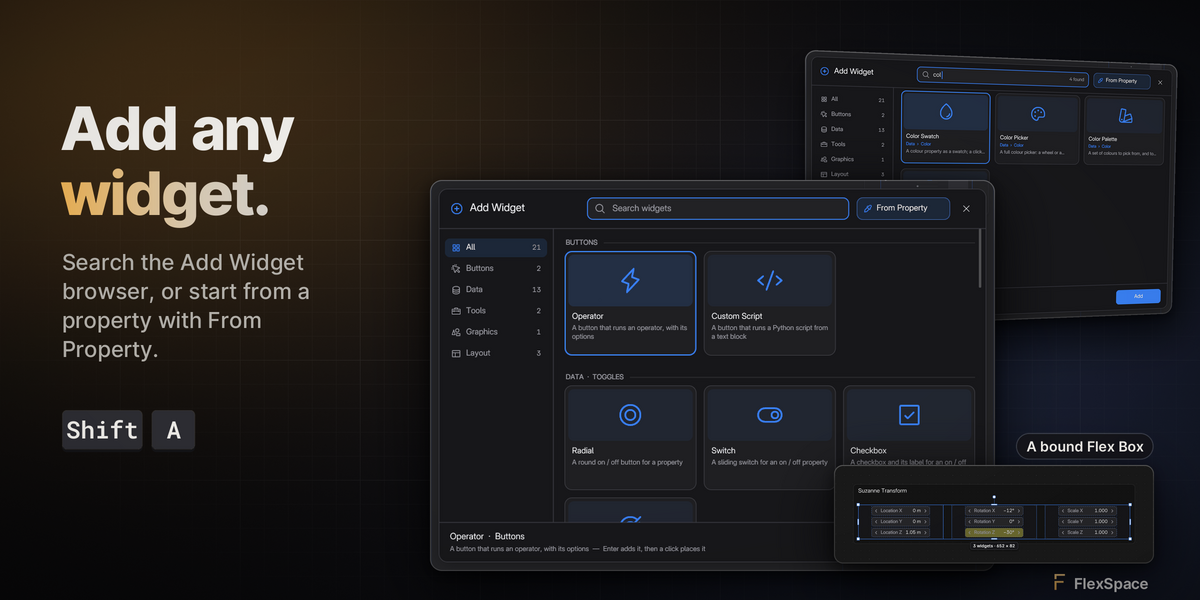
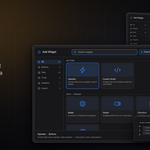
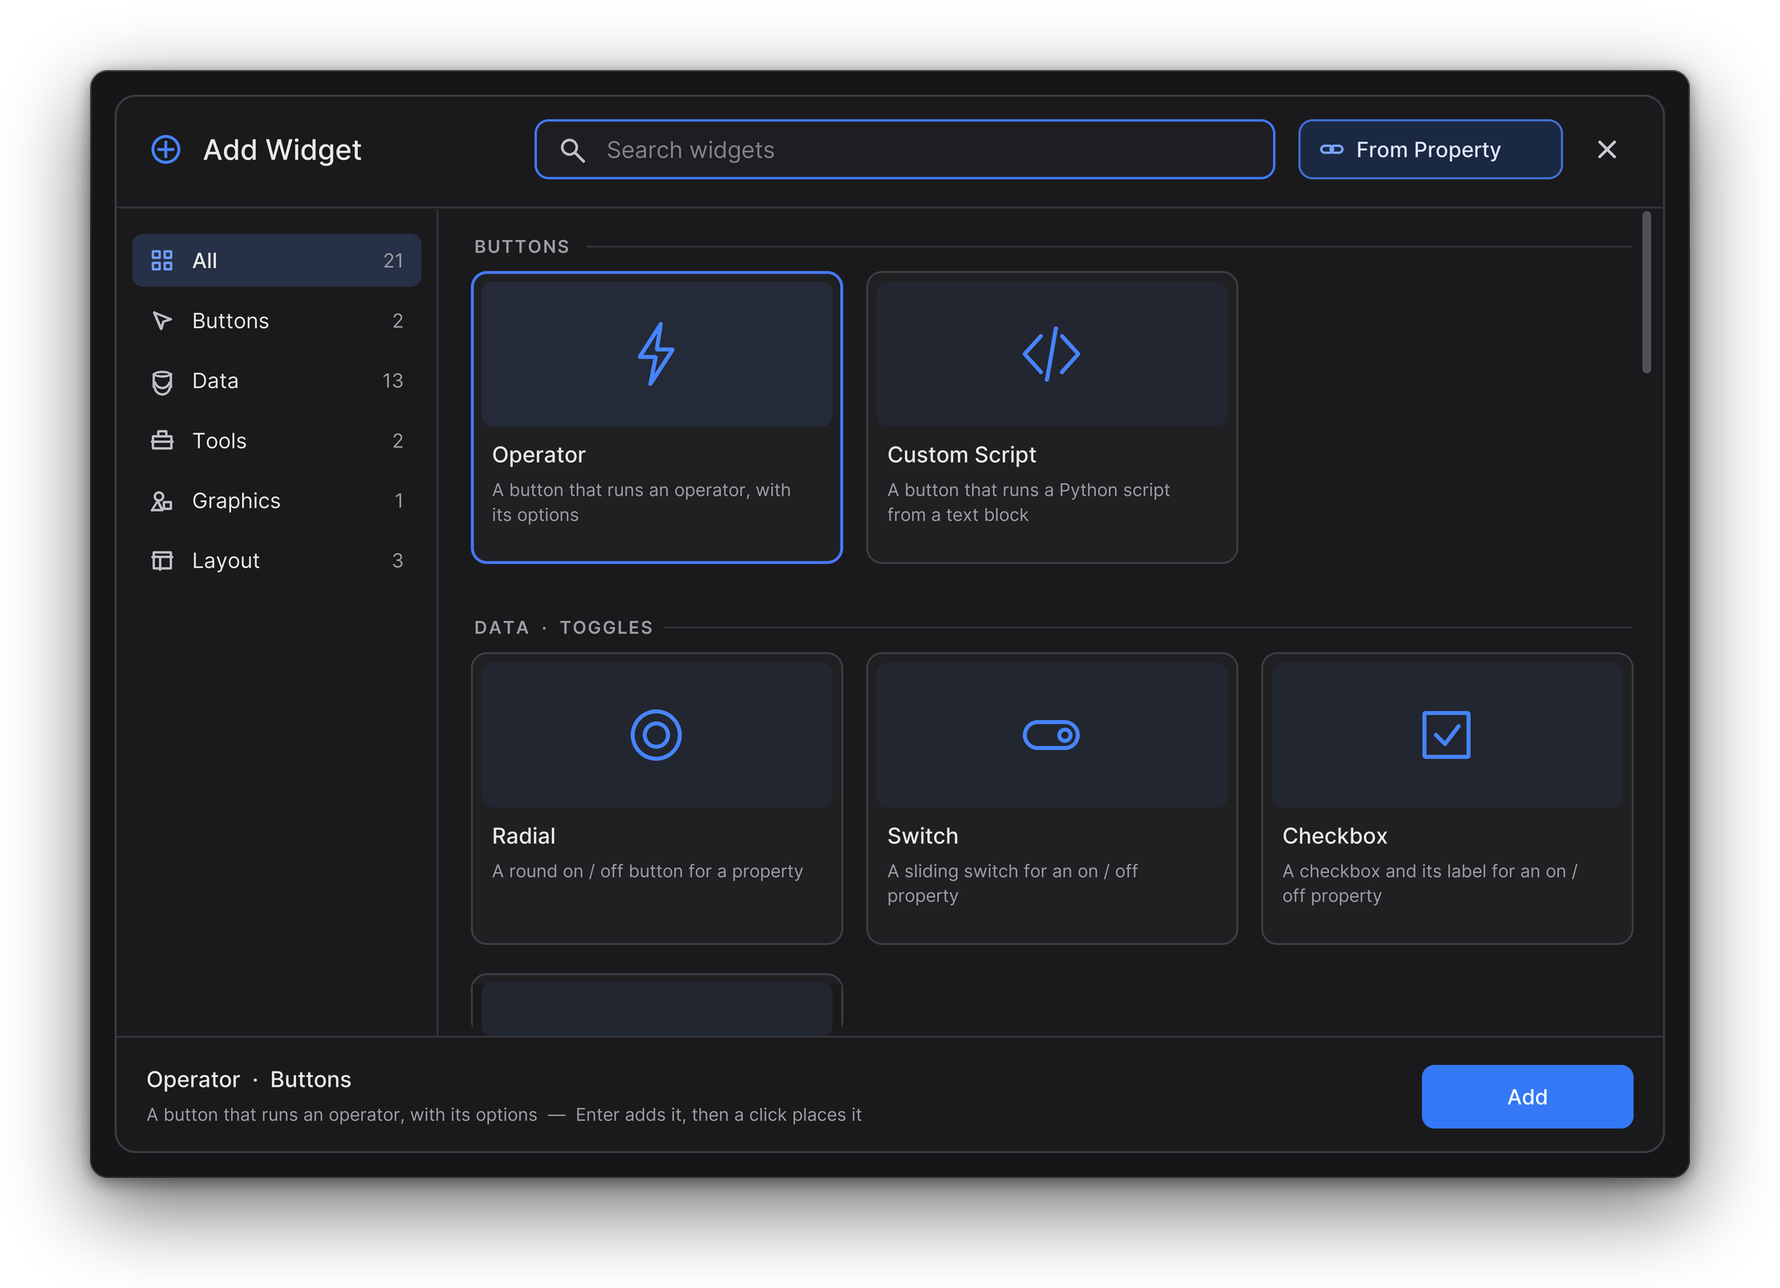
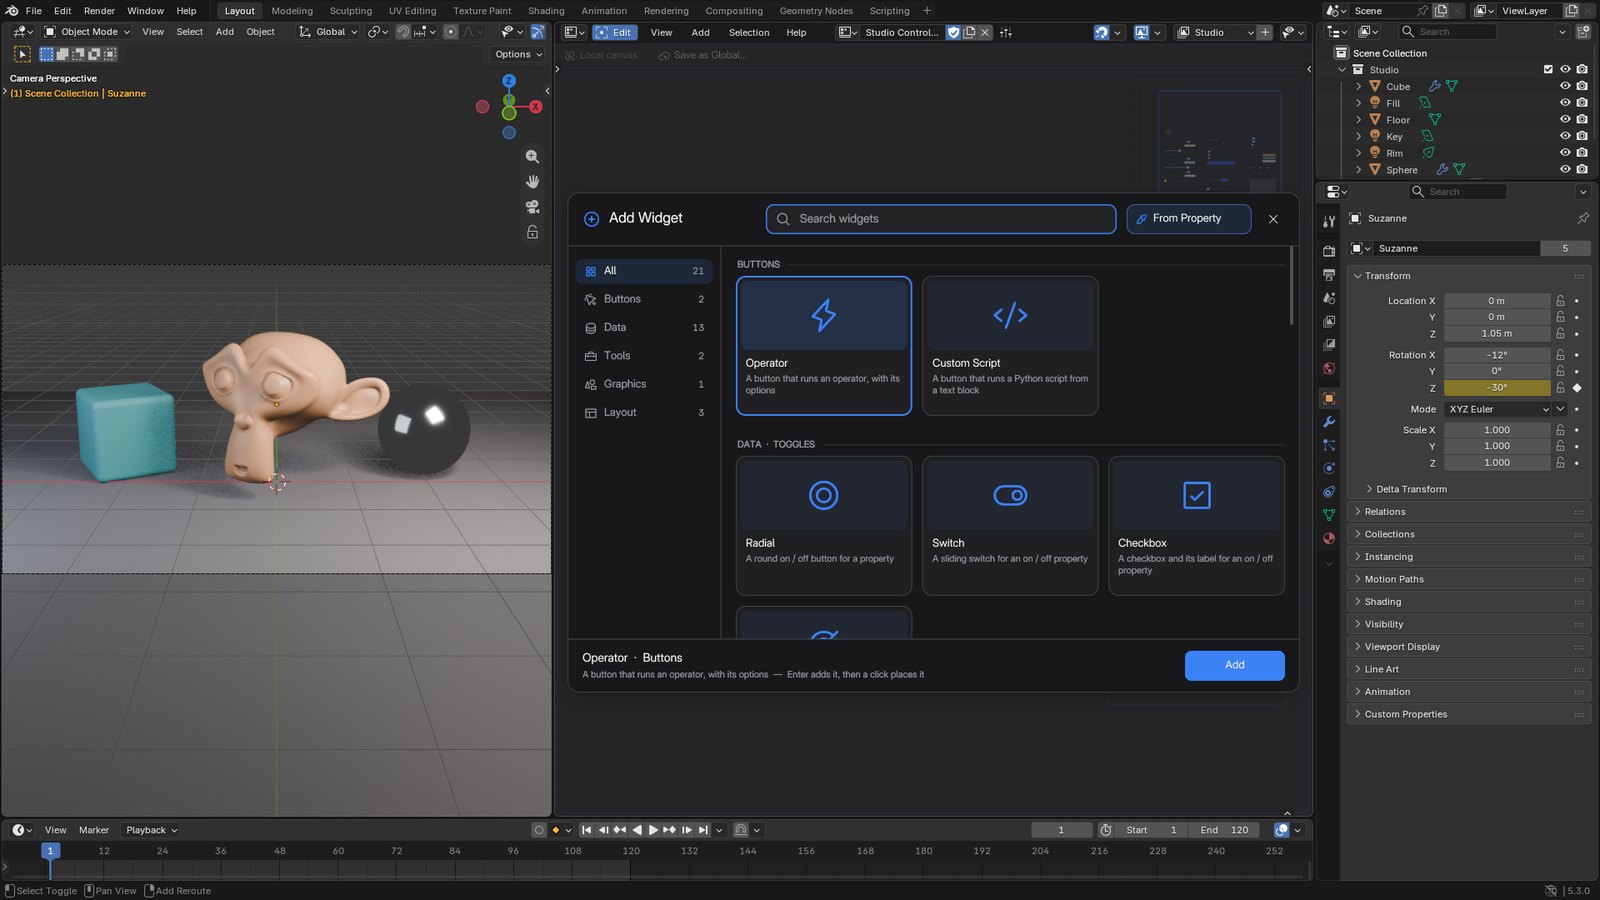
Shift A in Edit Mode opens the Add Widget panel over the canvas.
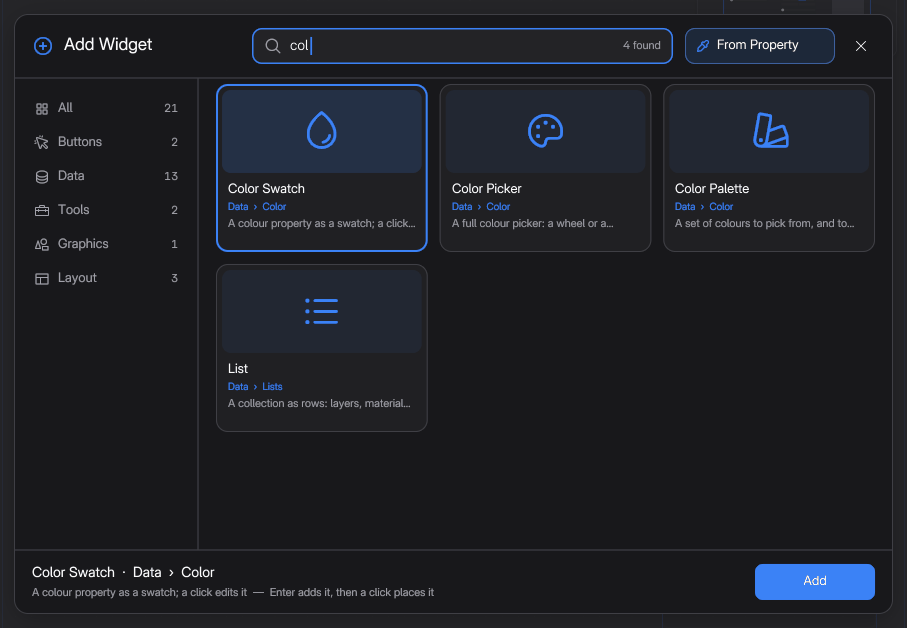
Search: just start typing. The best match is selected, and Enter adds it.
Categories on the left: Buttons, Data, Tools, Graphics, Layout (in a picker, Bone Picker comes first). Tab goes to the next one.
Click a card: the new widget follows the mouse, click to place it.
The header's Add menu has the same, and the add-on preferences can make it a Pie.
The Add Widget panel, with From Property next to the search.
From Property: the quickest way
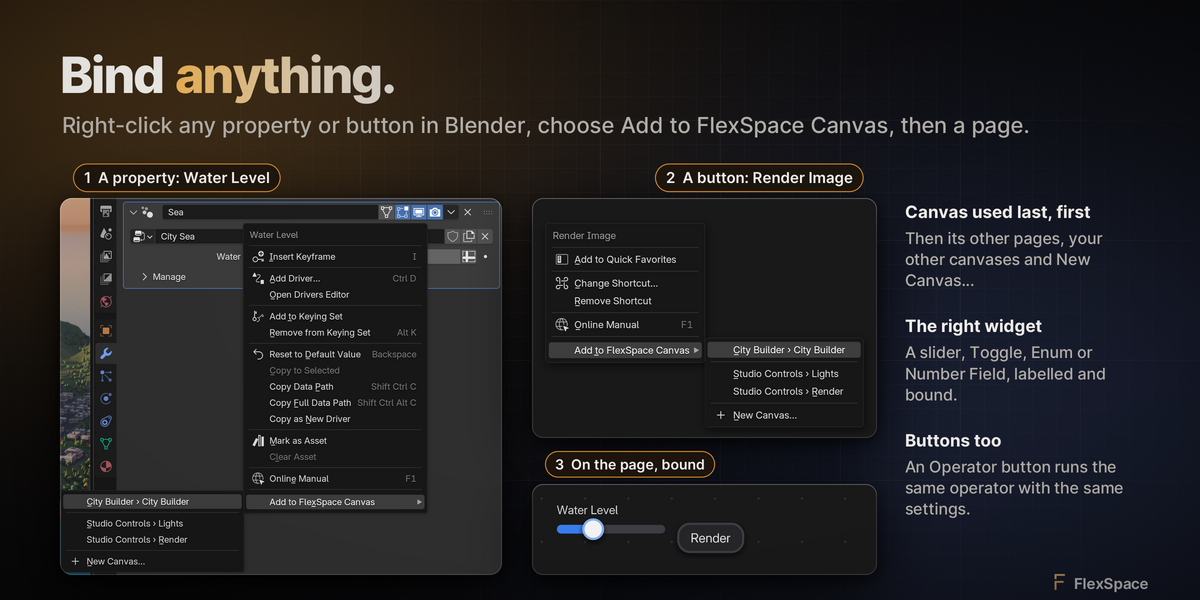
Shift A › From Property, then right-click any property in Blender's interface. The widget that controls it appears, already bound and labelled. Undo removes it in one step. Without opening the canvas: right-click the property and choose Add to FlexSpace Canvas (see Bind properties).
PROPERTY
WIDGET
On / off
Toggle (Checkbox)
Enum
Enum (Segmented with 5 items or less, else Dropdown)
Number
Number Field
Factor or Percentage
Lineal slider with that range
Colour
Color Swatch
Vector (2 to 4 values)
Vertical Flex Box with one Number Field per value
Anything else
Label that reads the value out
IN BLENDER
RECORDING
Add any widget in seconds. Press Shift A, type a few letters, pick the card and click to place the new widget on your canvas.
SCREENSHOT
Search as you type. Type a few letters and the best matches show across every category; Enter adds the selected one.
SCREENSHOT
Add Widget browser. Shift A opens the Add Widget browser over the canvas: search, categories and a card per widget.
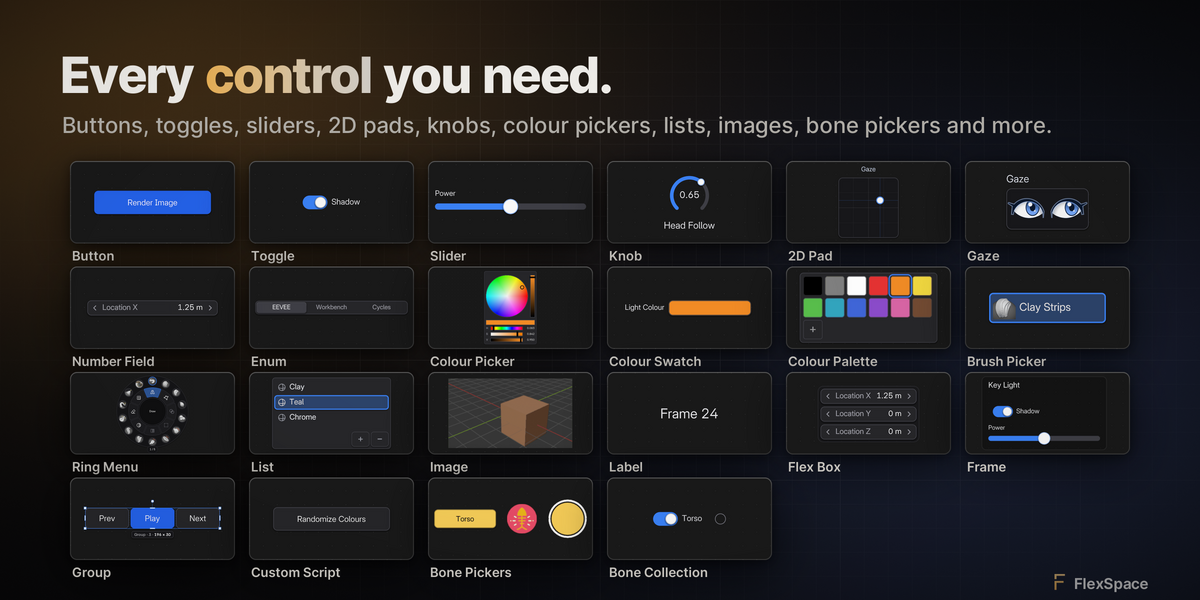
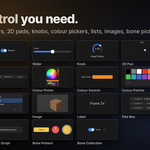
Every widget at a glance. Select one in Edit Mode and set it up in the sidebar, Widget tab: Label, Style, Conditions and Tooltip.
FLEX SPACE AND ARMATURE PICKER
OperatorRuns a Blender operator
Custom ScriptRuns your own Python script
ToggleSwitches an on / off property, or sets an enum or integer value
EnumPicks one value of an enum or integer
Color SwatchShows a colour and opens Blender's colour picker
Color PickerEdits a colour on the canvas
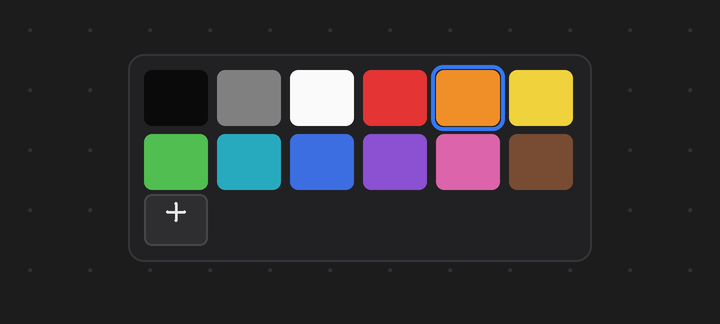
Color PaletteA grid of colour swatches
Brush PickerMakes one brush the active brushBRUSH MODES
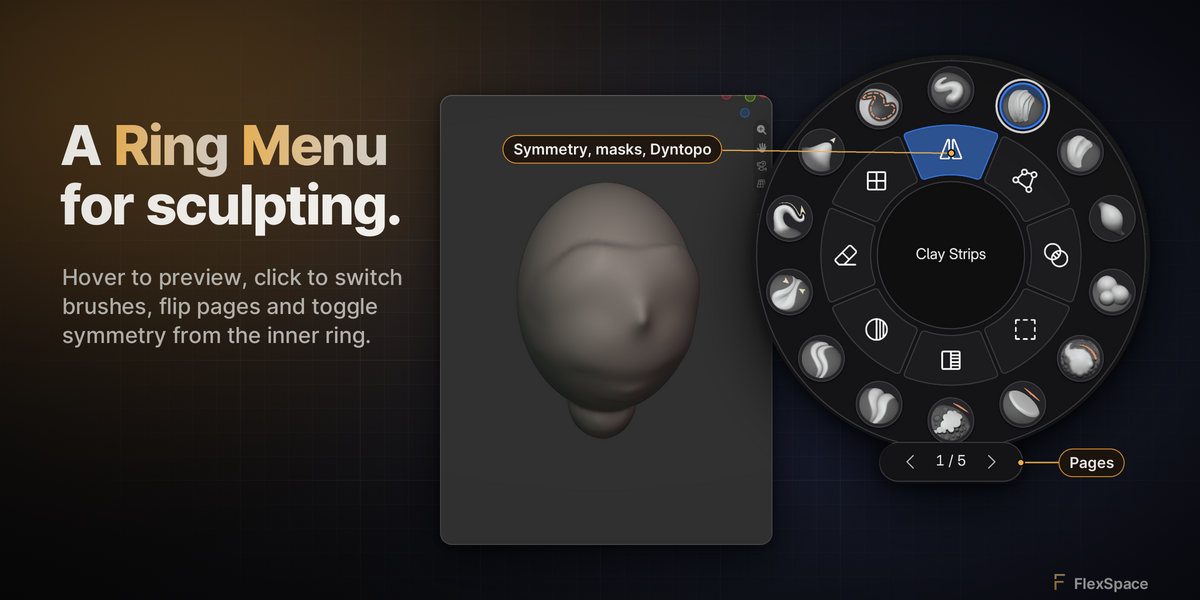
Ring MenuBrushes, toggles and operators in a ring, like a sculpt wheel
ListLayers, material slots, vertex groups and other lists as rows you can click
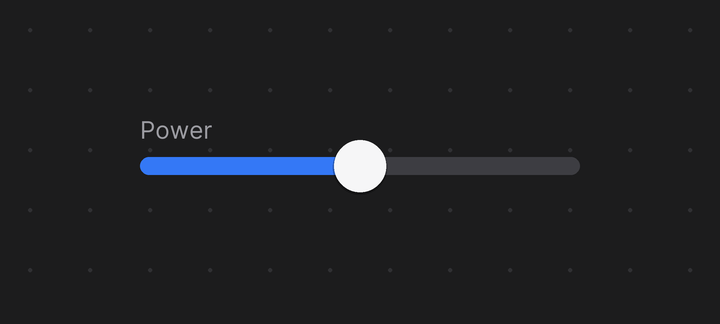
Lineal sliderDrag along a bar to change a number
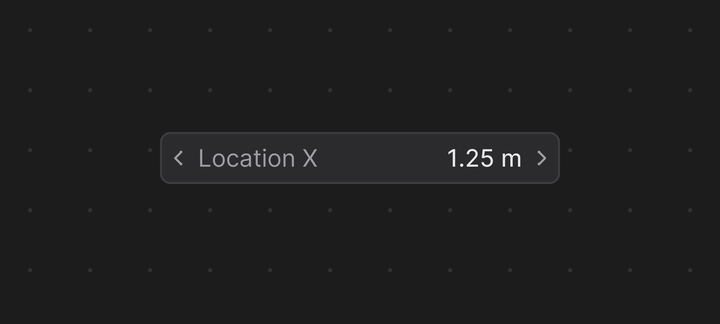
Number FieldA number field like Blender's own
LabelText, or a property's value
ImageShows a picture; turn on Backdrop to put it behind everything
FrameA titled area, square or round, that holds and moves other widgets
Flex BoxLines up other widgets in a row or a column
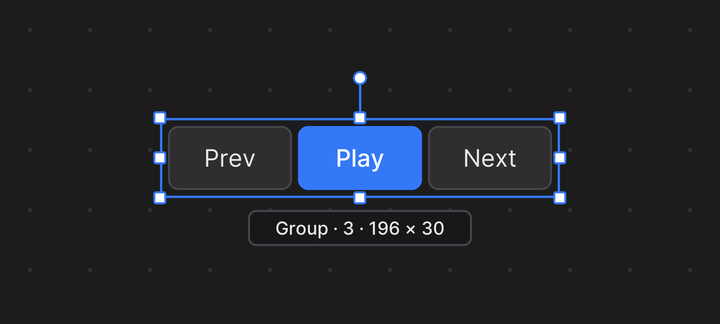
GroupMoves and resizes other widgets as one
THE PICKER'S OWN
Bone Collection toggleShows, hides or solos a bone collectionPICKER
Radial sliderA knob you drag to change a numberPICKER
Lineal 2D sliderA pad that drives two properties at oncePICKER
Button, Button Image, Geometry ShapeBone pickers: select their bonePICKER
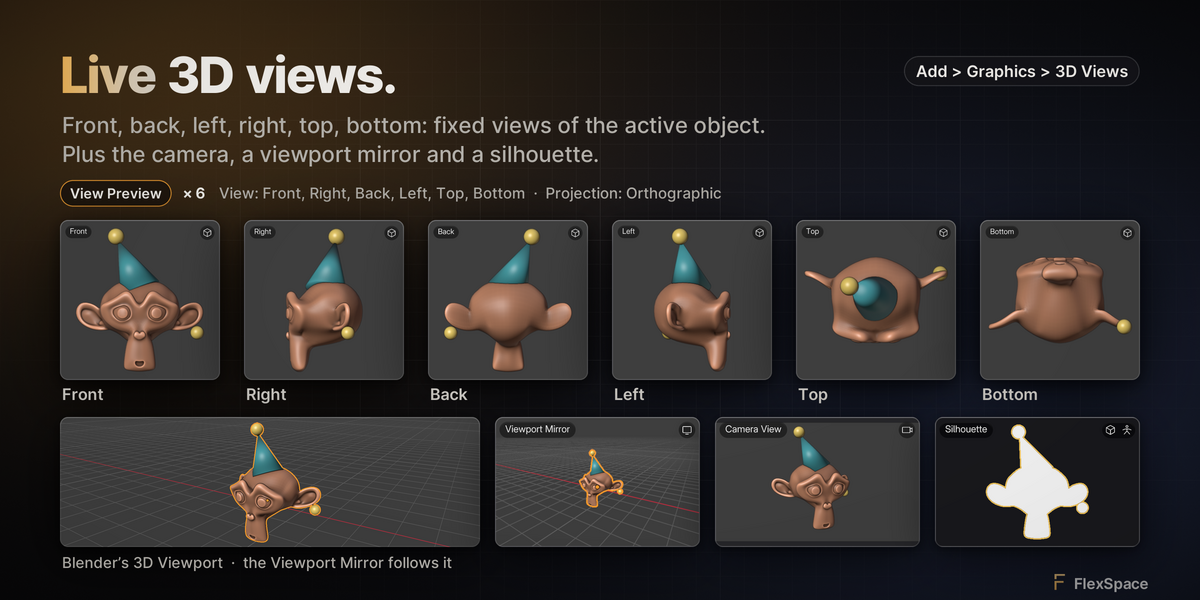
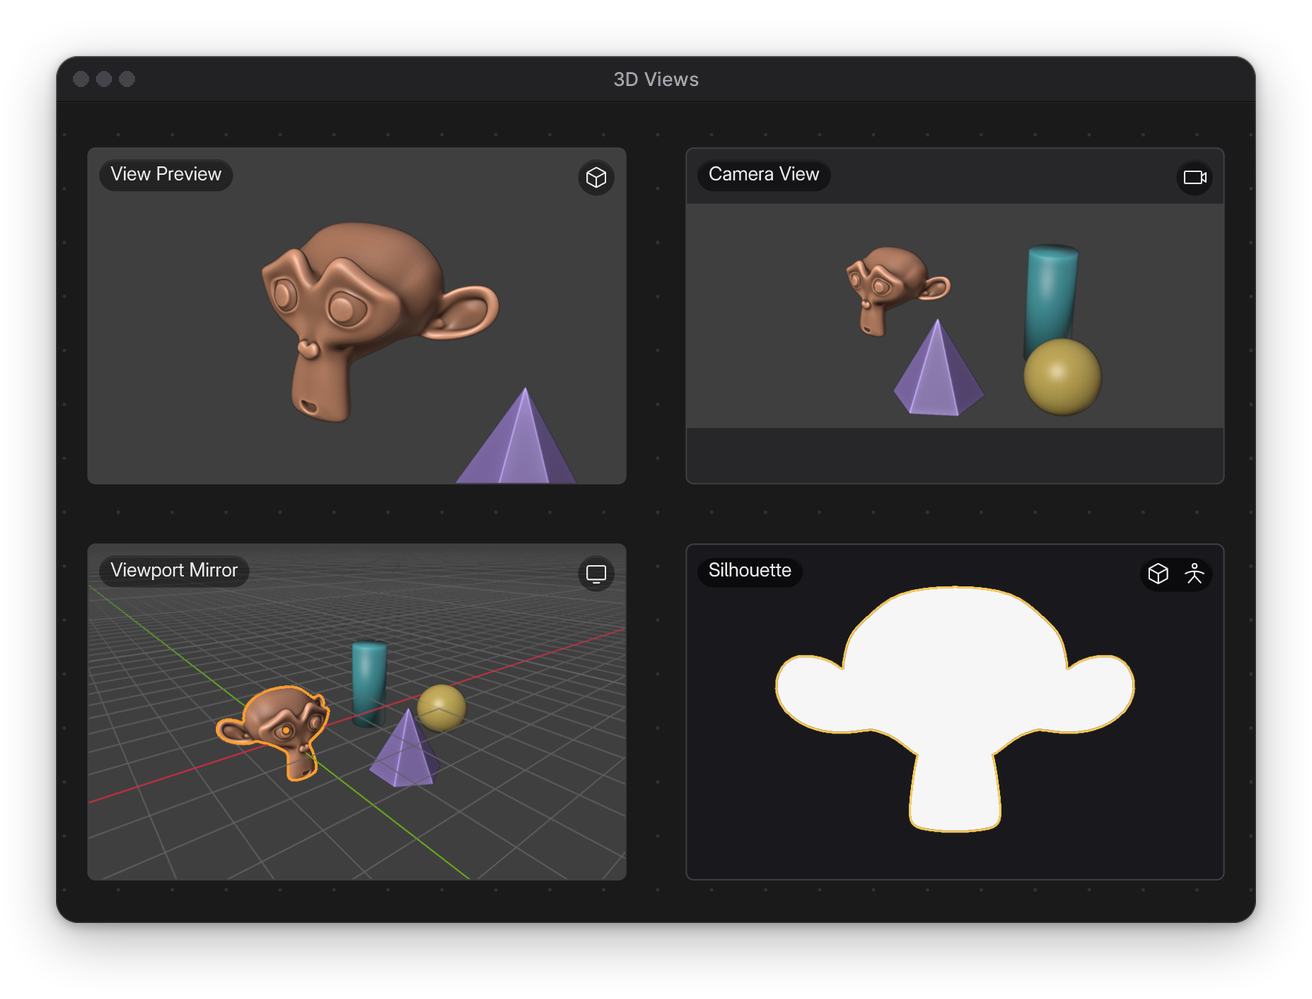
3D VIEWS: ONE WIDGET, FOUR WAYS
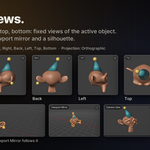
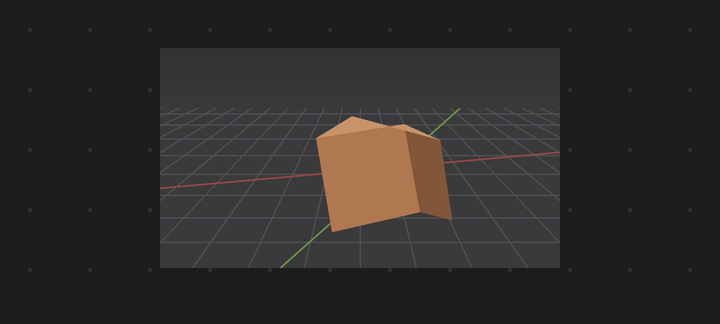
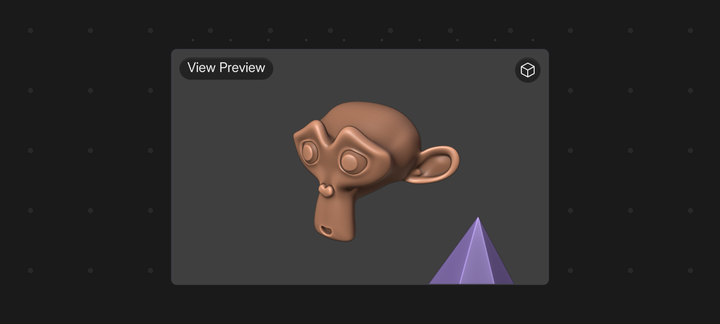
View PreviewFrames the active object
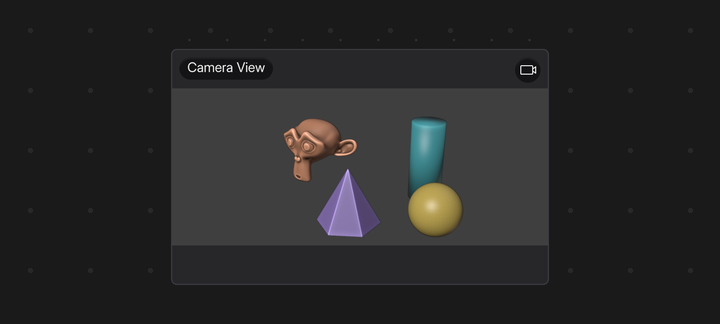
Camera ViewWhat the scene camera sees, inside its frame
Viewport MirrorFollows your 3D Viewport
SilhouetteThe flat shape of the active object, seen from the front
3D views
A live 3D view on the canvas: a close-up of the object you are working on, what the camera sees, or a second look at your viewport. It updates as you work. Add › Graphics › 3D Views has the four entries above: they are all the same widget, set up differently, and you can change any of them later. Pick the Source in the sidebar, Widget tab.
Target frames the Active Object, Selected Objects, an Object or a Collection, and with Auto Frame keeps them framed when they move or change. View is Front, Back, Left, Right, Top, Bottom or Custom (Yaw and Pitch), with Projection, Focal Length, Padding and Zoom. It is a real view of the scene: objects near the target show too.
Camera shows what the Scene Camera or a Camera Object sees, in the render's aspect. Passepartout darkens what is outside the frame; off, the widget shows bars.
Navigate: Follow Viewport mirrors a 3D Viewport as you navigate; Free Orbit is a view of its own, with From Viewport and Frame Selected.
Interactive (Target and Free Orbit, in Live Mode): drag to orbit, Shift drag to pan (Free Orbit), Ctrl drag or the wheel to zoom; double-click goes back to zoom 1 (Target) or frames the selection (Free Orbit). Each drag is one undo step; Esc while dragging puts the view back.
Shading: Solid, Wireframe, Material Preview or the viewport's own. Overlays draws the grid, outlines and the rest; Transparent lets the canvas show through.
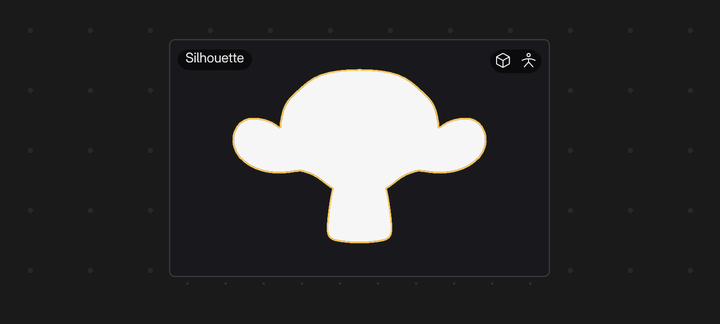
Silhouette: the flat shape in one colour, as an artist checks a pose. Scope is All Visible or Target Only, with a Color, a Background and an Outer or Inner outline.
A view draws again only when something it shows changes, and off-screen views draw nothing. For a heavy scene, lower Max FPS or turn off Live Update and click Refresh.
A view needs an open 3D Viewport to draw with (a Target Only silhouette doesn't). Without one it says Open a 3D Viewport.
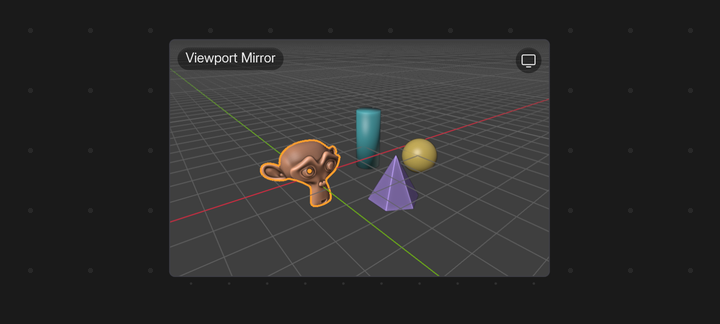
The four 3D views on one canvas, next to the viewport they draw from.
IN BLENDER
RECORDING
Target: Active Object. Click the ball, the cylinder, the pyramid, then Suzanne in the viewport: View Preview frames each new active object.
RECORDING
Navigate: Follow Viewport. Orbit the 3D Viewport and Viewport Mirror follows, with the grid and the selection outline drawn too.
Sliders, toggles and property labels control a Blender property through a Data Path, starting from the context, as bpy.context does.
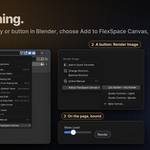
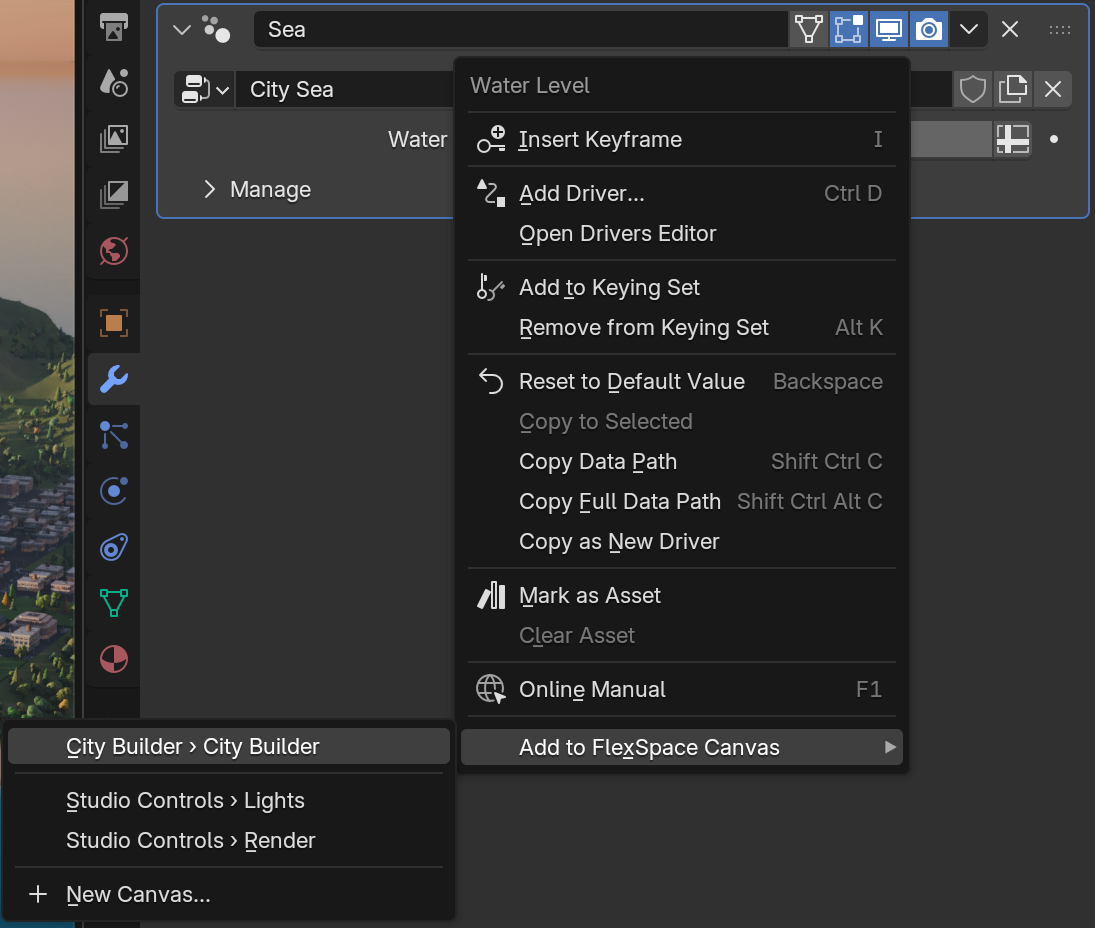
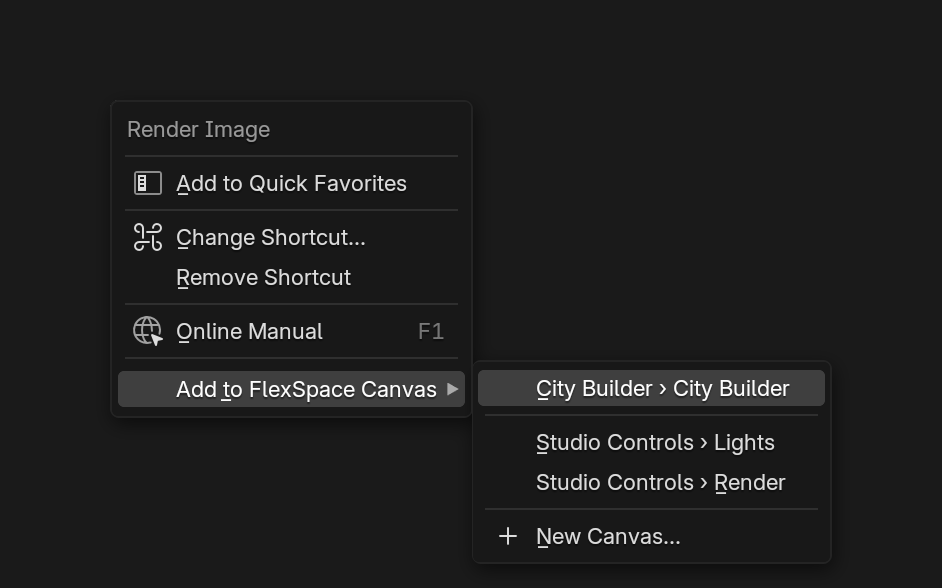
Add to FlexSpace Canvas: right-click any property or button in Blender (the Properties editor, a sidebar, a menu item, a node), choose Add to FlexSpace Canvas, then a canvas and page. The canvas you used last comes first; New Canvas... makes one. You get the same widget as From Property, or an Operator button for a button. It goes to a free spot in the part of the page you can see and flashes once; one Ctrl Z removes it. On one item of a vector, Add All adds the whole vector and Add Single only that value.
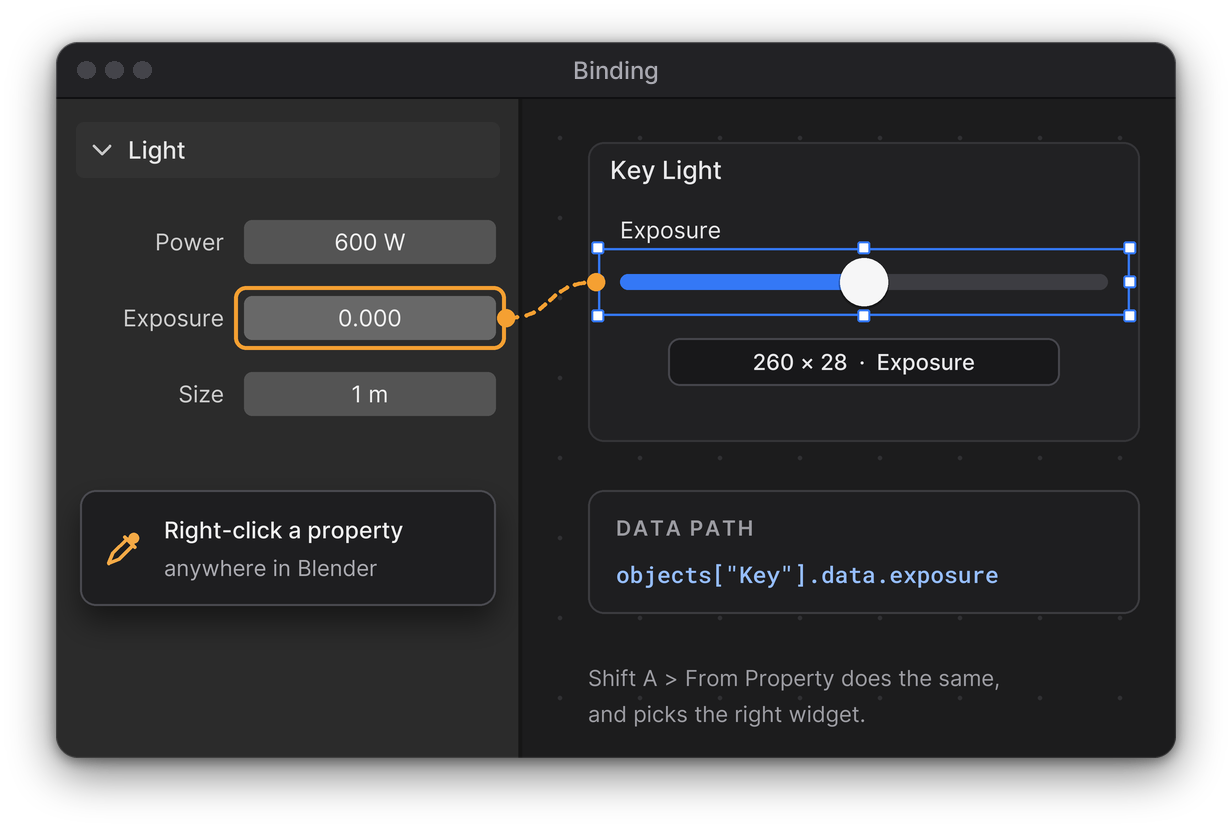
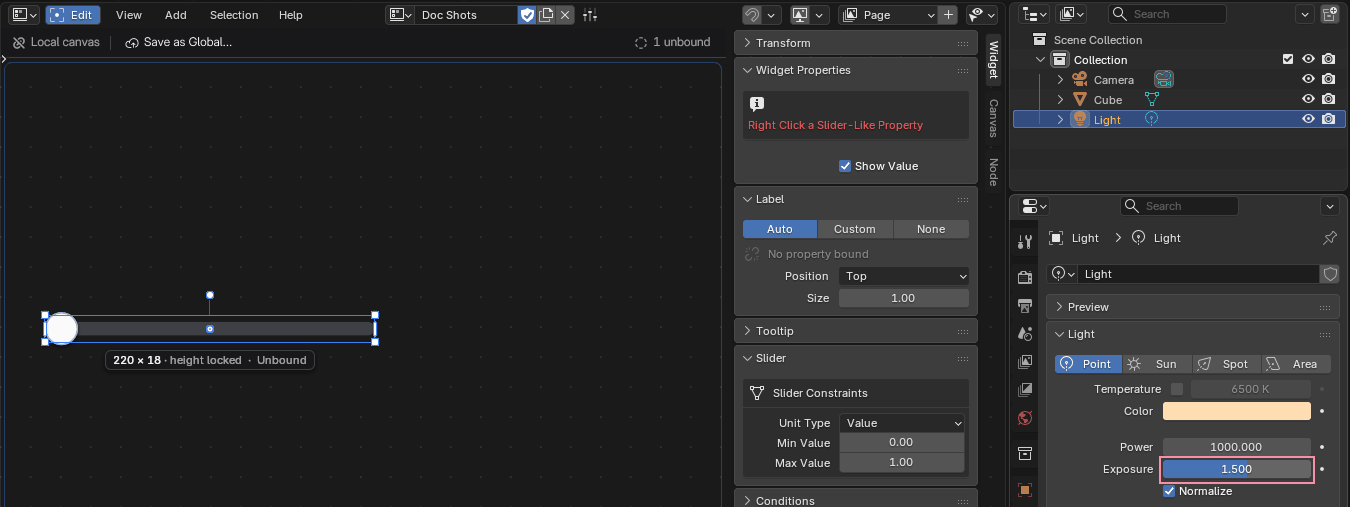
Eyedropper: click the button next to Data Path, then right-click the property anywhere in Blender. A slider also gets its Min and Max.
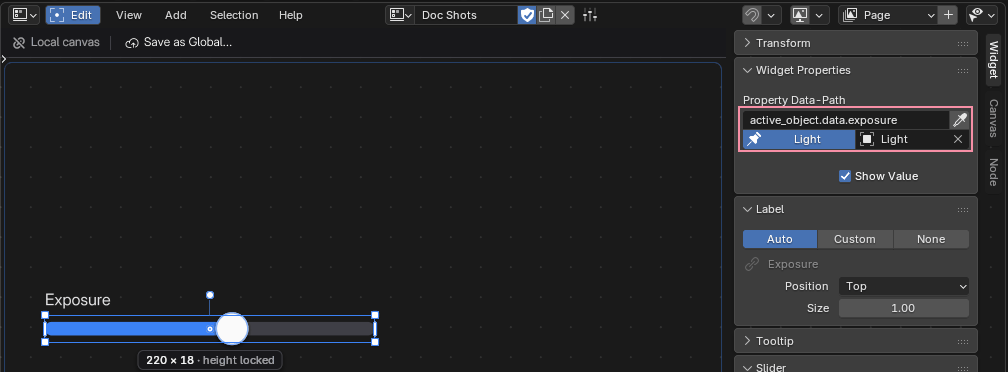
Follow or pin: a path starting with active_object drives whatever is active, or always one pinned object. Click the pin control under the field to switch.
Copy Full Data Path (Ctrl Shift Alt C) and paste it with Ctrl V.
Visible When / Disabled When in the Conditions panel show or grey out a widget while a boolean is on. On a frame, Flex Box or group, everything inside follows.
The eyedropper asks for a slider-like property; right-click Exposure and the path is filled in.
Animation state and keys
A bound widget shows its property's state in Blender's colours:
Animated
Key on this frame
Driver
Changed, not keyed
In Live Mode, over the widget: I inserts a keyframe, Alt I deletes the one on this frame, Shift Alt I clears all, Backspace resets to the default. With Auto Keying on, the end of a drag is keyed in the same undo step.
IN BLENDER
SCREENSHOT
Add to FlexSpace Canvas on a property. The submenu lists your canvases and pages, the one you used last first, and New Canvas... at the end.
SCREENSHOT
On a button. Right-click Render Image (or any button) and you get an Operator button that runs it with the same settings.
RECORDING
Bind any property with a right-click. Choose From Property, right-click a property in Blender and get a widget already bound to it, ready to drive the scene.
SCREENSHOT
Binding eyedropper. Bind a slider with the eyedropper: right-click any slider-like property, here the light's Exposure.
SCREENSHOT
Bound data path. After the pick the slider is bound to the light's exposure, pinned to that light, and labelled for you.
SCREENSHOT
Broken bindings. A mistyped path or the wrong kind of property gets a dashed outline, and the top bar counts them.
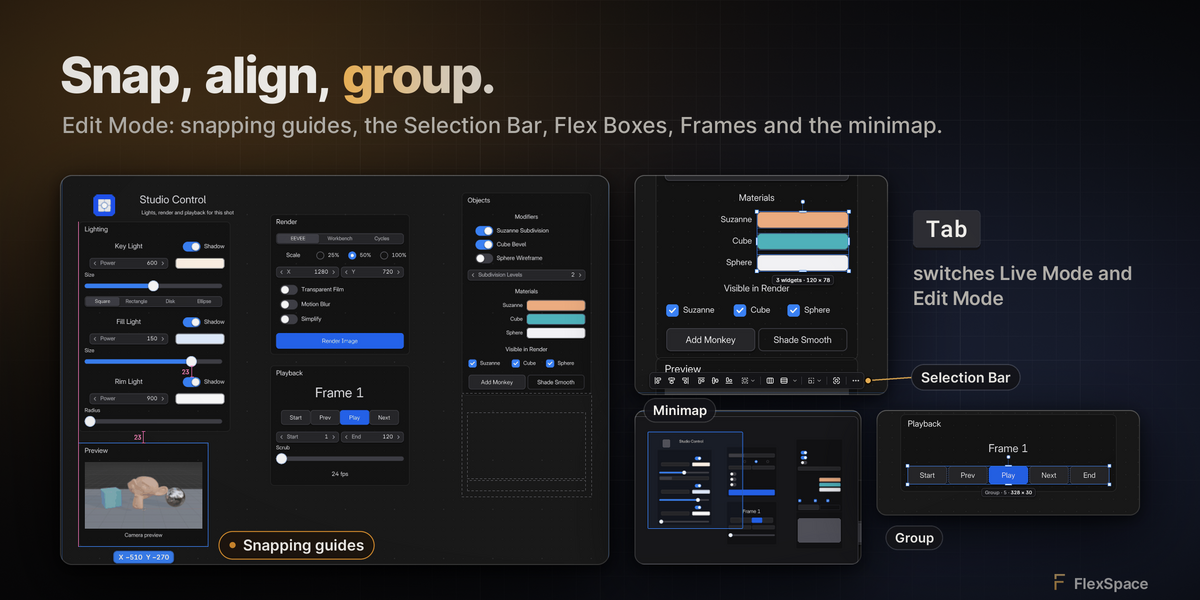
Select: click, Shift click to add, drag on empty space to box select, A for all.
Transform:GRS, or the handles (edges and corners resize, the round knob rotates).
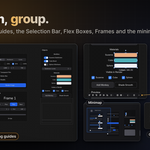
Smart snapping: the magnet in the header. Edges, centres, equal gaps and the grid, with guides.
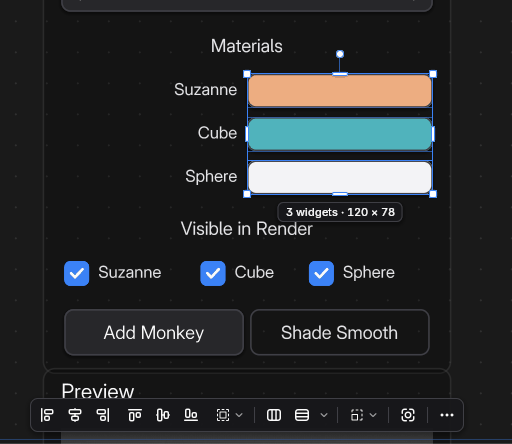
Selection Bar: with two or more widgets selected, align, distribute and match sizes.
GroupsCtrl G, framesCtrl J, Flex Boxes, copy and paste Ctrl CCtrl V.
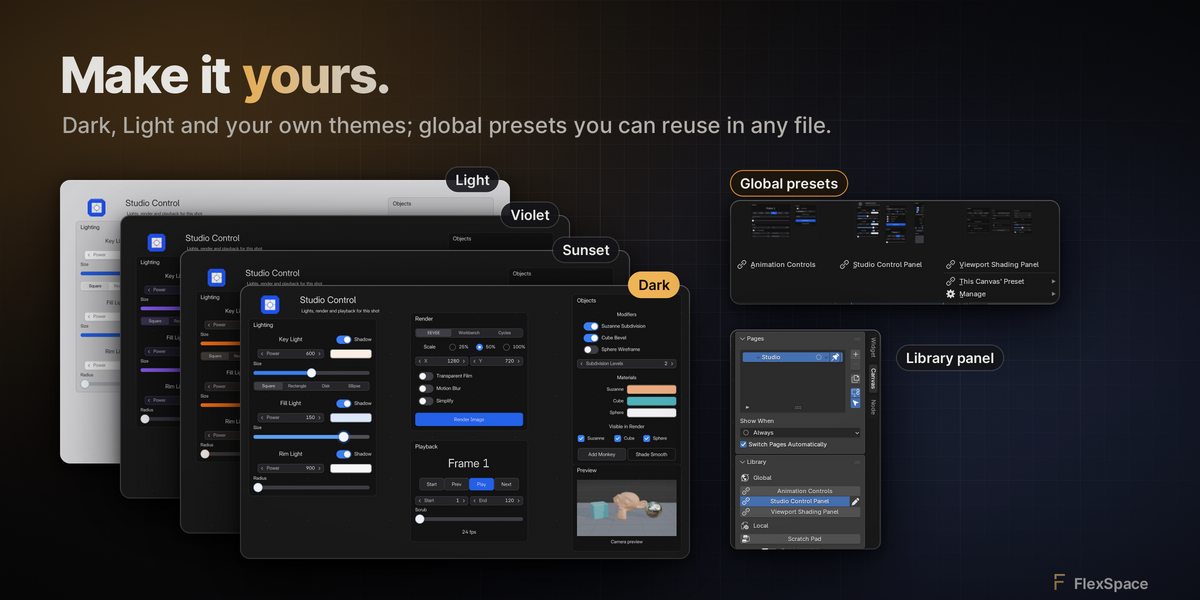
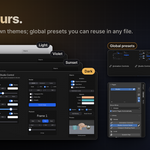
Minimap (picture button in the header) and themes in View › Theme: Auto, Dark, Light or your own.
Dragging a frame: it snaps to the edge of the one above, and the guide shows it.
IN BLENDER
RECORDING
Lay out with snapping and the Selection Bar. Drag widgets with smart snapping guides, align and distribute them from the Selection Bar, then group them and move them as one.
SCREENSHOT
Smart snapping. Drag a frame and it snaps to the edges, centres and equal gaps of its neighbours, with guides that show why.
SCREENSHOT
Selection Bar. With several widgets selected, the Selection Bar aligns, distributes and matches their sizes.
Edit colours and switch brushes without leaving the canvas.
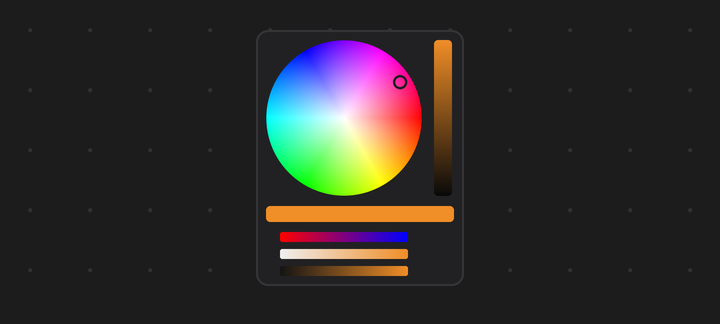
Color Picker: a Wheel or Ring + Square, an old / new strip, and RGB, HSV and Alpha sliders. Esc during a drag puts the colour back.
Color Palette: its own colours, or a Blender palette. Click a swatch to use it.
Brush Picker: one brush, one click. Works in Sculpt, the paint modes, Sculpt Curves and the Grease Pencil brush modes.
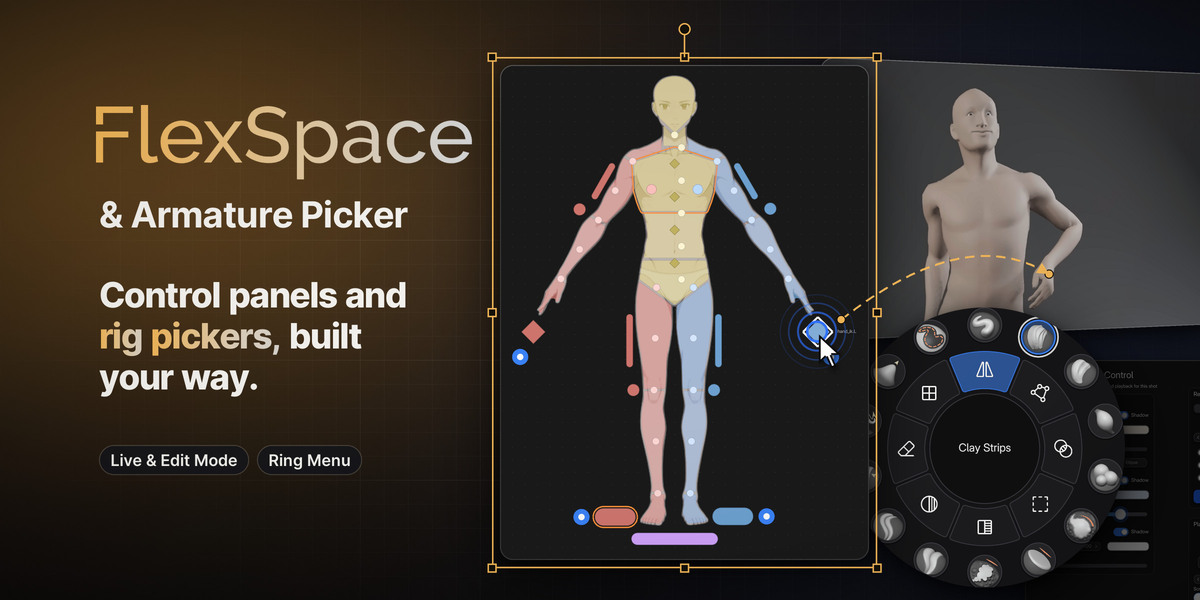
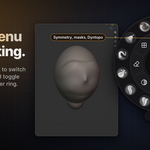
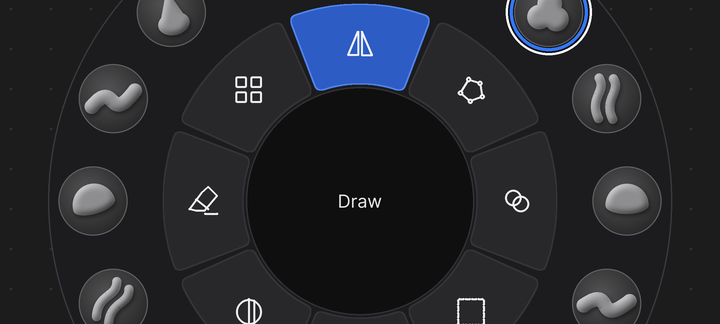
Ring Menu: brushes in the outer ring, toggles and operators in the inner ring, the name in the core. Pages hold more brushes; one button fills the ring with every Essentials brush of the page's mode.
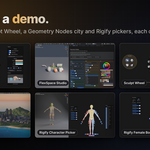
The Sculpt Wheel demo has a Ring Menu with every sculpt brush, ready to try.
The active brush has the accent ring and its name in the core.
A canvas of buttons that select the bones of your rig. It is saved with the armature data, so it travels when the rig is linked or appended.
1Select your rig and enter Pose Mode (Ctrl Tab in the 3D Viewport).
2Set an area to Armature Picker and click New Picker.
3Select bones in the viewport, click Import Selected Bones and click to place each button. Left and right come together.
4Press Tab to pose: click a button to select its bone, Shift click to add.
Your Pose Mode keys work over the picker: GRS, I, copy and paste pose...
Toolbar (T): Select & Control, Move, Rotate, Scale or Gimball on press.
Mirror: moving one of a pair mirrors the other across the red centre line.
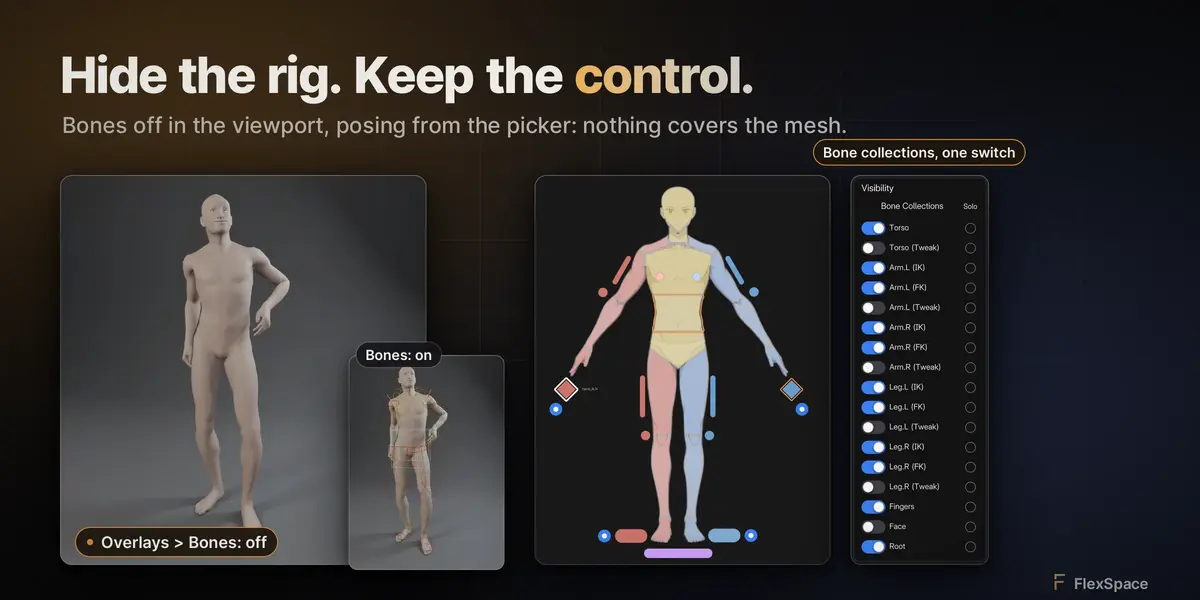
Bone collections and Bone Names in the sidebar, Armature tab.
Hidden Bones (the ghost icon in the header): the buttons of bones hidden with H are dimmed, hidden or shown. With Right Click Select, the picker selects with the right button.
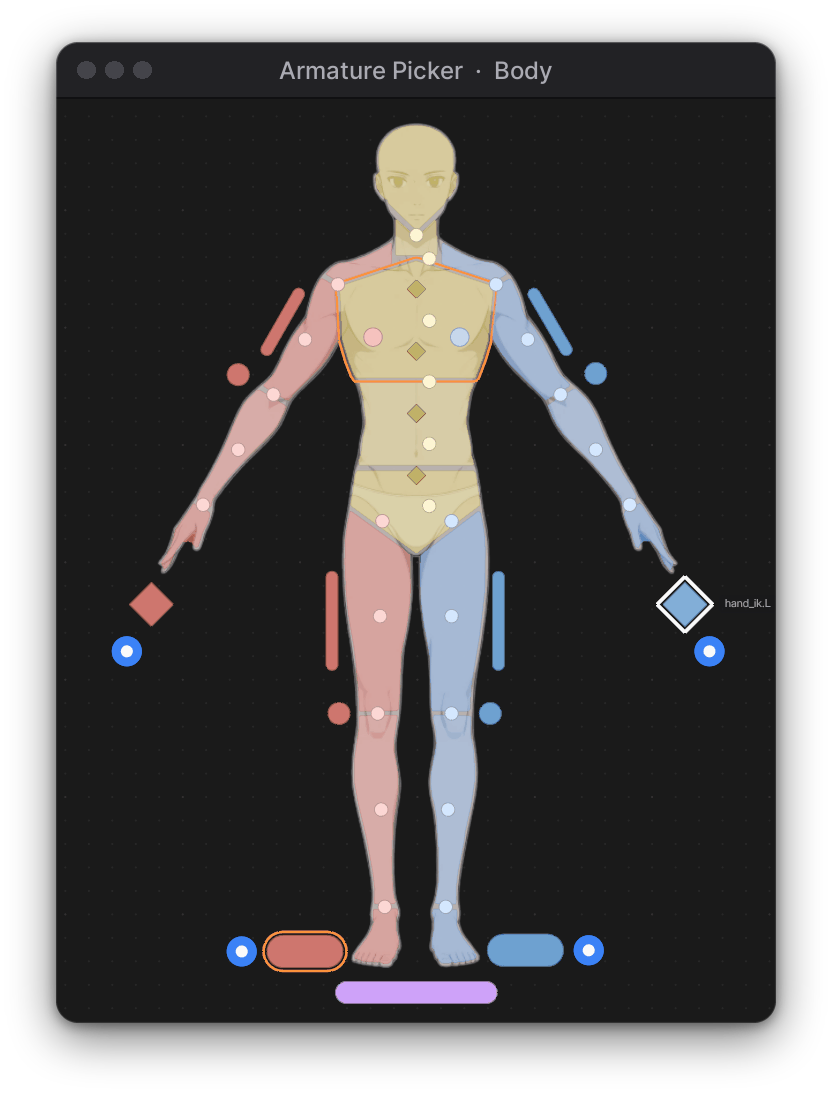
The Body page in Pose Mode: the active bone is named next to its button.
IN BLENDER
RECORDING
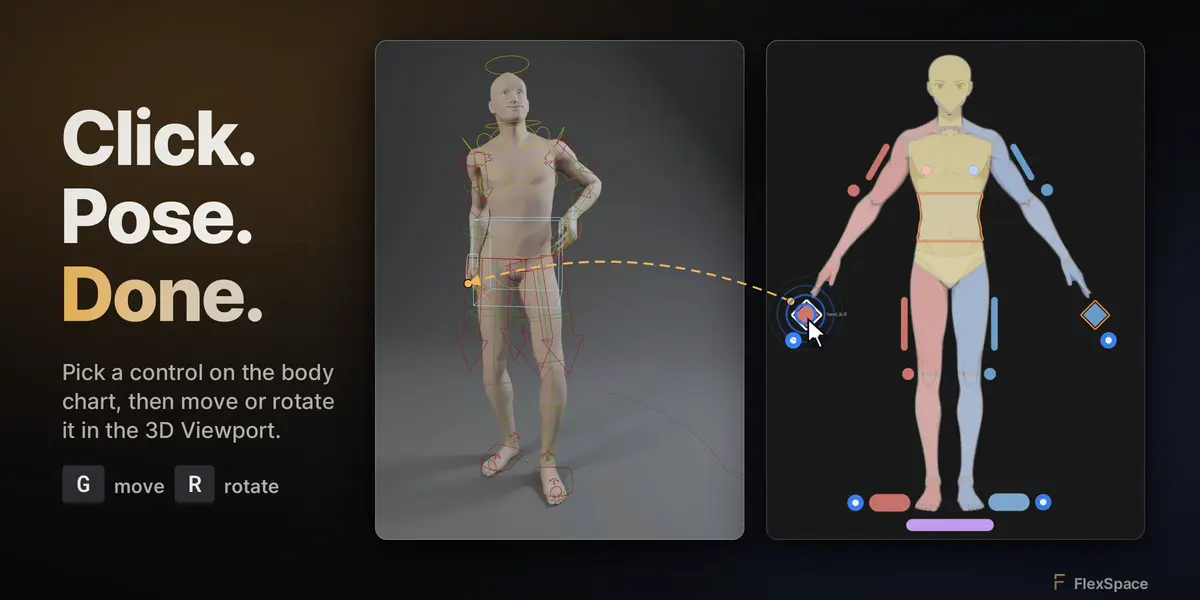
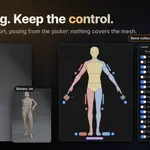
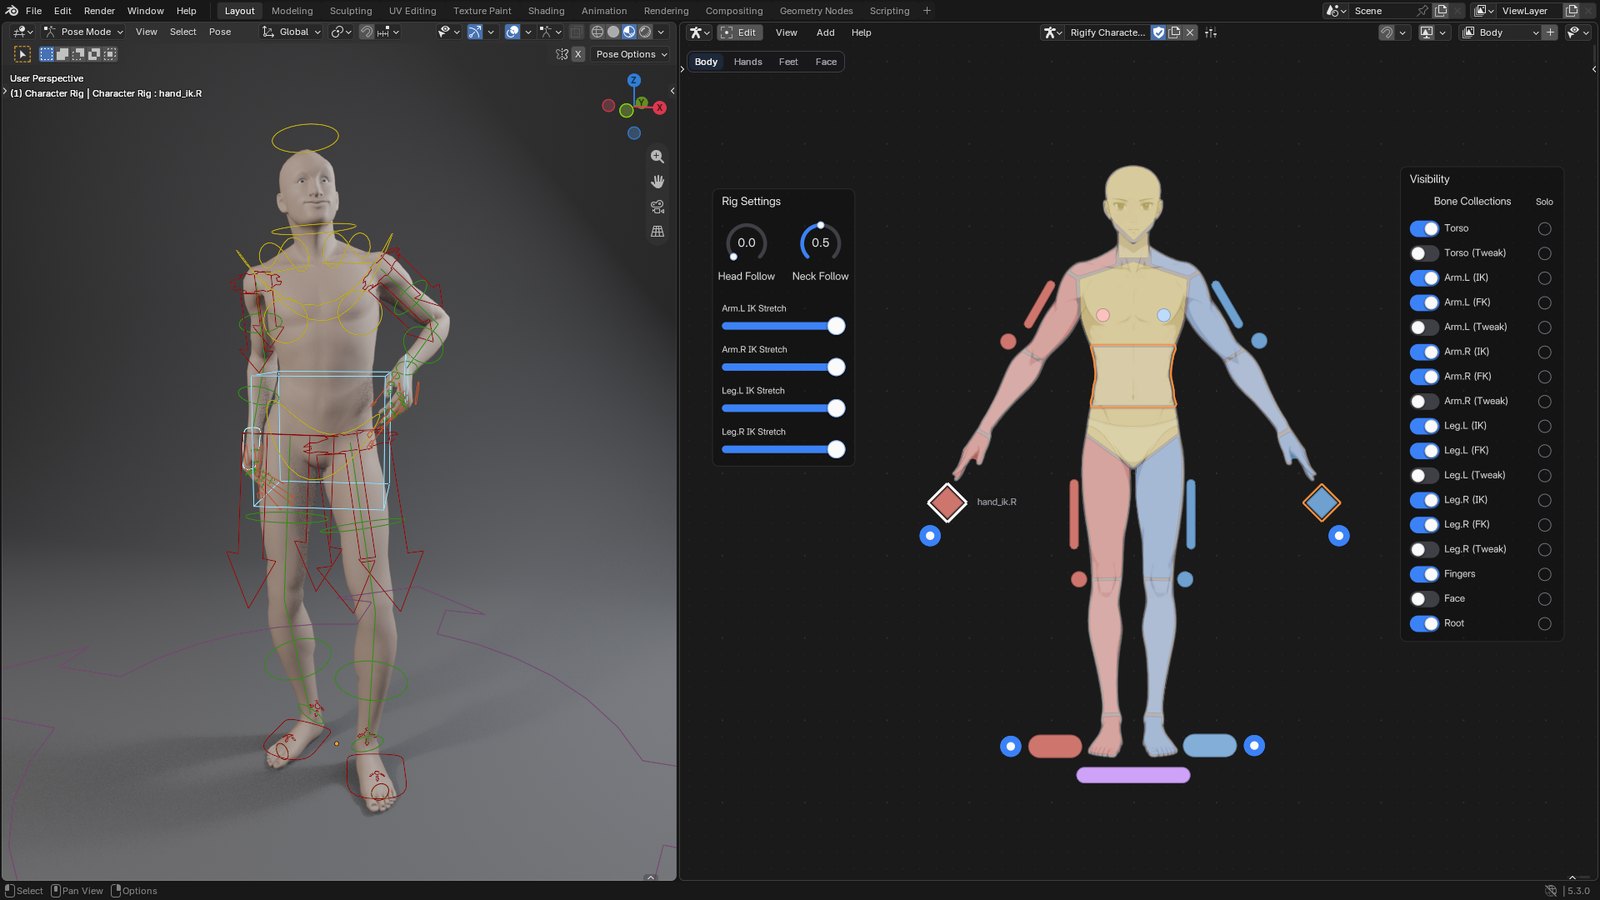
Click in the picker, pose in the viewport. With the rig's controls hidden, click a body part in the picker, then move or rotate it with G or R in the viewport: the arm, the head and the spine.
SCREENSHOT
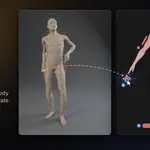
Pose a character from its picker. A rigged character posed from the Body page: click a body part to select its control, then move it in the 3D Viewport.
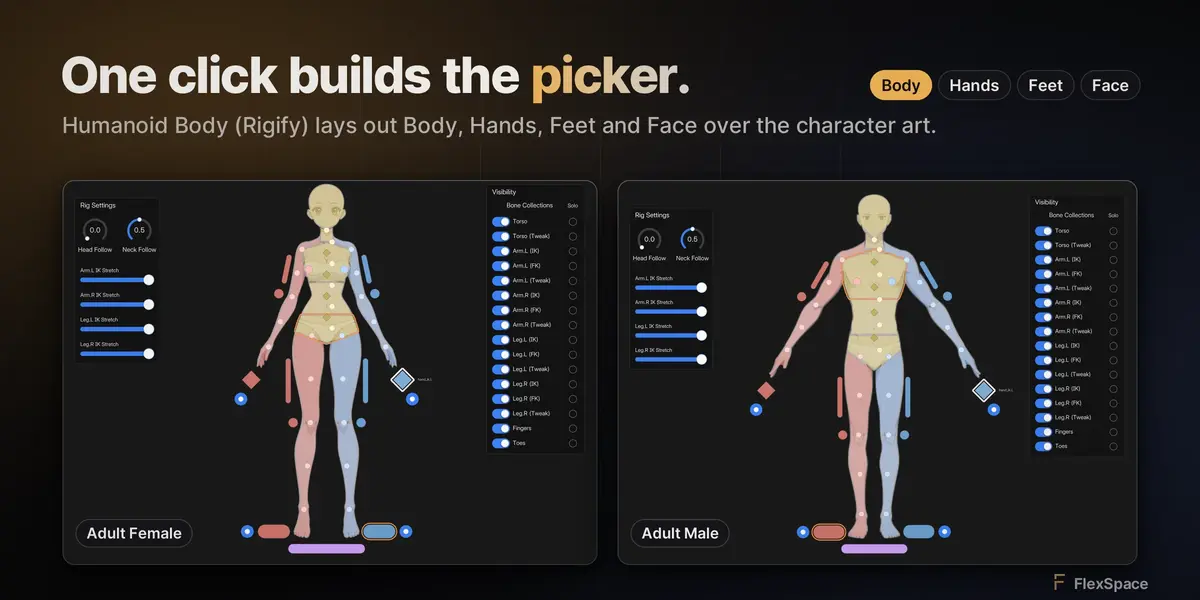
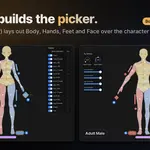
A full Humanoid Body picker in one step: select the generated rig, press Shift A in the picker's Edit Mode and choose Bone Picker › Humanoid Body (Rigify).
Body: Adult Male or Adult Female, made to measure.
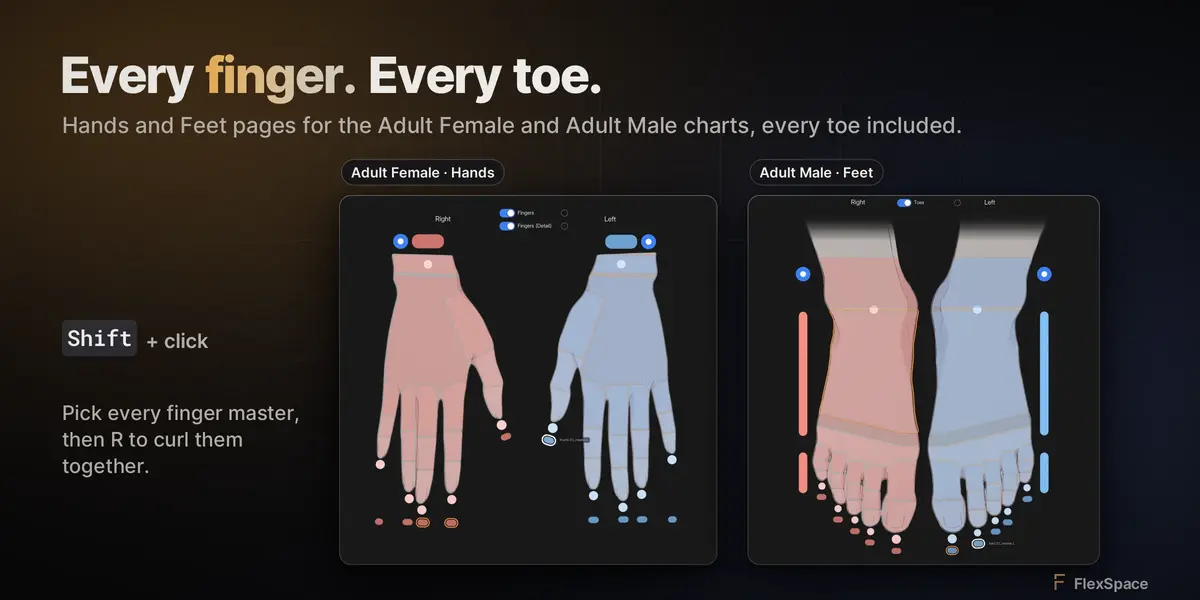
Pages: Body, Hands, Feet and Face, each on its own page with its own tab (or side by side with Each on Its Own Page off).
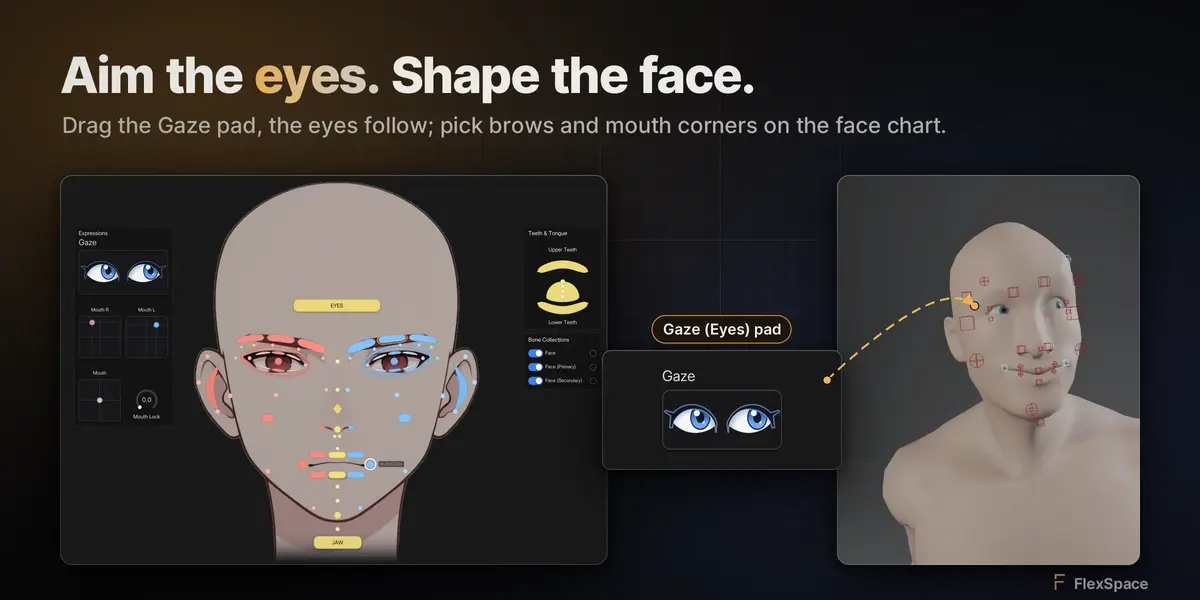
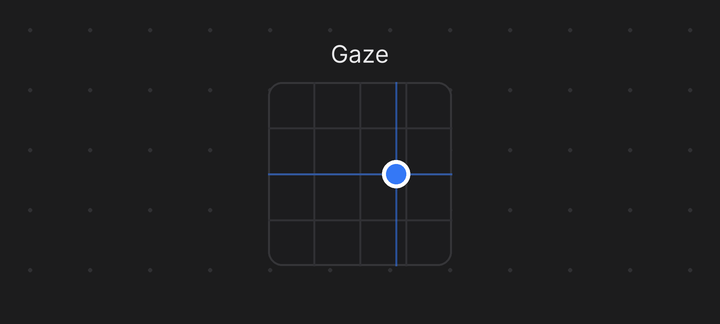
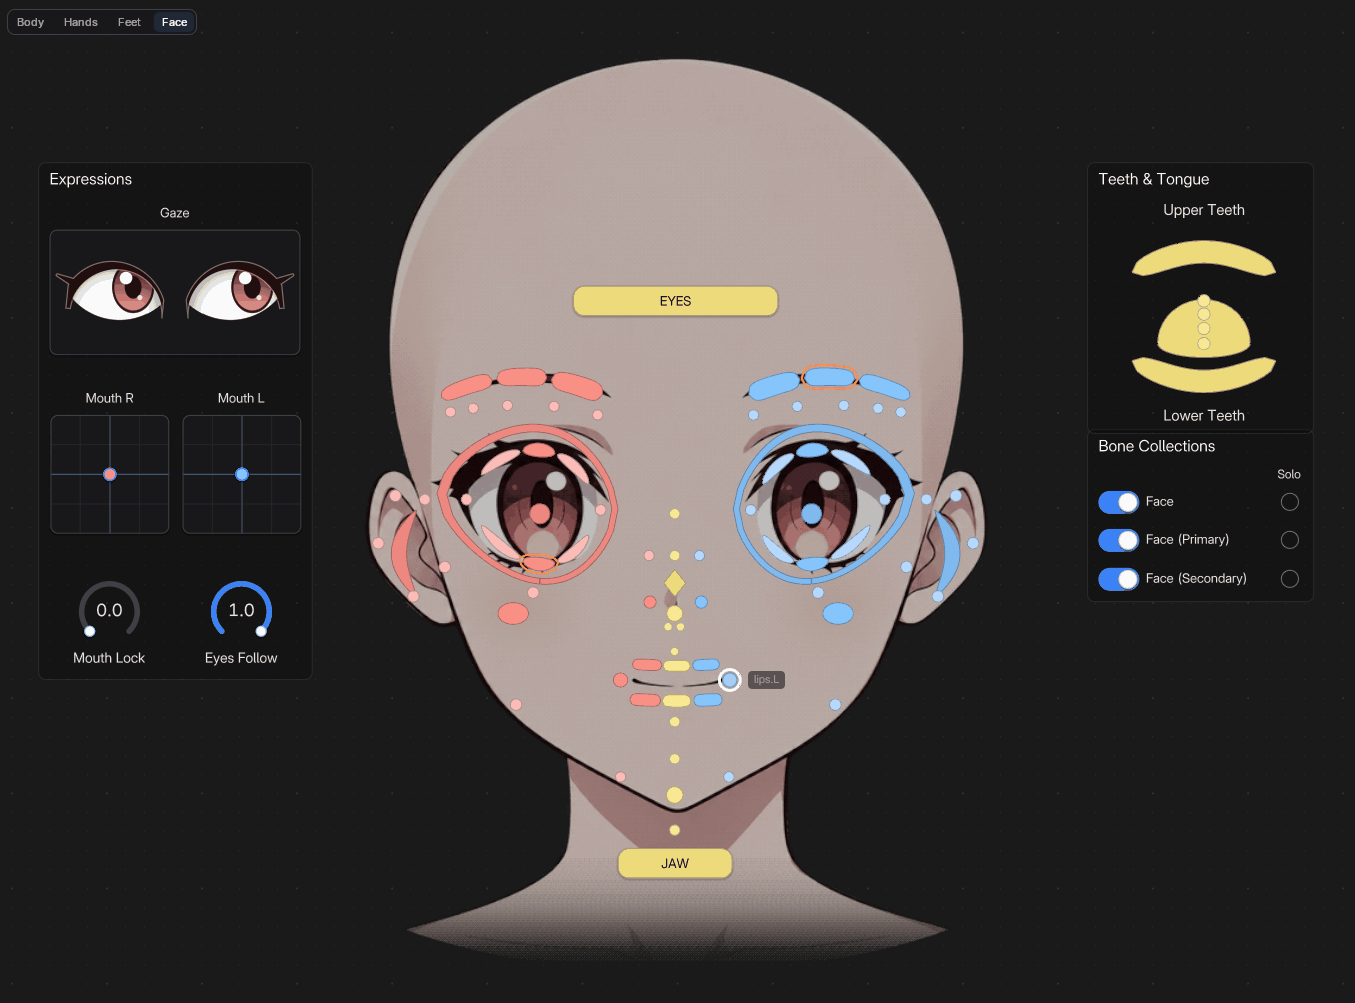
Face: every face control on the face art, a Gaze pad drawn as eyes, mouth pads, the Mouth Lock and Eyes Follow knobs, teeth, tongue and the face collections.
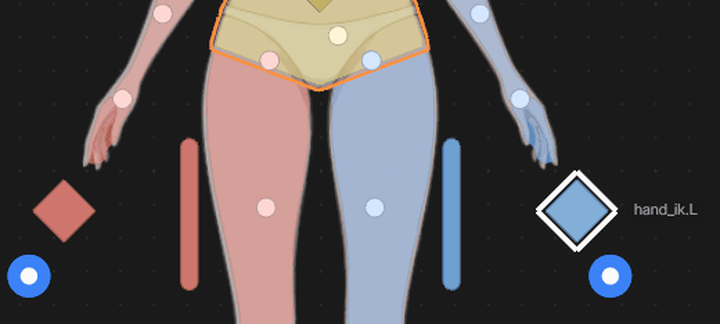
IK/FK Switches: a puck next to each IK hand and foot. Snap (on by default) keeps the limb's pose when you switch.
Hands & Feet View: Front (default) or Own.
Toes: per-toe shapes need toe chains toe1.01.L to toe5.03.L with limbs.super_finger.
Repair Bone Bindings (Utils) after regenerating the rig.
Left
Right
Centre
Root
Make the picker for the generated rig (the RIG-... object you animate), not for the metarig. The Body page is a front view: the character's left is on your right.
IN BLENDER
SCREENSHOT
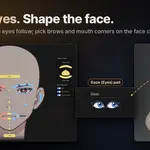
Face page (Adult Female). The whole Face page: every face control on the female face, the Expressions frame with the gaze pad drawn as eyes (here looking aside), the mouth pads and knobs, the teeth and tongue and the face bone collections.
RECORDING
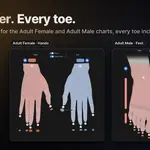
Body, hands, feet and face on tabs. Each part of the character has its own tab, drawn over the character art: switch tabs and pick fingers, feet or the jaw.
Found something broken? Report it from inside Blender.
1Open Help › Report a Bug... in the canvas header (or Report a Bug in the add-on preferences).
2Write a title, what happened, the steps to make it happen again and what you expected. FlexSpace adds the Blender and FlexSpace versions, your system and GPU, the canvas, the modules and the last errors of this session.
3Click Open on GitHub: a new issue opens in your browser, filled in. Review it and submit it there.
No GitHub account? Click Copy Report and paste it in a comment on the product page or in an email. Nothing is sent by FlexSpace itself, and your home folder in any file path is replaced by ~. You can also open an issue by hand.
 jfmatheu