Fpv Control | Real-Time Fpv Camera Animation Inside Blender
 Marcos Medel


📘 FPV.Control — Documentation
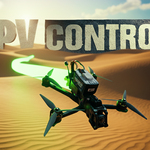
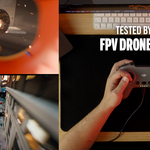
FPV Control lets you fly Blender’s camera using real RC controllers and gamepads.
Fly, crash, record keyframes, and smooth your animation. No manual keyframing.
✨ What’s New in Version 1.1.0
1. Controller Setup
The setup process is now more intuitive. The UI prompts users to hit REFRESH DEVICES, ensuring proper initialization before using the add-on.
2. Presets
Presets have been moved to the second tab for quicker access. Select any preset from the dropdown and it loads instantly — no need to press “Load preset” anymore.
3. Control Mapping
- Improved detection system for Detect Stick Movement
- Added Auto-Detect buttons for each axis
- Added a visual slider to preview the limits of every axis
4. Flight Session
- Added a Camera Picker dropdown. Flight Session controls now only apply to the selected camera.
- You can now choose any camera as the FPV Camera — the add-on no longer relies on internal cameras.
5. Drone Settings
- Added a Nazgul Evoque F5 V2 3D model that can be attached to your FPV Camera after recording the path.
- Added a customizable trail system with full color and length controls.
6. Post-Production
- Smooth Cam Animation is now fully compatible with Blender 5.0.
7. Presets & Tools Organization
- The former Presets & Tools tab is now split into two tabs: Presets and Scene Scale.
8. Layers Organization
- Creating an FPV Camera now generates a dedicated collection containing all assets — Camera, FPV Drone, and Trail objects — for cleaner scenes.
🛠 Installation
- Download the .zip (don’t extract).
- Blender → Edit → Preferences → Add-ons → Install…
- Enable FPV Control.
- If dependencies are missing → Install Dependencies.
- Open N-Panel → FPV Control.
🎮 Connecting a Controller
- Plug in your controller.
- Open Controller Setup.
- Select device or press Refresh Devices.
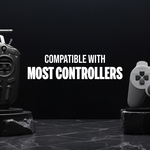
✅ Tested Controllers
- DJI: FPV Controller V1 / FPV RC 2 / FPV RC 3
- TBS: Tango 2
- Radiomaster: Boxer / TX12 / Pocket / TX16S
- Jumper: T20 V2
- BetaFPV: LiteRadio 2 SE
- PlayStation: PS1 / PS4
- iFlight: Commando 8 v2
- FlySky: FS-i6X
Other controllers should also work if recognized as a joystick.
🧭 Mapping & Calibration
- Open Control Mapping.
- Press Detect Stick Movement.
- Move sticks → axis shows in red.
- Assign axes from dropdowns.
- Use Set Min / Set Max.
- Tune Expo / Sensitivity / Smoothing.
🚁 Flight Simulation
- Press Create FPV Camera.
- Open Flight Session.
- Click Practice Flight.
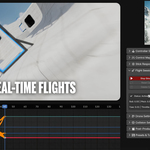
🎥 Recording a Flight
- Press Record Flight.
- Fly — keyframes are added automatically.
- Press Stop.
Continue the shot:
- Continue Recording from last frame.
🧊 Post-Production (Smoothing)
- Open Post-Production.
- Select your FPV camera.
- Click Smooth Cam Animation.
Applies double-pass Gaussian smoothing for cinematic motion.
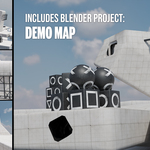
🧱 Collision System (Optional)
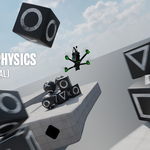
- Add collision meshes or collections.
- A hidden physics proxy sphere handles collision.
- Supports bounce, friction, resting behavior.
- Includes experimental projectile launcher.
📂 Presets & Saving
- Save full controller mappings + settings.
- Load presets for different controllers.
- Share presets with the community.
Discover more products like this
fly-camera drone-camera fpv-drone camera-flight fpv-animation camera-automatic drones dji-fpv drone-flying drone-cam fpv-drones camera animation