 Jonas Mangelschots
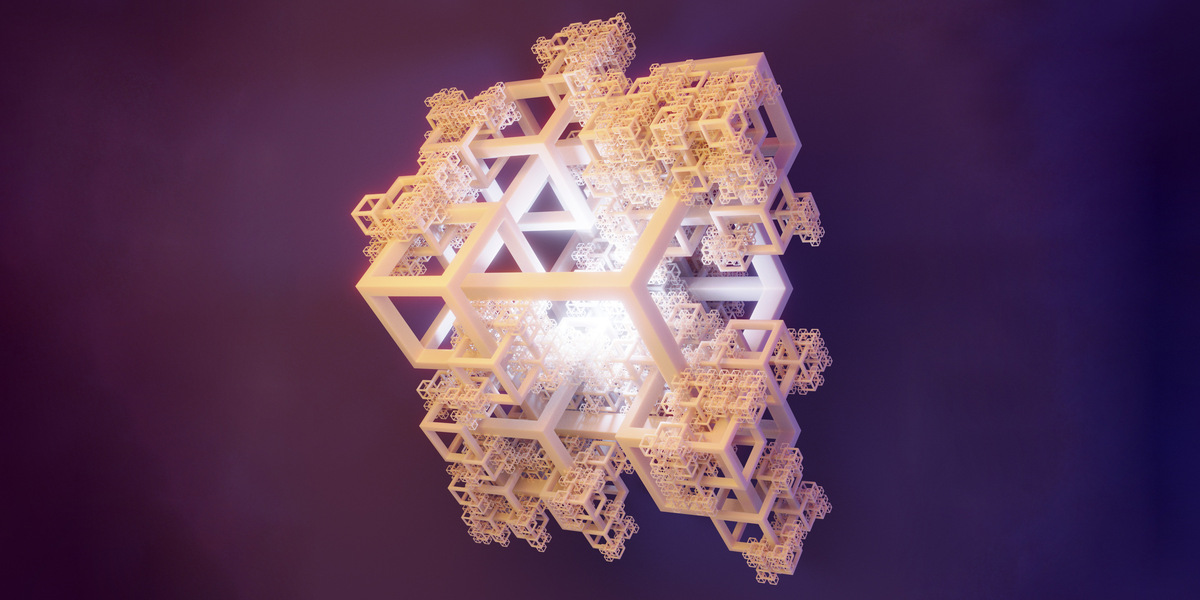
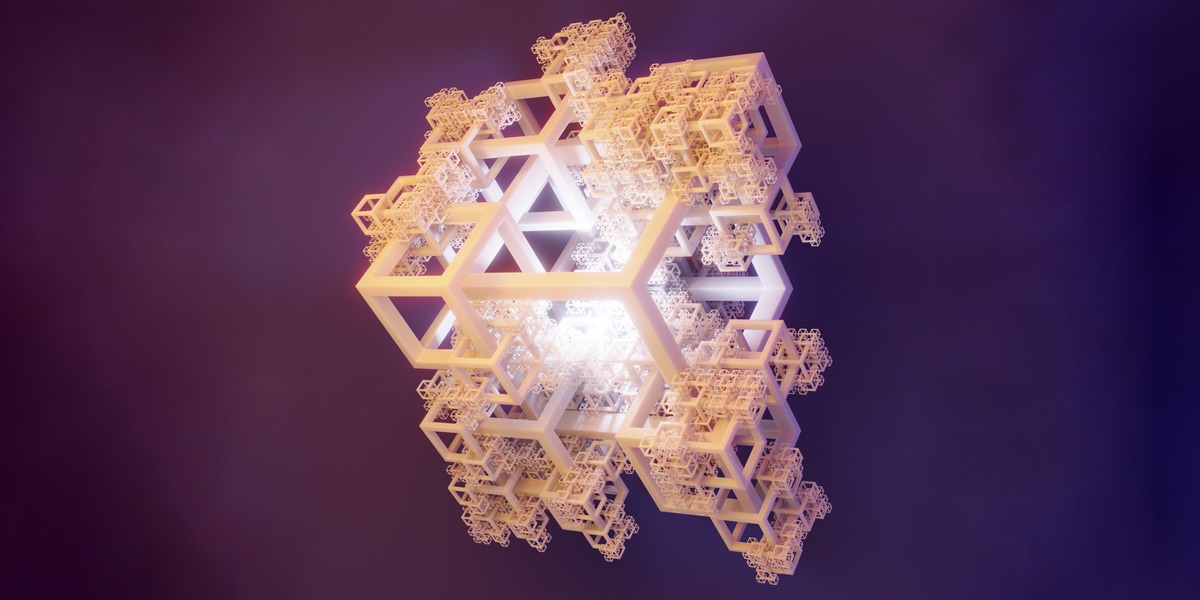
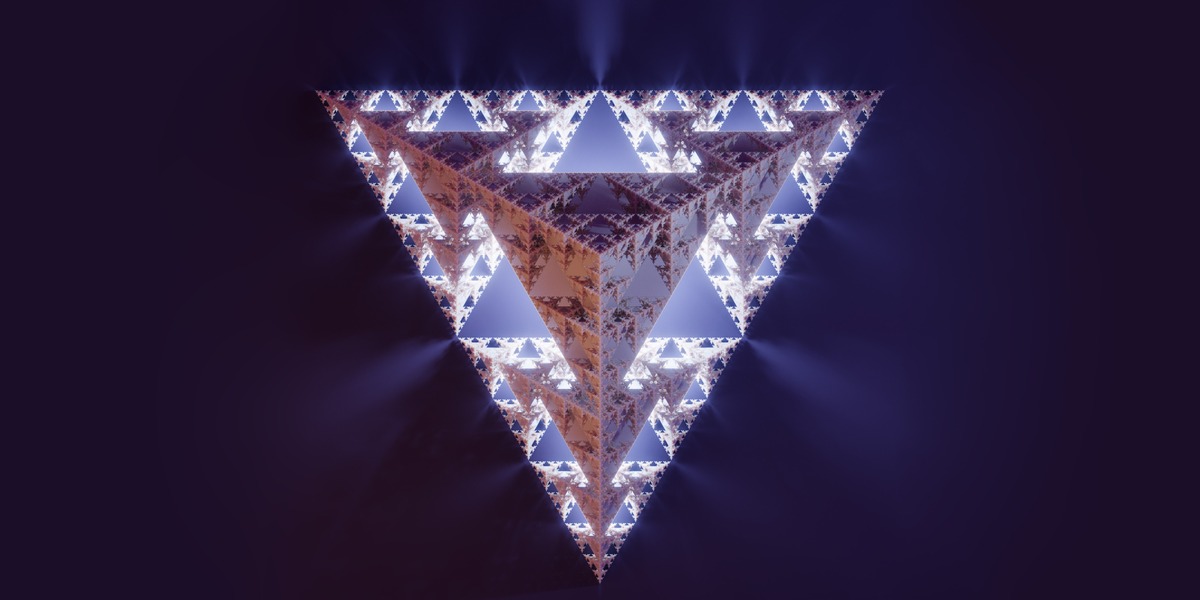
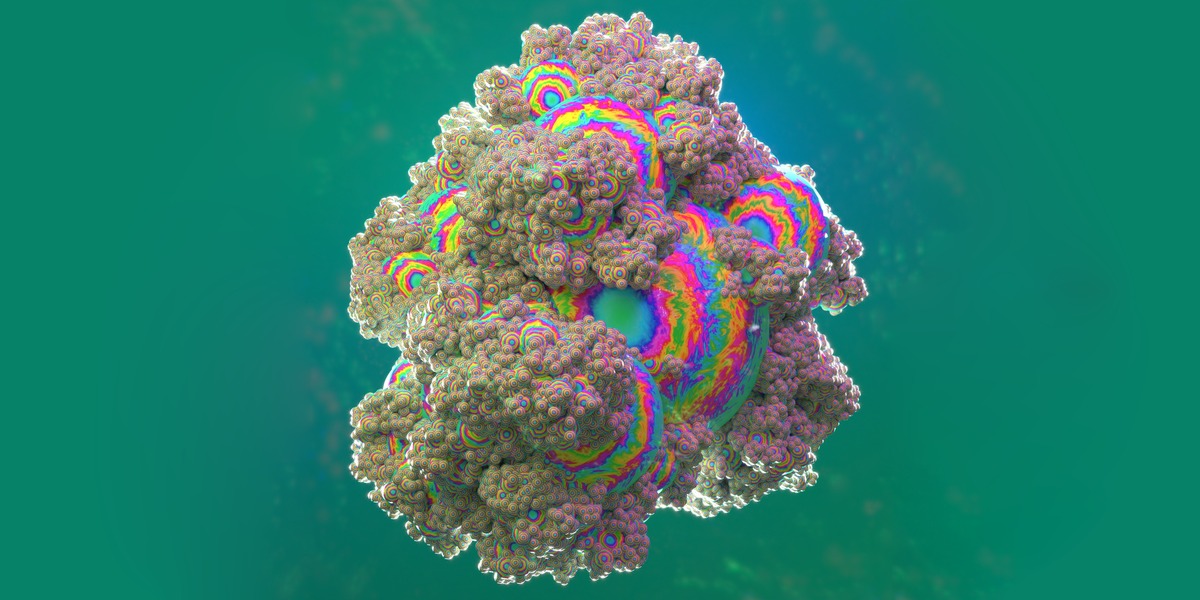
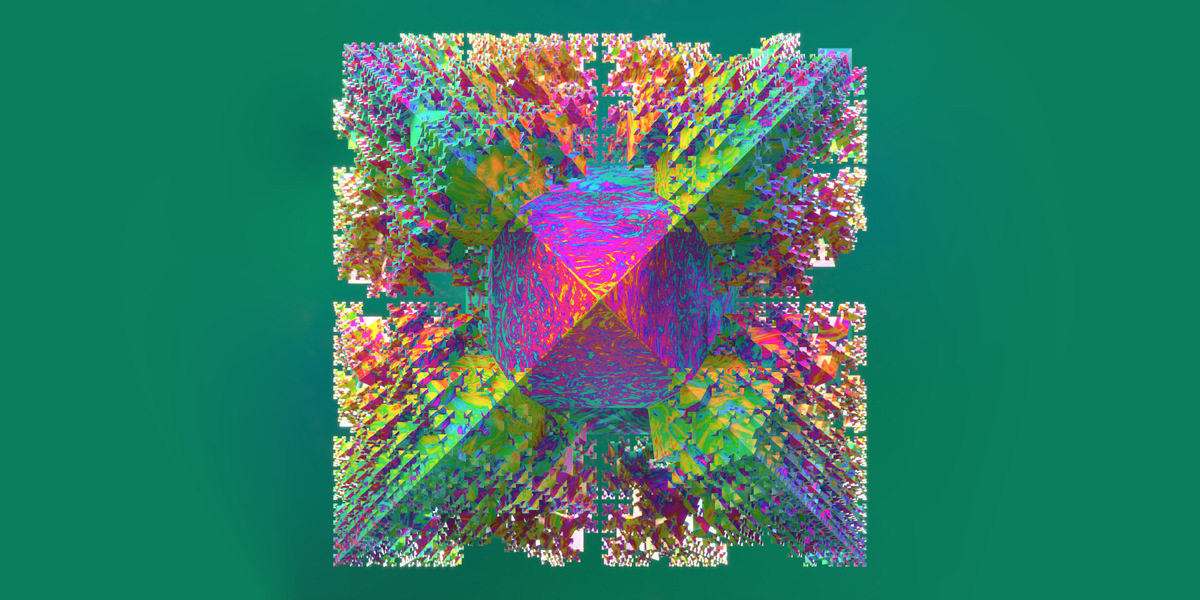


Turn two simple shapes into a fractal.
Fractal Generator builds fractals inside Blender from two meshes you choose. Even the default cube gives a striking result, and the vertex estimate and limit help you avoid crashes.
What's included
- The add-on zip file
- Cycles .blend files of the renders shown on this page
- Free updates
No sales. The price only goes up, and only when a big update releases, so there's no reason to wait.
Tools
| Tool | What it does |
|---|---|
| Fractal Generator | Builds a fractal from a structure object and a seed object |
| Geo Fractal | Generates fractals with Geometry Nodes, so you can keep adjusting them |
| Studio | Builds a lit scene and camera around your selection, ready to render |
How to use it
Open the sidebar in the 3D Viewport (N), go to the PGT tab and click the image to choose a tool.
Fractal Generator
- Choose a Structure Object and a Seed Object.
- Set the Iterations. The panel shows an estimated vertex count before you generate.
- Set Max Verts. As a guide, use up to 300,000 per GB of RAM, and lower it if Blender still crashes.
- Click Generate Fractal.
Other settings:
- Chance To Spread: below 100%, branches stop at random for a more organic shape.
- Spawn Location: where the fractal is created.
- Add Rotation: fixed or random rotation per branch. This can be about 10 times slower.
- Scale: a fixed or random scale per iteration, as one value or per axis.
- Separate Layers: puts each layer in its own object.
- Use Particle Render: renders more detail than a single mesh can hold. Convert Part To Inst converts the particles to instances, so you can edit them.
Particle rendering for more detailed fractals, shown at 4X zoom
Instance editing, when using particle render
Random scale and rotation. Yes, just the default cube
Geo Fractal
Click Gen Fractal, then choose the Structure Object and Seed Object. Adjust Iterations, Fixed Rotation, Min and Max Random Rotation, Scale, Iteration Scale Div, Min and Max Random Scale, Chance To Spread, Seed and Material.
Studio
Select your objects and click Build Studio. Your objects aren't changed.
- Look: Dark, Glow, Soft Lavender or Colored Wall, which adds a Wall Color setting
- Framing: Standard, Close, Low, High, Macro or Off Center
- Light Setup: click an image to fill in the light settings, then change any of them
- Lights: Key, Rim, Backlight, Backdrop Glow, Light Angle, Light Height and Strip Lights. Each has its own color, and Main Color sets them all at once
- Camera: Camera Angle, Camera Height and Zoom
- Scene: Wall Brightness, Floor Offset, Exposure and Bloom
Remove Studio deletes the scene and restores your previous camera, world and color settings.
The Studio doesn't change your render settings. For glass and crystals, click Set Crystal Render Settings, which sets up Cycles with high light bounces and caustics, on your GPU if you have one.
Buttons for every tool
- Randomize All Parameters gives you a new variation.
- Reset All Parameters returns to the defaults.
- Copy Seed and Paste Seed copy the current settings and bring them back later.
- The Presets panel saves and loads your settings.
Examples
Chance To Spread at 100%
 +
 =

Another pair at 100%
 +
 =

The same pair with Chance To Spread below 100%

Below 100%, with random scale and rotation

Compatibility
-
Blender 4.0 to 5.2: download
PGT_Fractal_Generator_6.0_Blender_4.0-5.2.zip. This is the current version. - Older Blender: download the zip numbered for your Blender version. Older zips don't have the newest tools.
Installation
- Download the zip. Don't unzip it.
- In Blender, go to Edit > Preferences > Add-ons, click the arrow in the top right and choose Install from Disk. On Blender 4.0 and 4.1, click Install.
- Select the zip and tick Procedural Generation Toolkit in the list.
- If you've installed a PGT product before, restart Blender.
- Press N in the 3D Viewport and open the PGT tab.
Support
Questions, bugs and feedback are all welcome on Discord or Instagram.