Geotagger
 3DVision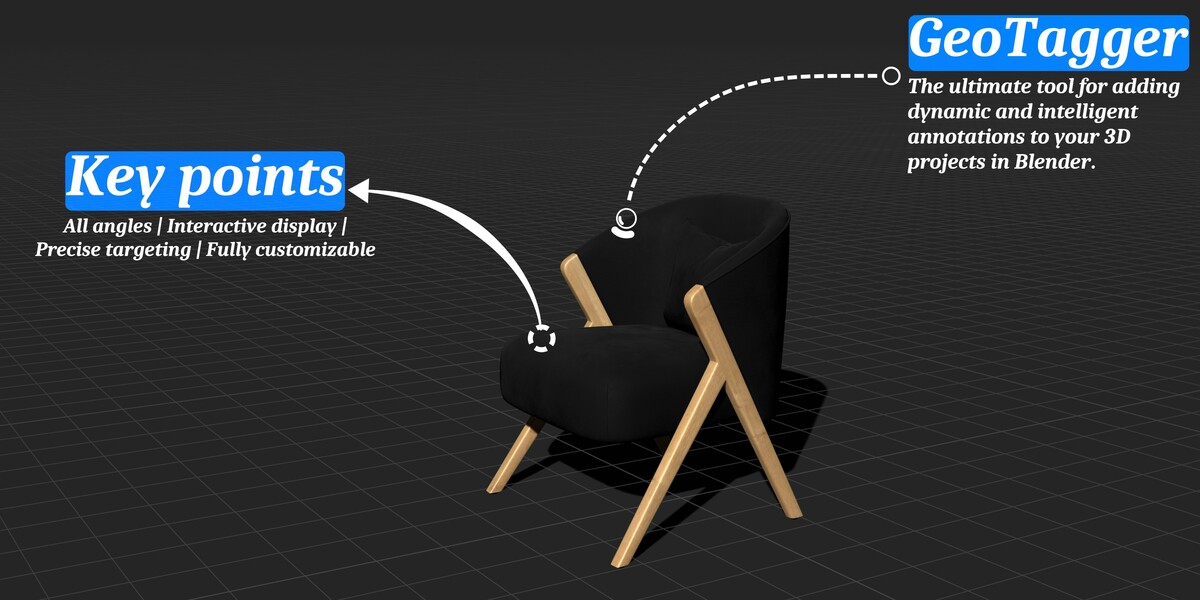
Documentation
If you're using the asset browser for the first time, follow these instructions.
Step 1: Open Blender and Access the Asset Browser
- Open Blender: Launch your Blender application.
-
Access the Asset Browser:
- Convert one of the panels in your workspace to
Asset Browser. You can do this by clicking on the icon at the top left of the panel and selectingAsset Browserfrom the dropdown menu.
- Convert one of the panels in your workspace to
Step 2: Create a New Asset Library
-
Create a Library:
- In the Asset Browser, go to the sidebar (press
Nif it's not already open). - Under the
Asset Browsertab, click onNew Library. - Name your library, for example, "GeoTagger Library".
- Choose a location on your disk where you want to save this library.
- In the Asset Browser, go to the sidebar (press
Step 3: Import the .blend File of the Add-on
-
Save or Copy the
.blendFile:- Ensure that the
.blendfile of your add-on is saved in the location you set for your new library. - You can also copy and paste your
.blendfile directly into the library folder via your system's file explorer.
- Ensure that the
Step 4: Load the File into the Asset Browser
-
Load the File:
- Return to Blender and the Asset Browser.
- Click on the dropdown menu next to
Current Fileand select your library (e.g., "GeoTagger Library"). - You should now see your
.blendfile listed. Click on it to open it in the Asset Browser.
Step 5: Using the Assets
-
Using Assets in Your Projects:
- In any Blender project, open the Asset Browser and select the library containing your assets.
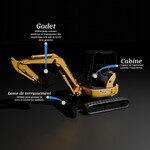
- Drag and drop the GeoNode add-on assets directly onto the object you wish to add a title to in your scene.
This guide should help you set up and utilize your GeoNode add-on .blend file in Blender's Asset Browser, making your tools easily accessible for quick and integrated use in all your projects.
-
$10
This pack contains the lite version
-
$29
This pack contains the Full version
Have questions about this product?
Login to message
Discover more products like this
animated-geometrynode call-out titles geotagger 3dvision geom spring24 animated titles blender titles MotionGraphic callout