Ghost Frames — Animation Tools for Blender
 gigirenders

Getting started
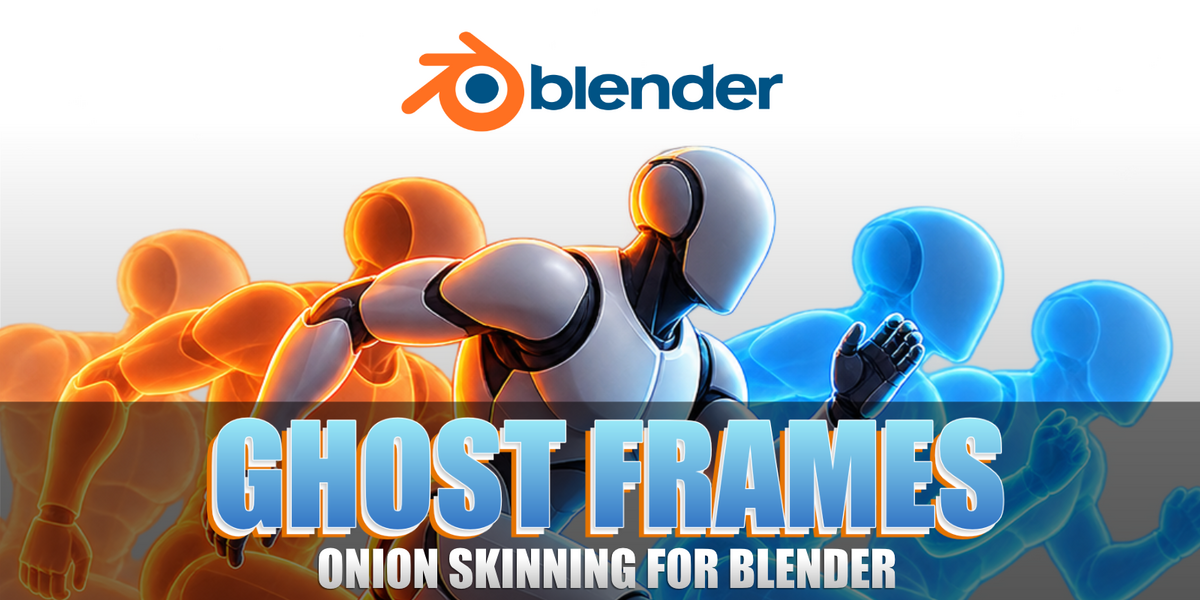
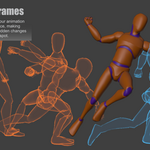
Ghost Frames helps you inspect animation by displaying past and future poses, saving custom pose references, and showing motion paths inside Blender’s 3D Viewport.
Requires Blender 5.0 or newer.
Installation
Download the add-on ZIP. Keep it zipped.
Open Edit > Preferences > Get Extensions.
Open the menu at the top right and choose Install from Disk.
Select the downloaded ZIP and enable Ghost Frames.
In the 3D Viewport, press N and open the Ghost Frames tab.
Quick setup
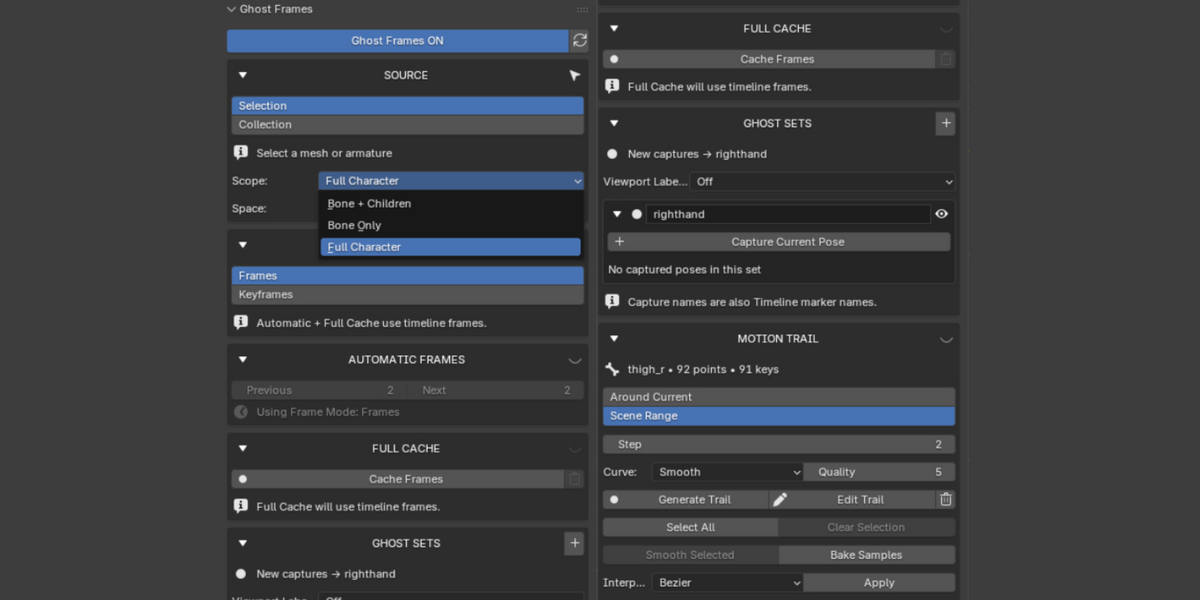
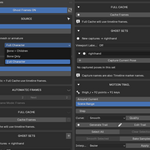
Select an animated mesh or armature. Under Source, choose Full Character, then click Enable Ghost Frames. Open Automatic Frames, increase the Previous and Next counts, and scrub the timeline.
You can use selected objects or meshes from a chosen collection. Hidden meshes are excluded.
Automatic Frames
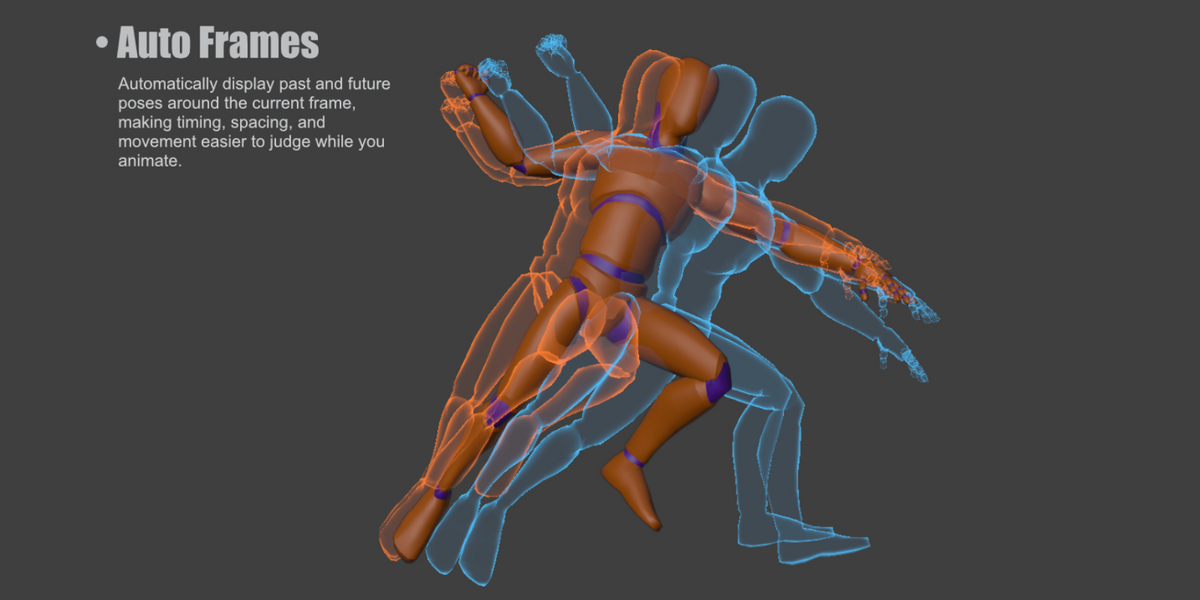
Display poses before and after the current frame. These update as you scrub, helping you judge spacing and pose transitions.
Choose Frames to sample timeline frames, or Keyframes to sample the source’s active Action keys. NLA animation automatically uses Frames mode.
Set either count to zero to hide that side. Use the refresh button if the display needs rebuilding after an edit.
Custom captures and Ghost Sets
Create and activate a set using the + button in Ghost Sets.
Move to the frame you want to save.
Click Capture Current Pose.
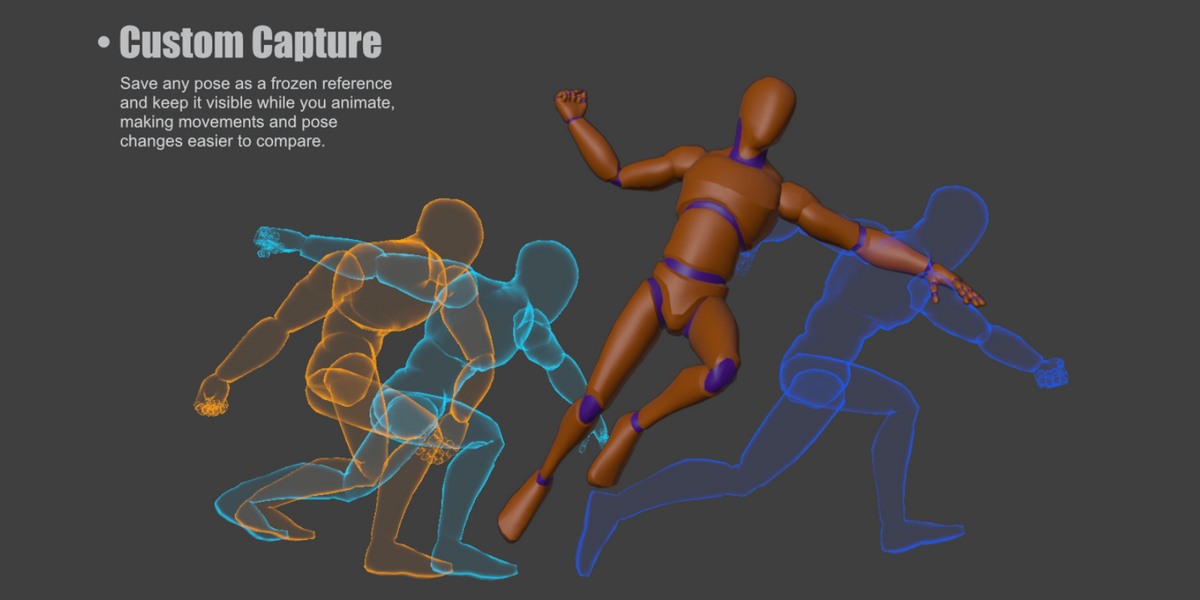
Captured poses remain frozen while you continue animating. Rename them, adjust their appearance, toggle visibility, jump to their original frame, or delete them individually. Sets let you organize and show or hide groups of captures.
Save your Blender project to retain captures. Deleting a set also deletes its captures.
Full Cache
Set the scene’s Start and End frames, choose Frames or Keyframes, then click the cache button under Full Cache.
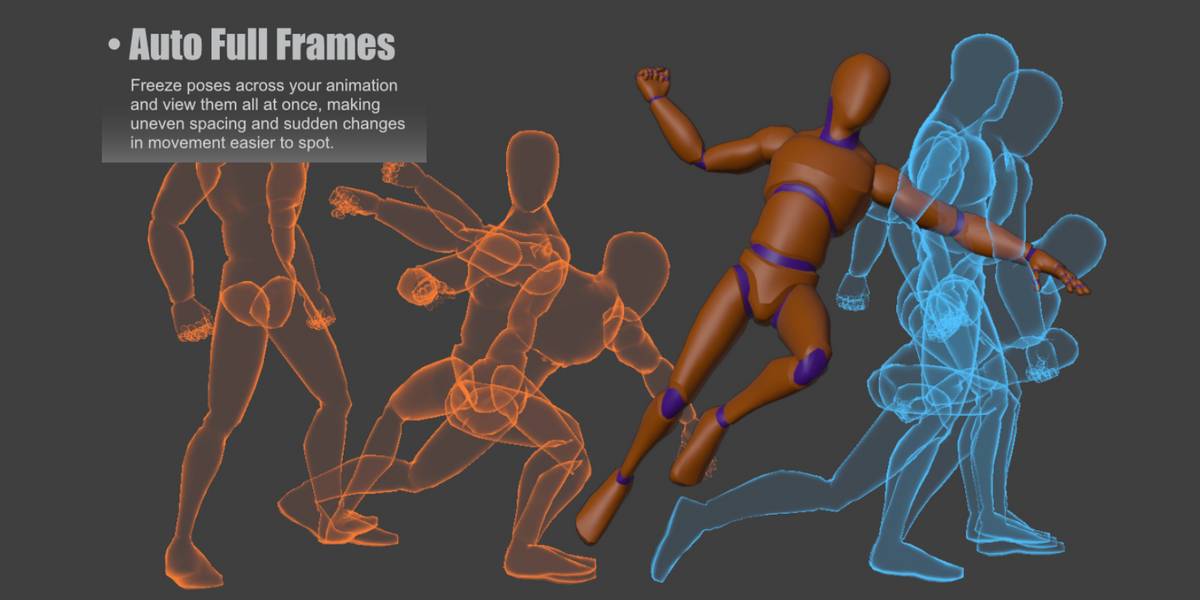
This stores a selection of poses across the range so you can inspect the movement at once. Adjust Visibility to reduce the number displayed, use the eye switch to hide them, or the trash button to clear them.
Full Cache supports up to 64 sampled poses. Longer ranges are sampled across the range rather than displaying every frame.
The cache is a frozen snapshot: generate it again after changing the animation. Reopening the project, Undo/Redo, and certain source changes clear it. Use custom captures for references you want to save.
Character scope and positioning
Full Character: display the complete character.
Bone Only: display the mesh region associated with the selected bone or control.
Bone + Children: include its deform descendants.
World: display poses at their scene positions.
In-Place: align the source object or armature transform for easier pose comparison.
Selected-part display depends on the rig and mesh weights. Use Full Character if the selected region cannot be resolved. In-Place does not remove movement animated inside a separate root bone.
Motion trails
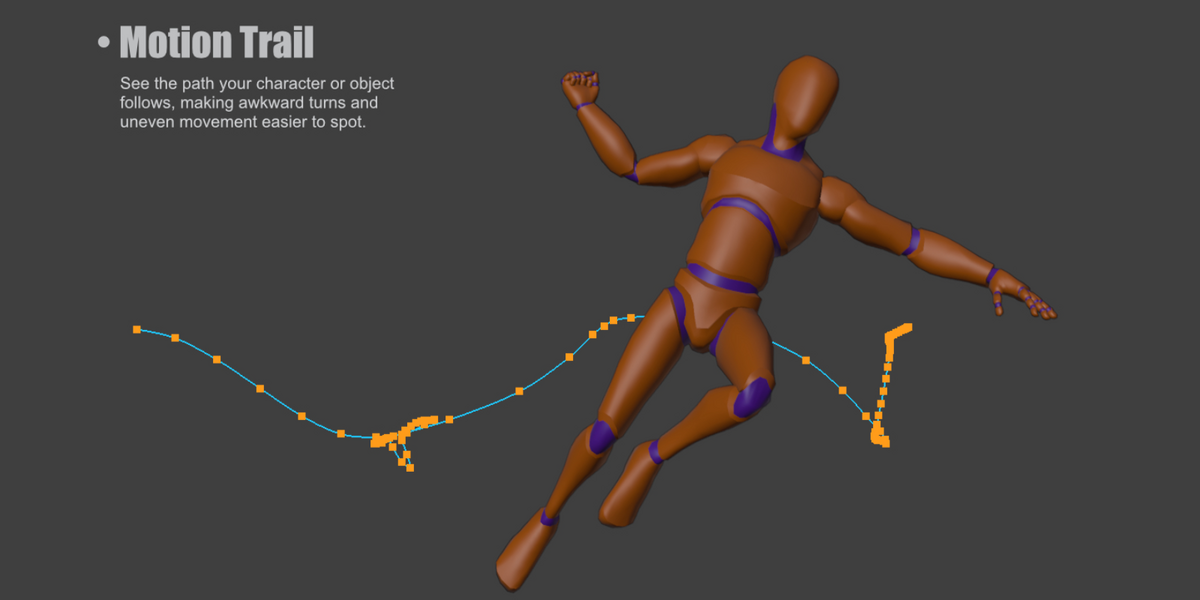
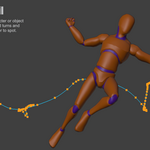
Select an animated object or pose control, open Motion Trail, and choose Around Current or Scene Range. Set the sampling step and click Generate Trail.
Trails follow an object’s origin or a pose bone’s head. Choose Polyline or Smooth for the guide’s appearance. Regenerate after changing the animation, target, or sampling settings.
For supported objects and controls with directly animated Location keys, click Edit Trail:
Click a keyed point to select it; Shift-click to select additional points.
Drag to move selected keys.
Press X, Y, or Z while dragging to constrain movement.
Hold Shift for finer movement.
Press A to select all editable keys, or Alt+A to clear selection.
Right-click or Esc during a drag cancels it. Enter or Esc while idle finishes editing.
Smooth Selected adjusts interior key positions. Apply Interpolation changes Location-key interpolation. Bake Samples inserts Location keys at sampled frames. These operations change your animation; use Blender Undo to revert them.
Direct editing requires suitable local, independent, unlocked Location-keyed targets. NLA animation, constrained or driven targets, shared Actions, linked data, and rotation-only bones are available for reference viewing but cannot be edited through the trail.
Contact markers
Select an object or pose control and click Add Contact at Current Frame to mark its position. Use these references to compare foot placement, hand placement, or interactions.
Contacts are visual guides. They do not lock feet or automatically correct sliding.
Appearance and performance
Adjust ghost colors, opacity, edge appearance, labels, and trail settings in the panel. Reduce ghost counts and the Full Cache Limit when working with dense characters.
Saving and resetting
Custom captures, Ghost Sets, and contact information are saved with your Blender project. Ghost Frames starts disabled when a project is reopened; enable it again to display saved references.
Reset Settings restores defaults and clears Full Cache and Motion Trail. It preserves captures, sets, and contacts.
Ghosts, trails, labels, and contacts are viewport overlays and do not appear in final renders.
Troubleshooting and support
If nothing appears, enable Ghost Frames, select a visible animated mesh or armature, choose Full Character and Frames mode, and set a nonzero Previous or Next count.
If cached poses look outdated, generate the cache again.
For support, contact the creator through this product’s support page. Include your Blender version, operating system, reproduction steps, and any error message.
Have questions about this product?
Login to message
| Blender Extension Compatible | Yes |
| Published | about 3 hours ago |
| Blender Version | 5.0 - 5.2 |
| Extension Type | Add-on |
| Render Engine Used | Blender-Internal, Cycles, Eevee |
| License | GPL |
