 IK3D
IK3D


Introduction
- Installation of the Gravity Rope add-on :
Go to Edit → Preferences → Add-ons → Install… → Choose the GravityRope.zip file Check the box “Gravity Rope” Restart Blender to finish installation.
Default settings:
Here you will find several parameters to speed up the process when you animate several ropes in a row.
To choose the cache folder (Really important to avoid losing a simulation.) :
Go to the Gravity Rope panel → Default settings → Bake folder
Rope over path (manually draw path):
This mode allows you to precisely draw the rope you want by hand. You can draw a path by changing the 3d cursor position and add a new connection point from the pose tab. In the pose tab you can also detach or hang the rope at a point.

To create a new wire (when nothing selected) you have to click on Gravity Panel → Create Rope → Add button (+ icon) (If you have an object selected (The icon is different))
Then you can add some connection point by clicking on the 3D cursor button on the pose panel :
 In this tab you can also modify the connection order of the points. When you have selected a point you can decide to take off the rope. Notice that in this mode there is minimum 2 connection points.
Add pendulums to path, manage pendulums:
The single rope mode (see upper) allows you to hang out objects, This functionality will be available for the other modes in the next version.

Cluster Rope object:
With this mode you can generate a multitude of ropes quickly. It is activated when you have selected an object of type "MESH" (with at least two vertices). It's a semi-automatic mode driven by percentages. (Ex : % of head of rope falling, % of connection, etc). (Notice that you can select and remove unwanted wire.)

Cluster bridge over objects:
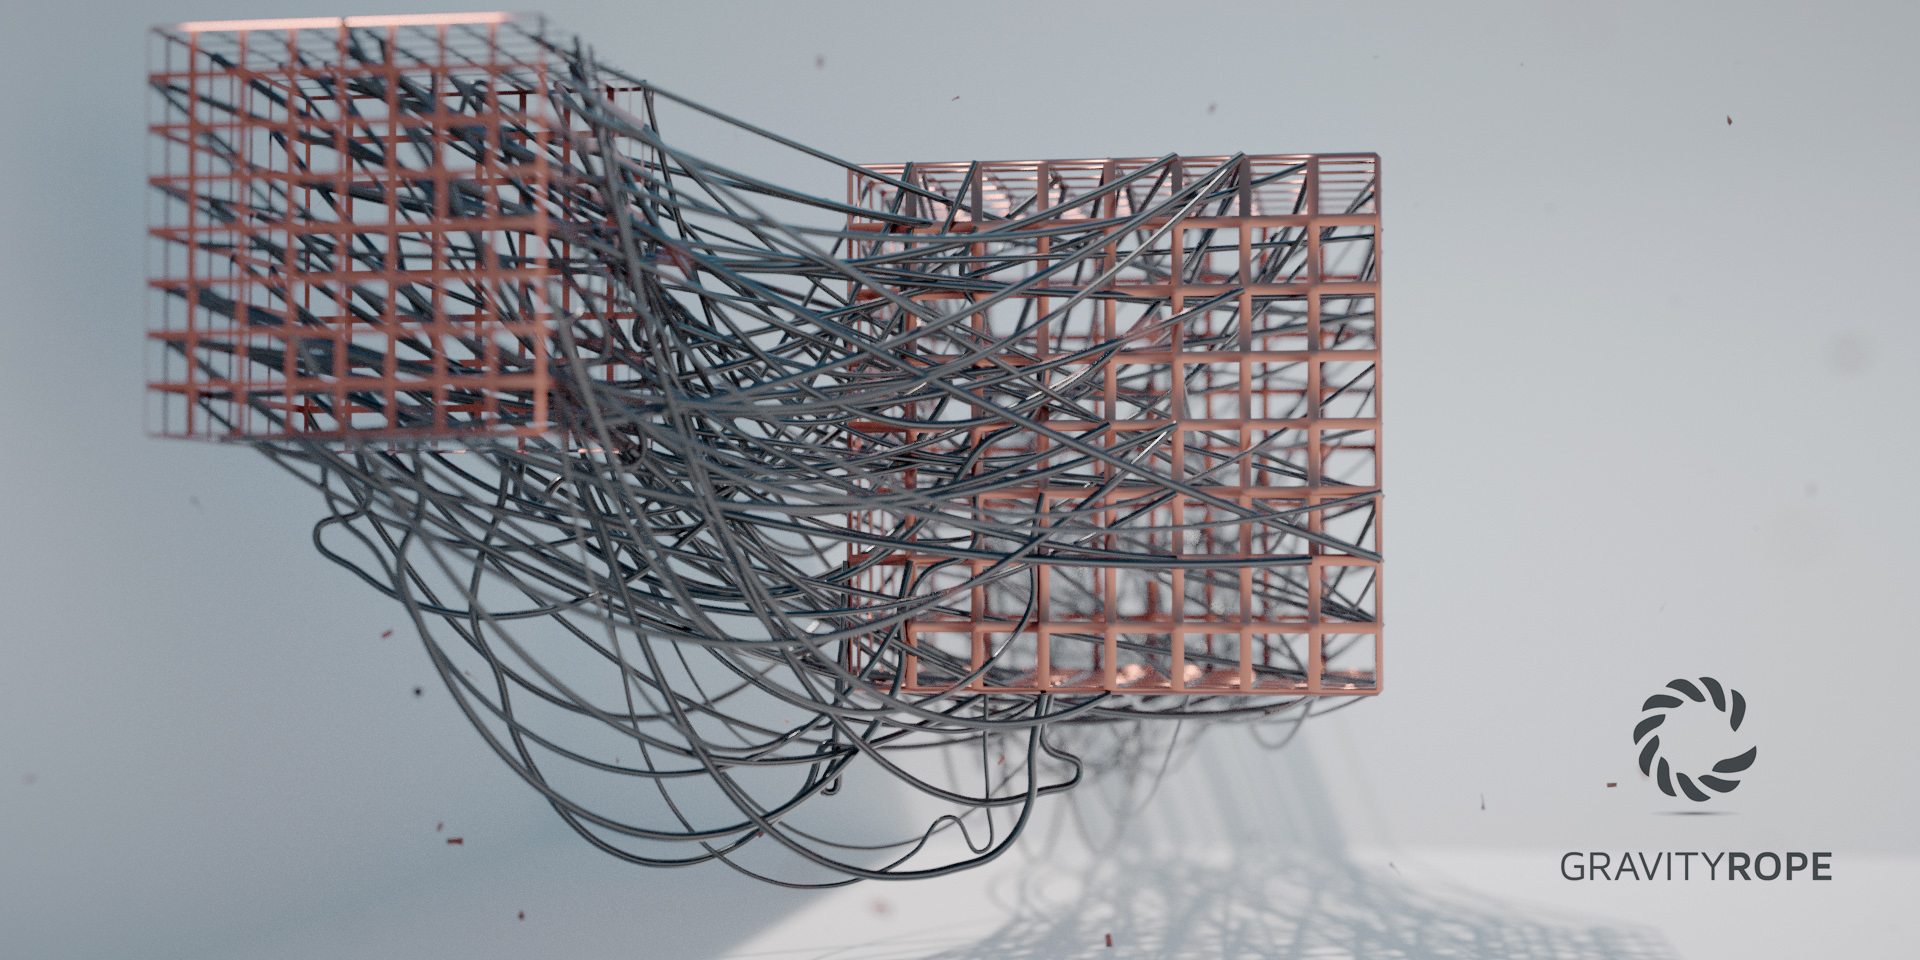
This mode lets you make a bridge using the vertices of two objects. It works like the previous mode (Cluster Rope object).

Live simulation
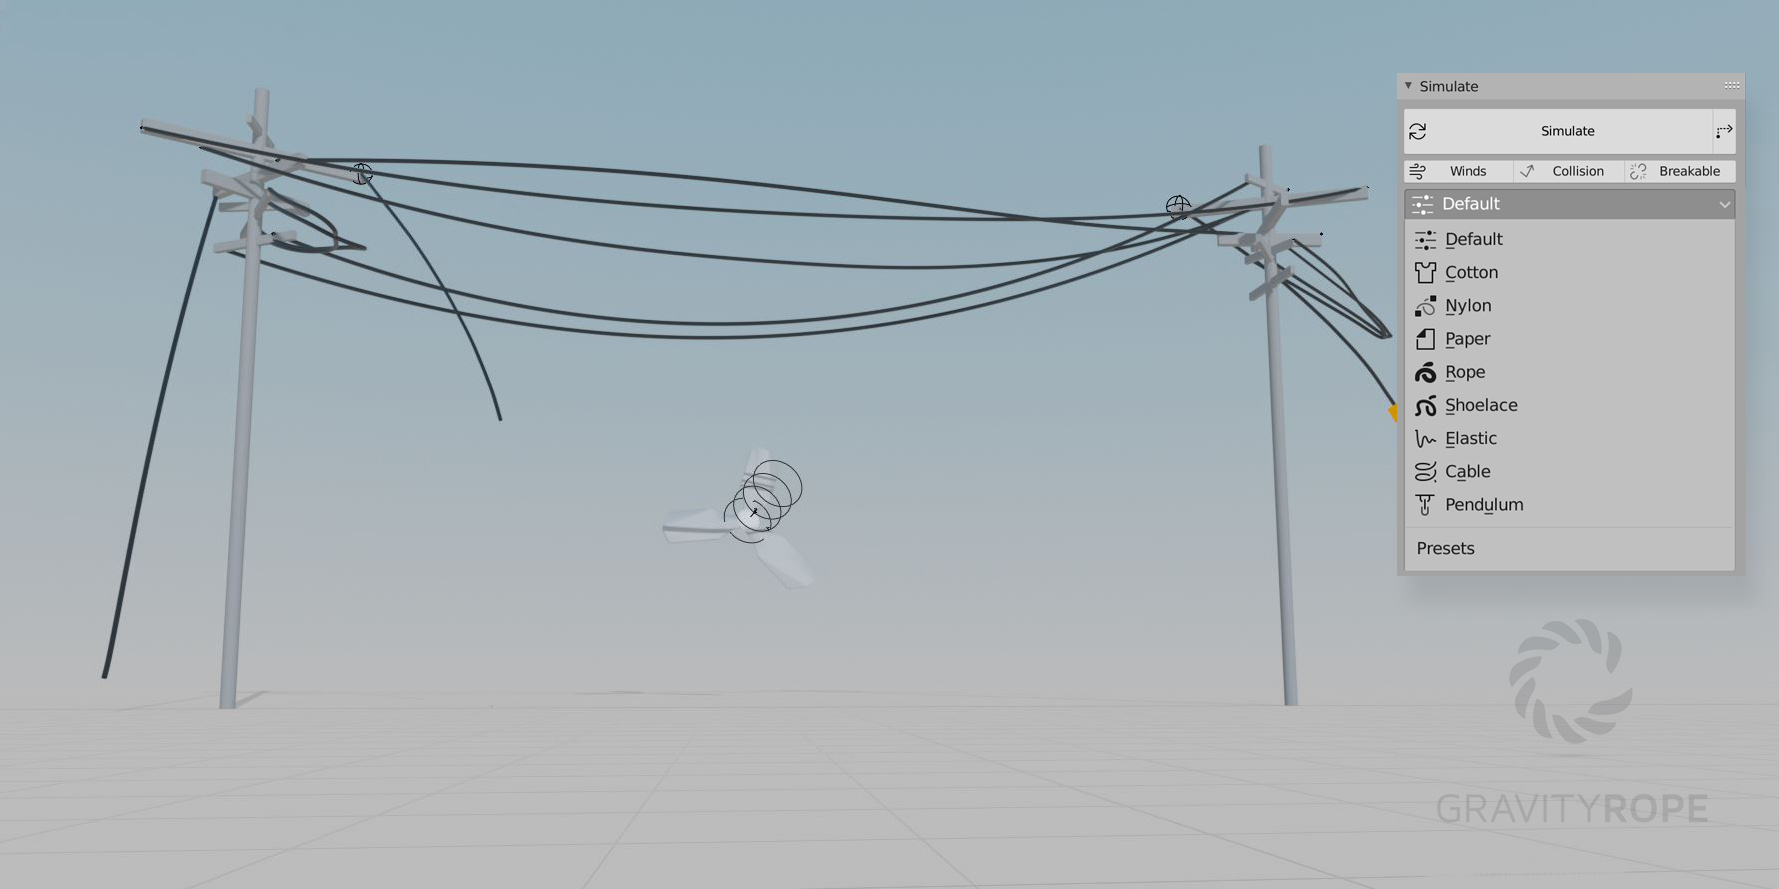
Gravity Rope simulates in real time while the timeline plays. Enable the Live toggle at the top of the Gravity Rope panel, then press Play: every frame is simulated and cached on the fly. Scrub back at any time to replay the cached simulation, and turn Live off to freeze the result (cache playback only). Use the Re-sync button (refresh icon) to rebuild the simulation from the start frame after major changes. You can choose from many material presets to make the motion more realistic.
 |
 |
Physics settings :
Under the simulate button you have some important physics settings. You can change the length and the mass of the rope to modify the physics of this one. and you can also change the fps to improve quality of the simulation and doing some interesting stuff in motion design (slow down move effect with high FPS).

Making Breakable Strings :
You need to activate the collision (under the "simulate" tab) and activate the "breakable" feature. There are two important parameters :
-
Simulate --> Physical parameters --> Collision --> Repulsion:
must be at least 1 to react to the collision -
Simulate --> Physical parameters --> Spring --> Breakable:
a small value makes the rope very sensitive and breakable
 Issue to know : Notice that the collider object can’t support the rope feedback (stop or cushion an object)
Geometry / skin / curves:
In the Geometry mode you can add a curve shape to your rope. You just have to draw the curve shape in the geometry panel and to use the curve settings to modify some curve parameters (extrude, depth or resolution)
Taper — variable thickness:
Want a rope that gets thinner toward the ends, a cable that swells in the middle, or any custom thickness profile? Draw a Curve shape in the Geometry panel: it drives the skin's thickness along the whole length of the rope, so the same profile tapers, bulges or pinches exactly where you want. Works live and on every skin — built-in or your own.
Procedural skins:
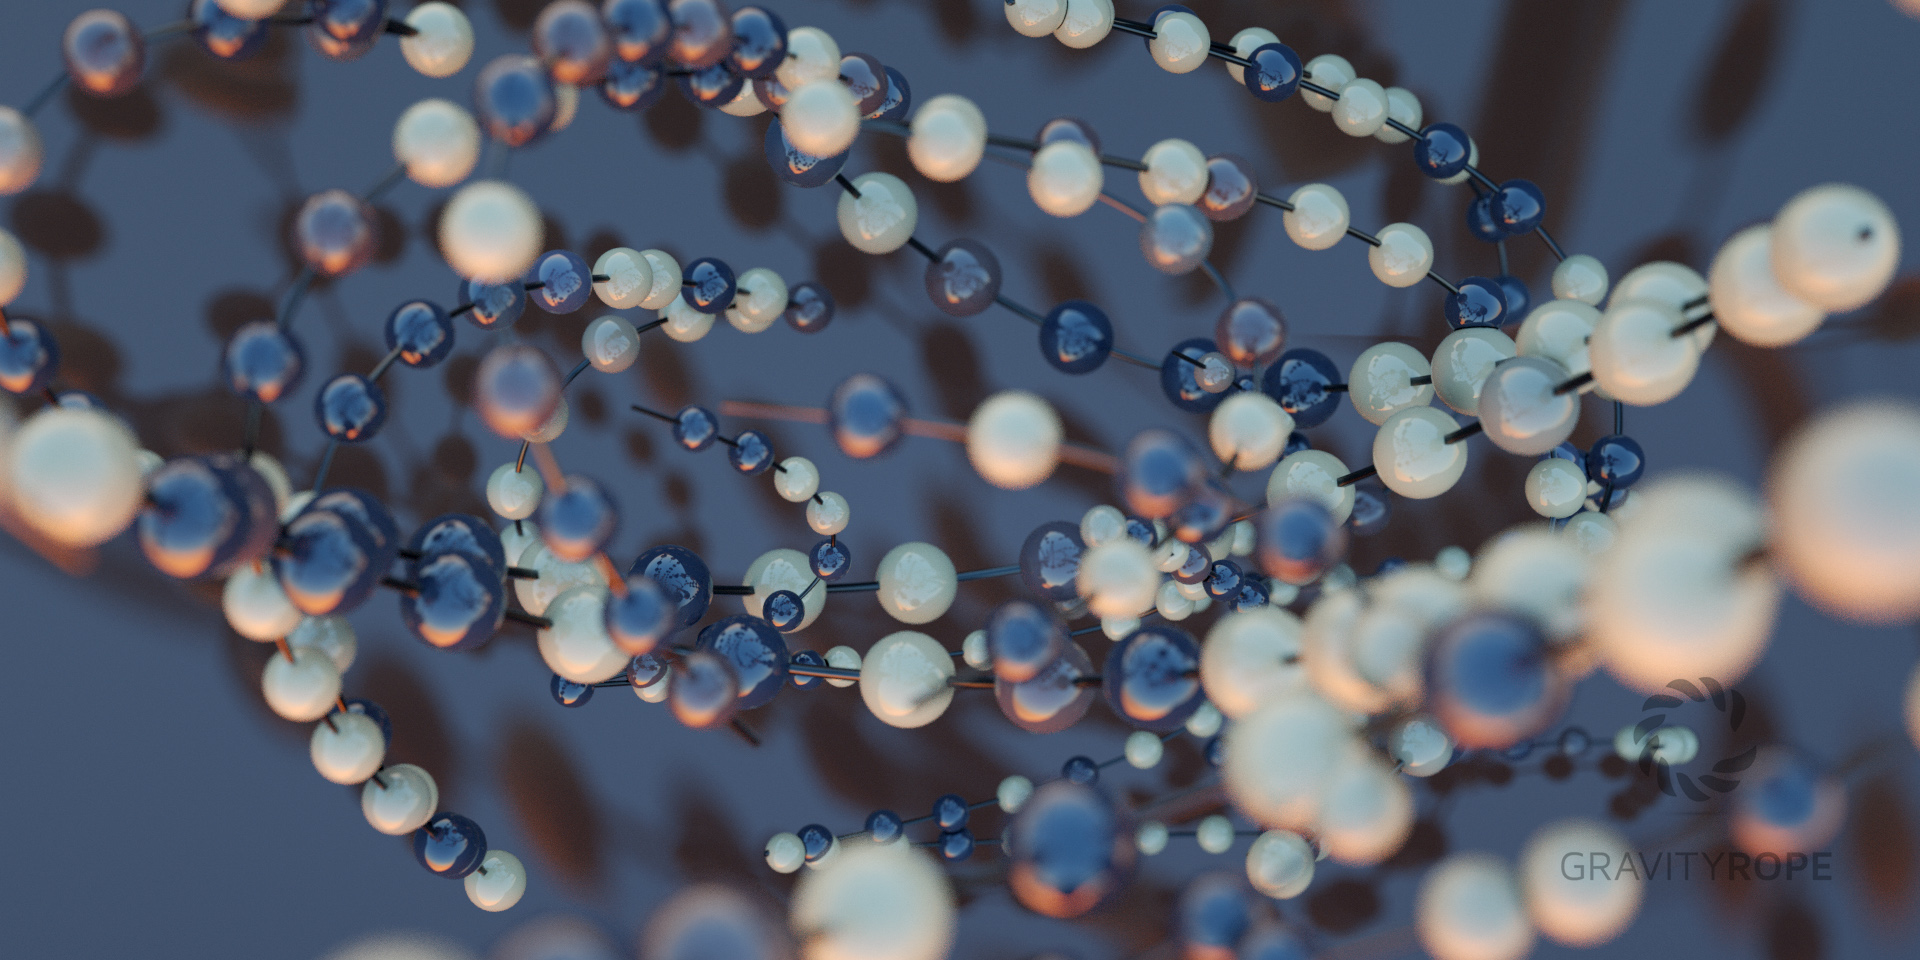
The Skin panel (under Geometry) gives you ready-made procedural geometry built with Geometry Nodes: Rope (multi-strand), Chain, Phone cable (coil), Flat ribbon, Beads / pearls, Corrugated hose, Wire bundle and Braided sleeve. Adjust the Radius, Strand, Section shape (Round, N-gon, Capsule or Custom) and Twist (turns and phase) to get the exact look you want — no manual modifier setup required.
Custom skins — bring your own look
Geometry Nodes is the native way Gravity Rope dresses your rope curves — every skin, built-in or yours, is just a Geometry Nodes group that turns the live curve into a mesh. Start from the New skin button, or build one by hand following 3 simple rules. Your own group is treated exactly like a built-in skin: same Skin menu, whole rope, same bake.
The easy way — the New skin button
Click New skin, type a name, and pick a starting template — the addon wires it up and drops it straight onto the rope so you see it live, then you tweak it in the Geometry Nodes editor. Templates: 2D profile (sweep) sweeps a 2D shape along the rope (starts as a round tube — swap the circle for your own profile); Mesh repeat repeats a mesh like an array (starts as a cube); Blank is an empty passthrough to build from scratch. One thing to keep: don't change the type of the Geometry output socket — everything else inside is yours.

Build it by hand — the 3 conditions
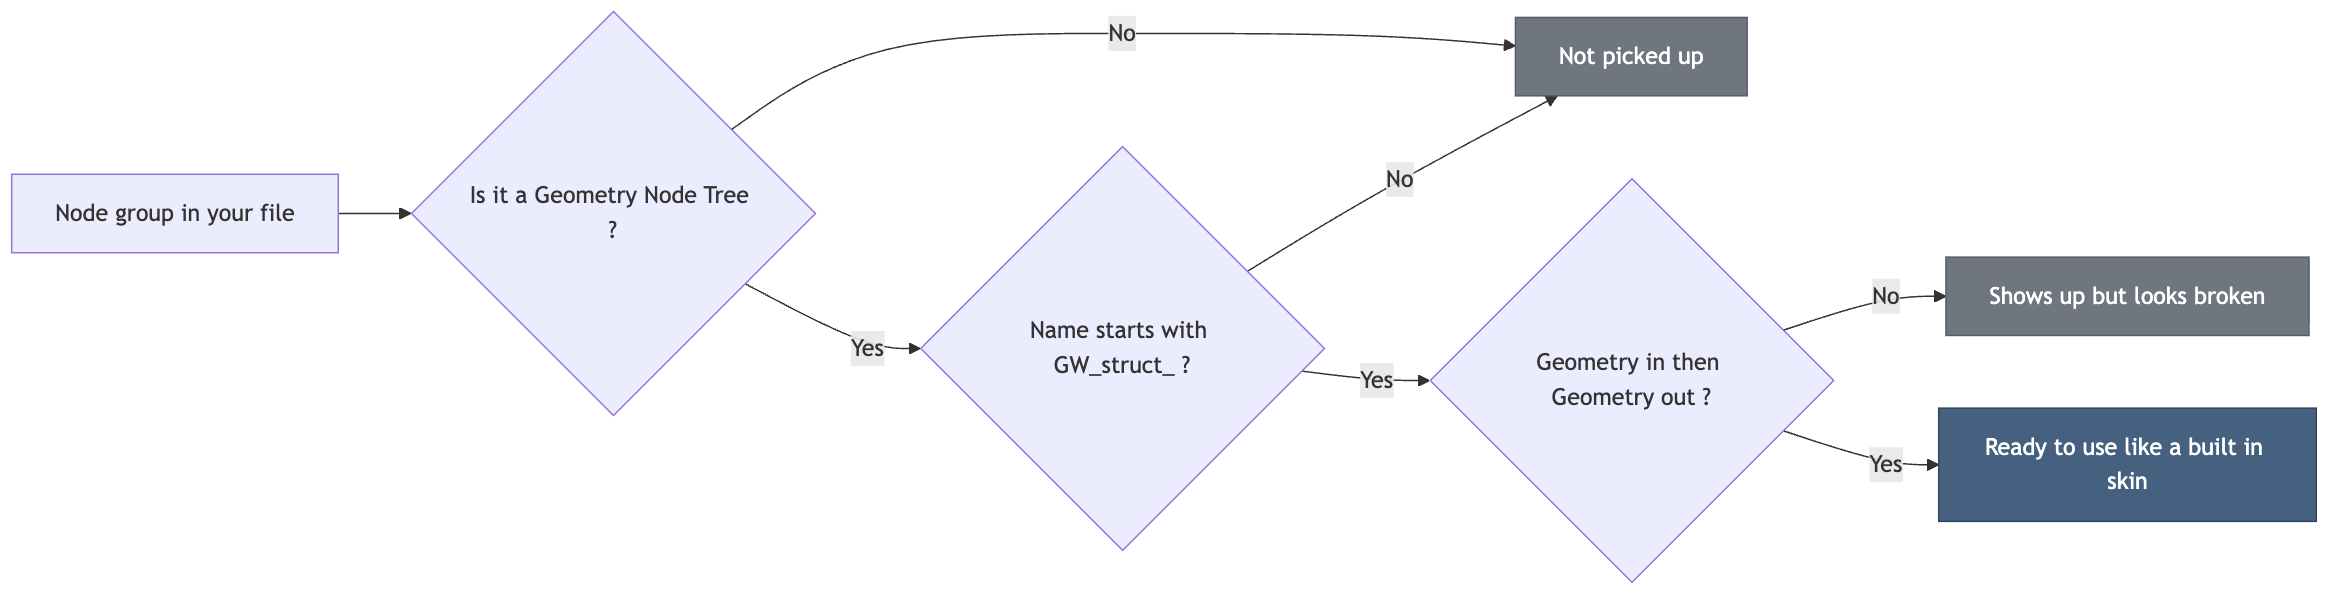
Prefer to build the node group yourself? Three conditions make the addon recognize it: (1) it must be a Geometry Nodes group; (2) its name must start with GW_struct_ (e.g. GW_struct_myCable — the Skin menu shows it without the prefix, simply as "myCable"); (3) it needs a Geometry input first and a Geometry output — the rope curve comes in and updates every frame, your mesh comes out. Any extra inputs you add (e.g. Radius) are wired to the matching rope settings automatically.
Baking is non-destructive
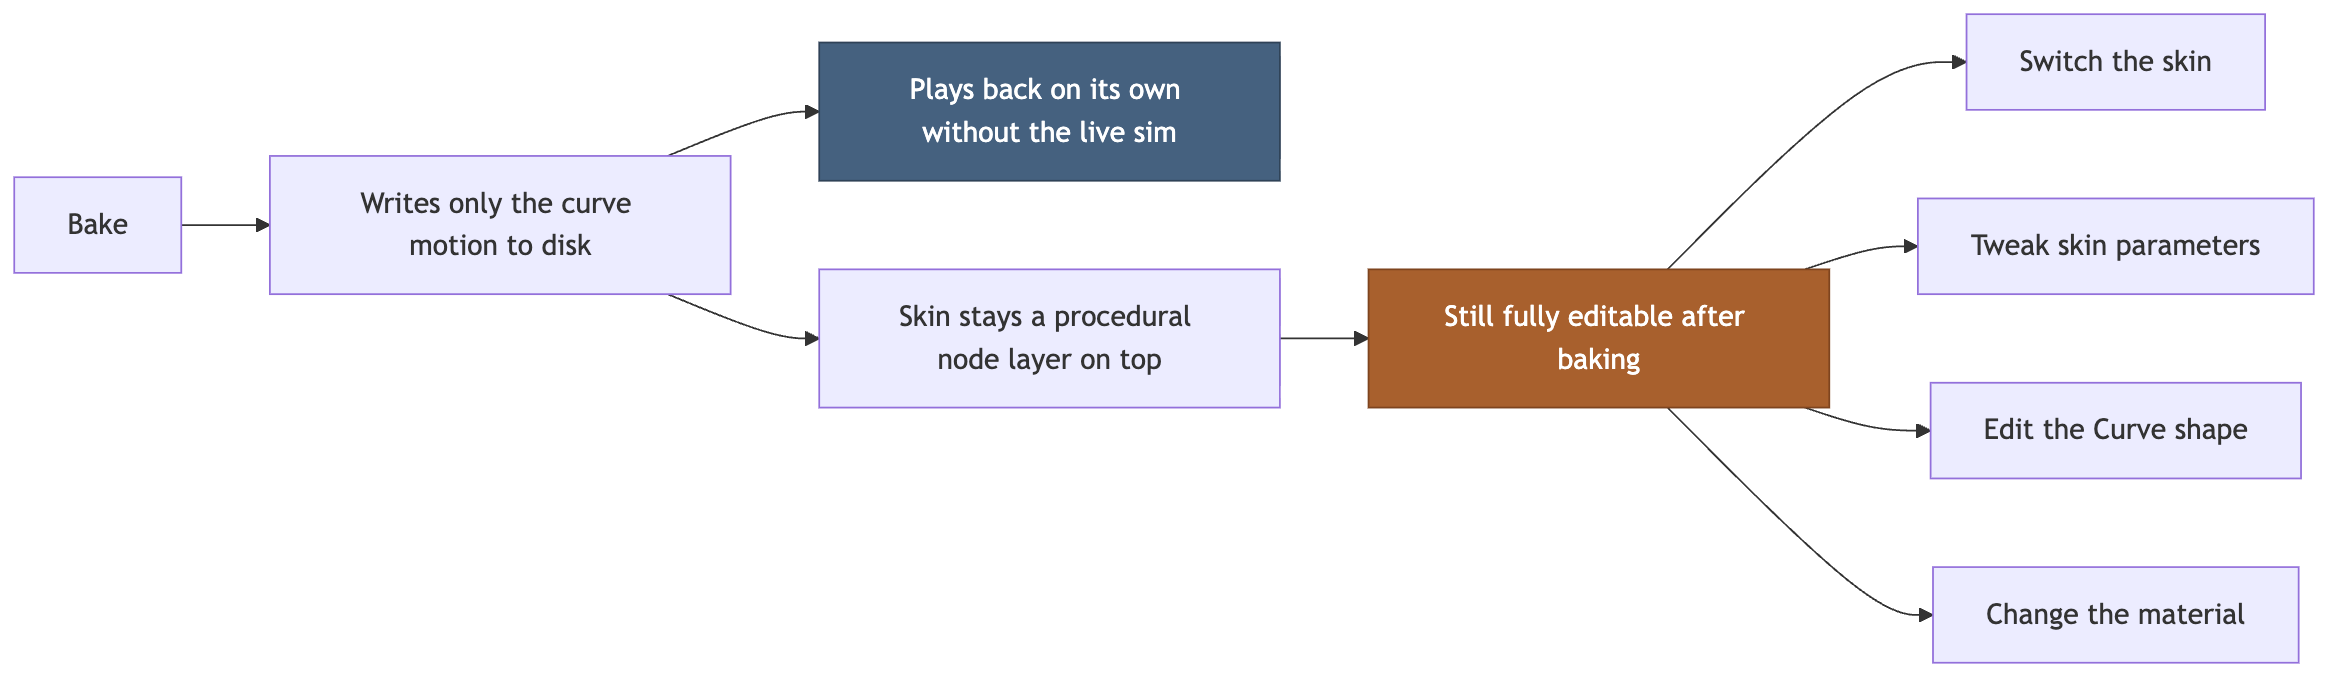
Baking writes only the curve motion (point positions per frame) to disk — it never flattens the look. The skin, the Curve shape and the material stay procedural Geometry Nodes layers on top of the baked curve, so they remain fully editable after baking: switch the skin, tweak its parameters, edit the Curve shape or change the material — while the baked curve plays back on its own, without the live sim.
The Skin menu is the supported way
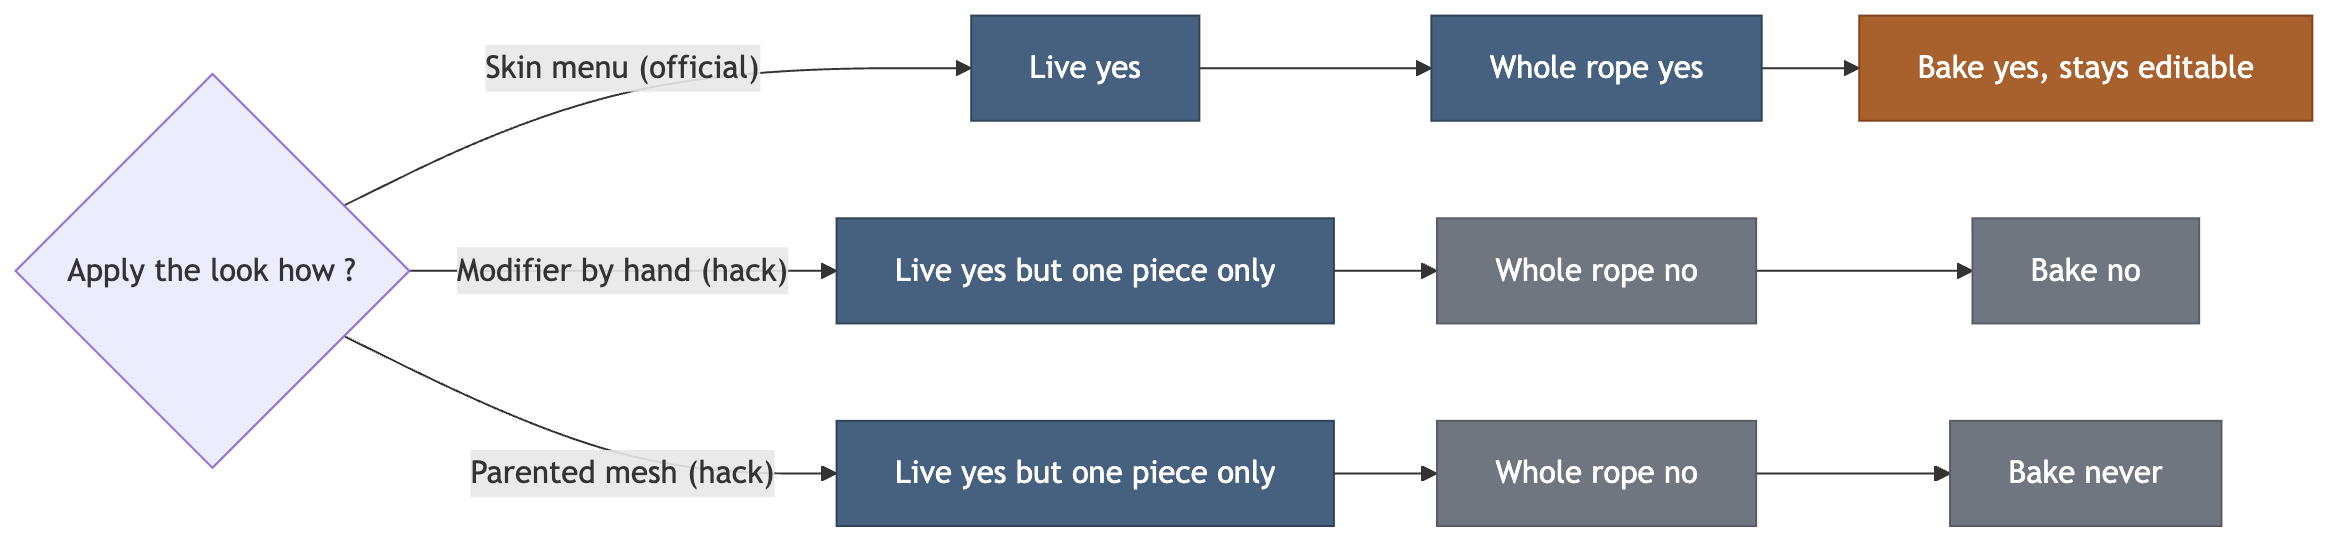
Only the Skin menu (Geometry Nodes) spreads across the whole rope and survives the bake — what you see live is what you get baked. A hand-added modifier or a parented mesh is a quick hack: one piece only, and never baked.
In short
Build your look as a node group named GW_struct_…, pick it from the Skin menu, and it works everywhere — whole rope, live, and after baking. The bake writes only the curve motion; the skin, Curve shape and material stay procedural and editable even after.
Geometry / tool / extract data:
This feature allows you to extract the simulation and convert it in cloud point with an empty at each point. It's allows you to hang objects more intuitively on the rope.


You can also create a profile using a bevel object (a rope for example ) : When you have your bevel object ready you have to add an array modifier and a curve modifiers to your object. Once this is done your rope will have the profile of your object.
 The objects generated with this method are ready to render directly; for a frozen, shareable result, use the Bake step below.
Baking:
When your animation is ready, bake it to freeze the result so you can share the project or render it on a render farm. In the Baking panel, the Bake format option offers two outputs: Blender (GN) — a native Geometry Nodes disk bake, fully self-contained in the .blend — or USD — one .usdc per frame using UsdGeomBasisCurves, ideal for pipelines. Use Bake to simulate and bake in one pass, or Cache to Bake to convert an existing live cache into a baked result. You can bake several ropes at once, and optionally clean up the hooks after baking.
Display:
Here you can display useful information for debugging. You can for example display the simulation in the form of a particle and/or hide the “relationships lines”.
-
$34.90
For freelancers and personal use
-
$68.90
For studio / production environments requiring professional support.
Have questions about this product?
Login to message
| Blender Extension Compatible | Yes |
| Sales | 600+ |
| Rating | 10 ratings |
| Dev Fund Contributor | |
| Published | over 6 years ago |
| Blender Version | 3.5 - 5.1 |
| Extension Type | Add-on |
| License | GPL |
