 Medicraft


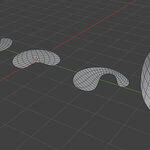
UPDATE: Version 1.1 fixes an issue with "Grid Fill Mesh" where it was inadvertently resampling the mesh and ruining corners.
Blender's native Grid Fill is an incredibly useful modeling tool, but applying it destructively interrupts your procedural workflow. This Procedural Grid Fill tool brings that same quad-generating power directly into Geometry Nodes.
Available as both a ready-to-use Modifier and a Node Group, this asset is designed to generate clean grid topology inside your custom boundaries—allowing you to maintain a fully non-destructive pipeline from start to finish. While no grid-fill algorithm is absolute magic (extremely pinched or heavily deformed wires will still challenge it, just like the native tool), it is built to flexibly handle a wide variety of practical modeling scenarios.
Key Features
Procedural & Non-Destructive: Keep your modifier stack alive. Generate and adjust quad-fills dynamically without permanently applying geometry.
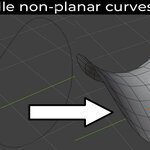
Non-Planar Support: Your shapes don't have to be flat. The tool gracefully handles 3D boundaries, generating a smooth, conforming surface that bridges the gaps.
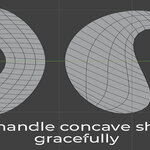
Handles Concave Profiles: Algorithmically accommodates complex, concave shapes while maintaining excellent quad flow, provided the boundaries are reasonably structured.
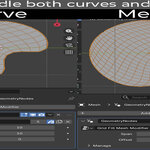
Curve vs. Mesh: Which to Use?
The download includes two distinct versions of the tool, tailored to what kind of object you are starting with:
Grid Fill for Curves: This version allows you to set the U and V Resolutions independently. Because it procedurally resamples the curve, you have total control over the density of the grid on both axes regardless of the original curve's control points.
-
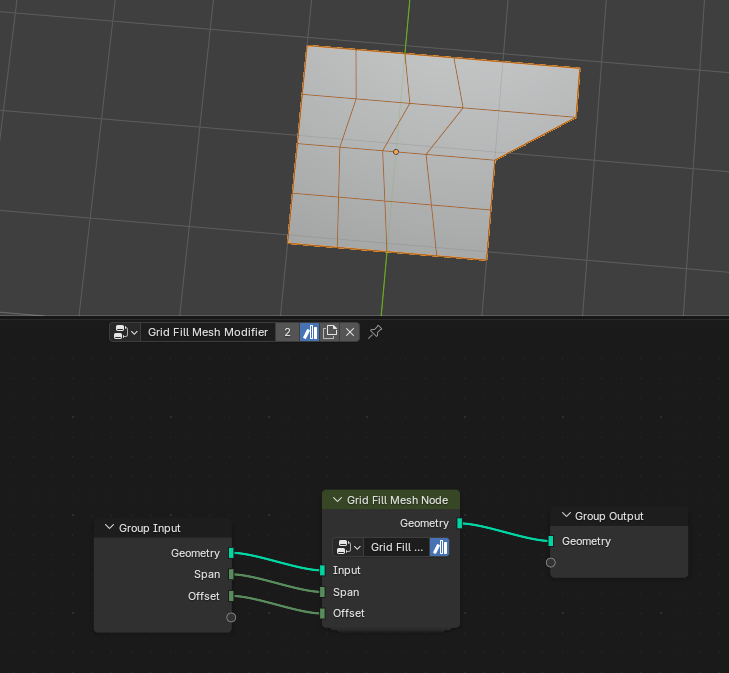
Grid Fill for Meshes: This version works with existing mesh vertices. Because it must connect to your existing boundary vertices, it does not use independent U/V resolutions. Instead, you control the internal bridging density using a single Span slider. Choose this node when you want to avoid resampling and keep corners:
How to Use & Getting Started
You can bring the tool into your current Blender scene in two simple ways:
Method 1: Asset Browser (Recommended for easy access)
Save the downloaded
.blendfile into a folder designated as an Asset Library in Blender's Preferences (Edit > Preferences > File Paths > Asset Libraries).Open your working project and open an Asset Browser window.
Locate the Grid Fill assets and drag and drop the appropriate modifier (Curve or Mesh) directly onto your object!
Method 2: Appending (Best for one-off projects)
In your working project, go to
File > Append.Locate the downloaded Grid Fill
.blendfile and double-click it.Open the
NodeTreefolder, select theGrid Fillnodes, and click Append.Add a Geometry Nodes modifier to your object and select the appended node group from the dropdown menu.
Pro-Tips for Complex & Concave Shapes
Using the basic fill on simple shapes is plug-and-play, but getting the absolute best topology out of concave shapes requires a little bit of tinkering.
For Curve Objects (The Ratio Rule): Look at your shape and estimate the length ratio between the longest curve side and the shortest curve side.

For example, in the image above, the ratio between the long curve and the short cap is roughly 5:1 (or 4:1). Use that estimated ratio when determining your
Resolution UandResolution Vinputs. Following our 5:1 example, you would set the resolutions to a multiple of that ratio, such as 25 and 5. (It doesn't matter which axis gets the higher number yet).
For Mesh Objects: Simply adjust the Span slider until the internal grid density matches the density of your boundary vertices.
Fixing the Flow (Offset): If your initial result looks skewed or the edge flow is fighting the shape:
Simply adjust the Offset parameter (available on both the Curve and Mesh versions). This will rotate the internal orientation of the grid. Keep tweaking the offset until the grid aligns and flows naturally with the contours of your shape!
What's Included:
Grid Fill Curve Node(Node Group)Grid Fill Mesh Node(Node Group)Pre-configured Modifiers ready to be applied directly to your objects.
