 Arthzuul



GridForge Pro documentation
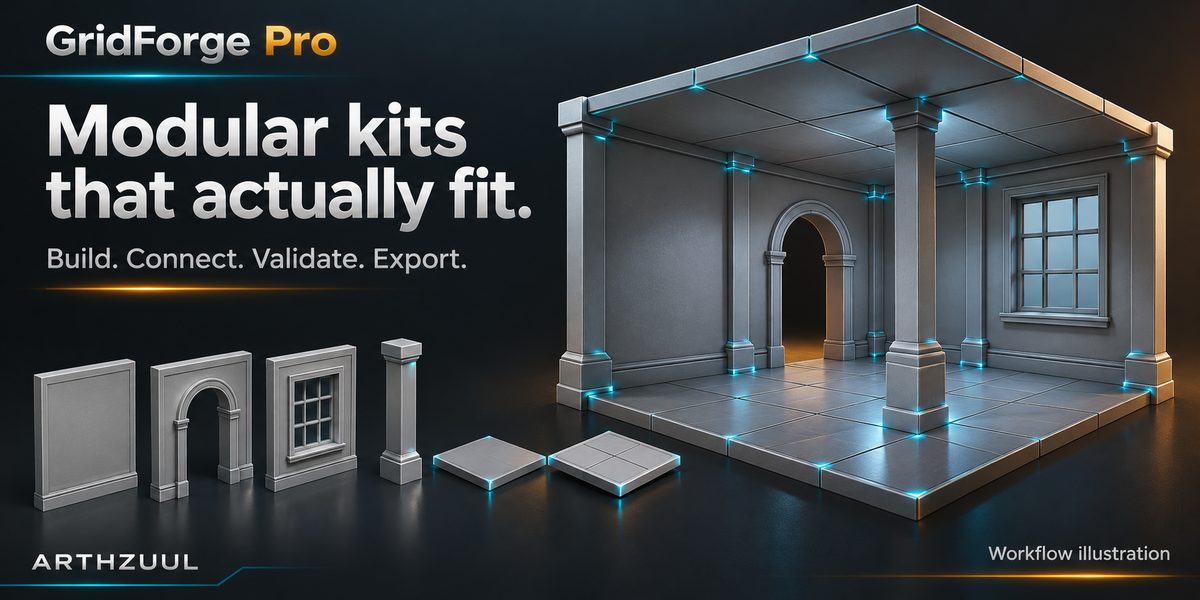
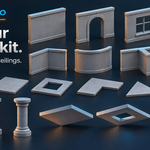
GridForge Pro builds modular environment kits in Blender: walls, floors, ceilings, pillars, stairs and your own meshes. The pieces know how they connect, the add-on checks the kit for mistakes, and it exports to Unreal Engine with a verification step.
Install
- In Blender 4.5 LTS or newer, open Edit > Preferences > Get Extensions.
- Open the menu at the top right and choose Install from Disk.
- Pick the GridForge Pro ZIP.
- In the 3D viewport press N and open the GridForge tab.
Quick start
- Press Create GridForge Project in the Project panel. The defaults are a 100 cm grid, 400 cm modules and 300 cm walls. GridForge works in centimetres and never changes your scene units.
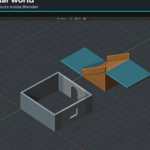
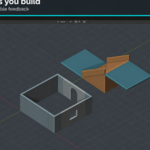
- Press Build Example Kit to add a finished room and staircase, so you can see a working kit before you make your own.
- Add pieces from Build. Each piece is a card with a picture. Click its name to add it at the 3D cursor.
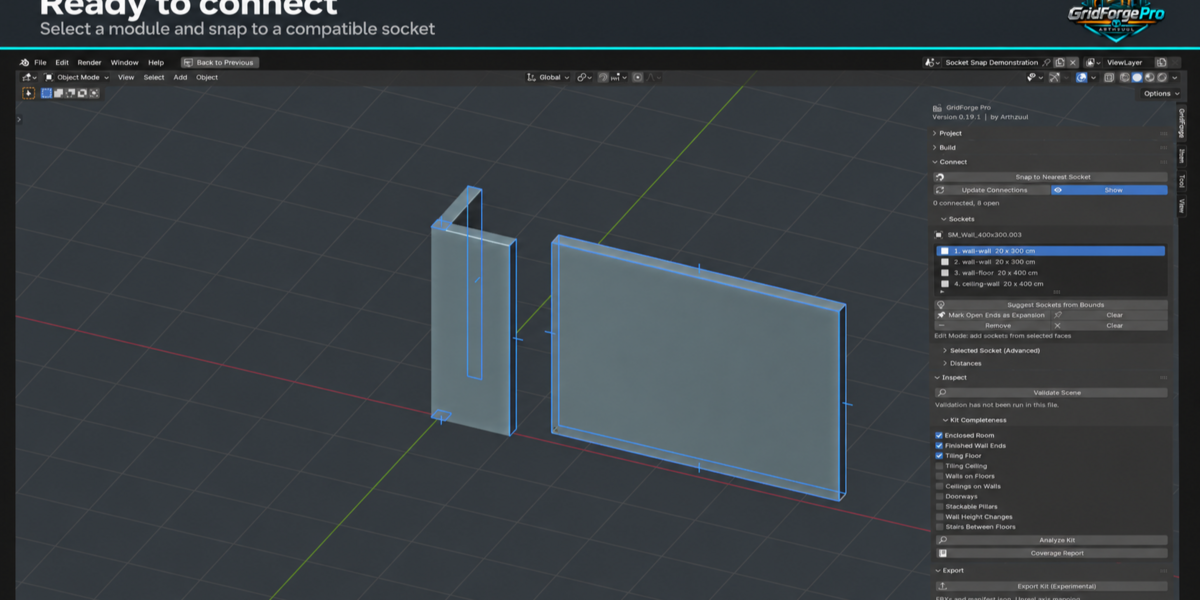
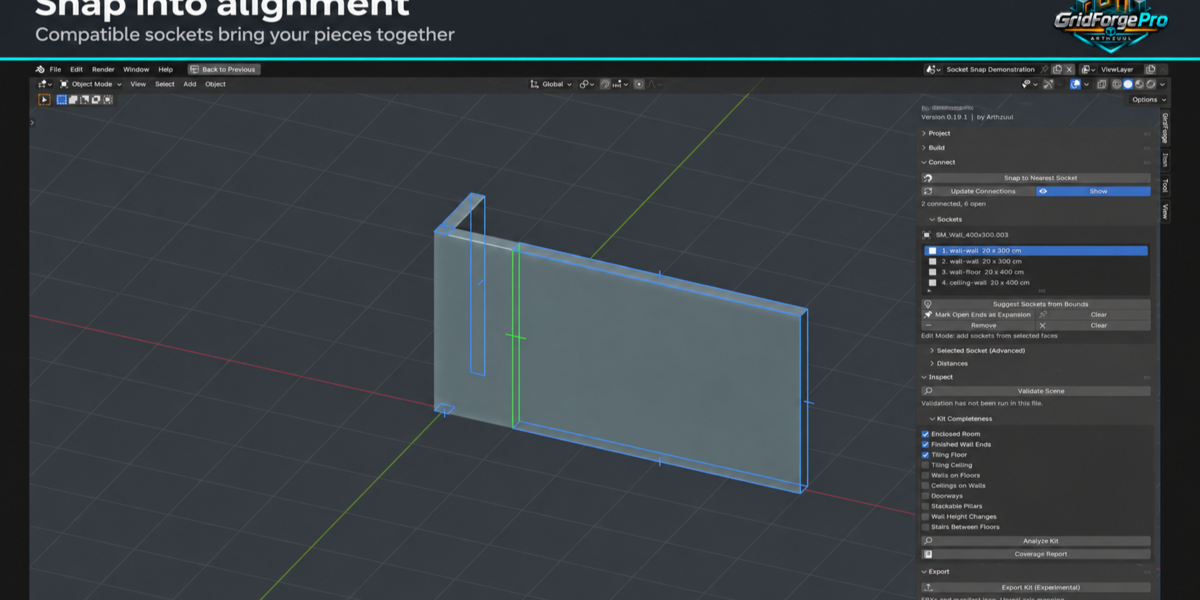
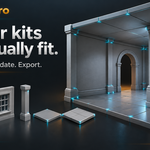
- Move a piece near another and press Snap to Nearest Socket in the Connect panel. The piece is placed exactly from the socket positions, so long runs do not drift.
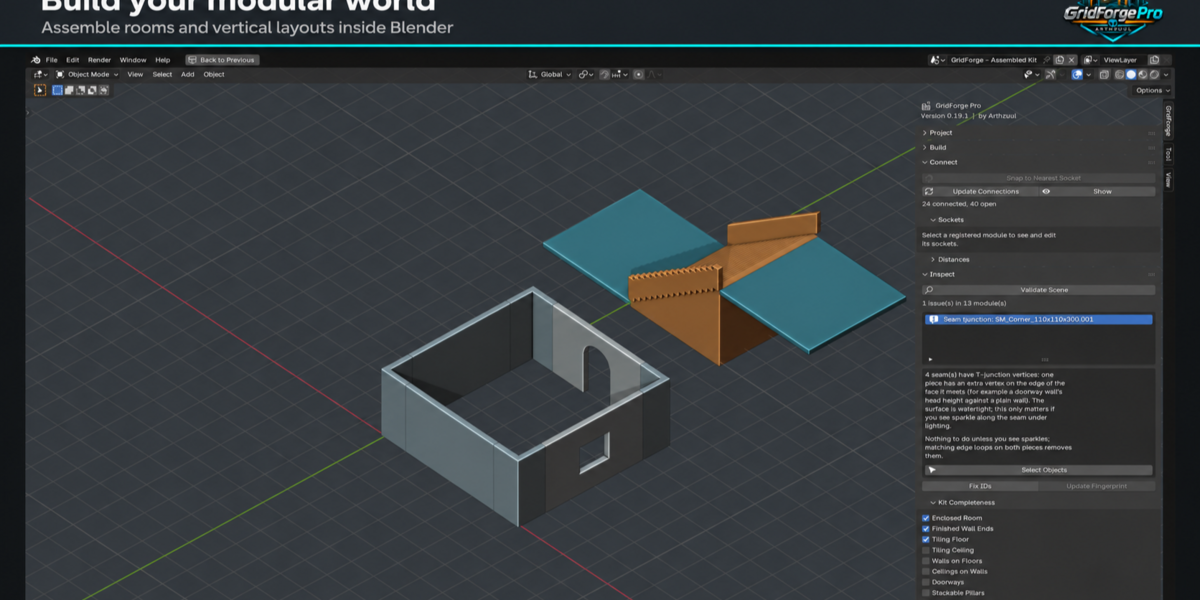
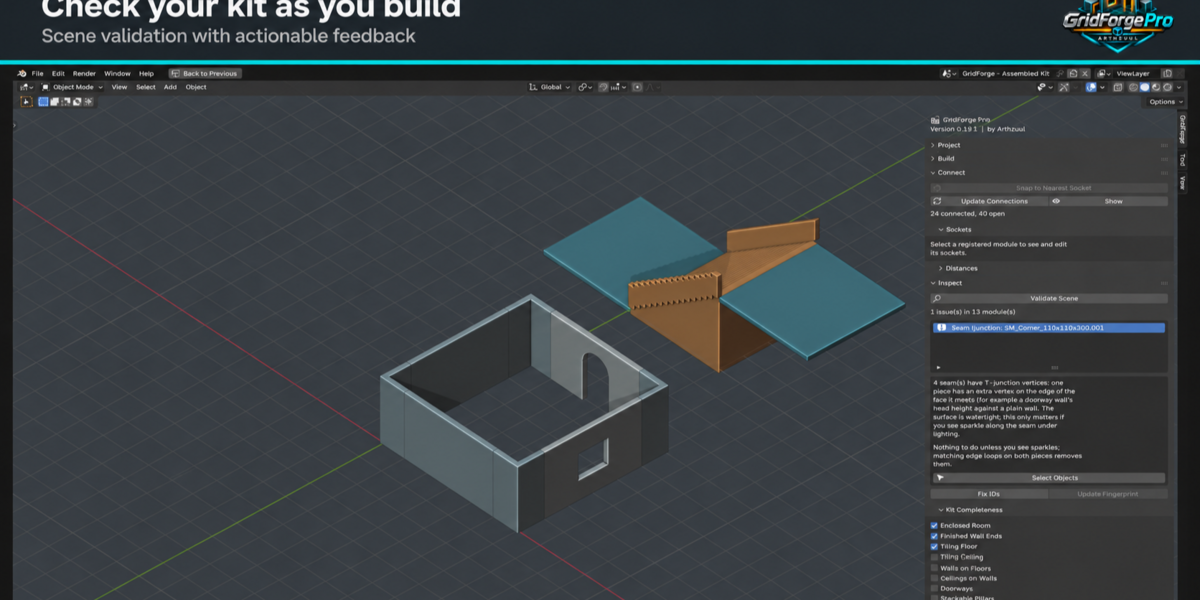
- Press Validate Scene in the Inspect panel to check the scene, and Analyze Kit to check the kit.
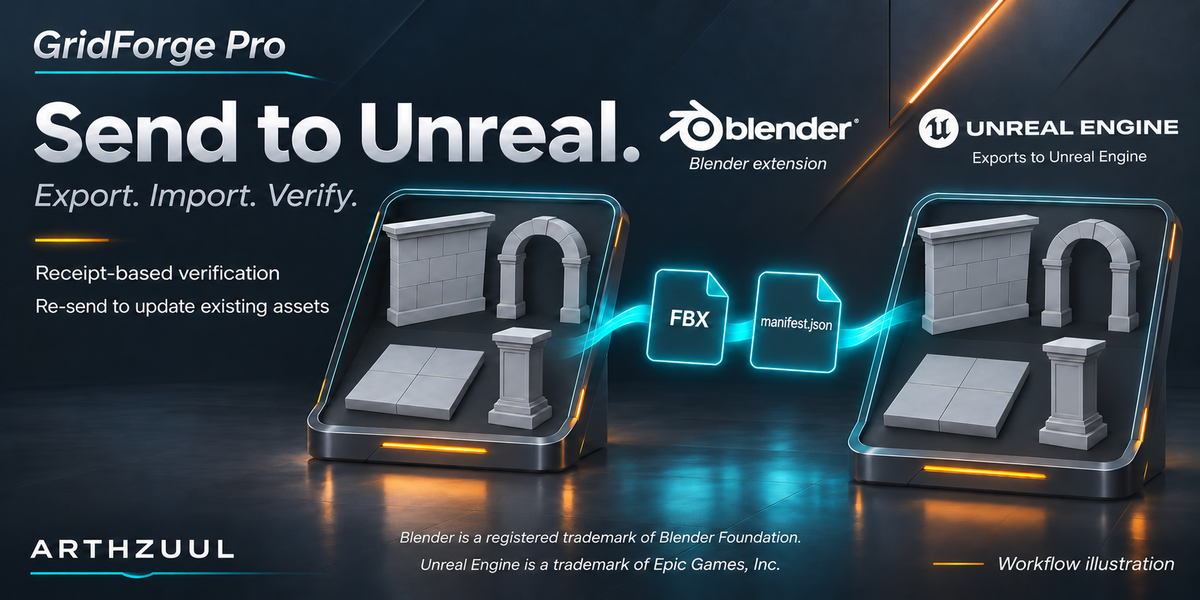
- Export with Export Kit, or press Send to Unreal to import straight into your open editor.
Ideas worth knowing
- Modules and designs. Every placed object is an instance of a design. Copies of one design share a module ID and are exported once. Each placed object has its own instance ID.
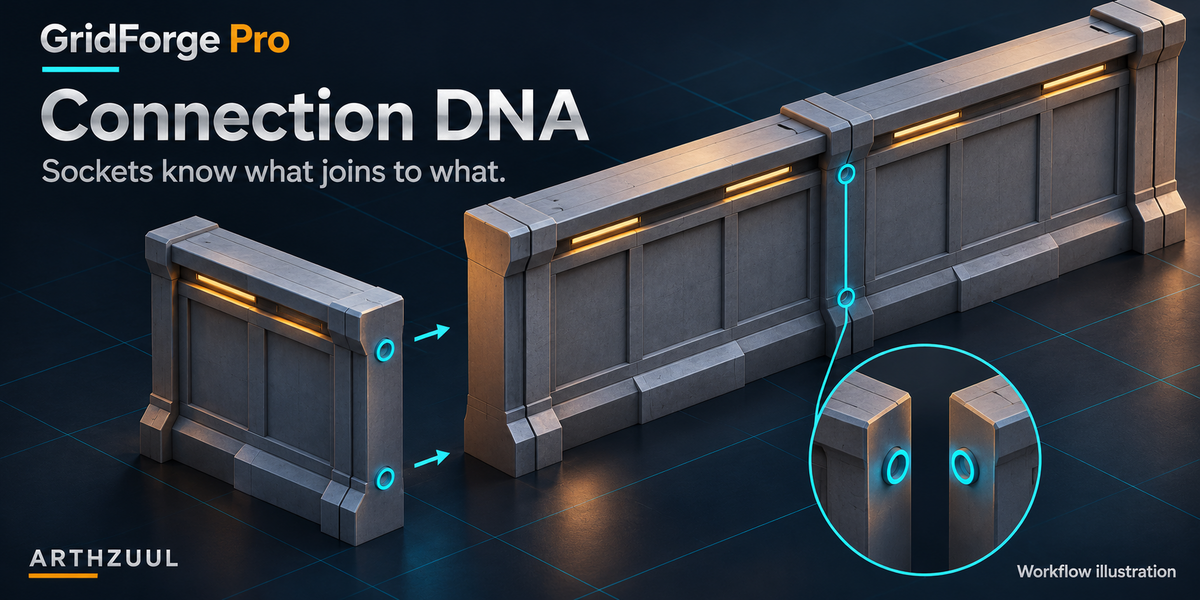
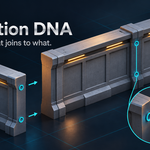
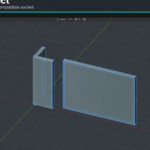
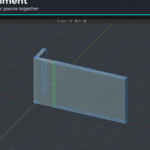
- Sockets. A socket is a connection point: a type, a position, a facing direction, a size, and a list of types it may connect to. Two sockets connect when they meet exactly, face each other, agree on roll and size, and each lists the other's type. Nothing connects by guesswork.
- Seats are sockets that sit one kind of piece on another: a wall bottom on a floor, a ceiling on a wall top, a corner on a grid node, a stair wall on a stair. Optional seats are never reported as gaps.
- Expansion zones. A reserved socket is an open end you want to keep free so the layout can grow there. Validate checks that nothing gets built over it.
- Nothing is changed silently. Validation only reports. Fixes are separate buttons.
- Old files upgrade on open. Your own sockets and settings are kept. A file made by a newer GridForge is refused rather than half-read.
Build
The Build panel shows every piece as a picture card, colored by category. The Size choice above the cards (Quarter, Half, Standard, Double) sets the width of the next wall, floor or stair.
Walls
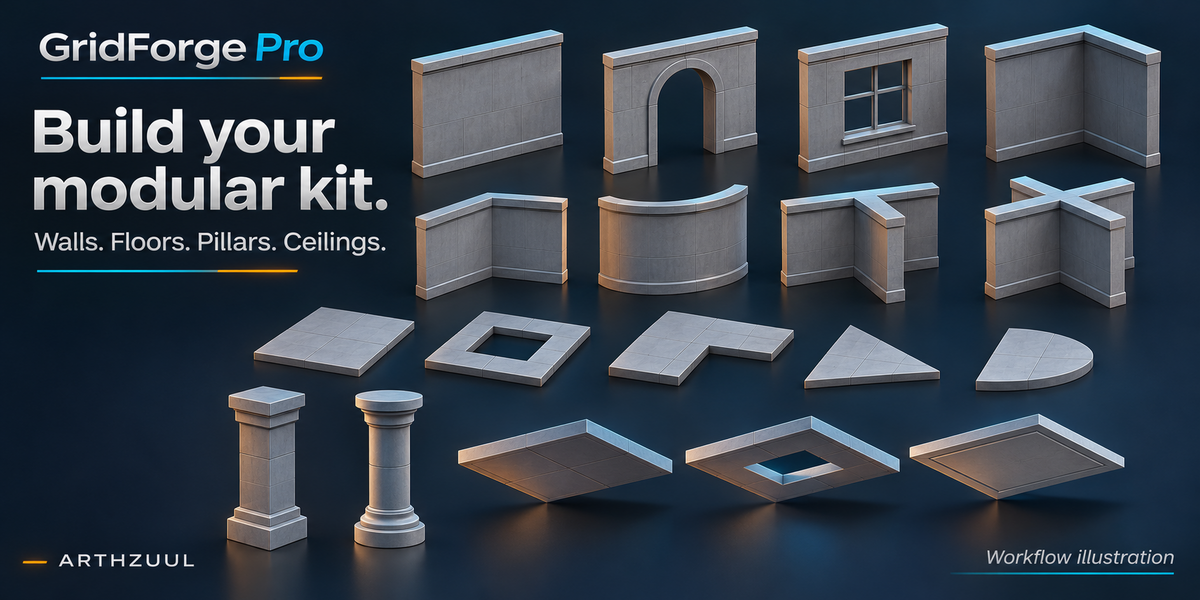
- Wall: straight wall on a grid line.
- Doorway Wall: wall with a rectangular door opening from the floor.
- Arched Doorway Wall: wall with an arched opening.
- Window Wall: one or more window openings, square or arched.
- Corner: L-shaped corner centred on a grid node.
- T Junction and Four-Way Junction: three or four wall arms meeting at a node.
- Angled Corner: mitred corner that turns a wall run by any angle.
- Curved Wall: a wall that follows an arc.
- End Cap: plate that closes the end of a wall run.
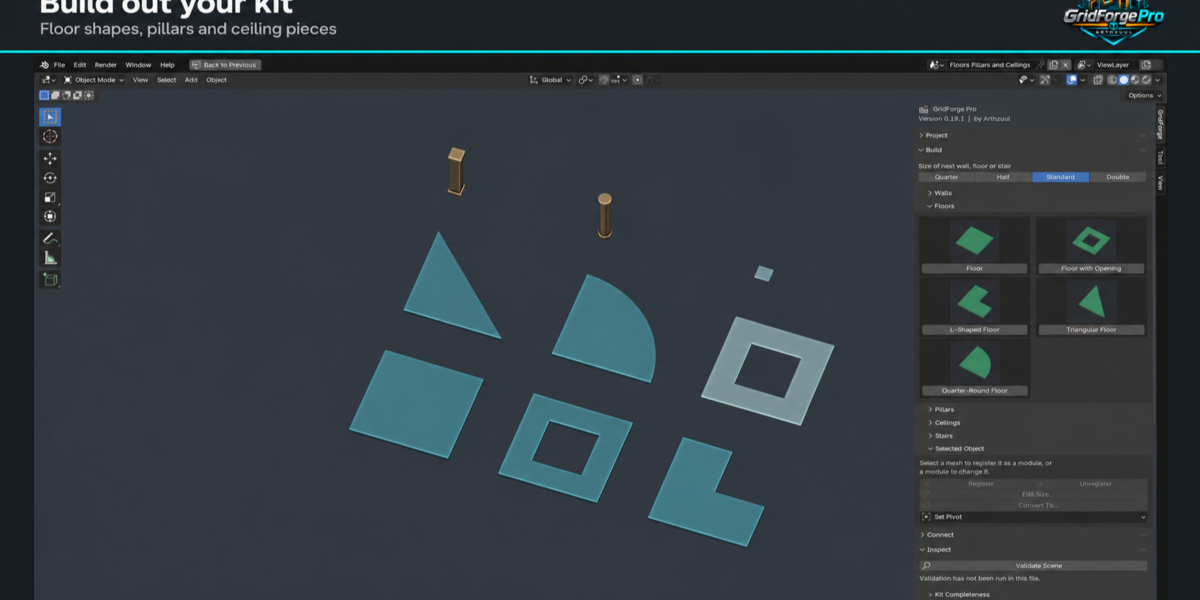
Floors
- Floor: rectangular slab with its top surface at Z = 0.
- Floor with Opening: for stairwells and shafts.
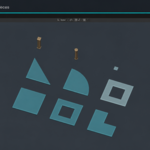
- L-Shaped Floor, Triangular Floor and Quarter-Round Floor: for angled and rounded layouts.
Ceilings
- Ceiling and Ceiling with Opening: slabs with the underside at Z = 0.
- Ceiling Tile: small drop-ceiling tile, with an optional stepped edge.
Pillars
- Square Pillar and Round Pillar, each with an optional stepped base and capital.
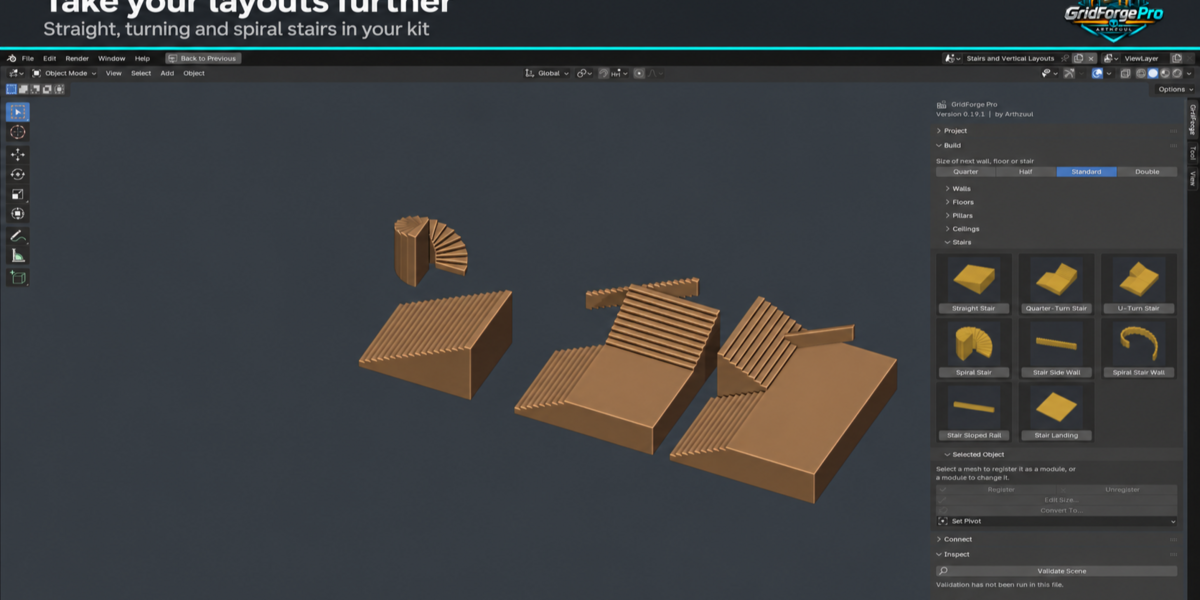
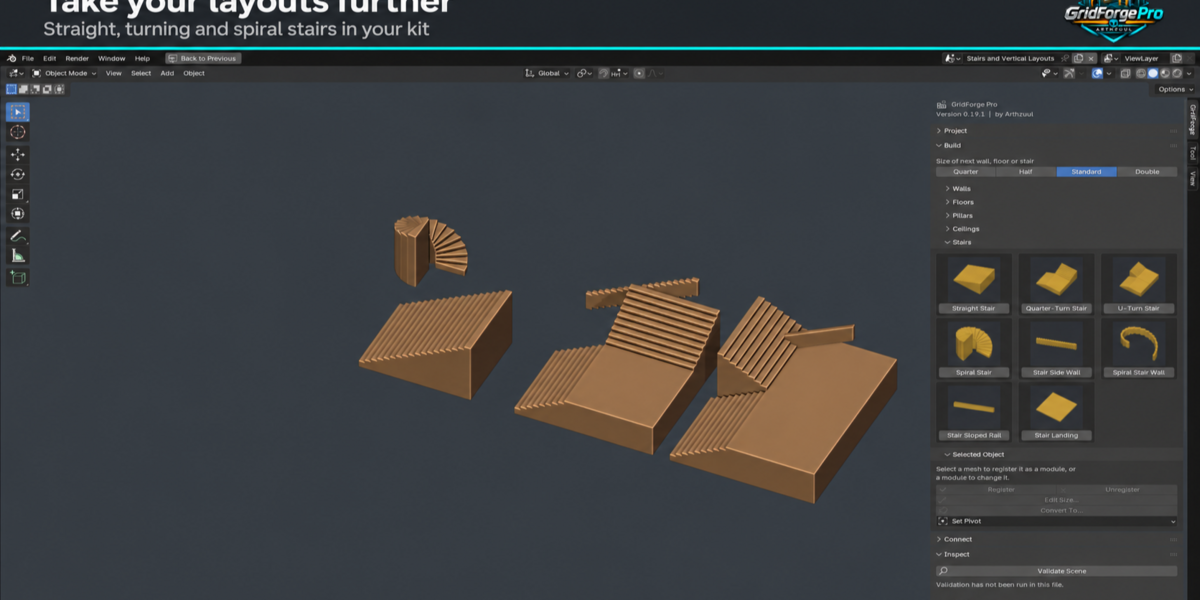
Stairs
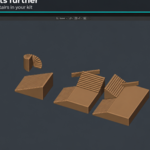
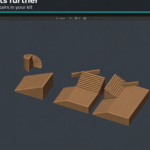
- Straight Stair, Quarter-Turn Stair, U-Turn Stair and Spiral Stair: solid stairs that join a lower floor to an upper floor.
- Stair Landing: a flat landing that stairs and floors connect to on all four sides.
- Stair Side Wall and Stair Sloped Rail: a stepped wall or a sloped rail along the side of a straight stair.
- Spiral Stair Wall: a stepped curved wall for the edge of a spiral stair.
A stair wall or rail must match its flight's step count, tread and rise.
Changing a piece
Select a generated piece and choose Edit Size (Build > Selected Object). The mesh and sockets are rebuilt in place while you adjust the values, and every copy of that design follows. Convert Selected turns selected pieces into another wall or floor type and keeps their position, rotation and IDs. Set Pivot moves the origin without moving the geometry.
Your own meshes
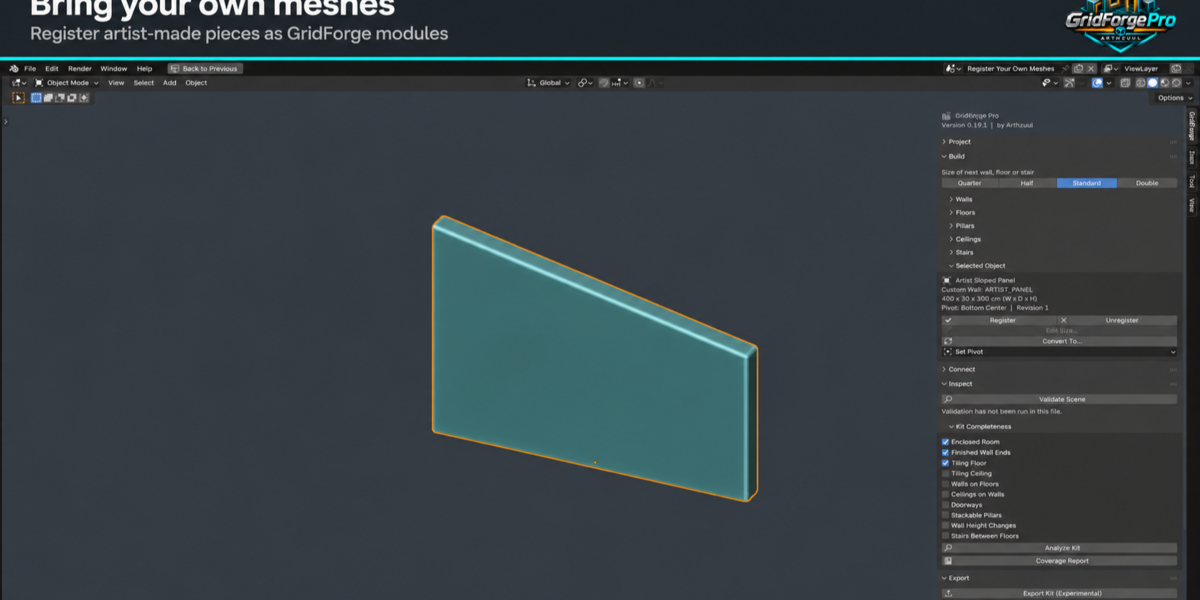
GridForge treats your own modular meshes as first-class.
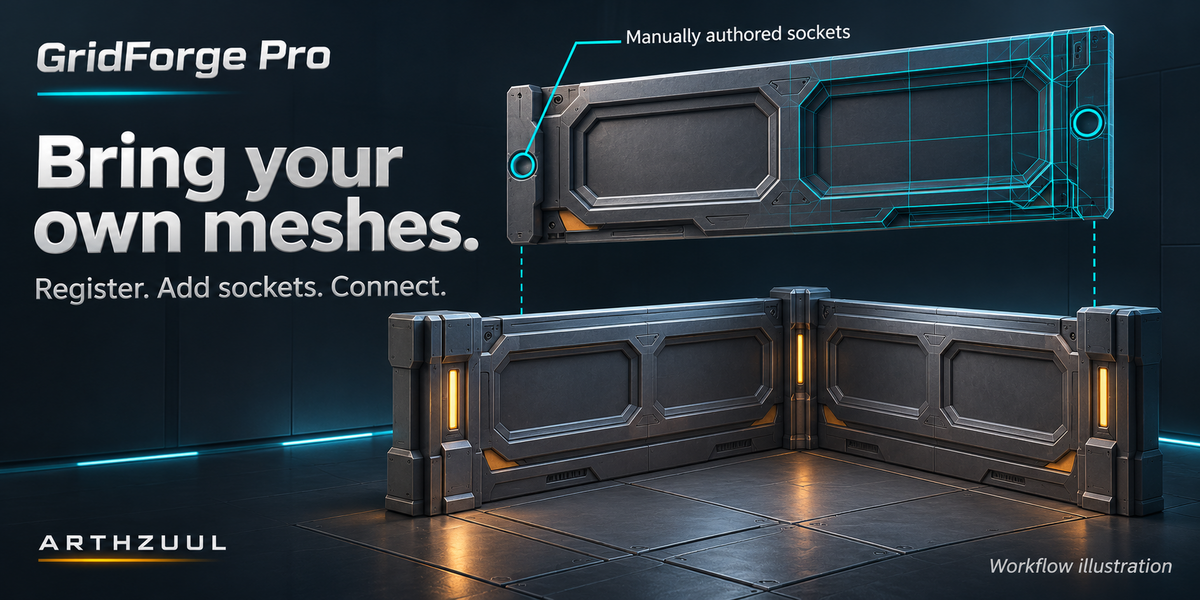
- Select the meshes and press Register Selected Meshes. Only metadata is written; geometry, materials, UVs and modifiers are not touched.
- Press Suggest Sockets from Bounds to propose sockets, or select faces in Edit Mode and press Add Sockets from Selected Faces.
- Review the sockets in the Connect panel. Apply to All Instances copies a hand-edited socket set to every copy of the design.
Connect
- Snap to Nearest Socket moves and rotates the active piece so one of its sockets mates with the nearest compatible open socket. Only the active piece moves.
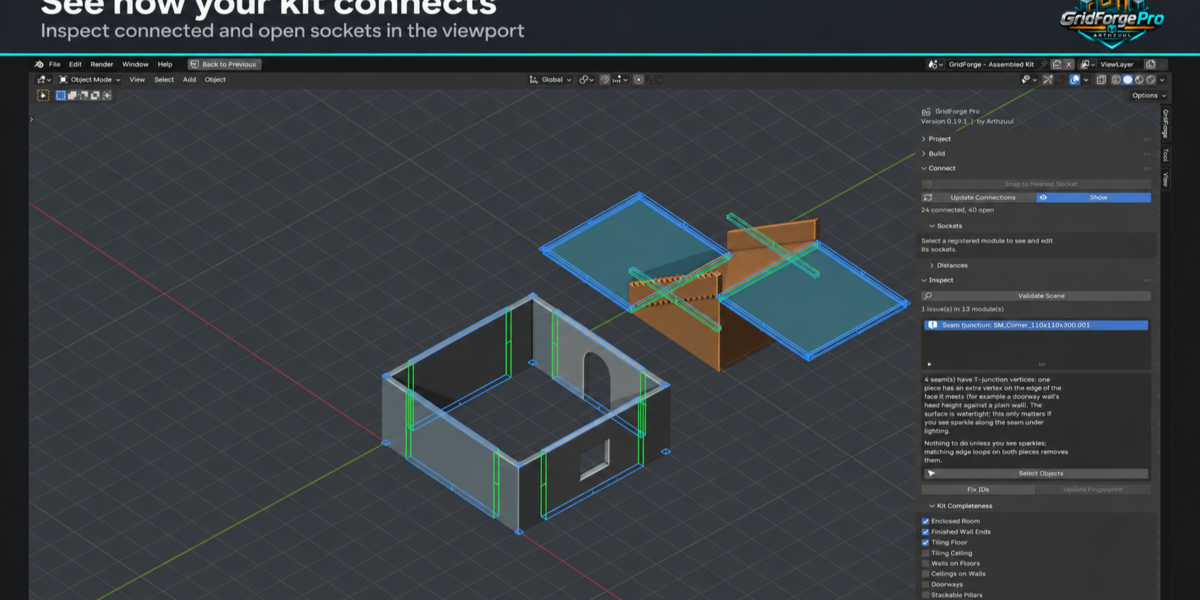
- Update Connections works out which sockets are connected, open, mismatched or nearly touching. Nothing moves.
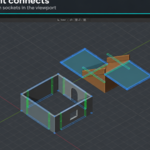
- Show Sockets in Viewport draws socket markers coloured by connection status.
- Mark Open Ends as Expansion reserves the open ends of the selected pieces as expansion zones.
Socket types include wall-wall, floor-floor, ceiling-ceiling, tile-tile and pillar-pillar, plus seats between kinds of pieces. A floor never snaps to a ceiling, and a wall bottom only meets a floor.
Check
Validate Scene
Validate Scene reports errors, warnings and notes and changes nothing. It checks:
- IDs: missing or duplicated IDs (Fix IDs repairs them).
- Scale and rotation: unapplied scale, negative scale, turns that are not quarter turns.
- Grid: positions and sizes that are not on the project grid.
- Mesh: an edited mesh that no longer matches its recorded fingerprint, and generated pieces that are no longer closed solids.
- Sockets and connections: invalid sockets, gaps between compatible sockets, and sockets that meet but cannot connect.
- Seams: connected pieces whose vertices do not match where they meet, which would show a crack.
- Expansion zones: a reserved zone that has been built over, or that no piece in the kit could fill.
- UVs: a missing UV map, collapsed UV faces, stretched UVs (more than 2 to 1), and texel density that is far from the rest of the kit.
Analyze Kit
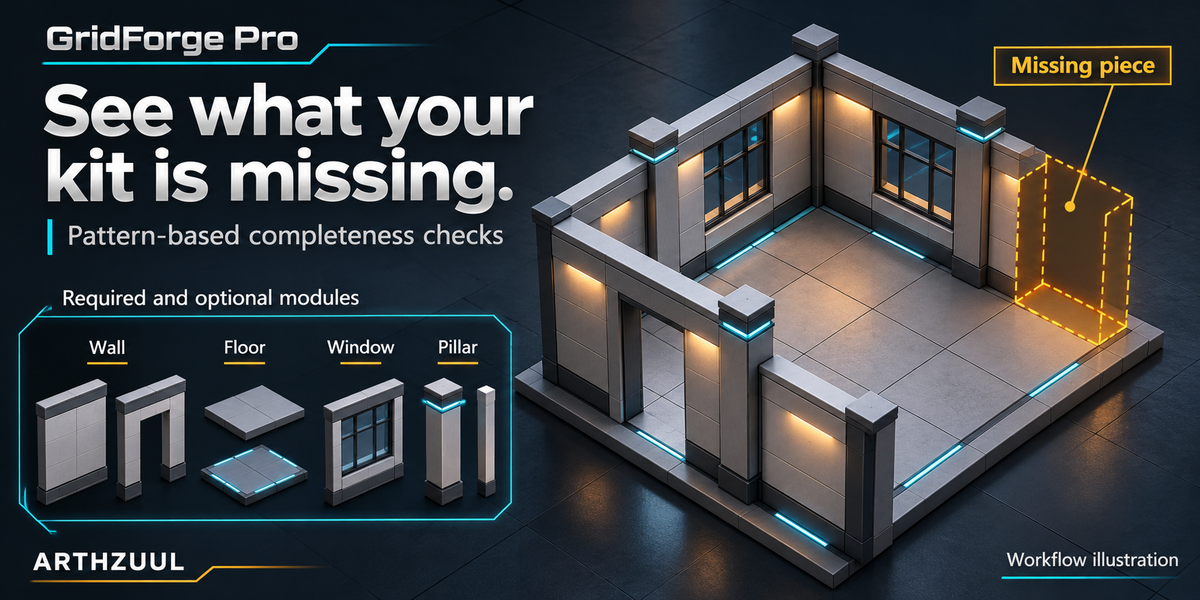
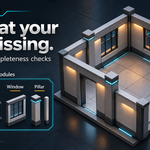
Tick the construction patterns that matter for your kit and Analyze Kit reports which pieces are missing. It only reports gaps for the patterns you tick and never claims the kit is complete for every layout.
- Enclosed Room: walls that turn corners and close a loop.
- Finished Wall Ends: wall runs that end cleanly.
- Tiling Floor and Tiling Ceiling: pieces that repeat in both directions.
- Walls on Floors and Ceilings on Walls: edges that seat on each other at the same size.
- Doorways: an opening piece that plugs into a plain wall.
- Stackable Pillars: a pillar top that fits another pillar's bottom.
- Wall Height Changes: a transition between walls of different heights.
- Stairs Between Floors: a stair whose two ends fit the floors it joins.
The first three are on by default. Turn on the others when your kit has those pieces.
Coverage Report
Coverage Report writes a text block called GridForge Coverage: which designs the scene uses, how many copies, and how many of each design's sockets are connected. It flags isolated designs, unused socket types and identical meshes registered twice. It describes the scene only.
Export
Export Kit writes one FBX per design (copies of a design are exported once) plus a manifest.json, without changing your scene. FBX files are named after the asset, for example Meshes/SM_Wall_400x300.fbx, with smoothing groups and, for generated pieces, a box-projected UV map.
Collision
Select convex meshes and use Assign Selected Collision Hulls to attach them to a registered piece. They are exported as UCX collision, and the receipt checks the hull count. Remove Collision Association detaches them.
Send to Unreal
- In Unreal, open Project Settings > Plugins > Python and tick Enable Remote Execution, then restart the editor once.
- In GridForge's Export panel, set Unreal Folder (default
/Game/GridForge). The kit is imported into a sub-folder named after your project. - Press Find Unreal to check the editor is reachable. Nothing is sent.
- Press Send to Unreal. GridForge exports the kit, runs the importer in the editor, and compares what Unreal measured with what Blender expected.
The result is Verified or Not verified, with a report saved as the text block GridForge Unreal Report. The receipt values are measured from the engine, never copied from the manifest. Sending again updates the existing assets. Each send writes a new dated folder, so nothing is overwritten.
Project settings
- Grid: size of one grid cell. Walls sit on grid lines and floors fill grid cells.
- Wall Height, Wall Thickness, Floor Thickness, Module Width: defaults for new pieces. Quarter, Half and Double sizes scale from Module Width.
-
Name Prefix: prefix for new module names, for example
SM_for Unreal static meshes. - Wall Pivot, Floor Pivot: where the origin sits on new pieces.
- Export Folder, Unreal Folder: where exports and Send to Unreal write.
- Tolerance (cm and degrees): how close two sockets must be to count as touching and facing.
- Gap Warning, Snap Reach: how close a near miss is reported, and how far Snap looks.
Every setting and option in the sidebar has a tooltip.
Good to know
- Requires Blender 4.5 LTS or newer. Tested on 4.5 and 5.2.
- Stairs are solid blocks.
- Collision (UCX) export is included. It has not yet been confirmed in the Unreal Static Mesh editor.
- Unreal Engine is the only engine with a verified import. The FBX and manifest are engine-neutral.
- Texel-density and UV checks do not look for overlapping UVs or lightmap channels.
- The expansion-zone check uses bounding boxes, so a curved neighbour can raise a false warning.
Getting help
Use Copy Support Info in the About panel to copy the add-on and Blender versions, then paste them into your message.
 Included
Includes 12 months of
- Support from Arthzuul
- Product updates
Extend this product’s Support Period +12 months: 50% of product price
Have questions before purchasing?
Login to message
| Blender Extension Compatible | Yes |
| Published | about 1 hour ago |
| Blender Version | 4.5 - 5.2 |
| Extension Type | Add-on |
| License | GPL |
Discover more products like this
validation modular grid sockets modular-kit Level Design snapping game assets Unreal Engine stairs environment FBX Export