Hat Maker 3D Cap Editor For Blender
 Focus Vision LLC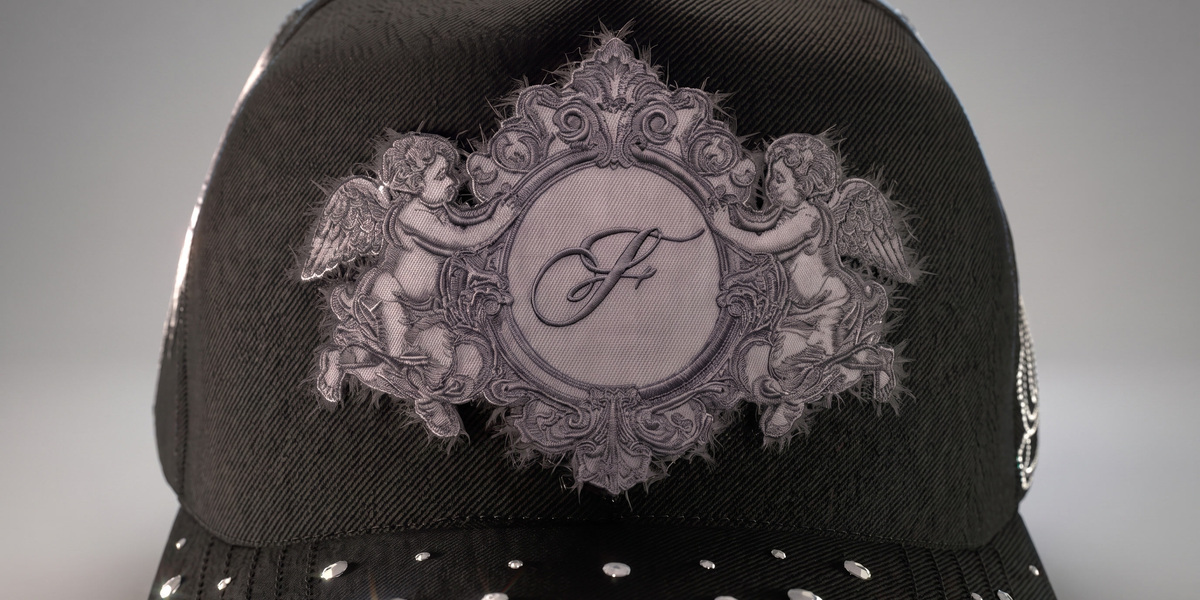
Installation
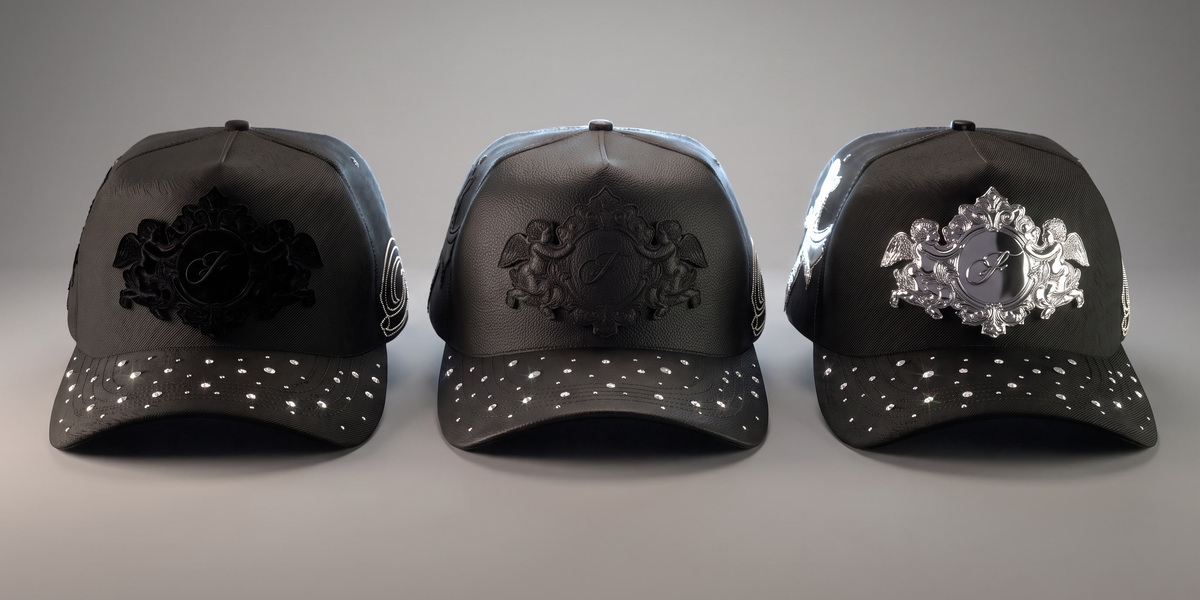
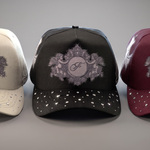
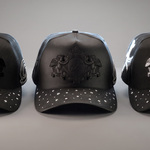
Your Superhive library has two downloads, and you need both: the add-on .zip (the tool) and Focus Vision.blend (the three cap models it works on). Download them before you start. Tested on Blender 5.1.2 and 5.2.1 LTS.
Do not unzip the add-on file. Blender installs it directly from the zip.
Option 1 — drag and drop
- Open Blender 5.1 or newer.
- Drag the add-on
.zipfrom your file browser onto the Blender window. - Blender shows an install dialog. Click OK.
Option 2 — from Preferences
- Open Blender 5.1 or newer.
- Go to Edit → Preferences → Get Extensions.
- Click the dropdown arrow in the top-right corner of that panel and choose Install from Disk…
- Select the add-on
.zipyou downloaded. - Make sure the extension is enabled. It appears as Hat3D in the add-on list.
Then open the cap file
- Copy
Focus Vision.blendto a folder where you have write permission. The add-on saves renders and imported artwork in folders next to this file. - Open it with File → Open. Use File → Save As to keep the original clean.
- In the 3D viewport, press N to open the sidebar and click the Hat Maker tab.
Once the extension is enabled the Hat Maker tab is always in the sidebar, in any file. In a file with no cap in it — a fresh Blender scene, for example — the panel shows No hat in this file with a single Import hat button. That is expected: open Focus Vision.blend, or press Import hat and pick a cap from it, and the full interface appears.
The installed version number is shown at the top of the panel.
Documentation
The whole add-on lives in one sidebar panel. At the top there is a language switch (EN | ES), a button to look through the render camera, two toggles for the gizmos, and four tabs: Custom Hat, Animation, Scenery and Render.
Custom Hat tab
Starting a design. Import hat brings cap models in from another .blend file. Reset customization clears the active cap back to a blank canvas (it asks first). The Shortcuts menu lists the keyboard shortcuts.
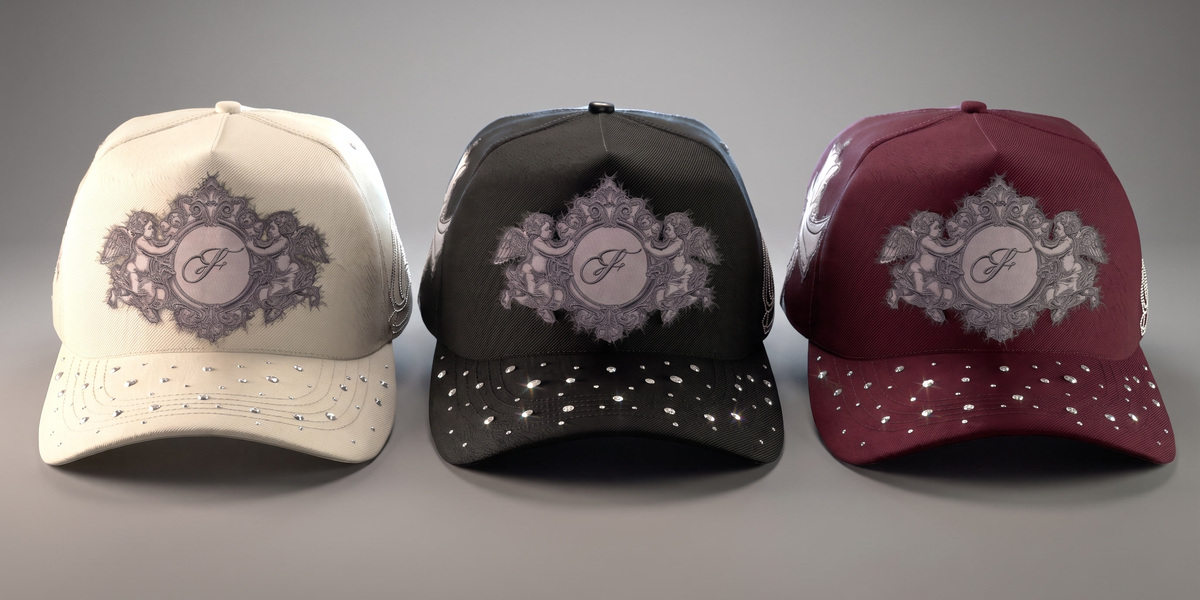
Hat model. Click the large preview to pick one of the caps in the gallery. The other caps are hidden while you work. Type a name and press Save hat to store the current cap as a new model with its own gallery card; the three factory models are protected and cannot be overwritten. Your own models can be deleted from here.
Place marker. Click this, then click on the cap where the design should go. The marker snaps to the surface and keeps its orientation. Embroidery, pins and rhinestones use this marker as their starting point. The eye icon shows or hides it.
Hide parts. A dropdown to switch pieces on or off: labels, eyelets, closure and similar. Use it to match the cap you actually manufacture.
Materials. Choose a Category (Crown, Brim, Snapback, Interior) and then a Part. Clicking a part in the viewport also selects it here. For each part: Fabric Type from the gallery, then its Color. Copy fabric to other parts and Copy color apply the same choice to sibling pieces (all the crown panels, all the stitching, all the tape strips). Single-color pieces such as stitching, tape and eyelets have a Metallic slider instead of a fabric.
Screen print. A flat printed design on the fabric of the selected part. Load a PNG, then move, scale and rotate it with the sliders or the on-screen gizmo. Opaque ink prints over the fabric texture instead of blending with it; Ink gloss controls the shine. Up to eight layers can be stacked on one part. A projected layer uses a projector instead of the part's UV map, so one design can cross a seam between two panels. Copy to other strips repeats the print along the tape.
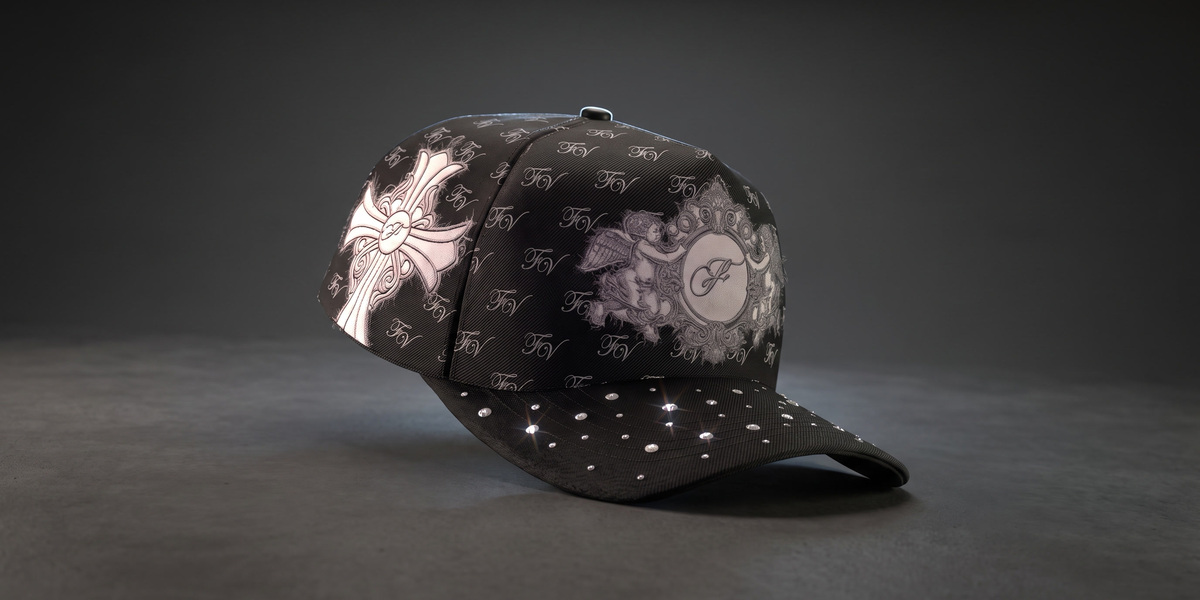
Patterning. Repeat a PNG as a pattern on the selected part, with scale, spacing and offset. You can choose which parts receive the pattern.
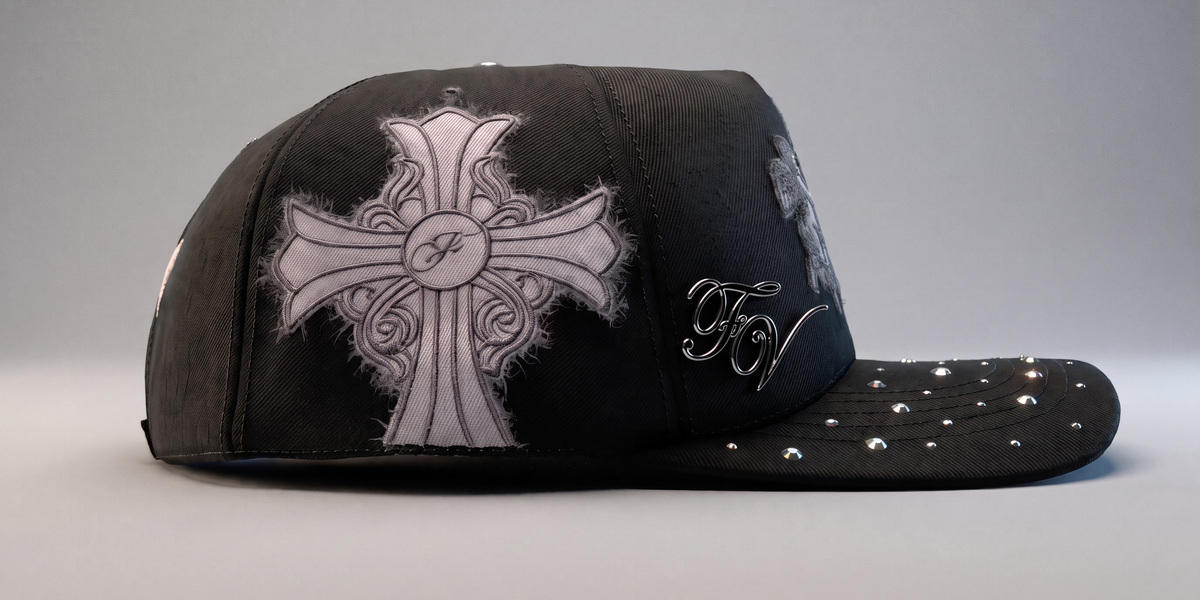
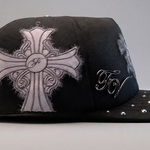
Embroidery & patches. Press Import and pick a PNG or SVG. A PNG is vectorized automatically. The design appears at the marker, draped onto the cap. Adjust position, rotation (press R in the viewport for free rotation), scale and thickness, then press Complete to finalize the geometry. After completing, choose a Finish: Embroidery (thread relief), Velvet, Leather, Metal, TPU or Vinyl. The border has its own finish and color. Optional textures (a color map and a normal map with the same name) are loaded from the Textures section.
Distressing adds frayed threads along a cut you draw on the design.
Batch work: each design in the list has a checkbox. With two or more checked, extra buttons appear: Complete marked, Mirror, Unify materials and Delete marked (with confirmation).
Rhinestones. Four ways to add stones: a loose stone from the library that snaps to the surface; a rhinestone curve you draw and the add-on fills; rhinestones on design, where you paint areas over a completed embroidery or pin and they fill with stones; and scattered rhinestones across a region. Stone type, size, spacing and color are set in this section.
Pins. Import a PNG or SVG and it becomes a rigid pin with a bevel, placed at the marker. Choose the Finish (metallic by default) and its color.
Ornaments. The list of 3D ornaments on the current cap and their finish.
Pro Mode (top of the panel). Turns on click-and-drag gestures in the viewport to move, rotate and scale designs, and highlights designs that still need to be completed. It temporarily changes the Blender theme while on; turning it off restores it.
Animation tab
Hat animation. Rotation and motion of the main hat and, if you generate one, of the reflected hat (a mirrored copy below the main cap for a reflection shot). Each has its own controls.
Hat motion. Presets that animate the cap: pick one, set the duration, apply. Changing the duration stretches the existing keyframes instead of rebuilding them.
Camera animation. Zoom & focus sets the lens, the focus object and depth of field. Camera moves (dolly, pan, handheld shake) are baked for the chosen frame range. Shots let you place several cameras along the timeline with a hard cut between them and one effect per shot. Applying shots never deletes keyframes you set by hand.
Scenery tab
Lights. Every light in the scene, with color and power on one row each.
World light. Strength and color of the ambient light.
Backstage. Choose a cyclorama or a cube, set its color, and optionally turn on a checker pattern. Scenery settings are saved per cap, so switching models keeps each one's setup.
Render tab
Resolution. Presets for Instagram post (1:1), Instagram feed (4:5), Reels / TikTok / Shorts (9:16), YouTube HD and YouTube 4K, or a custom size.
Quality. Choose the render engine and quality level. When Cycles is selected, the panel shows which device (CPU or GPU) will actually be used and warns if the GPU is not configured.
FPS and motion blur. Set the frame rate and shutter for video.
Output folder. Pick where files go. If none is chosen, the panel shows a warning in red and files land in an outputs folder next to the .blend.
Render PNG / Render JPG. Renders the current frame.
Render MP4. Saves the file and renders the animation in a separate background Blender, so the interface stays free. Progress, pause and stop are shown in the panel.
Export mockup (GLB). Exports the cap with baked textures for use in other software or the web.
Preferences (Edit → Preferences → Add-ons → Hat3D)
There is nothing to set up: no account, no license key, no server. The only switch there is Developer mode, off by default, which shows the buttons used to set the add-on's own preview images; you don't need it to work.
Keyboard shortcuts
-
G — move the selected design along the surface.
-
R — free rotation of the selected design.
-
X / Delete — deletes a design cleanly, including its helpers.
-
Numpad 0 — view through the render camera.
FAQ
Do I need to know Blender?
Not in depth. Everything is driven from the add-on panel: model, fabrics, artwork, embroidery, scene, render. If you have never opened Blender, allow some time to get used to the interface. Modeling the cap, the fabrics and the embroidery is already solved.
Does it make the physical cap?
No. It produces mockups and renders. Those renders are for selling the design before production and for showing a manufacturer how the cap should look.
Is there a render limit?
No. There are no credits or tokens. You render on your own computer as many times as you want.
Does it work on an iPad or phone?
No. It is an add-on for desktop Blender on Windows, macOS or Linux.
Which Blender version do I need?
Blender 5.1 or newer, tested on 5.1.2 and 5.2.1 LTS. It is free at blender.org. Blender 4.x will not install it.
Does it need an internet connection?
No, and it never uses one. Installation and work are fully offline, the add-on makes no network requests, and the extension asks for no network permission — Blender shows you that list when you install it. Nothing you load into it leaves your computer.
How do updates work?
Updates are included and arrive through Superhive. A new version shows up in your Superhive library: download the .zip and install it the same way as the first time — drag it onto Blender, or Edit → Preferences → Get Extensions → Install from Disk… Your existing .blend files keep working.
Can I use the renders commercially?
Yes. Renders you make are yours to use for your brand or for your clients. The add-on itself is licensed under GPL-3.0-or-later, so you receive the source code under that license.
Can I add my own cap model?
Yes, with some 3D work. The add-on reads any cap that follows its structure (a root empty with one mesh per part and the expected material setup), and Import hat brings caps in from another .blend. Adapting a model you built yourself takes Blender skills; the three included caps need none.
How is this different from an online cap editor or a Procreate template?
A template is a fixed photo with an editable area. An online editor shows your artwork on a model with the options the platform chose. Hat Maker is 3D inside Blender: you pick the camera, the light, the fabric and the background, and the embroidery has real relief. It depends on nobody: no subscription, no factory behind it, no render cap.
Have questions about this product?
Login to message
| Blender Extension Compatible | Yes |
| Published | 3 days ago |
| Blender Version | 5.1 - 5.2 |
| Extension Type | Add-on |
| Render Engine Used | Cycles, Eevee |
| License | GPL |
Discover more products like this
mockups 3D model customization 3d hat editor Personalization