 Mamba CG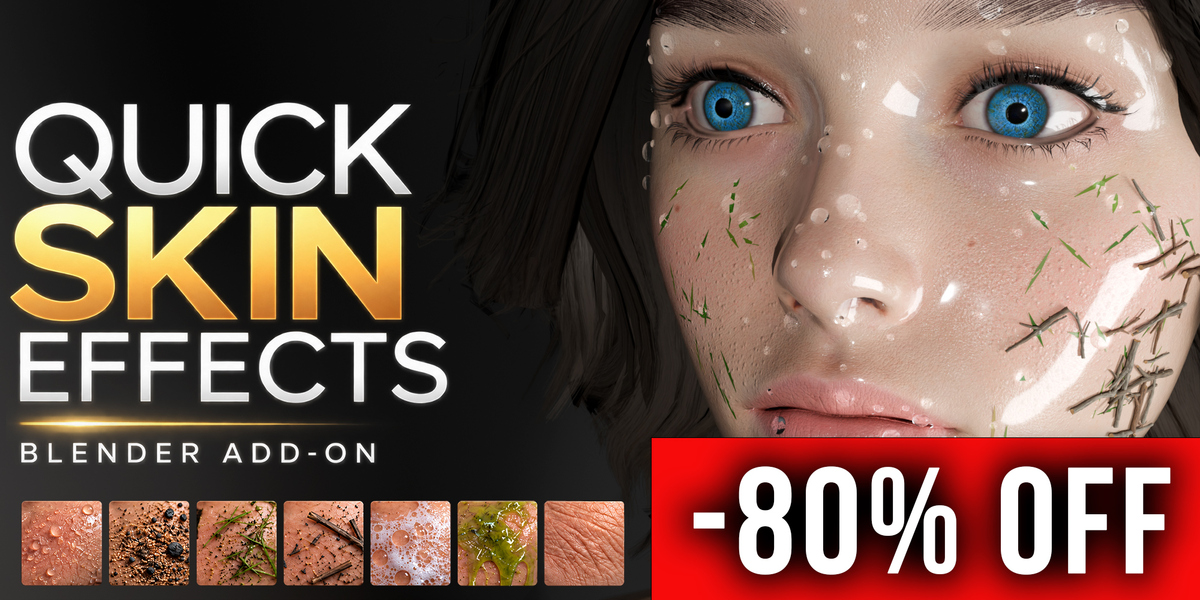
Beginner's Guide
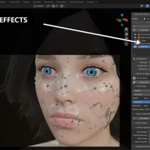
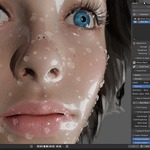
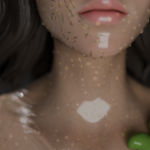
Create layered skin and surface effects on a character with masks, procedural materials, Geometry Nodes, presets, and non-destructive controls.
1. Install the add-on
- Open Blender 4.5 or newer.
- Go to Edit > Preferences.
- Open the Add-ons section and use the menu in the top-right corner.
- Choose Install from Disk.
- Select
quick_skin_effects-0.2.2.zip. Keep the ZIP compressed; do not extract it first. - Enable Quick Skin Effects in the add-on list.
After installation, select a mesh character and open the 3D View sidebar with N. The panel appears under Quick Skin Effects.
2. Add your first effect
- Select the character mesh in the 3D View or Outliner.
- Open the Quick Skin Effects tab in the sidebar.
- Click Use Active Model. This tells the add-on which object should receive the effects.
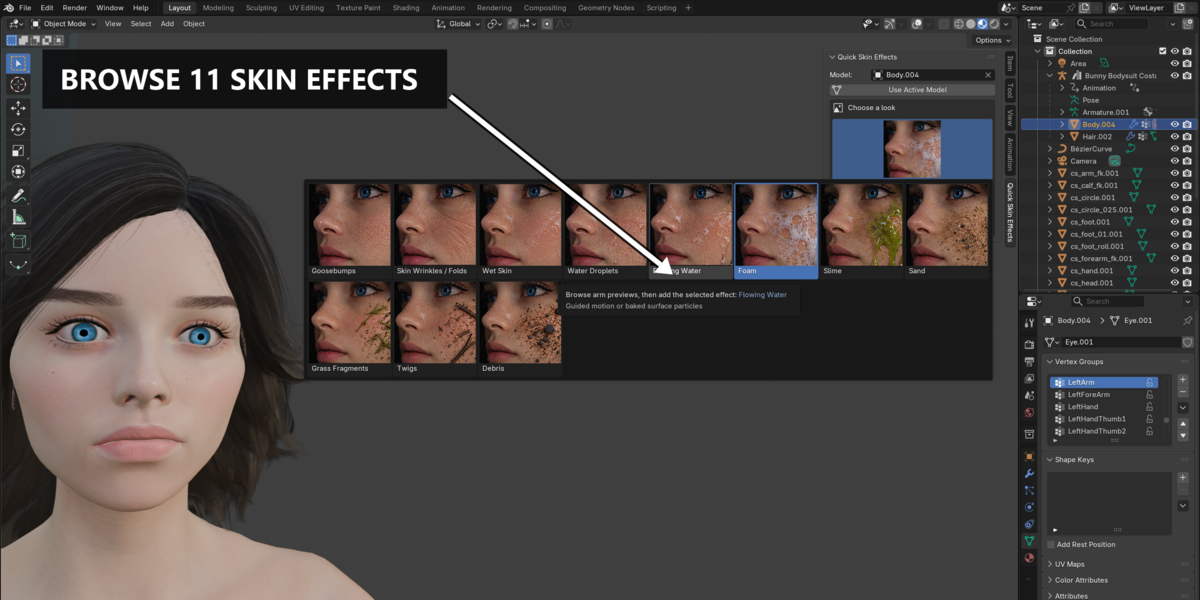
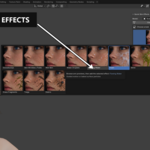
- Click the preview image or effect selector.
- Choose an effect and click Add.
- Use the controls in the panel to adjust the result.
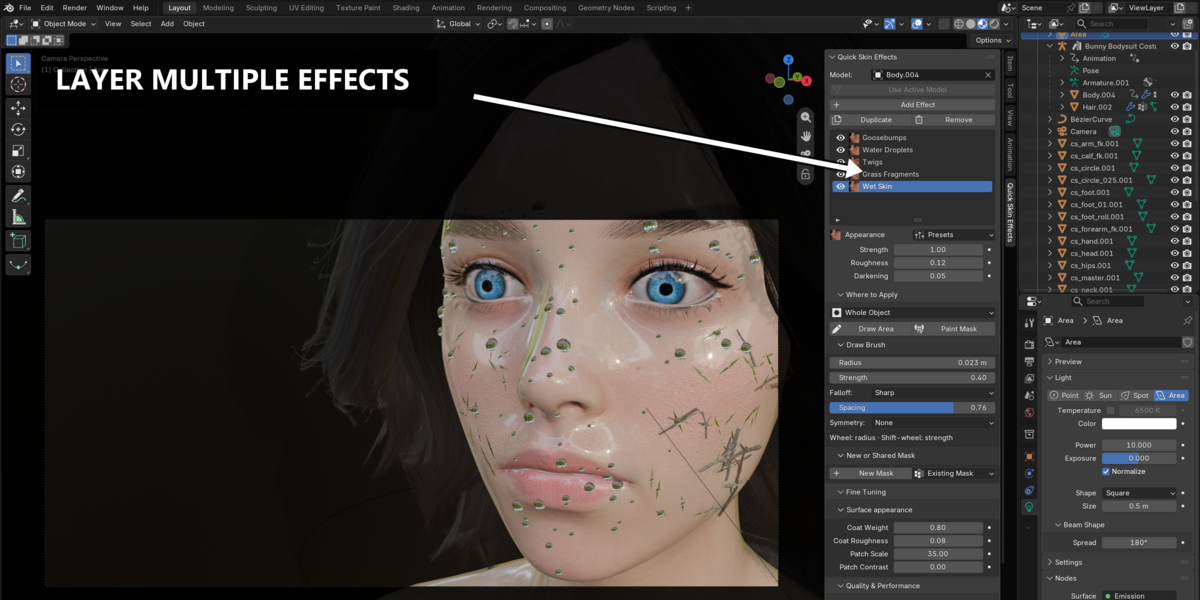
Choosing an effect in the browser only previews a choice. The character changes when you click Add. You can add several effects to the same character and edit each layer independently.
3. Where to apply an effect
Every effect has a Where to Apply section. Use it to decide which part of the mesh receives the effect.
| Mode | What it does |
|---|---|
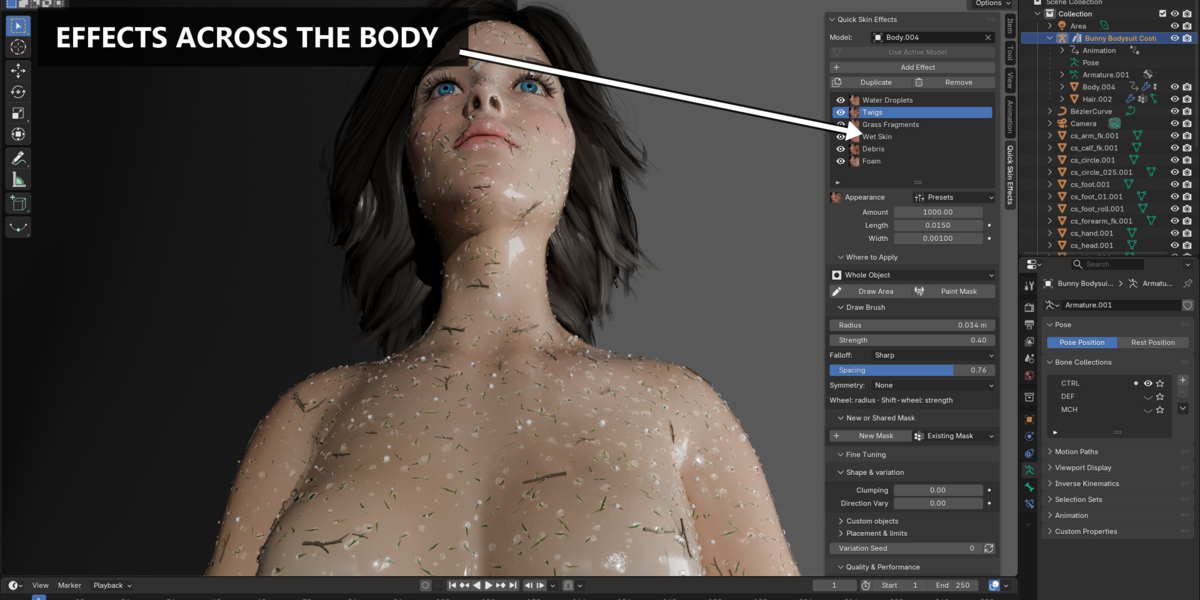
| Whole Object | Applies the effect across the complete mesh. This is the easiest mode for your first test. |
| Vertex Group | Reads an existing vertex group. Vertices with higher weights receive more of the effect. |
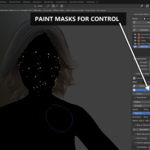
| Paint Mask | Uses Blender Weight Paint to paint where the effect should appear. |
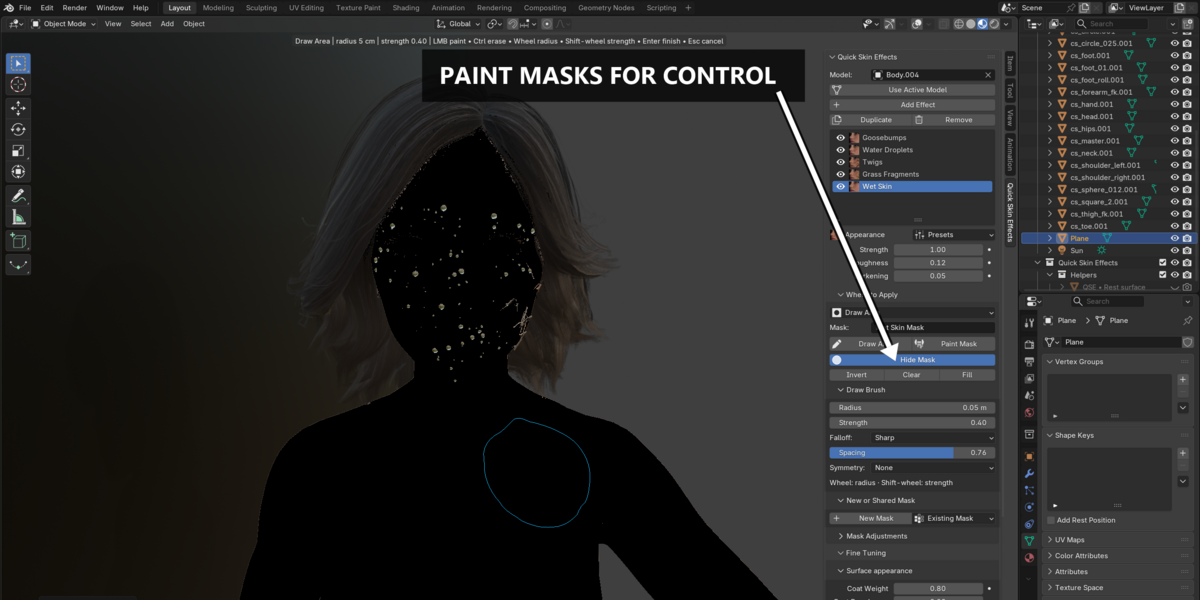
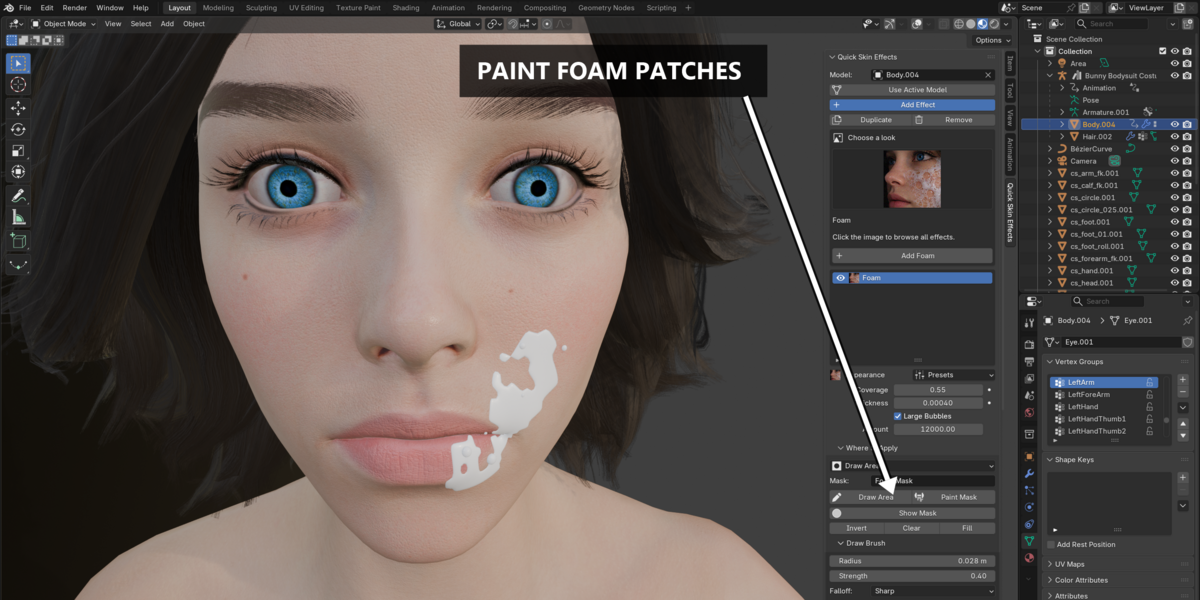
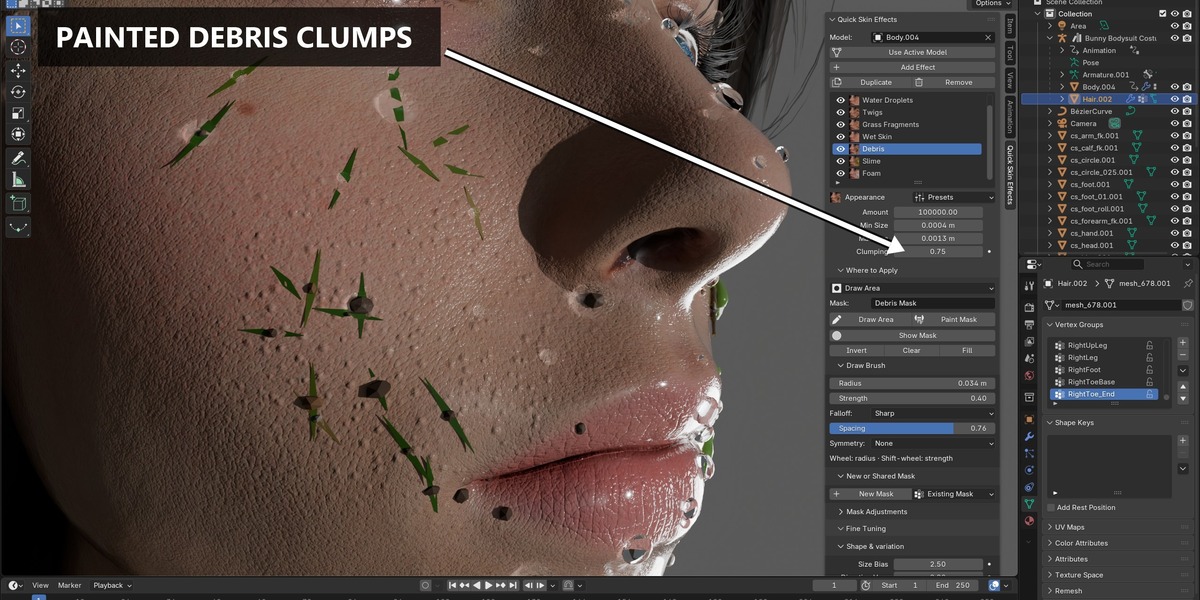
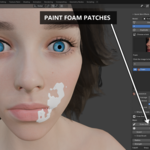
| Draw Area | Paints directly on the visible surface with the add-on brush. |
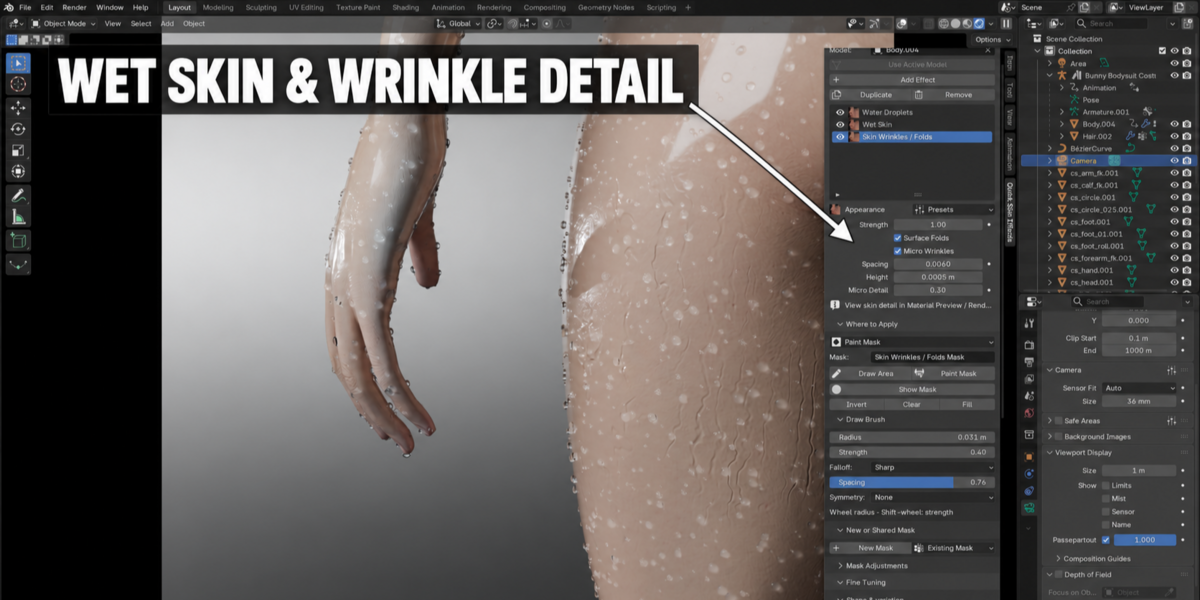
Use Clear to remove the mask, Fill to cover the whole object, and Show Mask to preview the mask as grayscale. White areas receive the effect; black areas do not.
4. Main panel controls
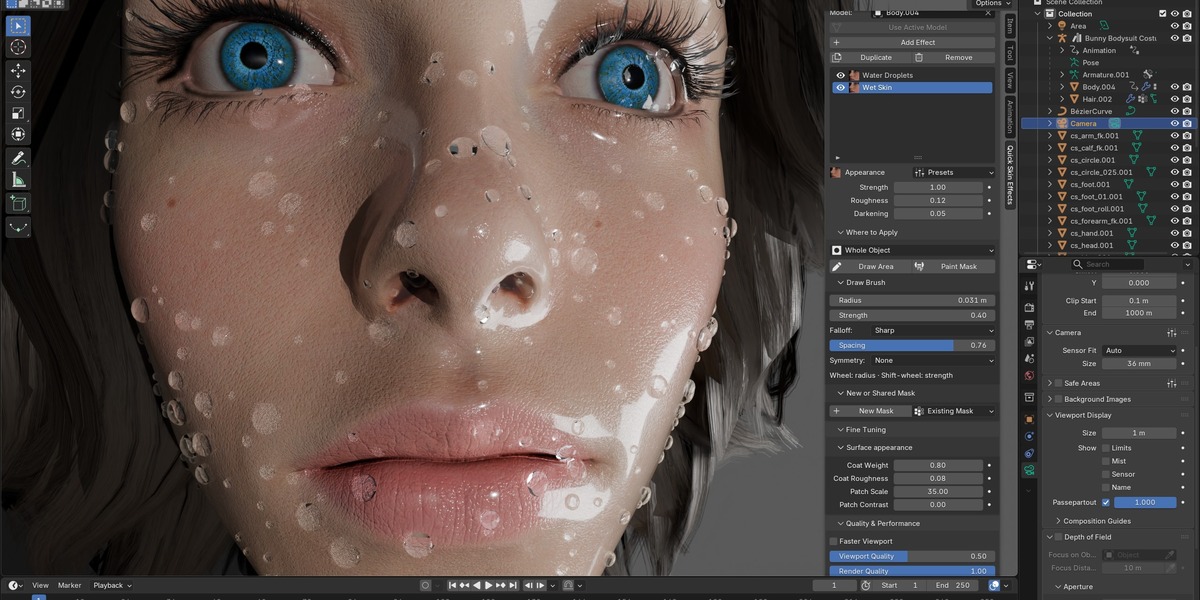
- Appearance: choose an effect preset and adjust the main look controls.
- Presets: load a starting configuration. You can continue editing every value after loading a preset.
- Fine Tuning: open detailed shape, variation, material, placement, and motion settings.
- Quality & Performance: control viewport and render quality. Lower viewport quality helps when adjusting a heavy scene.
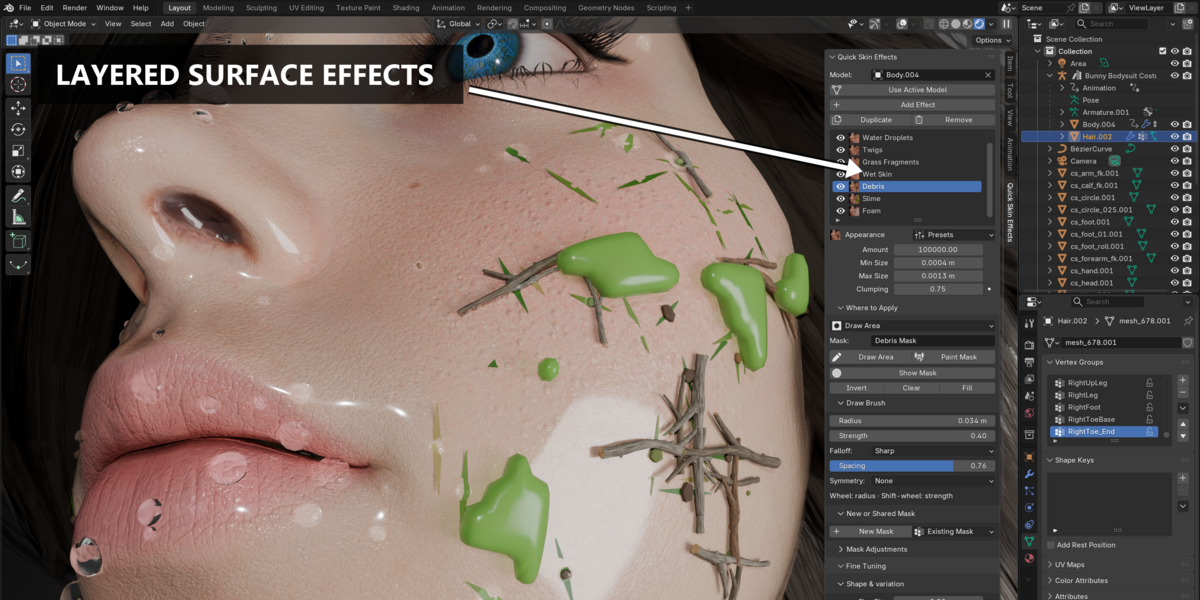
- Duplicate: creates another independent effect layer with its own settings and mask.
- Remove: removes the selected effect layer from the character.
For a quick preview, use Material Preview or Rendered shading. Some fine skin details are difficult to see in Solid mode.
5. Effect overview
| Effect | Best starting controls |
|---|---|
| Goosebumps | Intensity, Amount, Size, Height, and optional Shader Detail. |
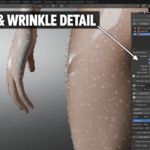
| Skin Wrinkles / Folds | Folds, spacing, width, height, distortion, and micro detail. |
| Wet Skin | Intensity, wet roughness, and darkening. |
| Water Droplets | Amount, minimum and maximum size, water color, and Space Apart. |
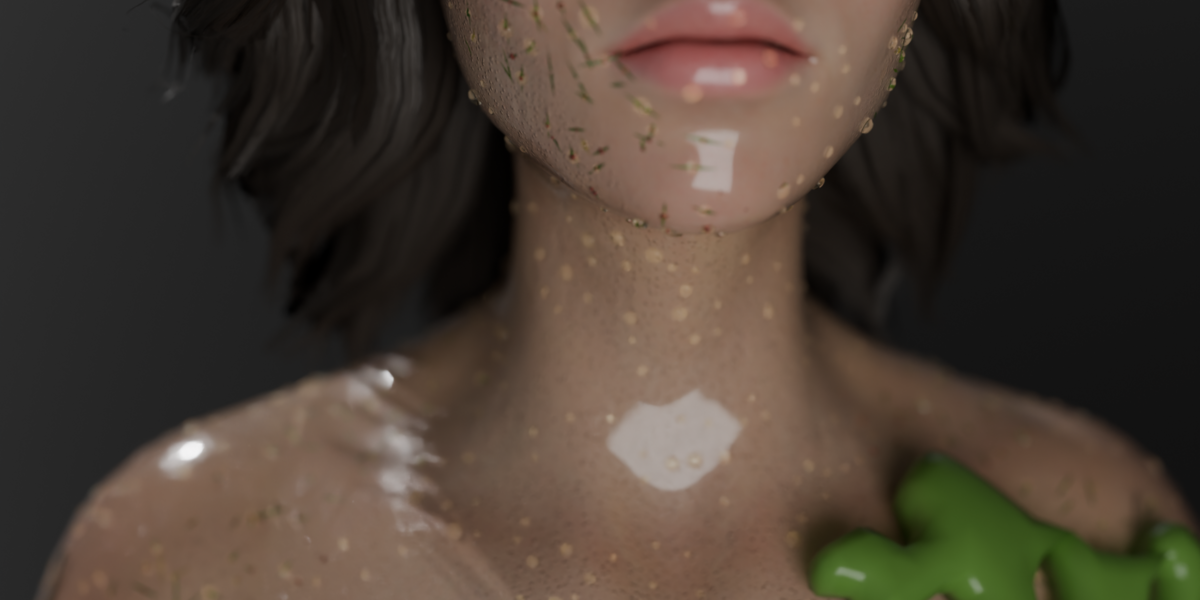
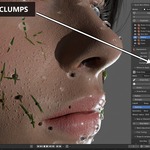
| Foam | Coverage, Thickness, Bubbles, Amount, and Clumping. |
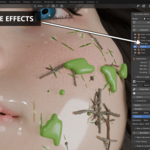
| Slime | Coverage, Thickness, Color, Roughness, and optional guide flow. |
| Sand | Amount, particle size, and Clumping. |
| Grass Fragments | Amount, Length, Width, and custom asset collection options. |
| Twigs | Amount, Length, Width, and optional custom assets. |
| Debris | Amount, Min Size, Max Size, and Clumping. |
| Flowing Water | Choose Guided Flow or Surface Flow, then adjust speed, size, gravity, adhesion, and lifetime. |
6. Working with presets
- Add the effect you want to use.
- Open the Presets menu in the effect panel.
- Select a preset such as Sparse or Dense where available.
- Adjust the controls after loading the preset to match your model.
Presets are starting points. The visible density depends on the masked surface area, object scale, viewport quality, element limit, and effect settings.
7. Flowing Water
Guided Flow moves beads along a curve. Create a Curve object with one Poly spline, place it near the surface, select it in Guide Curve, and click Bind Guide to Skin. Rebind after changing the curve, topology, or relevant subdivision.
Surface Flow uses a surface particle cache. Match the viewport and render quality, set the frame range, and use Bake Surface Flow. The bake is stored in the blend file and can be rendered after reopening.
8. A simple beginner workflow
- Start with a duplicate of your character object.
- Set the object to Material Preview.
- Click Use Active Model.
- Add Water Droplets with Whole Object selected.
- Reduce Amount while adjusting size and color.
- Switch to Draw Area or Vertex Group when the effect looks correct.
- Add a second effect, such as Wet Skin or Foam.
- Use the modifier stack and effect list to select the layer you want to edit.
- Save the blend file after testing the final result in Rendered shading.
Frequently Asked Questions
Check that the correct mesh is selected, that Use Active Model was pressed, and that the mask is not empty. Choose Whole Object and click Fill to test the effect across the complete mesh.
Use Material Preview or Rendered shading, increase viewport quality, and zoom closer to the affected surface. Fine skin detail may be invisible in Solid mode.
A Vertex Group reads weights that already exist on the mesh. Paint Mask lets you paint a mask for the effect using Blender's Weight Paint workflow. A vertex group is useful when several systems already use the same weights; a paint mask is convenient for effect-specific coverage.
Dense geometry and large scatter counts increase evaluation time. Lower Viewport Quality, reduce Amount, reduce Element Limit, or hide layers while editing. Keep Render Quality higher for the final render.
Yes. Add each effect as a separate layer, then select the layer you want to edit in the effect list. Each layer can have its own settings and mask.
Use the Color control in Water Droplets. For the clearest result, view the material in Material Preview or Rendered mode and check the scene lighting.
Update the add-on and reload the script or reopen Blender so the current material-slot protection is applied to saved effect graphs. This protects generated materials when shader effects create object-linked skin material slots.
Many continuous effect controls use Blender drivers and can be keyframed from the property context menu. Structural changes such as changing a guide, mask mode, or custom asset collection may rebuild parts of the node graph.
The selected effect modifier, its generated geometry, and its owned material setup are removed. Masks still used by other effects are preserved.
Shader-based effects use managed object-linked copies so the original material datablocks on other objects remain separate. Keep a backup of important scenes before large stack edits.
Have questions about this product?
Login to message
| Blender Extension Compatible | Yes |
| Published | 5 days ago |
| Blender Version | 4.5 - 5.2 |
| Extension Type | Add-on |
| Render Engine Used | Cycles, Eevee |
| License | GPL |
Discover more products like this
flowing water geometry nodes VFX debris foam procedural materials masks water droplets grass Goosebumps Skin shader Skin Effects