HydroJet – Procedural Water Stream
 MikeStore


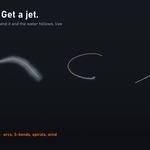
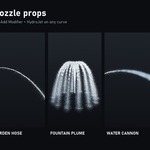
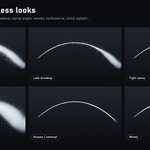
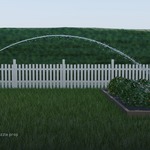

Install (once)
- Unzip HydroJet somewhere permanent, e.g. Documents/Blender Assets/HydroJet.
- Blender 5.0+: Edit > Preferences > File Paths > Asset Libraries > + and choose that folder.
Quick start
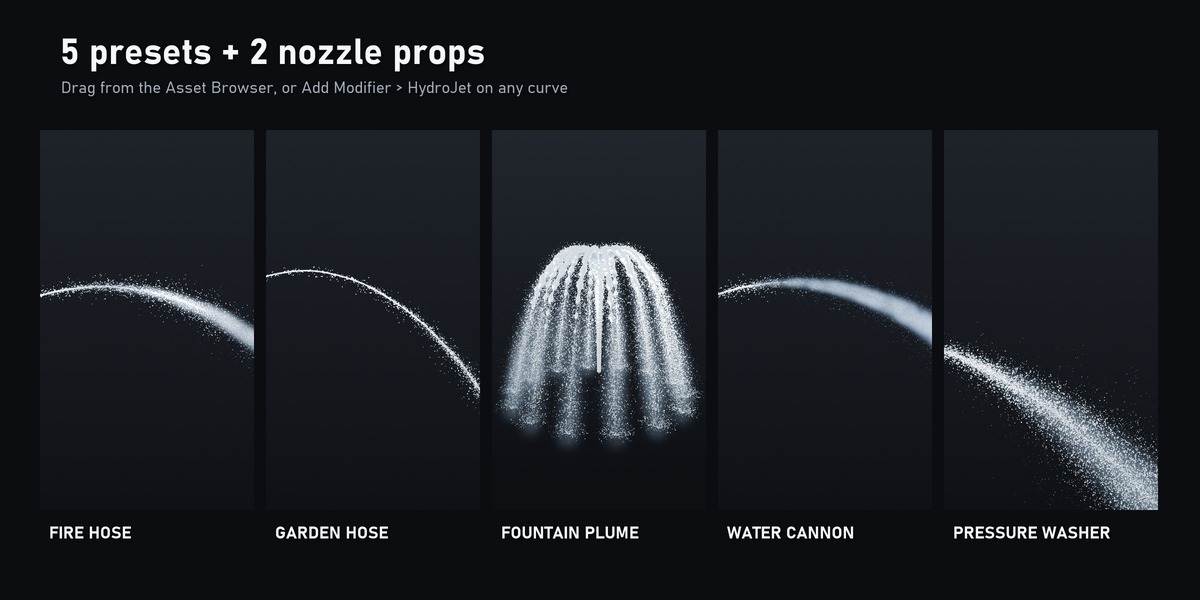
- Select any curve (or Add > Curve > Bezier) and choose Add Modifier > HydroJet, or drag a preset from Asset Browser > HydroJet > Presets.
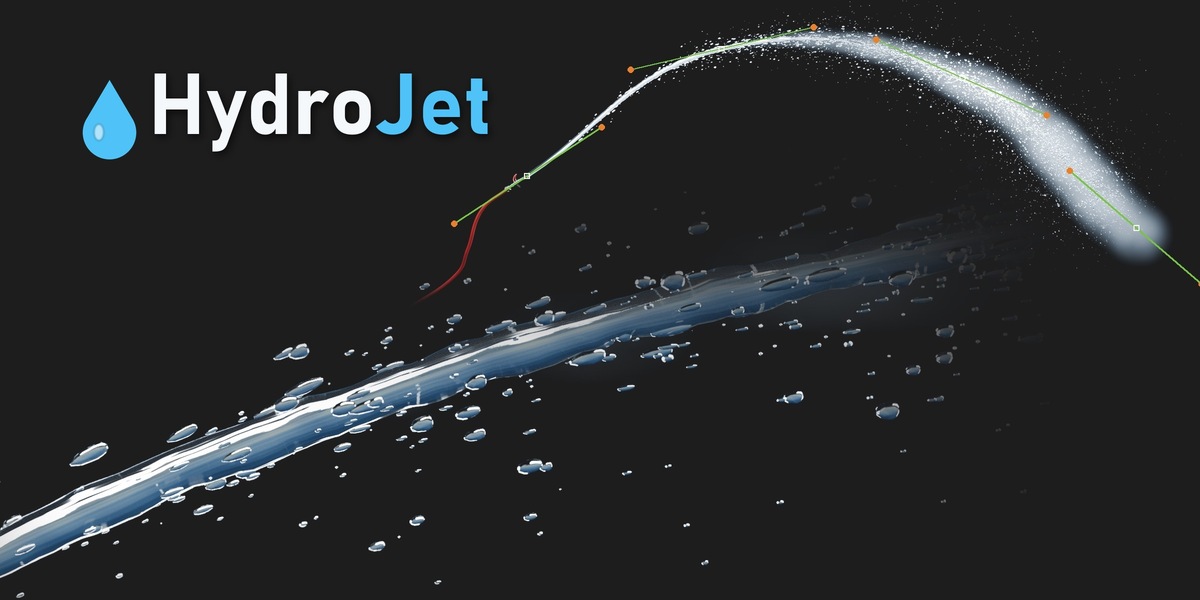
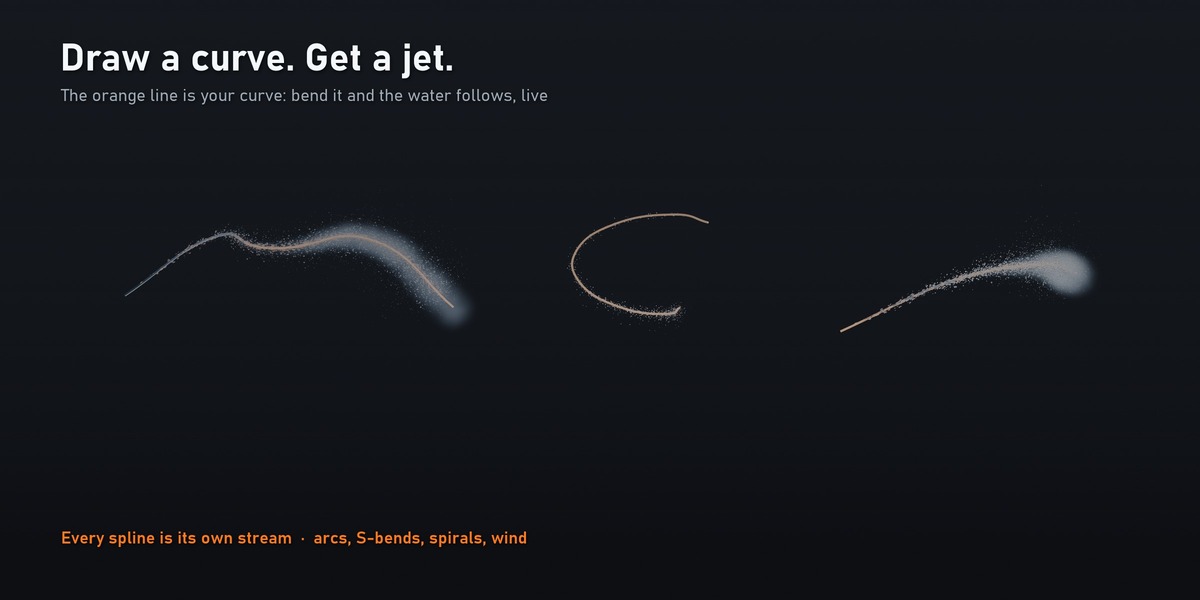
- Press Play. The first point of each spline is the nozzle; move points and handles to aim the water.
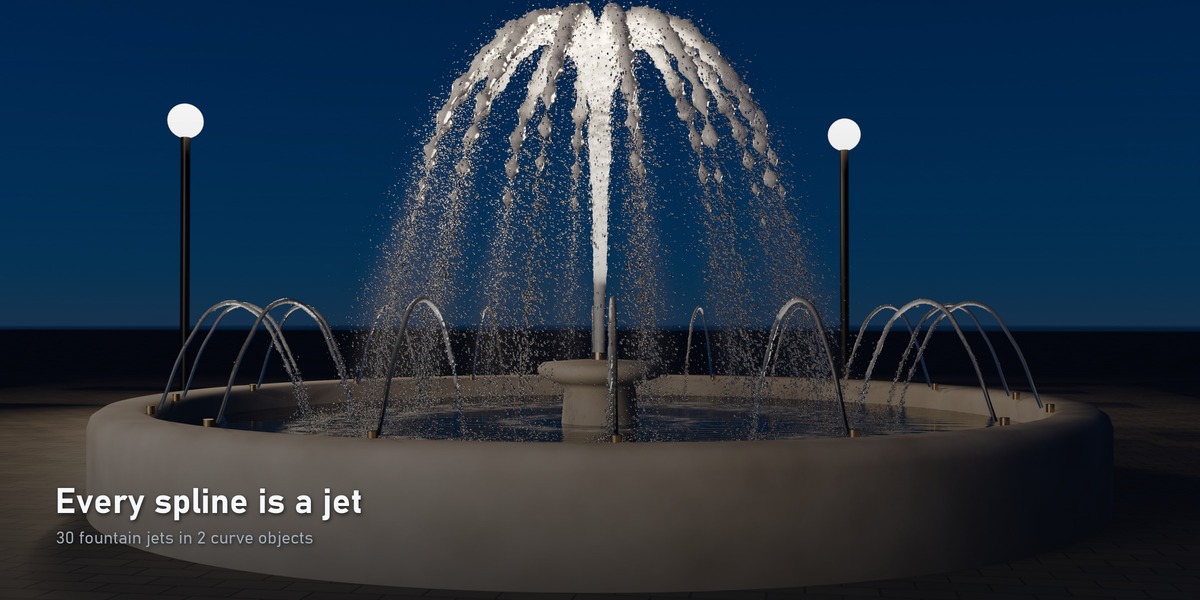
- Every spline in the curve object is its own jet: draw more splines for fountains and water shows.
No install? File > Append > HydroJet.blend > Object > "HydroJet Fire Hose".
Controls (modifier panels)
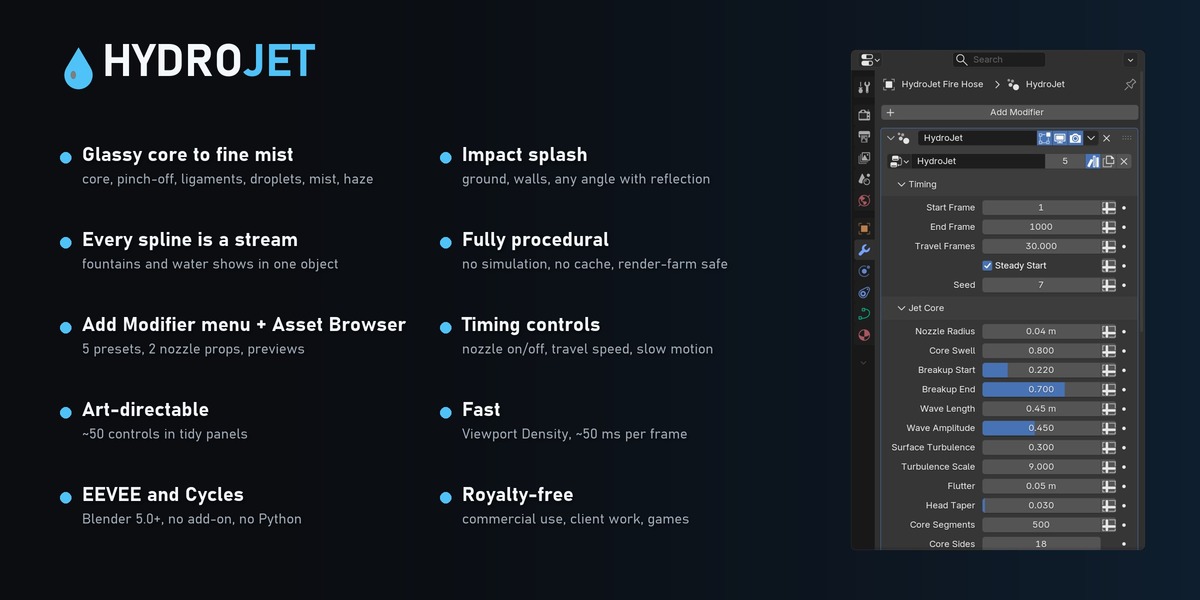
- Timing: Start/End Frame (nozzle opens/closes), Travel Frames (speed / slow motion), Steady Start, Seed
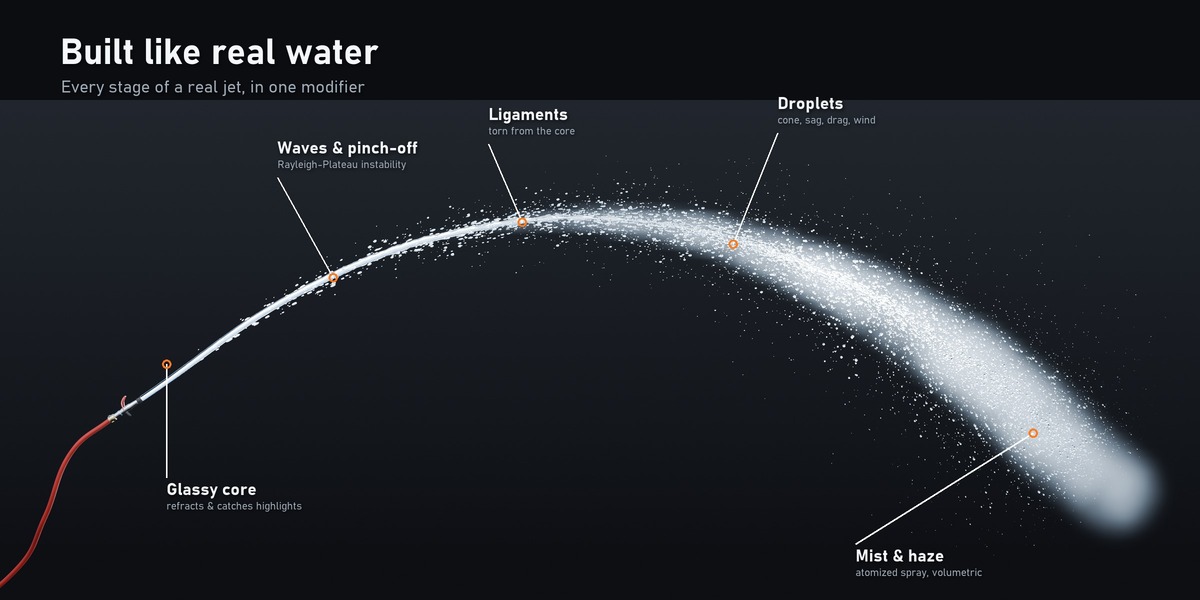
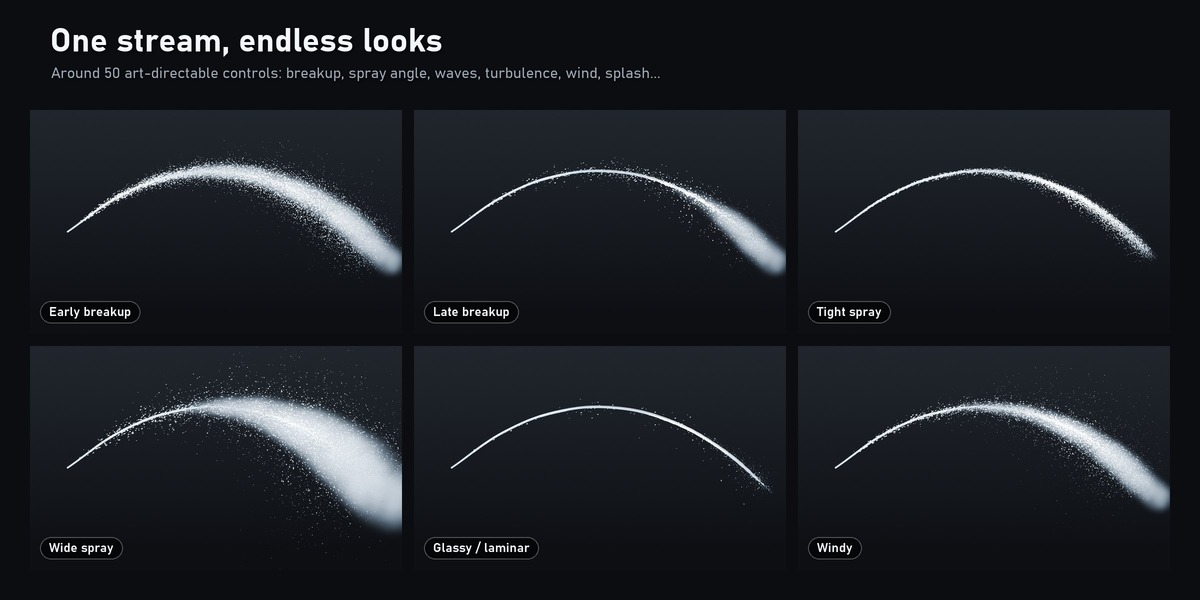
- Jet Core: Nozzle Radius, Core Swell, Aeration, Breakup Start/End, Wave Length/Amplitude, Surface Turbulence, Flutter
- Spray: droplet count and sizes, Spray Angle, Falloff, Surface Stripping, Stretch, Gravity Sag, Air Drag, Wind
- Mist & Haze: fine mist points and a volumetric haze envelope
- Impact Splash: on/off, Impact Normal (ground (0,0,1), wall e.g. (-1,0,0)), radius, height, life
- Performance: Viewport Density (viewport only, renders always 100%)
Rendering
- EEVEE: Render Properties > Raytracing ON for refraction; keep Volumes > End beyond the stream for haze.
- Cycles works out of the box.
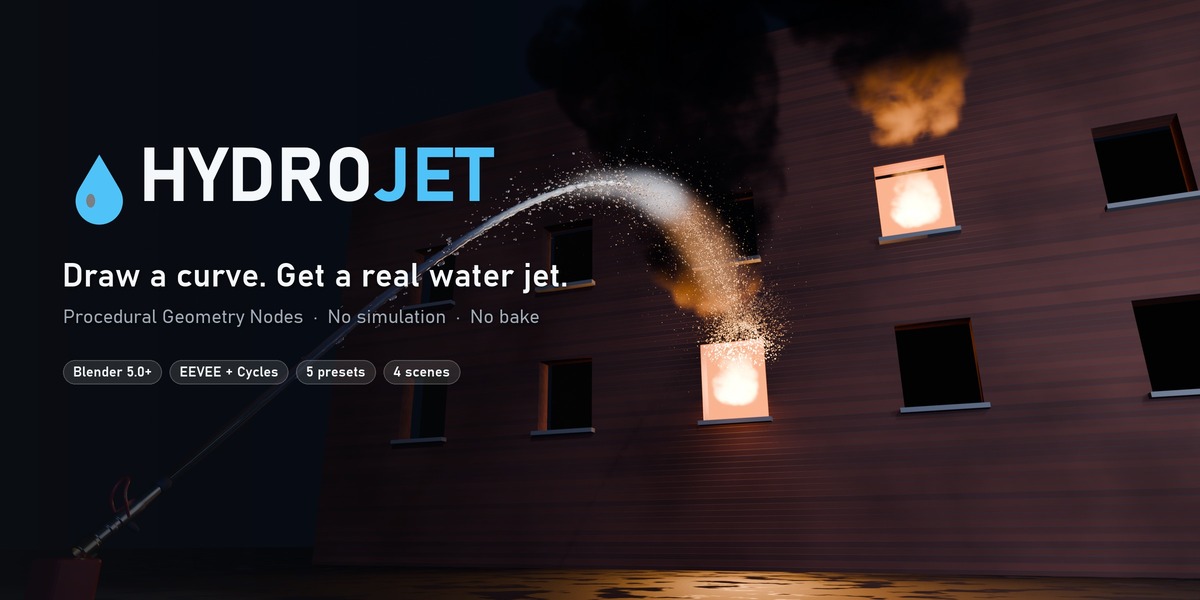
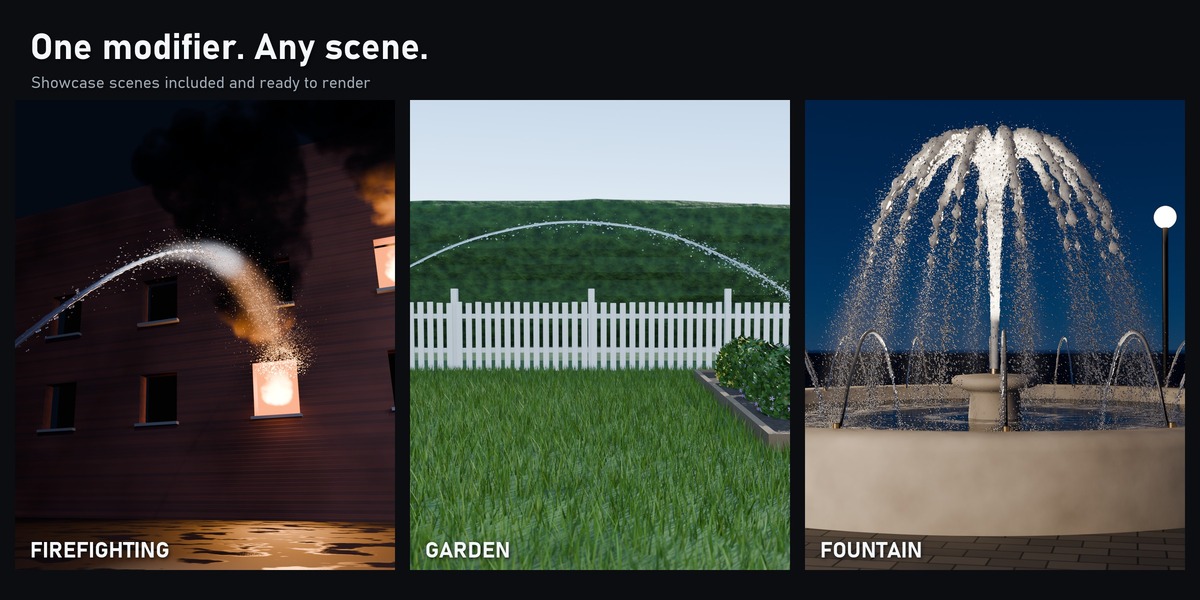
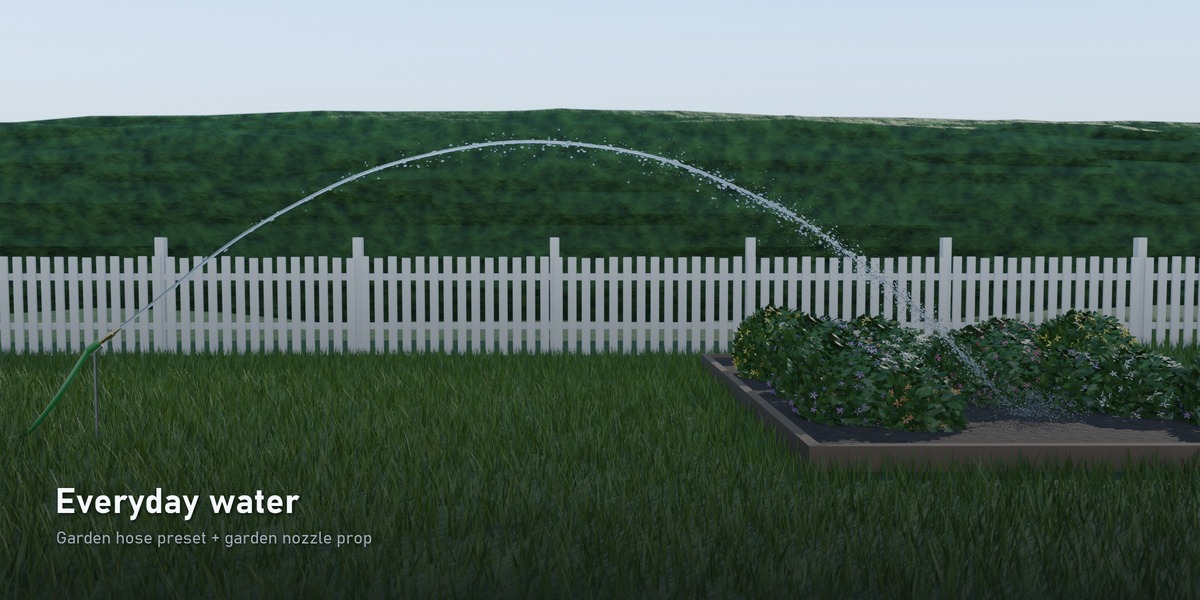
- Water reads best backlit against a darker background: see the 4 showcase scenes.
The included HydroJet_Guide.pdf explains every control with recipes for walls, slow motion, fountains and wind.
Have questions about this product?
Login to message
| Published | about 12 hours ago |
| Blender Version | 5.0 - 5.2 |
| Render Engine Used | Cycles, Eevee |
| Misc Data | Animated |
| License | Royalty Free |