Ies Light Architect Pro
 ramazan sarı



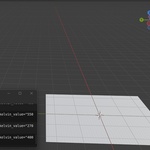
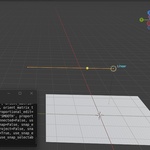
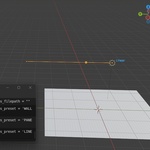
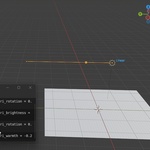
### Installation & Quick Start
1. Open Blender.
2. Go to Edit > Preferences > Add-ons.
3. Click Install.
4. Select the downloaded ZIP file.
5. Enable the add-on.
6. Press N in the 3D Viewport to open the sidebar.
7. Open the IES Light Architect Pro panel.
8. Choose a lighting option or profile.
9. Add the light setup to your scene.
10. Adjust intensity, color temperature, position, and other available settings.
### Usage Notes
- Designed for architectural visualization, interior lighting, and render setup workflows.
- Works best when adjusted manually based on your scene scale and camera angle.
- Render results may vary depending on scene materials, exposure, and render engine settings.
### Compatibility
Tested with Blender 4.2 up to Blender 5.0.
Have questions about this product?
Login to message
| Blender Extension Compatible | Yes |
| Published | 4 months ago |
| Blender Version | 4.2 - 5.0 |
| Extension Type | Add-on |
| Render Engine Used | Cycles, Eevee |
| License | GPL |

Discover more products like this
render lighting architectural visualization Cycles Lighting light setup IES-lighting eevee interior lighting blender addon ArchViz