Inkline
 Emiliano Sifri
Installation
- Download the Inkline ZIP file.
- Open Blender and go to Edit → Preferences → Extensions.
- Choose Install from Disk and select the Inkline ZIP.
- Enable Inkline if required.
Getting Started
- Select one or more mesh objects.
- Open the N-Panel in the 3D Viewport.
- Open the Inkline panel.
- Create a new outline style.
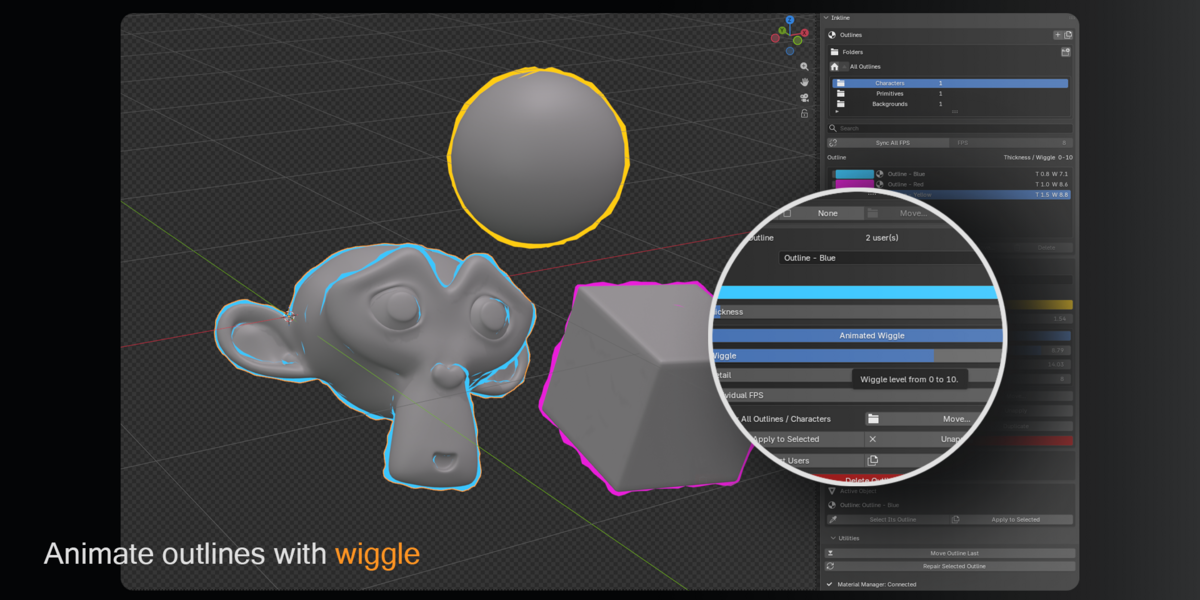
- Adjust its color, thickness, and optional animated wiggle.
- Click Apply to Selected.
Outline Styles
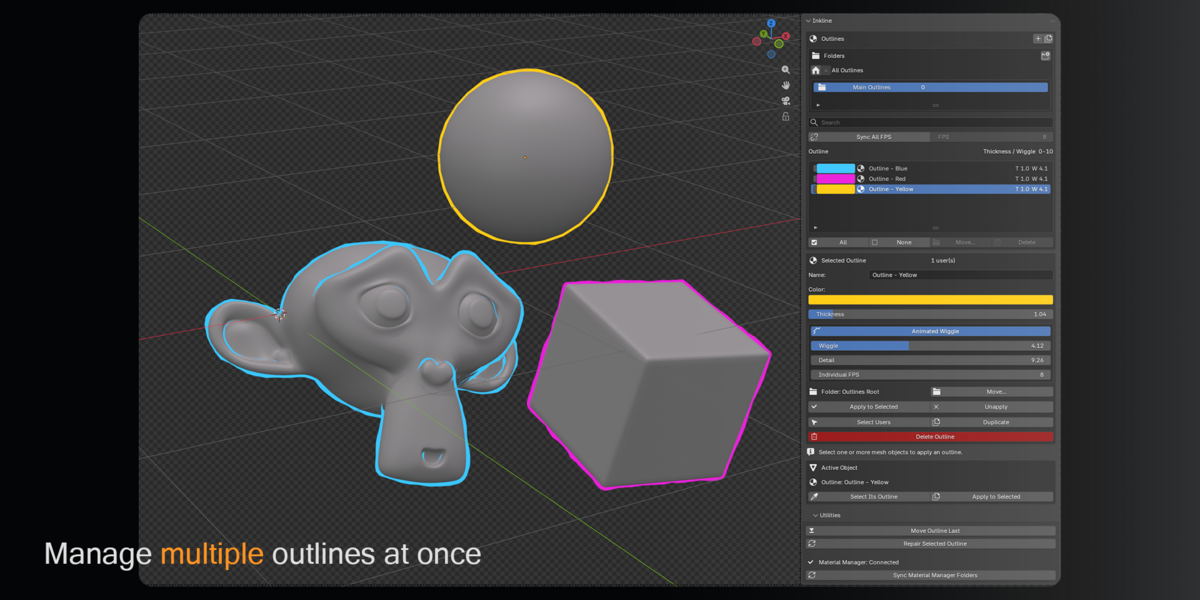
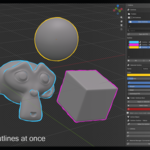
Each Inkline style can be reused across multiple objects. Styles have their own color, thickness, wiggle settings, and animation speed.
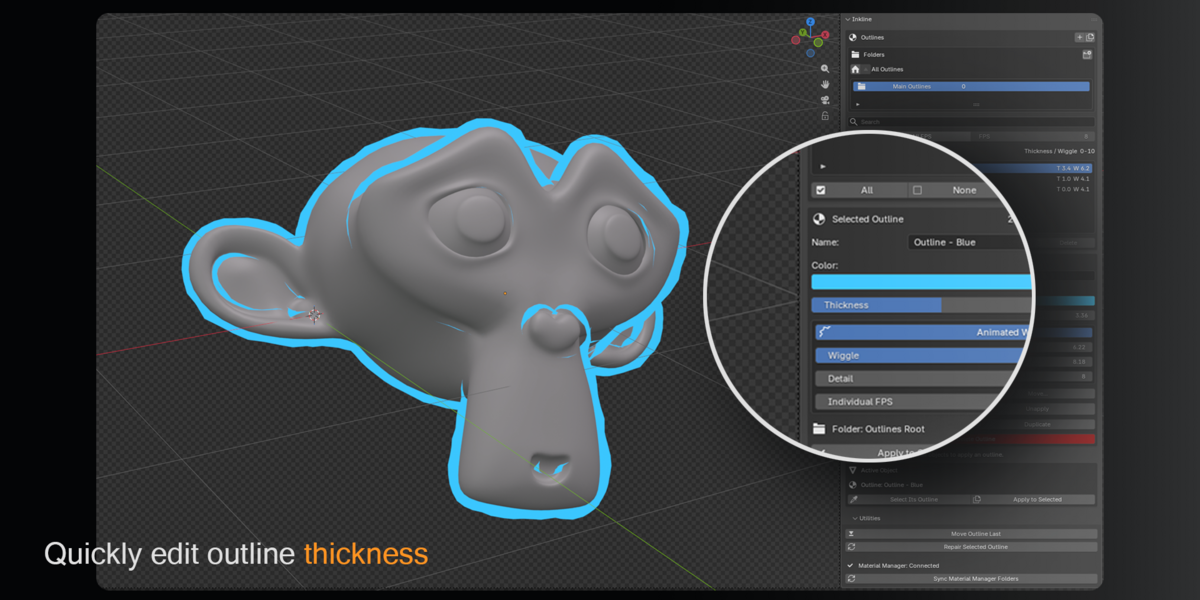
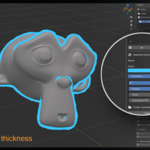
Thickness: Uses a simple 0–10 control for adjusting line weight.
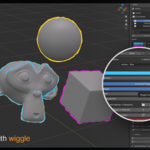
Wiggle: Uses a 0–10 control for the animated hand-drawn effect.
FPS: Control animation speed individually or synchronize all Inkline styles.
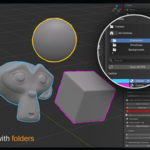
Folders
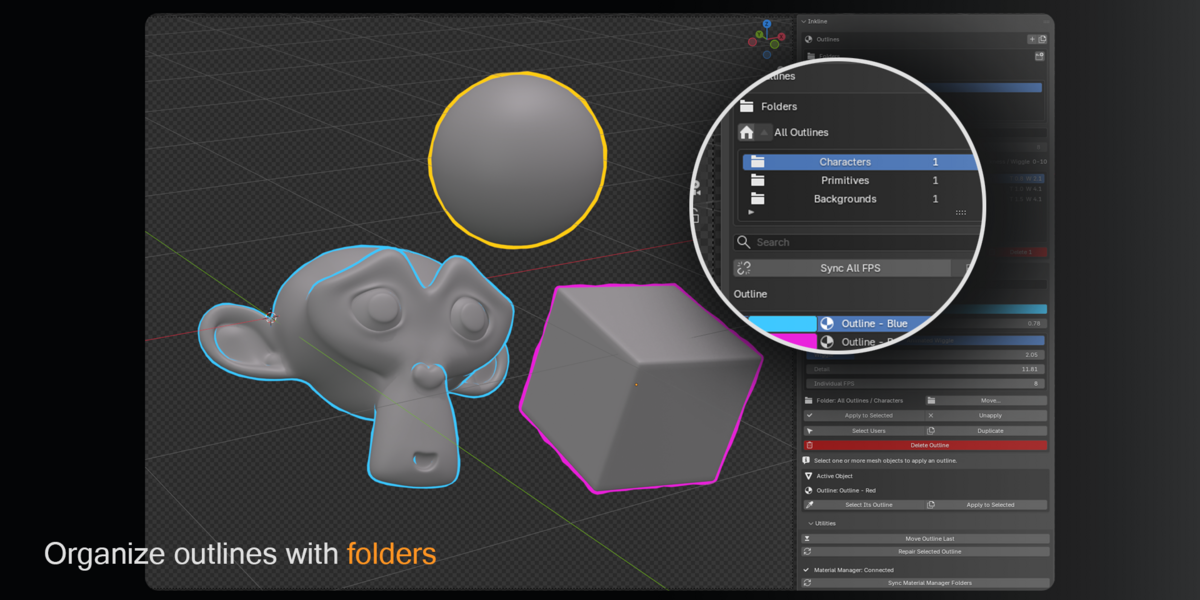
Outline styles can be organized into folders for larger scenes. Create folders, move existing styles between them, rename folders, and organize different characters, props, or groups without changing the objects using those styles.
Managing Multiple Outlines
Inkline supports multi-selection for faster organization. Multiple styles can be selected, moved between folders, or deleted together.
Material Manager Compatibility (Future update)
Inkline includes optional integration with Material Manager. When both extensions are installed, Inkline outline organization can be reflected inside Material Manager. Inkline remains completely standalone and does not require Material Manager.
Removing an Outline
Select the object and Inkline style, then use Unapply. This removes the outline from the object without requiring you to delete the style itself.
Tips
- Reuse one style across several objects when you want a consistent look.
- Create separate styles when different parts of the scene need different line weights or colors.
- Use folders to keep character, environment, and prop outlines organized.
- Use Sync All FPS when several animated outlines should move at the same speed.
 Included
Includes 12 months of
- Support from Emiliano Sifri
- Product updates
Extend this product’s Support Period +12 months: 25% of product price
Have questions before purchasing?
Login to message
| Published | about 1 month ago |
| Blender Version | 5.2 |
| Render Engine Used | Cycles, Eevee |
| License | GPL |