 Schirmer Labs
Intarsia
Your logo, printed in a second colour — not painted, not faked
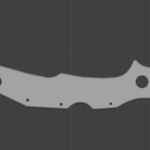
You have done this before. A name on a knife scale. A club emblem on a controller shell. Your own mark on the bottom of everything you sell.
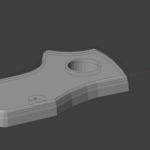
So you boolean the shape into the model and you get a hole. You print it, and the hole is the same colour as the part. You reach for the acrylic paint. Or you build a flat lid, drop it on a curved handle, and stare at the edge where it lifts off the surface by half a millimetre.
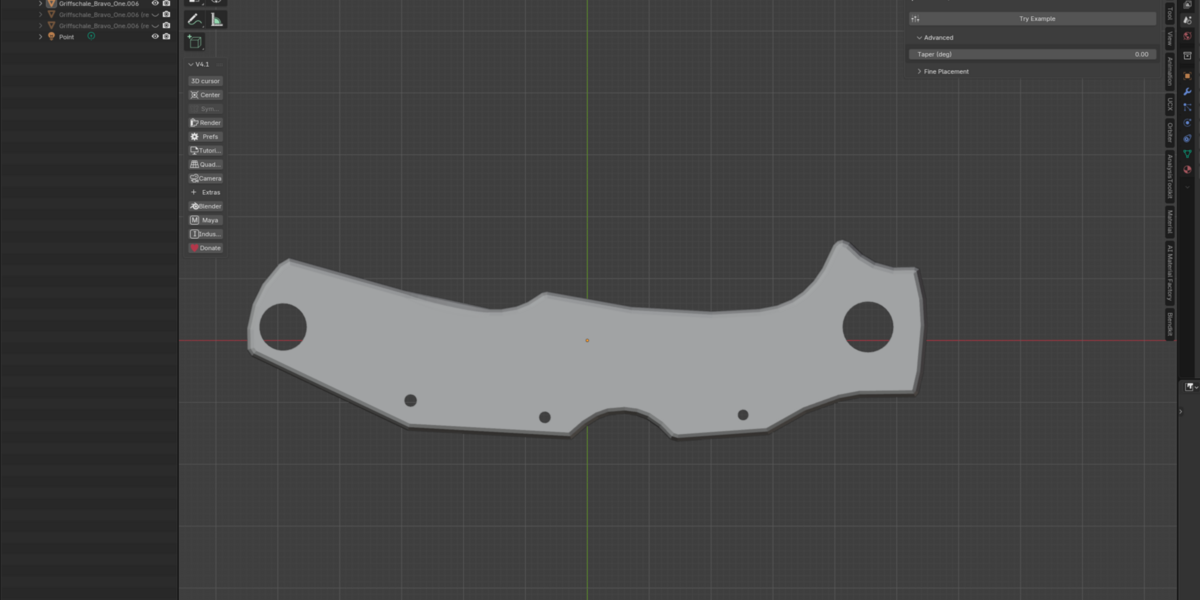
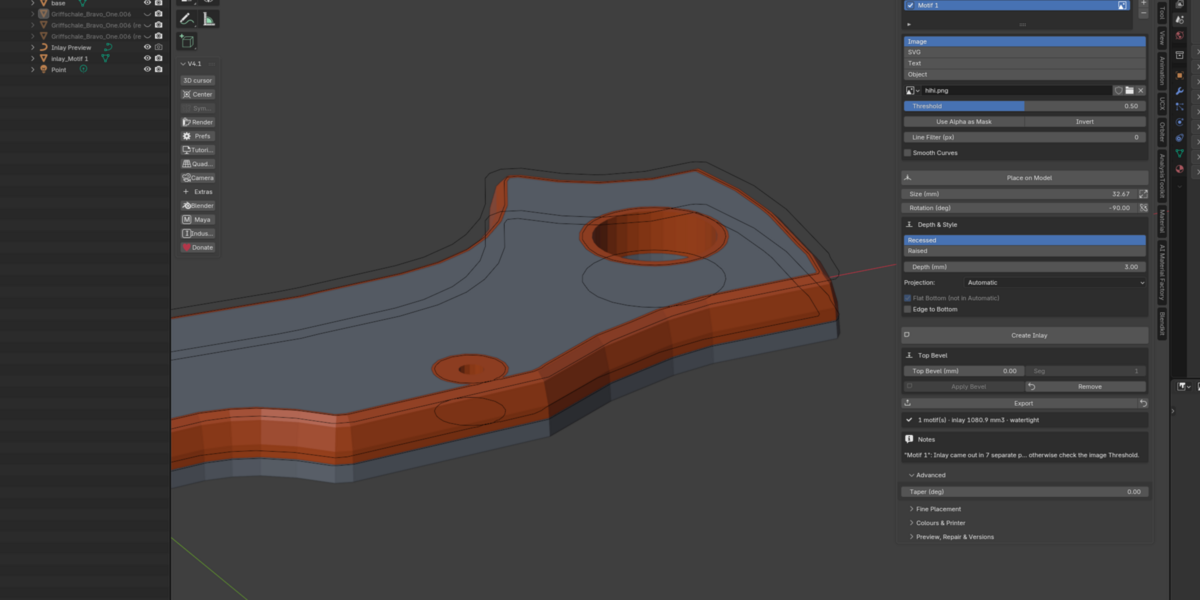
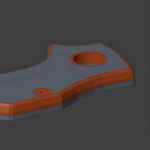
Intarsia removes that step. You click on your model, and you get two solid bodies back: the part with a pocket in it, and an inlay that fills the pocket exactly. Both watertight. Both in the same world coordinates. Open the 3MF in Bambu Studio, give each part a filament slot, hit slice. The motif comes off the plate already the right colour.
The inlay's face follows the original surface — the real one, fillets and curvature included. On a rounded handle it curves with the handle. It is never a flat plate sitting on a round thing.
Youtube Tutorials:https://www.youtube.com/watch?v=vn6YwhlAKK0&feature=youtu.be
https://www.youtube.com/watch?v=L5X9u68H2cI&feature=youtu.be
What it feels like to use
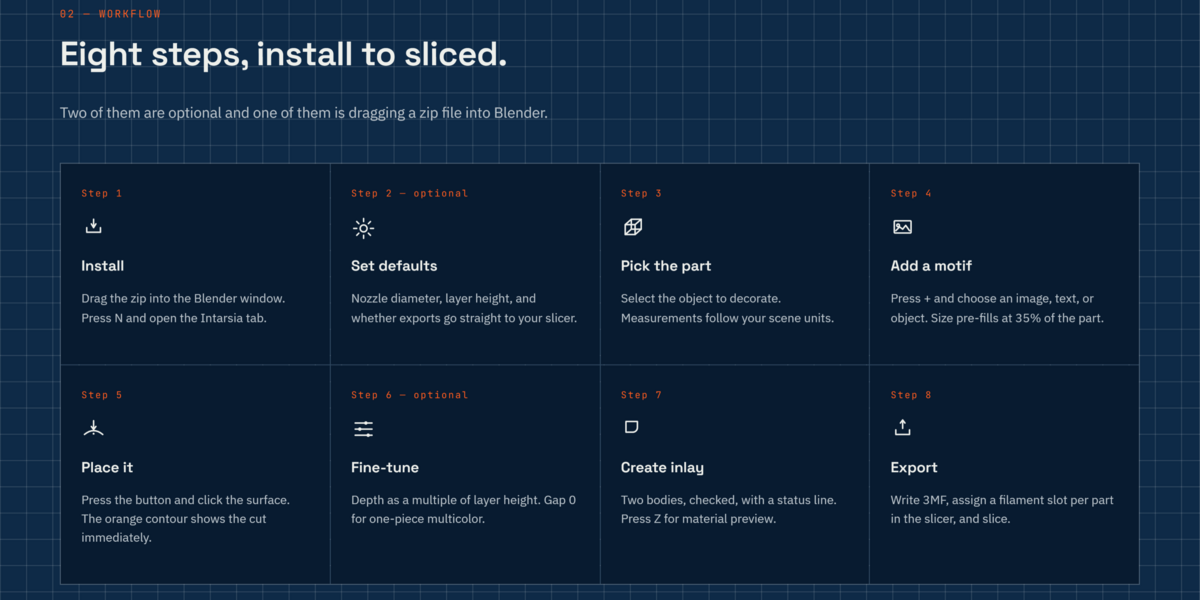
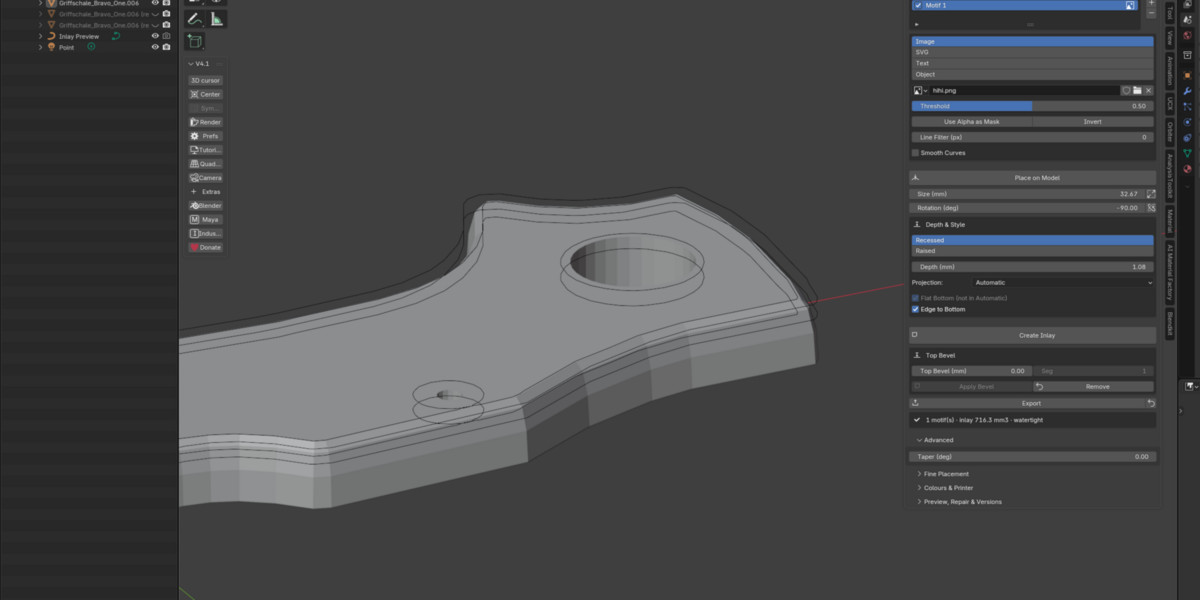
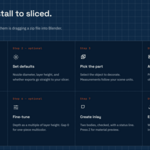
Four steps, four buttons. Pick your object. Add a motif — type text straight into the panel, load a PNG, or point it at a curve you already imported. Click Place on Model and click the surface; the anchor and the surface normal come from that click, and you can keep orbiting while you aim. Hit Create Inlay.
Your size is your size. A 20 mm logo from Illustrator arrives as 20 mm. Apply True Size reads the real dimensions out of the image DPI or the object, so you stop guessing scale factors and stop measuring the result afterwards.
You see it before you commit. The booleans run as modifiers, so the cut updates live in the viewport as you drag depth or rotation. Even without live mode, an orange contour and a depth ring sit on the surface showing exactly where the cut lands.
Your original survives everything. Every operation runs on copies. The source object moves into an Inlay Source collection and is hidden, not deleted. Each run lands in its own versioned collection — v001, v002, v003 — each with the parameters that made it, so you can put three depth variants side by side and pick one. A mesh backup with a fake user survives even if you delete the object. Restore Original is one button, always.
The parts that save you a failed print
Volume check. After every run, Intarsia verifies that base + inlay = your original model. More than 0.5 % off and it throws the result away and tells you. A boolean that silently ate a corner does not reach your slicer.
Warnings before the plate, not after. Depth that is not a whole multiple of your layer height. Motif details thinner than your nozzle. A cut about to punch through the back wall. Motif hanging off the edge of the face you aimed at. Set a printer preset — Bambu Lab, Prusa MK4/XL, Voron — and the checks use your actual layer height and nozzle width.
Gap and taper, for inlays you print separately. Gap 0 for true multi-material in one print. 0.05–0.15 mm plus a 2–5° taper when the insert is printed on its own, milled, or cast in resin, and needs to slide in rather than jam. Knife scales and jewellery live on that taper.
Top Bevel breaks the top edge of the inlay and the pocket rim of the base together, so the seam reads as a deliberate chamfer instead of a crack. It sits in its own block, applied after the fact — because the chamfer is most of the compute time, and leaving it off puts the inlay on screen roughly four times sooner while you are still deciding.
Where the motif comes from
-
Text — typed into the panel, any font, optionally following a curve.
-
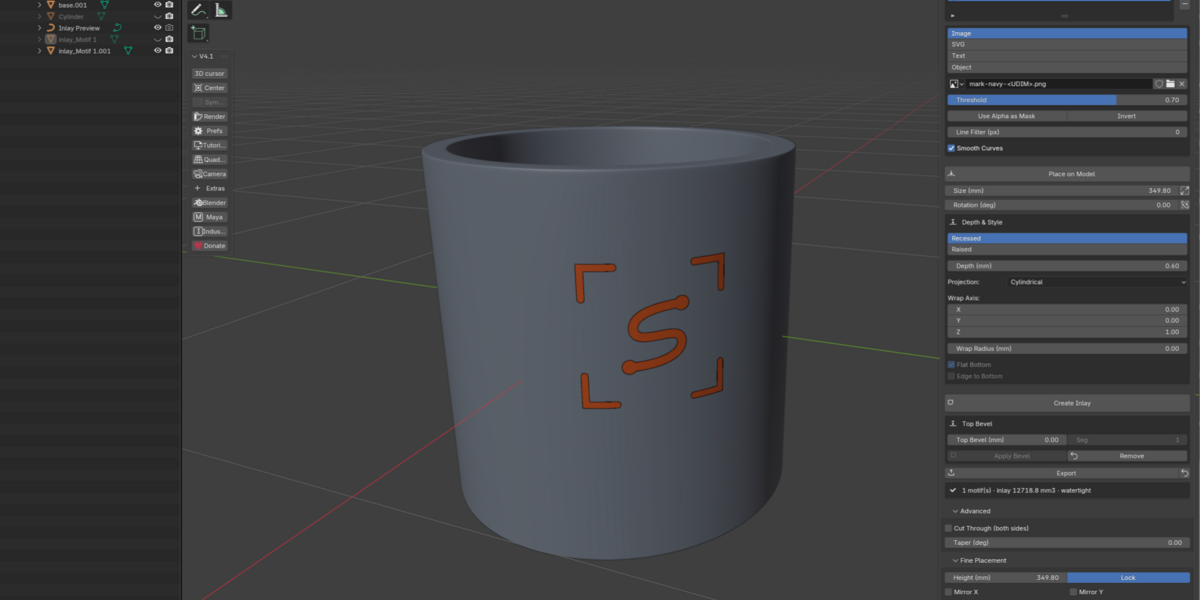
Image — PNG or JPG, threshold or alpha. The inside of an "O" stays a hole; separate islands stay separate. A line filter strips outline strokes out of clip-art so only the filled areas get cut.
-
Object — any curve, text or mesh already in your scene. SVG from Illustrator goes straight through.
Add several. Logo on the front, lettering on the back, serial number underneath — each with its own depth, gap and placement, all in one pass. Export gives you every part named.
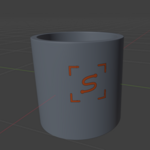
Three projection modes: Planar for flat faces, Conformal for curvature the depth should follow, Cylindrical to wrap a motif around a cup or a grip.
Where it came from
Intarsia started as a knife-handle scale. One inlay, one part, and every route through vanilla Blender ended in either a painted groove or a lid that did not sit on the curve. The maths for "cut the pocket and keep the offcut as a solid" is not hard — the hard part is that the offcut has to be watertight every single time, because a slicer will happily accept a broken mesh and only show you the damage after two hours of printing. So the volume check went in first, before any of the convenience.
It has been in daily use since, and it is tested the boring way: 68 headless tests plus 113 UI operator calls, run green on Blender 4.5 LTS, 5.0, 5.1 and 5.2 before every release. Curved surfaces, motifs with holes, volume conservation, cylindrical wrap, taper on fine detail, unit conversion between metre and millimetre scenes, the full multi-inlay run. Blender 4.2 was measured and deliberately dropped: it lacks the MANIFOLD boolean solver that the base cut depends on, and on the EXACT path three of the results leaked. Promising 4.2 would have meant promising something that does not hold.
Also in the box
-
Repair Base — merge doubles, dissolve degenerates, fill holes, fix normals, on a copy, with a before/after report. For scanned and imported meshes.
-
Export — 3MF with named parts in millimetres, read by Bambu Studio, PrusaSlicer and OrcaSlicer as one multi-material object. Or STL per body, in identical world coordinates. After export it can open the folder, do nothing, or hand the file straight to your slicer.
-
Your defaults, once — printer, layer height, nozzle and slicer path live in the add-on preferences. Every new file starts with your machine already set.
-
German interface included as a full translation, switchable in Preferences.
Requirements
Blender 4.5 LTS or newer — tested on 4.5, 5.0 and 5.1. One package covers all three; drag the zip into Blender and press N. Updating is the same drag, no restart. GPL-3.0-or-later.
This add-on was created with the assistance of AI.
