Intarsia
 Schirmer Labs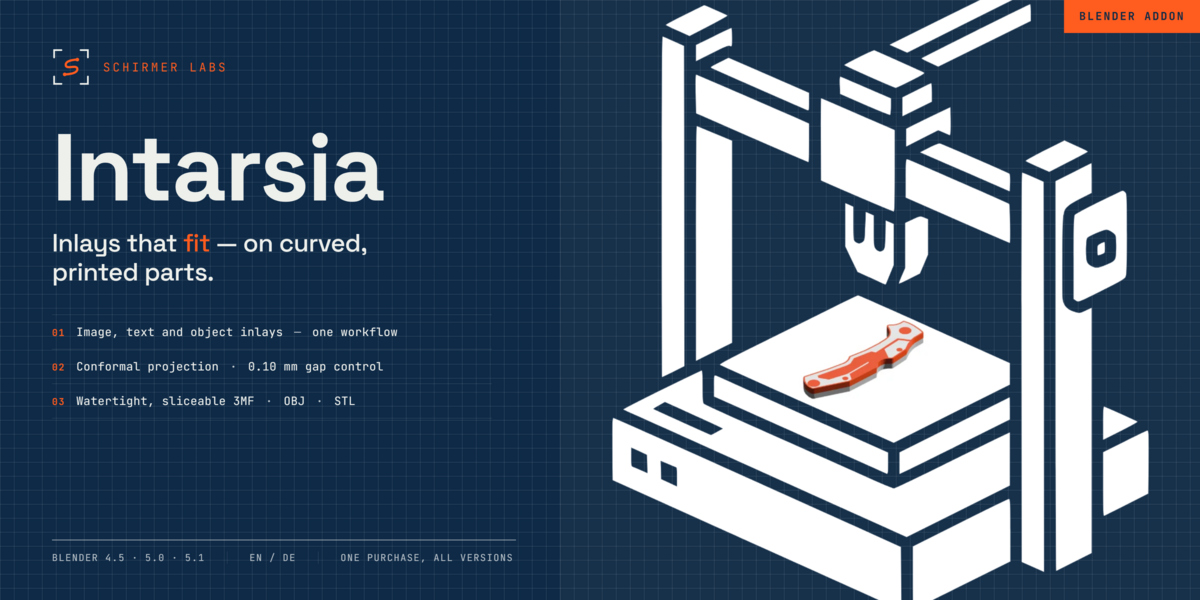
Intarsia — Documentation
Updatet to Blender Version 5.2 · Blender 4.5 LTS or newer
Intarsia Version 2.75.6
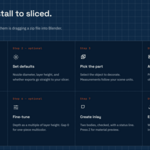
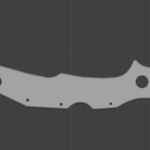
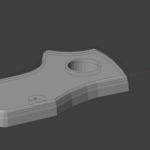
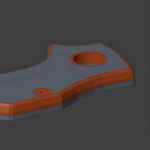
Intarsia turns an image, an SVG, a line of text or a curve into a real two-colour inlay: it cuts the motif into your part and gives you back two watertight bodies — the part with a pocket, and the inlay that fills it exactly. Load both into your slicer, give each a colour, print.
Installation
Requires Blender 4.5 LTS or newer (tested on 4.5, 5.0, 5.1 and the newest Version). One package covers all of them — there is nothing to pick at download.
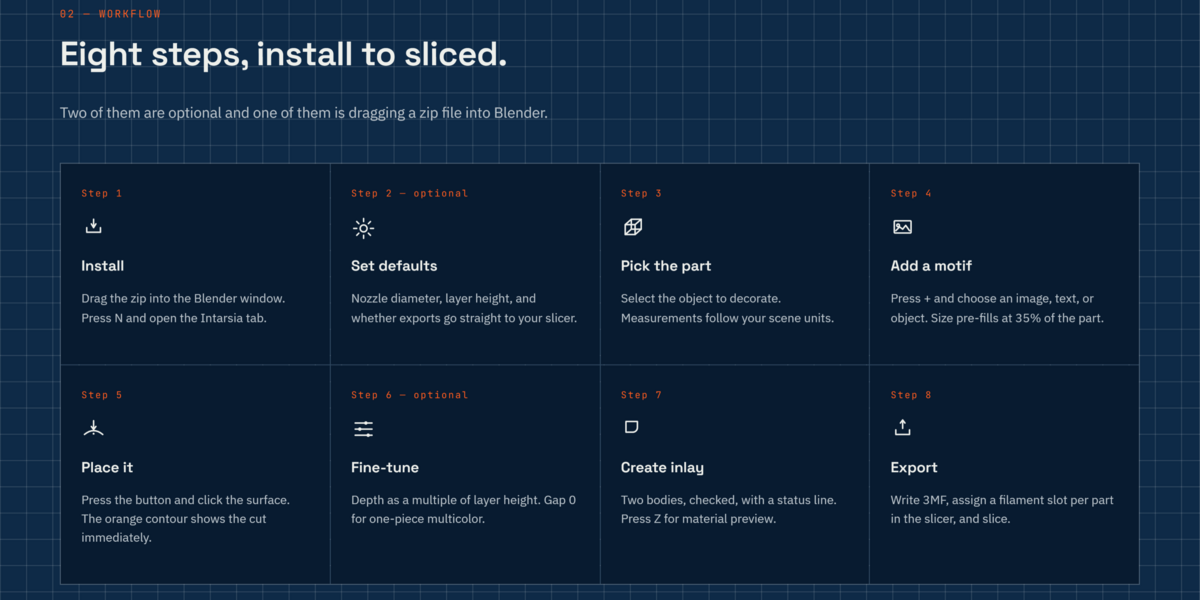
- Drag
intarsia-2.75.2.zipinto a running Blender window. (Or: Edit → Preferences → Get Extensions → ⌄ → Install from Disk…) - Press N in the 3D viewport and open the Intarsia tab.
The installed version is shown at the bottom of the tab.
Updating: drop the new zip in — no restart needed. Your motifs, settings and results stay in the .blend.
Help: the ? icon in the panel header opens the README that ships with the add-on.
Quick start
Want to see it work first? With no object picked, press Try Example. It creates an 80 × 40 × 4 mm plate with "INTARSIA" on it and computes the inlay.
For your own part:
- Object — pick the part to decorate.
- Motif — press +, then choose Image, SVG, Text or Object. The size is preset to about a third of the part.
- Place on Model — click the button, then click the surface.
- Create Inlay.
- Export — 3MF is the default.
Press Z → Material Preview to see both colours in the viewport.
The defaults work without changing anything: Automatic projection, 0.6 mm depth (three layers at 0.2 mm). Everything else is optional.
The panel, top to bottom
Object
The part you want to decorate. Sizes follow your scene's unit settings: a part Blender shows as 110 mm or 0.11 m is treated as 110 mm. Nothing to convert.
Two hints can appear right under it:
- Part is under 30 mm — check the scale. The part really is that small in your scene's units. Check Scene Properties → Units and the object's dimensions.
- Modifiers are ignored. Intarsia computes on the raw mesh. With Subdivision, Bevel or Mirror the surface you click on is not the mesh that gets cut. Apply the modifiers first (Ctrl+A on the modifier).
Motifs
A list — each motif has its own source, placement, depth and colour. Logo on the front, lettering on the back, in one run. The tick box next to a motif leaves it out of the next run without deleting it.
Sources
| Source | What to use it for |
|---|---|
| Image | PNG or JPG. Anything darker than Threshold becomes the motif. Use Alpha as Mask reads a transparent PNG's alpha channel instead; Invert swaps motif and background. Line Filter (px) removes thin outlines so only filled areas remain. Smooth Curves (on by default) rounds off the pixel staircase and keeps sharp corners crisp. |
| SVG | An .svg file. Filled shapes become the motif — a frame must be drawn as a filled ring, a stroke alone has no area. Needs Blender's built-in Import: Scalable Vector Graphics add-on (on by default). |
| Text | Type straight into the panel and pick any font. Follow Curve runs the text along a curve object; the size then means the arc length of the lettering. |
| Object | A text, curve or mesh object from your scene. Curves need Fill Mode so they have faces. |
Holes (the inside of an "O") and separate islands are handled correctly. Shapes that touch or overlap in your artwork become one inlay body.
Place on Model, Size, Rotation
-
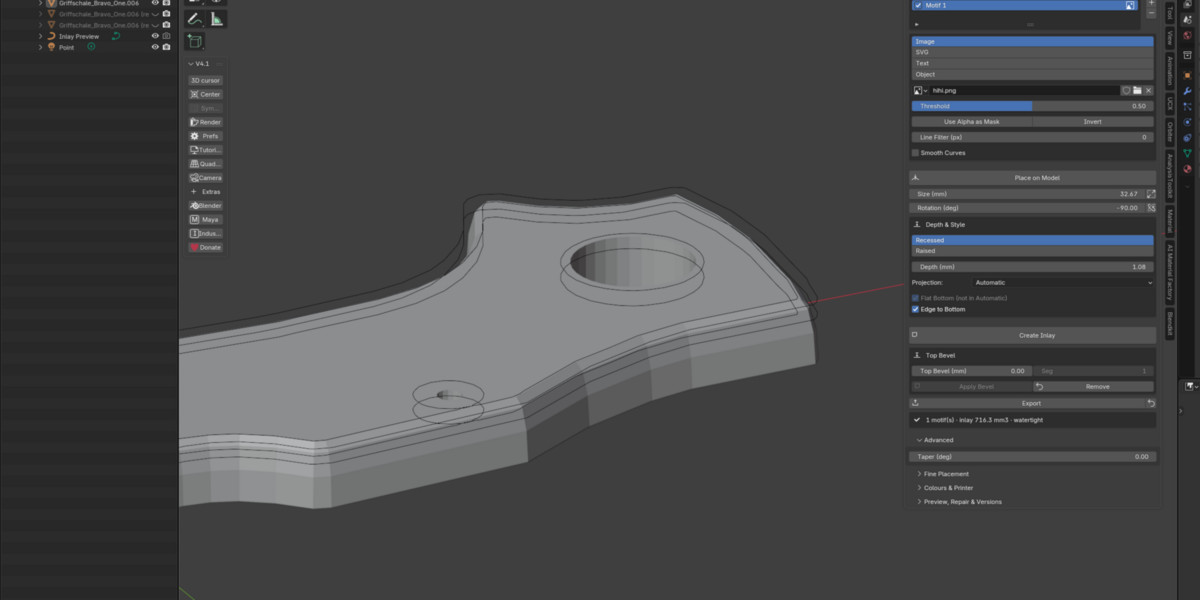
Place on Model — click the button, move the mouse over the part and click where the motif should sit. The point and the surface direction are taken from where you click. Esc puts everything back as it was.
-
Size (mm) — scales the whole motif; the height follows, nothing gets stretched. The button next to it (Apply True Size, for Image and Object) reads the real size from the image's DPI or the object's dimensions.
-
Rotation (deg) — type a value, or use the button next to it and turn the motif with the mouse (click to apply, Esc to cancel).
Depth & Style
Recessed / Raised — cut the motif into the part (inlay), or let it stand out of the surface with the second colour on top.
Depth (mm) — how deep the pocket is (for Raised: how high the motif stands). Best as a multiple of your layer height.
-
Projection
Mode
What it does
Automatic (default — start here)
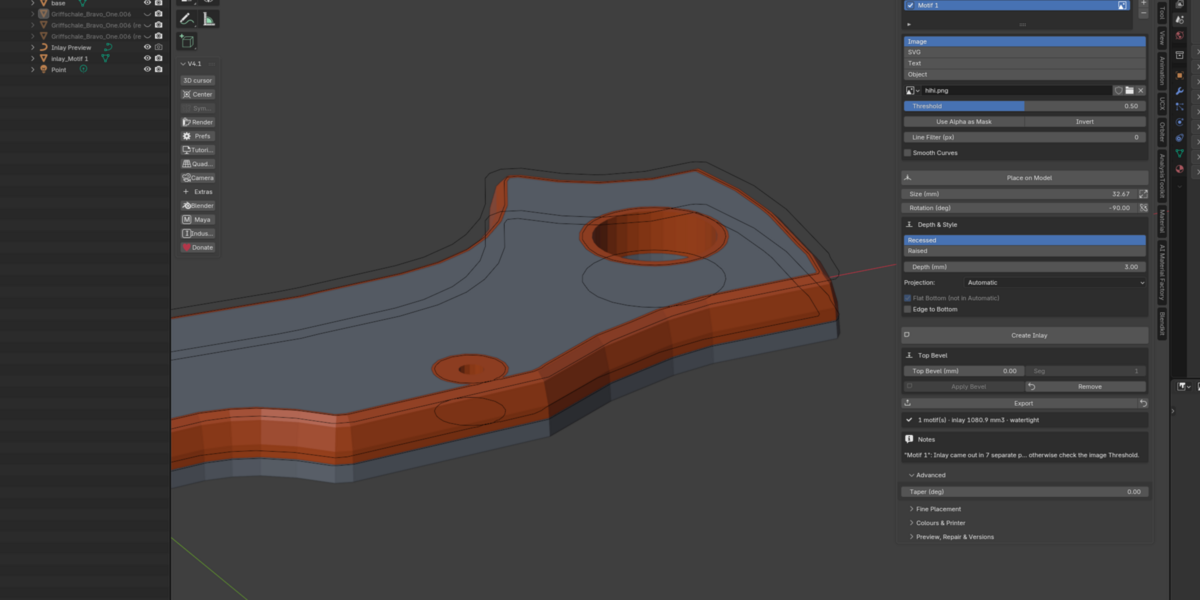
Cuts the motif wherever it meets the part and keeps the set depth there: on the top face, over chamfers and rounded edges. Where the motif crosses the part's edge, the inlay runs down the side wall as far as the set depth. Faces steeper than about 70° — undercuts, near-vertical walls — don't carry the motif. If Automatic has to fall back to another construction, it says so in the Notes.
Planar
Depth straight along the projection axis. The motif ends where the top face ends (faces tilted less than ~32°). Fastest on flat parts.
Conformal
Depth perpendicular to the surface, following its curvature.
Cylindrical
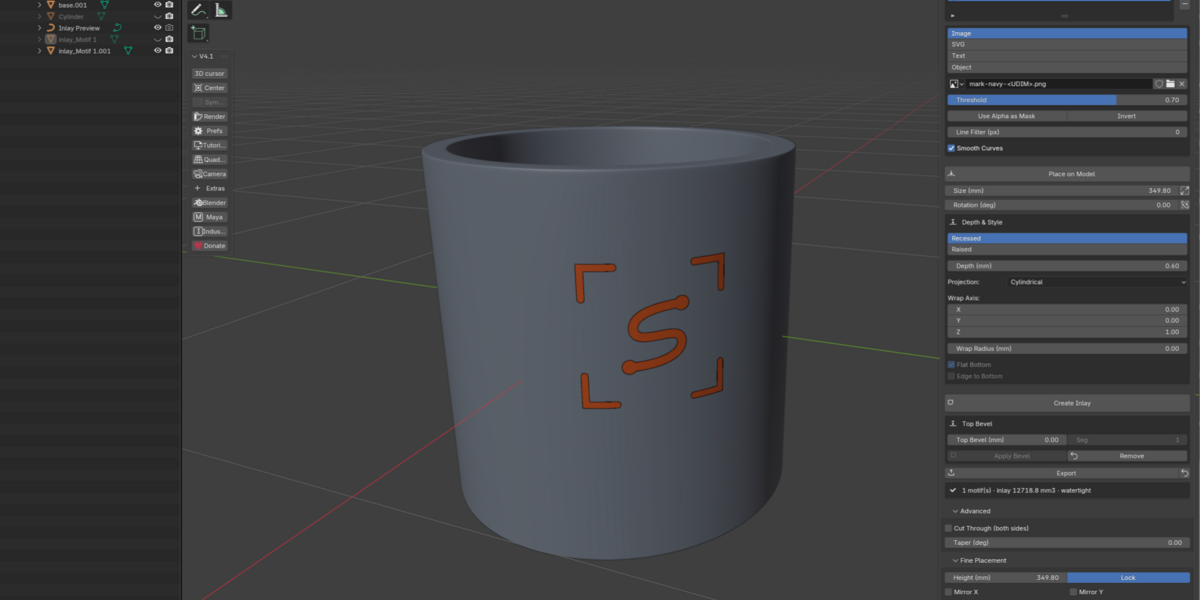
Wraps the motif around a round surface — cups, handles, pens. Set the Wrap Axis; Wrap Radius 0 estimates the radius automatically.
Flat Bottom — on: the pocket floor is a flat plane at the set depth, so the inlay never goes deeper than that. Off: the floor follows the surface, so the inlay keeps an even thickness. Applies to Planar and Conformal. In Automatic it is greyed out and labelled (not in Automatic), because Automatic keeps the depth on slopes, which a flat floor cannot.
Edge to Bottom — where the motif crosses the part's edge, the inlay runs down the side wall all the way to the underside. Inside the part the set depth stays, and the underside stays clear. Works in Automatic and Planar.
Recessed / Raised — cut the motif into the part (inlay), or let it stand out of the surface with the second colour on top.
Depth (mm) — how deep the pocket is (for Raised: how high the motif stands). Best as a multiple of your layer height.
Projection
| Mode | What it does |
|---|---|
| Automatic (default — start here) | Cuts the motif wherever it meets the part and keeps the set depth there: on the top face, over chamfers and rounded edges. Where the motif crosses the part's edge, the inlay runs down the side wall as far as the set depth. Faces steeper than about 70° — undercuts, near-vertical walls — don't carry the motif. If Automatic has to fall back to another construction, it says so in the Notes. |
| Planar | Depth straight along the projection axis. The motif ends where the top face ends (faces tilted less than ~32°). Fastest on flat parts. |
| Conformal | Depth perpendicular to the surface, following its curvature. |
| Cylindrical | Wraps the motif around a round surface — cups, handles, pens. Set the Wrap Axis; Wrap Radius 0 estimates the radius automatically. |
Flat Bottom — on: the pocket floor is a flat plane at the set depth, so the inlay never goes deeper than that. Off: the floor follows the surface, so the inlay keeps an even thickness. Applies to Planar and Conformal. In Automatic it is greyed out and labelled (not in Automatic), because Automatic keeps the depth on slopes, which a flat floor cannot.
Edge to Bottom — where the motif crosses the part's edge, the inlay runs down the side wall all the way to the underside. Inside the part the set depth stays, and the underside stays clear. Works in Automatic and Planar.
The panel greys out every option that has no effect in the current mode, so an active checkbox always does something.
Create Inlay
Computes the result. Above the button, the preview already tells you if something will not build (red box) or if part of it will be skipped (e.g. a bevel that is too wide) — before you click, not after.
Top Bevel
Appears once there is a result. It breaks the top edges of both bodies at once — the inlay's upper edge and the pocket rim.
-
Top Bevel (mm) and Seg —
1segment gives a flat chamfer, more give a rounded fillet. - Apply Bevel updates the current result instead of making a new version; Remove takes the bevel off again. Both always start from the original, so a bevel never lands on top of a bevel.
The bevel is a separate step on purpose: it is most of a run's computing time, so the inlay itself appears about four times faster without it. It is limited to 90 % of the depth. It is skipped where contours cross or come too close for it, and the preview shows where.
Export
-
3MF (default) — one file with named parts (
base, inlay_, …), colours included, millimetre units. Bambu Studio, PrusaSlicer and OrcaSlicer open it as one multi-material object.
-
OBJ — one object with one material per part (colours in the
.mtl).
-
STL — one file per body, all in the same coordinates, so "load as parts" lines them up without moving anything.
base, inlay_, …), colours included, millimetre units. Bambu Studio, PrusaSlicer and OrcaSlicer open it as one multi-material object..mtl).The ↺ button next to Export (Restore Original) brings your untouched original part back.
Status line and Notes
After each run, a status line shows the inlay volume and whether both bodies are watertight (red if not).
Notes explain anything worth knowing about the result. Where a note has exactly one sensible fix, a button sits right under it:
| Note | Button |
|---|---|
| Depth is not a multiple of the layer height | Use Suggested Depth |
| Base model is not manifold / inside out / had degenerate faces | Repair Base |
| The motif breaks through the back | Cut Through (both sides) |
The button changes the setting and removes the note. Press Create Inlay again to update the result. Notes without one clear fix stay plain text.
Sub-panels (collapsed by default)
Advanced
-
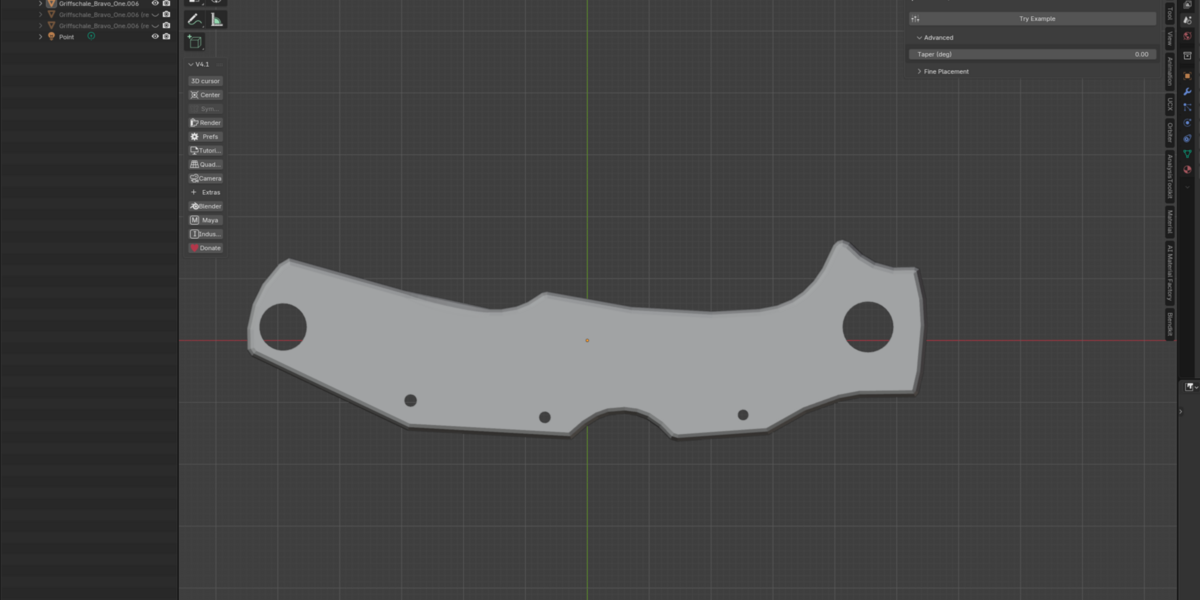
Taper (deg) — 0–10°. The inlay narrows towards the bottom, so an insert made separately (resin, milled, printed) slides in instead of jamming.
-
Full Surface (Planar and Conformal) — the motif is no longer clipped to the top face and is cut wherever it meets the part, including rounded rims and flanks. On chamfered edges this can leave a thin film of base material — check the result there. Automatic already covers most of these cases.
-
Cut Through (both sides) (Conformal, or whenever it is on) — cuts the motif all the way through, so it shows on both sides.
Fine Placement
Height with Lock (keep proportions), Mirror X / Mirror Y (e.g. for the back of a part), and the exact Position and Normal of the motif. Drag the position values and the preview follows.
Colours & Printer
-
Motif Colour and Base Colour — written into the 3MF, so the slicer shows them right away.
-
Printer Preset — 0.4 mm nozzle (0.2 mm layers), 0.2 mm nozzle (0.1 mm layers), 0.6 mm nozzle (0.3 mm layers), or Custom.
-
Layer Height and Nozzle Width — used for the depth suggestion, the warnings about details too fine to print, and to snap Edge to Bottom cleanly to the wall.
Preview, Repair & Versions
-
Contour Preview — the orange outline and depth ring of where the motif will be cut, before computing. It is switched on automatically while you place.
-
Live Preview — the cut follows every change in the viewport as modifiers (solver: Manifold, or Exact as a fallback). Checks and export still run through Create Inlay.
-
Repair Base — merges duplicate points, dissolves degenerate faces, fills holes and fixes normals, on a copy, with a before/after report. A clean mesh is left alone.
-
Check Result — checks the latest result the way a slicer sees it. For each body you get the edges a slicer would have to repair, self-intersections and the number of separate parts, plus the places where the motif's contours come closer than your nozzle, with their position in mm. Only edges needing repair count as a problem (red box). A motif made of four separate shapes should have four parts.
-
Versions — pick an earlier result and load its parameters back (↻), or Delete Selected / Delete All.
Preferences
Edit → Preferences → Add-ons → Intarsia
- Printer defaults for every new file. A saved project keeps its own values.
- After Export — show the folder, open the file in your slicer, or do nothing.
-
Slicer — the path to your slicer's program file (e.g.
bambu-studio.exe). If you leave it empty, the file opens with whatever your system associates with 3MF. On Windows that is often the built-in 3D Viewer, not a slicer.
What you can rely on
-
Your original is never touched. Everything runs on copies. The original moves into the collection
Inlay Source and is only hidden. Restore Original brings it back at any time.
-
Every run is a version. Results go into
Inlay Result v001, v002, … with the settings saved alongside. A new result hides the older ones instead of deleting them — switch between them in the Outliner.
-
Base + inlay = original. The pocket is cut with the finished inlay itself, so the two bodies fit without gaps and without double material.
-
Checked before you print. Both bodies are checked for watertightness. A volume check compares base + inlay against the original. If something is missing, the result is kept and the missing volume is named in mm³. It is only discarded when more than half of the inlay is gone.
-
Artwork problems are fixed at the source. Tiny specks below print resolution are dropped and outlines that cross themselves are straightened (both with a note). Shapes that overlap are merged into one body.
Inlay Source and is only hidden. Restore Original brings it back at any time.Inlay Result v001, v002, … with the settings saved alongside. A new result hides the older ones instead of deleting them — switch between them in the Outliner.Preparing artwork
-
PNG / JPG — a dark motif on a light background, or a transparent PNG with Use Alpha as Mask. Soft (anti-aliased) edges help: Intarsia reads them to place the outline more precisely than the pixel grid. For Apply True Size, export at a fixed 300 ppi; at 72 ppi there is no reliable size information.
-
SVG — use filled shapes. Convert strokes to shapes in your drawing program (Illustrator: Object → Path → Outline Stroke, then Pathfinder → Unite). Set the size with Size (mm). If the size must come from the file itself, import it via File → Import → SVG, use the source Object and press Apply True Size. In Illustrator, export with Responsive turned off so the real width and height are written into the file.
-
Line-art and clip-art — raise the Line Filter to strip outlines and keep only filled areas.
Design rules of thumb
-
Depth — a multiple of the layer height: 0.6 mm at 0.2 mm layers = three clean layers. The note offers the nearest good value.
-
Detail size — nothing thinner than the nozzle width (0.4 mm typical). Intarsia warns you, but the warning can't fix the artwork.
-
Wall thickness — keep the depth well below the local material thickness, or the motif breaks through the back (you'll get a red note and the Cut Through button if that is what you want).
-
Separate shapes — a motif made of four separate shapes gives four inlay pieces. Where the motif crosses the part's edge, a piece can be split into more; the note says so.
Slicer workflow (multi-material)
- Export 3MF.
- Open it in Bambu Studio, PrusaSlicer or OrcaSlicer. It arrives as one object with several parts.
- Assign a filament / AMS slot to each part in the object list.
- Slice. No alignment needed — the parts already share the same coordinates.
Troubleshooting
Message
Cause and fix
Base model is not manifold
The mesh isn't watertight. Press Repair Base, or use the 3D-Print Toolbox.
Base model is inside out
The normals point inward. Press Repair Base.
Base model is mirrored (negative scale)
Apply the scale first: Object → Apply → Scale.
Base model has no volume
It is a surface or an outline, not a solid. Give it thickness (Solidify).
Motif body has no volume / produced an empty result
The motif doesn't touch the surface — place it again.
no contour found
Adjust Threshold, Invert or Line Filter.
image file not found
The image moved. Restore it, or use File → External Data → Find Missing Files.
SVG has no fillable shapes
The SVG only has strokes. Draw filled shapes.
Motif prism is not watertight
The artwork is too busy or tangled, or the taper is too large for its fine details. Try a cleaner motif, adjust the Threshold, or reduce the taper.
Planar shell is not watertight
The surface is too curved for Planar. Switch to Automatic or Conformal.
Conformal shell is not watertight
The depth is too large for the local curvature. Reduce it.
Depth reaches the local wall thickness
The motif breaks through the back. Reduce the depth, or press Cut Through (both sides) if you want it through.
Inlay came out in N separate pieces
Expected where the motif crosses the part's edge. Otherwise check the image Threshold.
Volume check failed
Part of the motif was lost. Often two motifs overlap — check their placement.
Overlap check failed (Raised)
The raised motif dips into the part. Check that it sits on the surface.
Text collides with itself on the path
The curve is too tight. Use a larger radius, shorter text or a smaller size.
Motif is wider than 90 % of the cylinder
Scale the motif down or check the wrap radius.
Red box Preview: this will not build
Same checks as the real run, just earlier. Fix what it says before pressing Create Inlay.
Check: PROBLEM after Check Result
The slicer will have edges to repair; most repair them on import. Smaller depths leave fewer.
| Message | Cause and fix |
|---|---|
| Base model is not manifold | The mesh isn't watertight. Press Repair Base, or use the 3D-Print Toolbox. |
| Base model is inside out | The normals point inward. Press Repair Base. |
| Base model is mirrored (negative scale) | Apply the scale first: Object → Apply → Scale. |
| Base model has no volume | It is a surface or an outline, not a solid. Give it thickness (Solidify). |
| Motif body has no volume / produced an empty result | The motif doesn't touch the surface — place it again. |
| no contour found | Adjust Threshold, Invert or Line Filter. |
| image file not found | The image moved. Restore it, or use File → External Data → Find Missing Files. |
| SVG has no fillable shapes | The SVG only has strokes. Draw filled shapes. |
| Motif prism is not watertight | The artwork is too busy or tangled, or the taper is too large for its fine details. Try a cleaner motif, adjust the Threshold, or reduce the taper. |
| Planar shell is not watertight | The surface is too curved for Planar. Switch to Automatic or Conformal. |
| Conformal shell is not watertight | The depth is too large for the local curvature. Reduce it. |
| Depth reaches the local wall thickness | The motif breaks through the back. Reduce the depth, or press Cut Through (both sides) if you want it through. |
| Inlay came out in N separate pieces | Expected where the motif crosses the part's edge. Otherwise check the image Threshold. |
| Volume check failed | Part of the motif was lost. Often two motifs overlap — check their placement. |
| Overlap check failed (Raised) | The raised motif dips into the part. Check that it sits on the surface. |
| Text collides with itself on the path | The curve is too tight. Use a larger radius, shorter text or a smaller size. |
| Motif is wider than 90 % of the cylinder | Scale the motif down or check the wrap radius. |
| Red box Preview: this will not build | Same checks as the real run, just earlier. Fix what it says before pressing Create Inlay. |
| Check: PROBLEM after Check Result | The slicer will have edges to repair; most repair them on import. Smaller depths leave fewer. |
Known limits
- In Automatic, surfaces steeper than about 70° don't carry the motif. Use Edge to Bottom to run it down the side wall, or Conformal with Full Surface.
-
Large depths (several millimetres) leave more edges for the slicer to repair. Check Result shows how many; slicers fix them on import.
-
Flaws in your own model — for example a mesh that intersects itself — can show up as small artefacts in the result. Repair Base fixes holes, normals and degenerate faces, but not self-intersections.
-
Modifiers are ignored. Apply them first.
Support
Questions, bug reports and feature requests: use the message form on this product page. Please include your Blender version, the Intarsia version (bottom of the tab), the exact message Intarsia showed, and — if you can — the .blend or the motif file.
 Included
Includes 12 months of
- Support from Schirmer Labs
- Product updates
Extend this product’s Support Period +12 months: 75% of product price
Have questions before purchasing?
Login to message
| Blender Extension Compatible | Yes |
| Published | 5 days ago |
| Blender Version | 4.5 - 5.2 |
| Extension Type | Add-on |
| Render Engine Used | Cycles, Eevee |
| License | GPL |
Discover more products like this
AMS inlay Bambu Lab 3d printing boolean prusa engraving logo multi-material dual-color emboss