 3D Tudor
3D TUDOR · GEOMETRY NODES
Give your props a history of growth.
39 controls · Two prepared setups · Full silent demonstrations
Watch the Ivy Generator in action
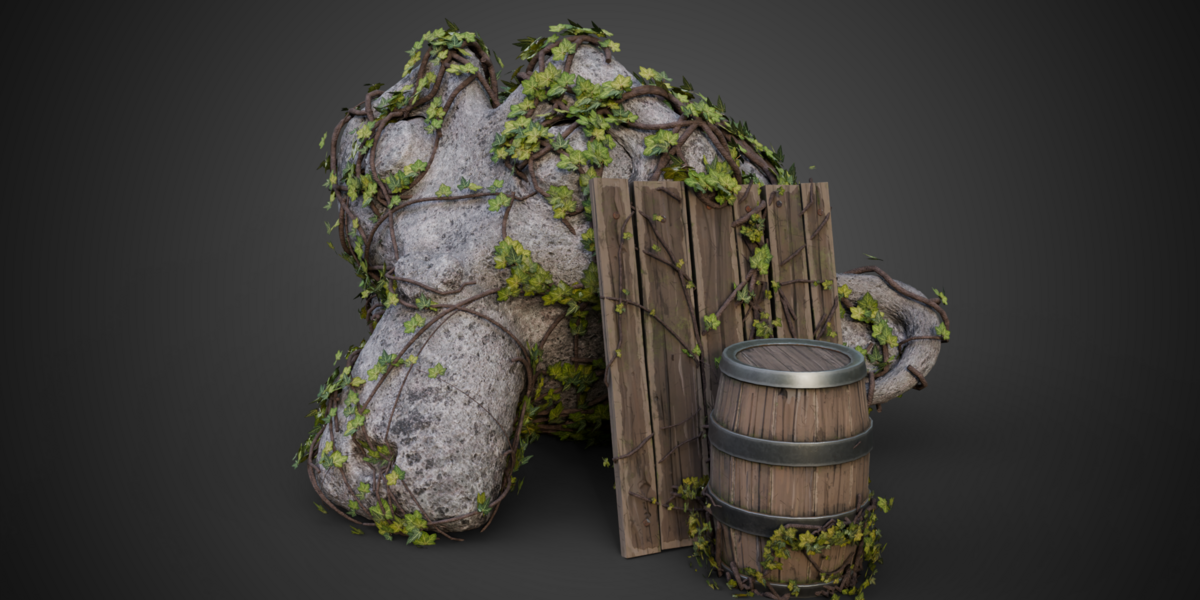
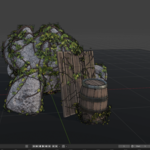
Ivy stems cross the rock and timber surfaces while clusters of leaves leave the underlying forms readable.
An overgrown scene works best when the foliage follows the composition. 3D Tudor Ivy Generator brings surface placement, stem shaping and leaf distribution into one Blender Geometry Nodes modifier, with two prepared setups to explore before you build your own.
Start with the route, then develop the leaves
Choose a Start Points collection and a Surface collection. Adjust the spread and orientation until the branches support the shape of the object. Next, balance the centre and outer foliage so the ivy frames useful edges instead of covering every detail equally.
A closer view needs more than extra density
Change the outer leaf size, introduce rotation and tilt variation, and refine the stem thickness. Leaf Appearance controls bring tint, contrast, roughness and translucency into the same workflow. For a growth sequence, use the dedicated timing panel and test the result over a short frame range.
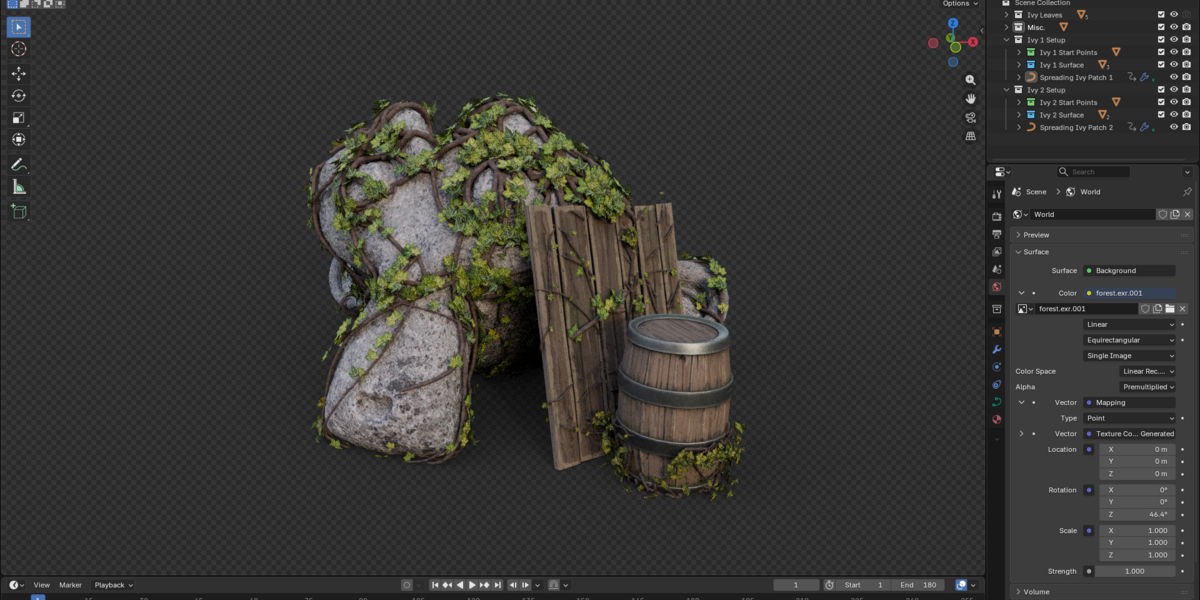
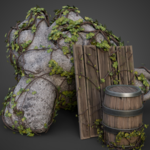
Layered leaves and woody stems connect the different surfaces in this overgrown prop arrangement.
Six panels, one editable setup
Placement: choose the origin and target surfaces, then adjust spread, branch density, length variation, size seed, surface offset and rotation.
Stems: set thickness, displacement strength and scale, and the stem material.
Foliage: choose the leaf collection and balance centre/outer density and size. Refine size variation, rotation, tilt and seeds.
Leaf Appearance: work on colour tint and its strength, colour variation and seed, contrast, roughness, translucency and normal strength.
Growth Animation: develop the timing of growth, leaf unfurling and stem maturity.
Optimisation: adjust leaf and branch amounts, branch resolution, radial stem detail and instance realisation to suit the shot.
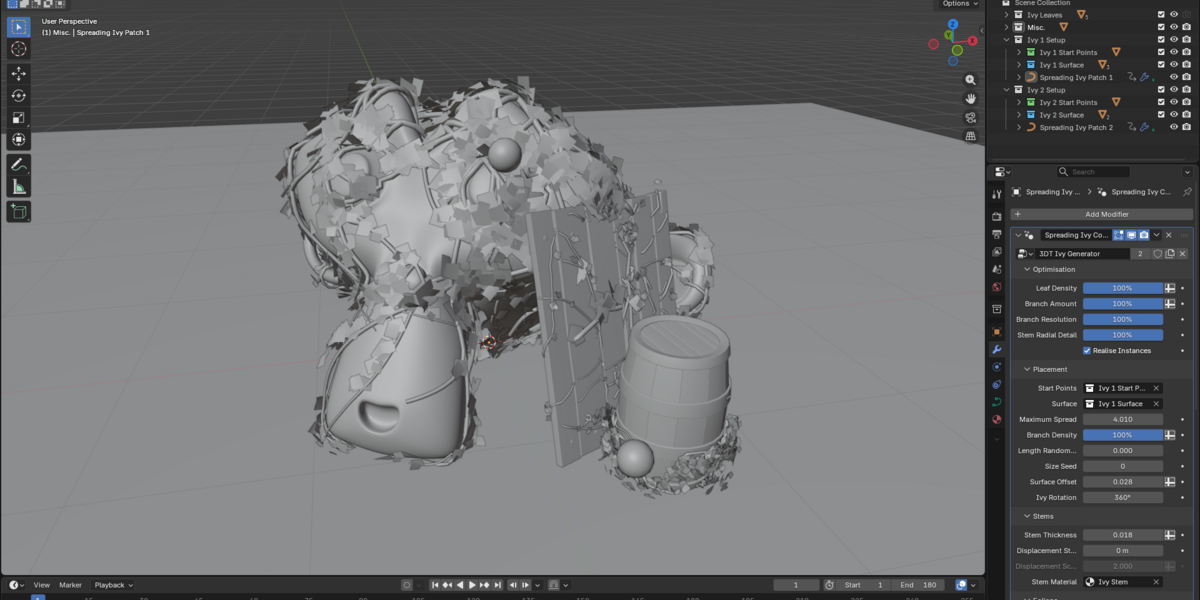
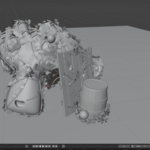
Solid shading separates the leaf meshes and stems from their textures; the modifier exposes placement and optimisation controls.
What you receive
- One native Blender Geometry Nodes ivy generator with 39 exposed controls across six panels.
- Two prepared ivy setups, with start-point and target-surface collections already connected.
- Five supporting leaf meshes, stem materials and packed image textures inside the project.
- The supplied demonstration scene with stone and wooden props, plus a Getting Started guide.
- Two full silent control demonstrations and a 12-second rendered arcshot in a separate download.
Use Blender 5.1.2 and Cycles, the combination checked for this file. No addon installation is required. Earlier Blender versions and equivalent Eevee results have not been verified. For a game-engine project, prepare your own export, materials, collision and performance settings after building the ivy in Blender.
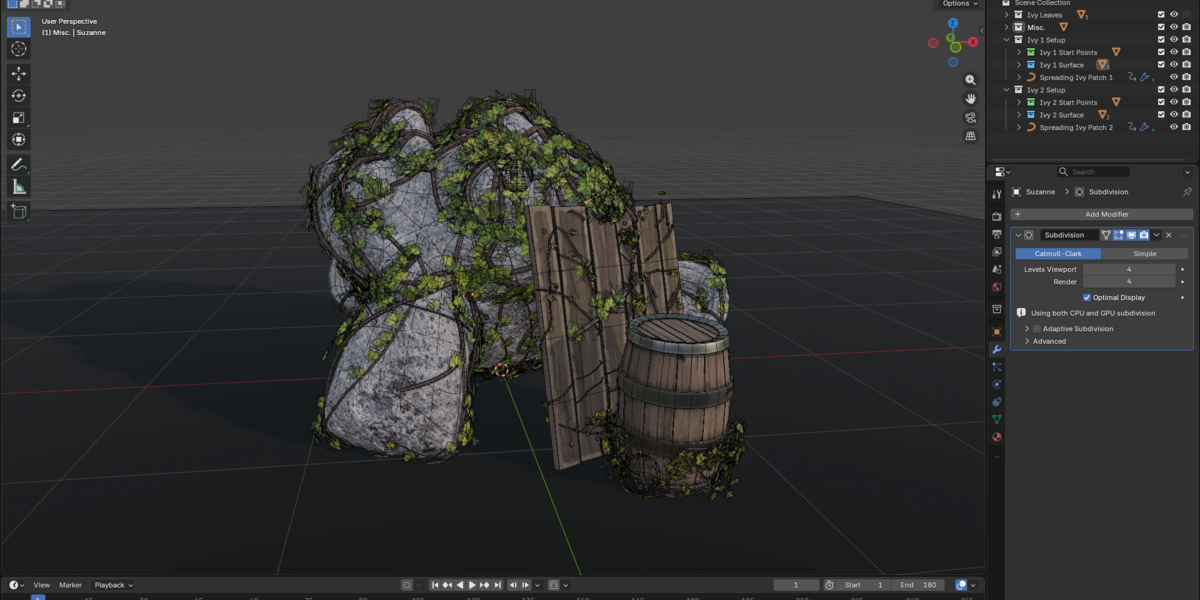
The wireframe view helps inspect how the procedural ivy geometry sits around the supplied example surfaces.
Questions before you start
How do I choose where the ivy grows?
Use the Placement panel's Start Points and Surface collection inputs. The examples include named start-point objects you can move, and collections containing the surfaces the setup references. Adjust Maximum Spread and Surface Offset, then inspect the result from several angles.
Can I make the centre fuller and the edges lighter?
Yes. Centre Density and Outer Density are separate controls. Leaf Size and Outer Leaf Size let you refine the transition, with randomness and seed settings for variation.
Can I animate the growth?
The Growth Animation panel exposes Growth Time, Leaf Unfurl Time, Stem Maturity Time and Growth Timing Variation. Test a short sequence in your scene to establish the timing. These are procedural presentation controls, not a physical plant-growth simulation.
How can I reduce the amount of geometry while working?
Optimisation includes Leaf Density, Branch Amount, Branch Resolution and Stem Radial Detail. Start with less detail while placing the ivy, then increase it for the final view. Realise Instances controls instance handling; inspect the output before exporting.
Can I bring it into an existing scene?
Append the setup collection with its referenced start-point, surface and leaf collections. Retain the internal branch template and dependencies, check the modifier references, and then introduce your own target objects. The included guide explains the starting workflow.
Watch the controls in Blender
Two complete silent demonstrations and the rendered arcshot. All three are also included in the downloadable video package.
Control demonstration 1
Control demonstration 2
Rendered arcshot
Join the 3D Tudor Community
For support, inspiration, updates, giveaways, feedback threads and community builds, join the 3D Tudor spaces below.