 NORELL
Japanese District Builder
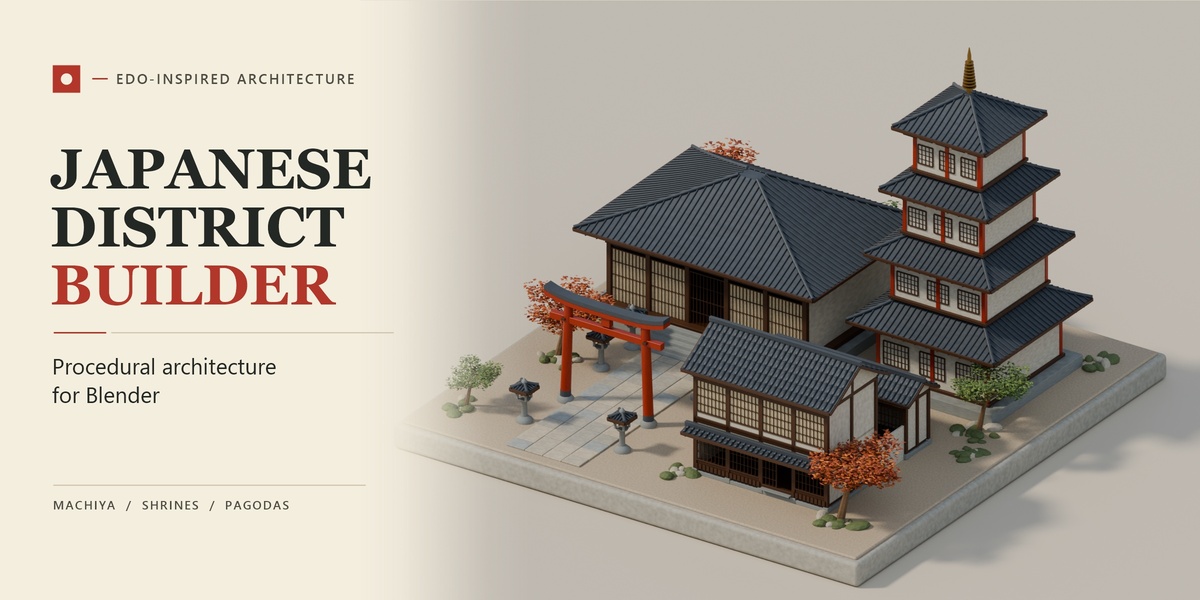
Generate editable Edo-inspired Japanese architecture directly in Blender. Start with a single machiya townhouse, lay out a merchant street along a curve, or build a shrine approach or temple court from procedural components.
Installation and compatibility
- In Blender, open Edit → Preferences → Get Extensions.
- Open the menu in the upper-right corner and choose Install from Disk.
- Select
Japanese_District_Builder_0.9.2.zipdirectly. Keep it zipped. - In the 3D Viewport, press N and open the Japanese District tab.
Requires Blender 4.2 or newer. Tested on Windows, macOS, and Linux. Windows installation and integration tests used Blender 4.2.23 LTS and Blender 5.3.0.
Quick start
- Choose a Preset and click Load Preset.
- Adjust the settings in the Architecture and materials panels. The available controls depend on the selected generator.
- Place the 3D Cursor where you want the structure and click Generate.
- To revise it, select one of its components, click Edit Selected Structure, change the settings, and click Regenerate Selected Structure.
Presets are built into the extension. Use Save to write your current settings to a JSON preset and Import to load a saved preset.
Machiya and merchant streets
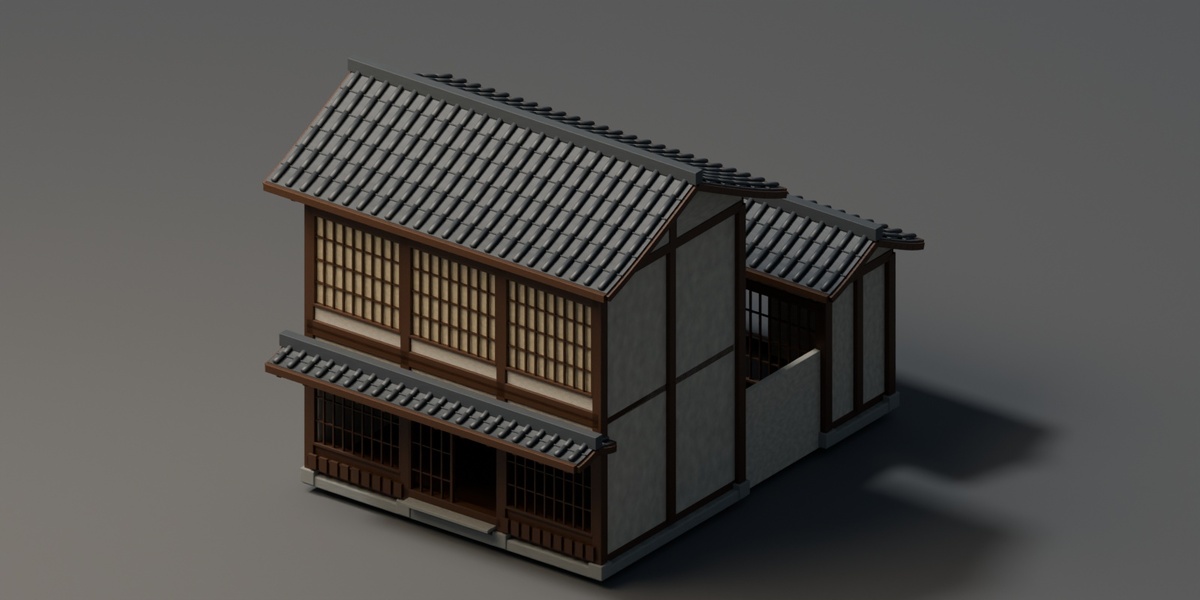
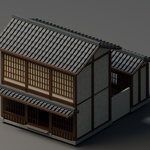
Machiya generates timber townhouses with lattice façades, door openings, and optional courtyards. Use the width, depth, floor count, and façade bay settings to change the building layout. Roof pitch and overhang control the roof profile. The façade selector offers Merchant, Tea, Rice, and Workshop variations.
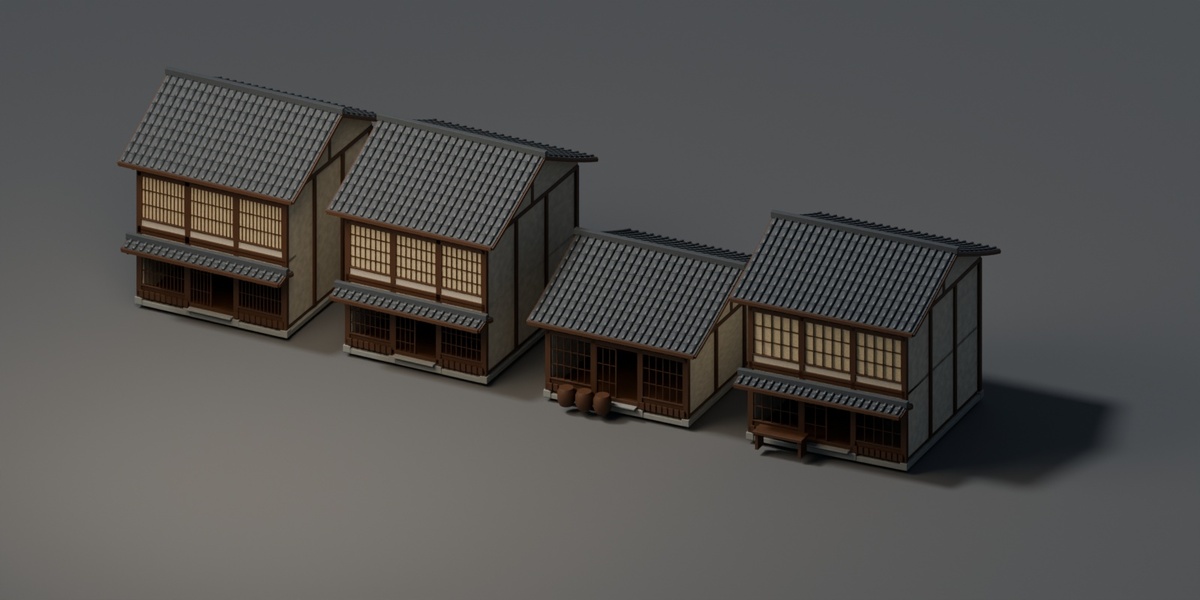
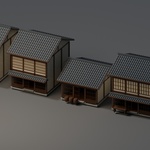
Merchant Street places up to 24 houses along a curve:
- Add a curve with one horizontal Bézier or Poly spline. Start with a roughly 40 m long curve for the default four-house preset.
- Load the merchant street preset and assign the curve in Street curve.
- Set House count, Gap between roofs, and Variation seed, then click Generate.
The seed gives repeatable variations for the same settings and path. If the path is too short, extend the curve or reduce the house count or width. If roof footprints overlap on a sharp bend, soften the bend or increase the gap. The generated street stores a copy of the path points in the .blend file. If the assigned source curve still exists, regenerating the street reads it again.
Shinto shrine and approach
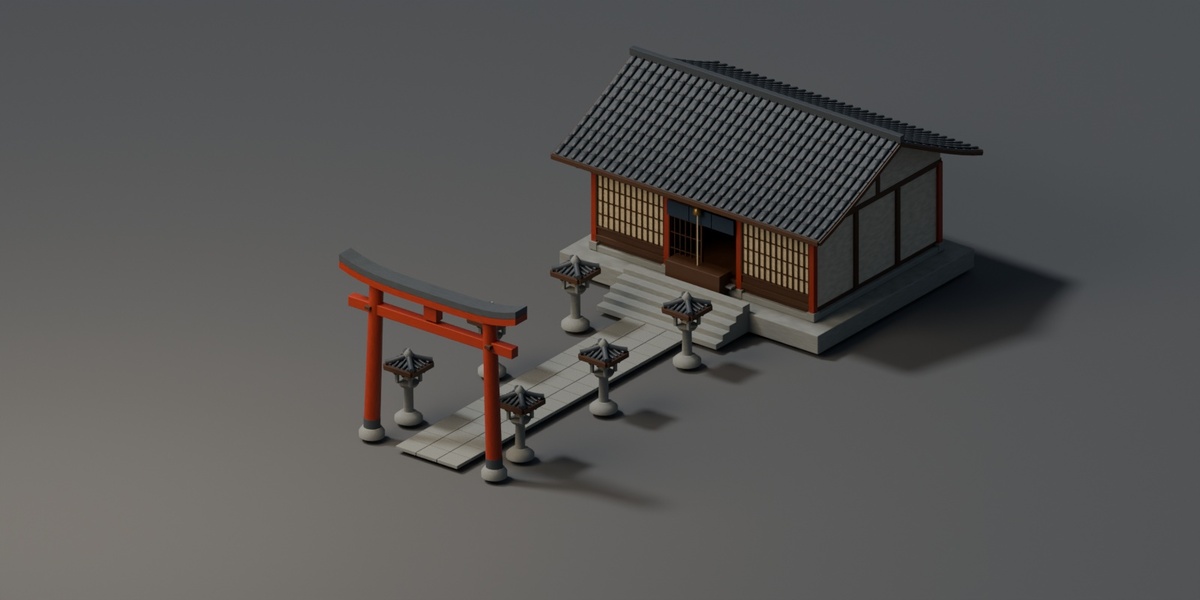
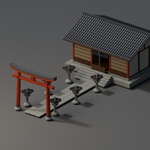
Use the shrine assembly for a torii gate, prayer hall, and paved approach with stone lanterns. Adjust Torii pillar spacing, hall dimensions, Approach length, and Lantern spacing. To build your own layout, generate the torii, hall, approach, stairs, or lantern separately.
Buddhist temple court
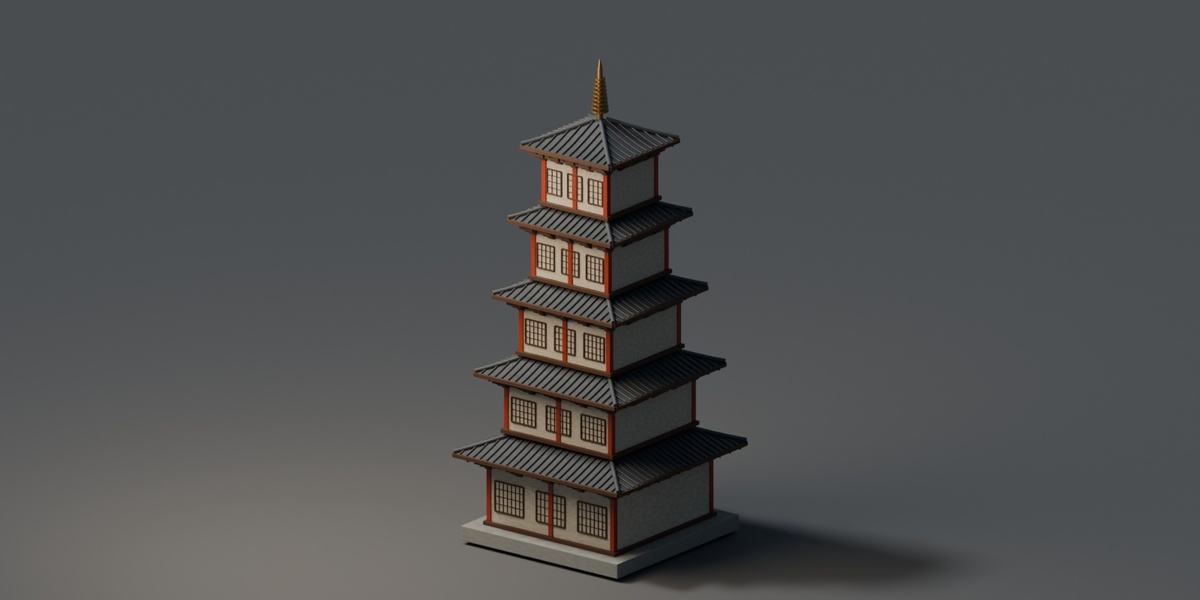
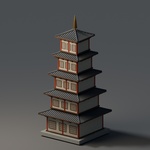
Use a court preset to generate a temple hall, pagoda, paths, and perimeter walls. The temple hall and pagoda are also available separately. Use Pagoda storeys to build from two to five levels, and adjust roof overhangs to change the silhouette. The generators create architectural shells with basic interiors.
Update a building or an assembly
Edit Selected Structure loads the saved settings for the selected building. Regenerate Selected Structure rebuilds its generated geometry while preserving its position and rotation. Settings are stored with the structure when you save the .blend file. Generation and regeneration support Blender Undo.
To revise one house, select one of its components and edit the house directly. Its neighbors stay in place, so check clearance if you increase its width or roof overhang. Use Select Parent Assembly to edit the entire street. Regenerating the parent street rebuilds its houses from the street settings and seed and replaces individual house edits.
Detail and materials
- Detail: Choose Performance, Standard, or High to change generated detail such as roof tessellation, lattice density, and bevels.
- Geometry only: Generate without assigning the built-in materials.
- Built-in procedural: Apply the included procedural materials for surfaces such as timber, plaster, ceramic roofing, and stone.
- Custom categories: Assign your own Blender materials to categories such as timber or roofing.
Manual material overrides on matching components can carry over when the material mode stays the same. Regeneration replaces manual vertex edits. Use an export copy for changes you want to keep as ordinary mesh geometry.
Geometry checks, assets, and export
- Check Geometry checks the selected structure for issues such as non-manifold edges and degenerate faces. Separate construction pieces can overlap by design.
-
Save Collection Asset creates an independent collection asset available under Current File in the Asset Browser. Save the
.blendto keep it. -
Export Asset Library writes a separate
.blendfile. To browse it from other projects, register its folder under Preferences → File Paths → Asset Libraries. - Prepare Export Copy creates independent evaluated meshes in a separate collection. The copy initially overlaps the source, so hide the original when inspecting it. Select the copy for Blender’s FBX or glTF exporter. UV unwrapping, texture baking, collision setup, and engine LODs are separate steps.
 Included
Includes 12 months of
- Support from NORELL
- Product updates
Extend this product’s Support Period +12 months: 50% of product price
Have questions before purchasing?
Login to message
| Blender Extension Compatible | Yes |
| Published | about 22 hours ago |
| Blender Version | 4.2 - 5.3 |
| Extension Type | Add-on |
| Render Engine Used | Cycles, Eevee |
| License | GPL |
Discover more products like this
JapaneseArchitecture GameEnvironment ProceduralArchitecture leveldesign Machiya pagoda EdoPeriod blender3d ToriiGate JapaneseDistrictBuilder BlenderAddon EnvironmentArt