 KB Shop 3D



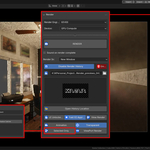
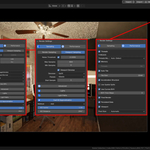
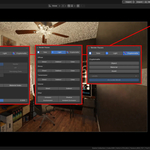
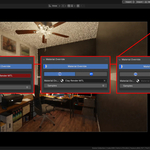
NOTE: Kilelit/Ki is intended for Cycles, Eevee, and viewport use cases. When installing an updated version of the addon, make sure back up any "Render History" images you may want to keep. You can open location directory from the addon under "Render History" previewer. Click the button called "Open History Location". When desired images are backed up, remove the previous version of the addon first, then install updated version and restart Blender. See Documentation tab for updated version of the addon and bug fixes.
-----------------------------------------------------------------------------------------------------------------
How does it work?
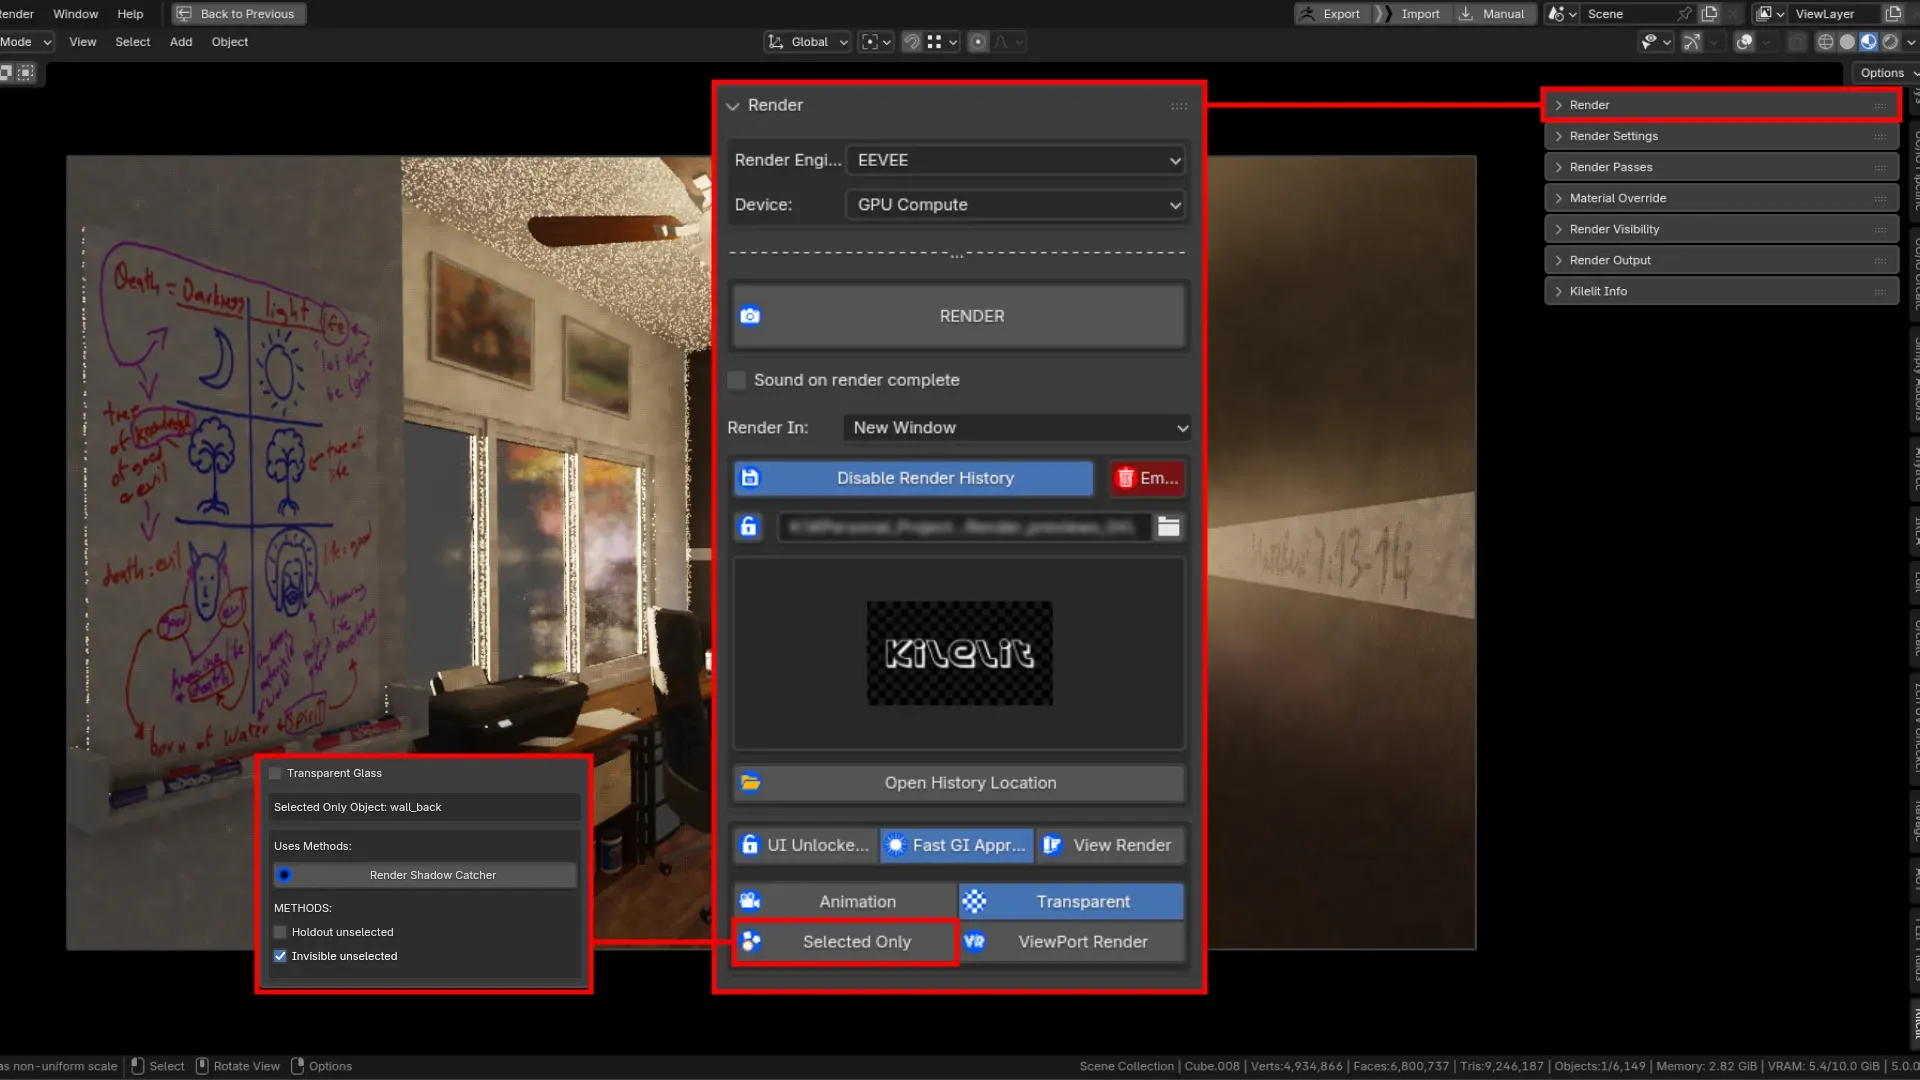
The Render Panel is where the render execution will take place. The render execution references whatever mode you have enabled. If it is a render with history enabled, It will render accordingly to add to and update the Render History previewer. File handling is dynamic and occurs in the background. When Render History is enabled, the user will be asked to specify the directory for the renders to be saved to. If no directory is given or the directory property is empty, the previewer will not display. Additionally you are able to open the directory location by clicking the button below the previewer, Open History Location. If you are done with your renders and don't need them anymore, you can empty the history collection. When clicking on Empty you will be prompted to confirm before continuing with deleting your history as an extra precaution. If you want to keep any of the renders, I highly recommend backing them up in a different location, before emptying.
Additional Modes
The Ui Lock is a feature found in the preferences. I added it here for easy access. It is important to note that Ui Lock will automatically be enabled when you are rendering with Render History enabled. This is a precaution to make sure the History feature is updated properly with no error. If the user interacts with the previewer while it is rendering, you will receive errors. This is because the previewer is looking for updates, specifically after the render. Enabling the ui lock while rendering, prevents us from getting error prints in the system console, from the previewer.
Render Selected Only
This mode allows us to render only what is selected in the viewport. This mode uses two rendering methods, called Holdout Unselected and Invisible Unselected. The render will correspond to whichever mode you pick. All you need to do is select which method you want to use, and hit the big Render button. It's that easy! Additionally, there is a Render Shadow Catcher option. When this is enabled, it'll render the selected object as a shadow catcher.
Selected Only Methods
Holdout Unselected: Every mesh that is unselected, it will create a cutout of that object by enabling "Holdout" in the object's visibility.
Invisible Unselected: Every mesh that is unselected, it will make those invisible to the camera by disabling it's "Camera" option in the object's visibility.
Render Shadow Catcher
Rendering shadow catcher automatically enables blender's Fast GI approximation. This gives a better shadow result when you are rendering with Render Selected Only. You will see the Fast GI approximation included in the Render Panel under the Render History.
Animation
When Animation is enabled the Render History will be ignored, even if you have it enabled. Likewise when the Render History is disabled, of course no images will be saved to its directory. With Animation enabled, you will get your frame parameters in the output panel. Animation works with Render Selected Only! Yes, you can render separate passes to composite in post with just a few clicks.
When using Animation mode, you will still of course, need to set the file path you want the animation to be saved to.
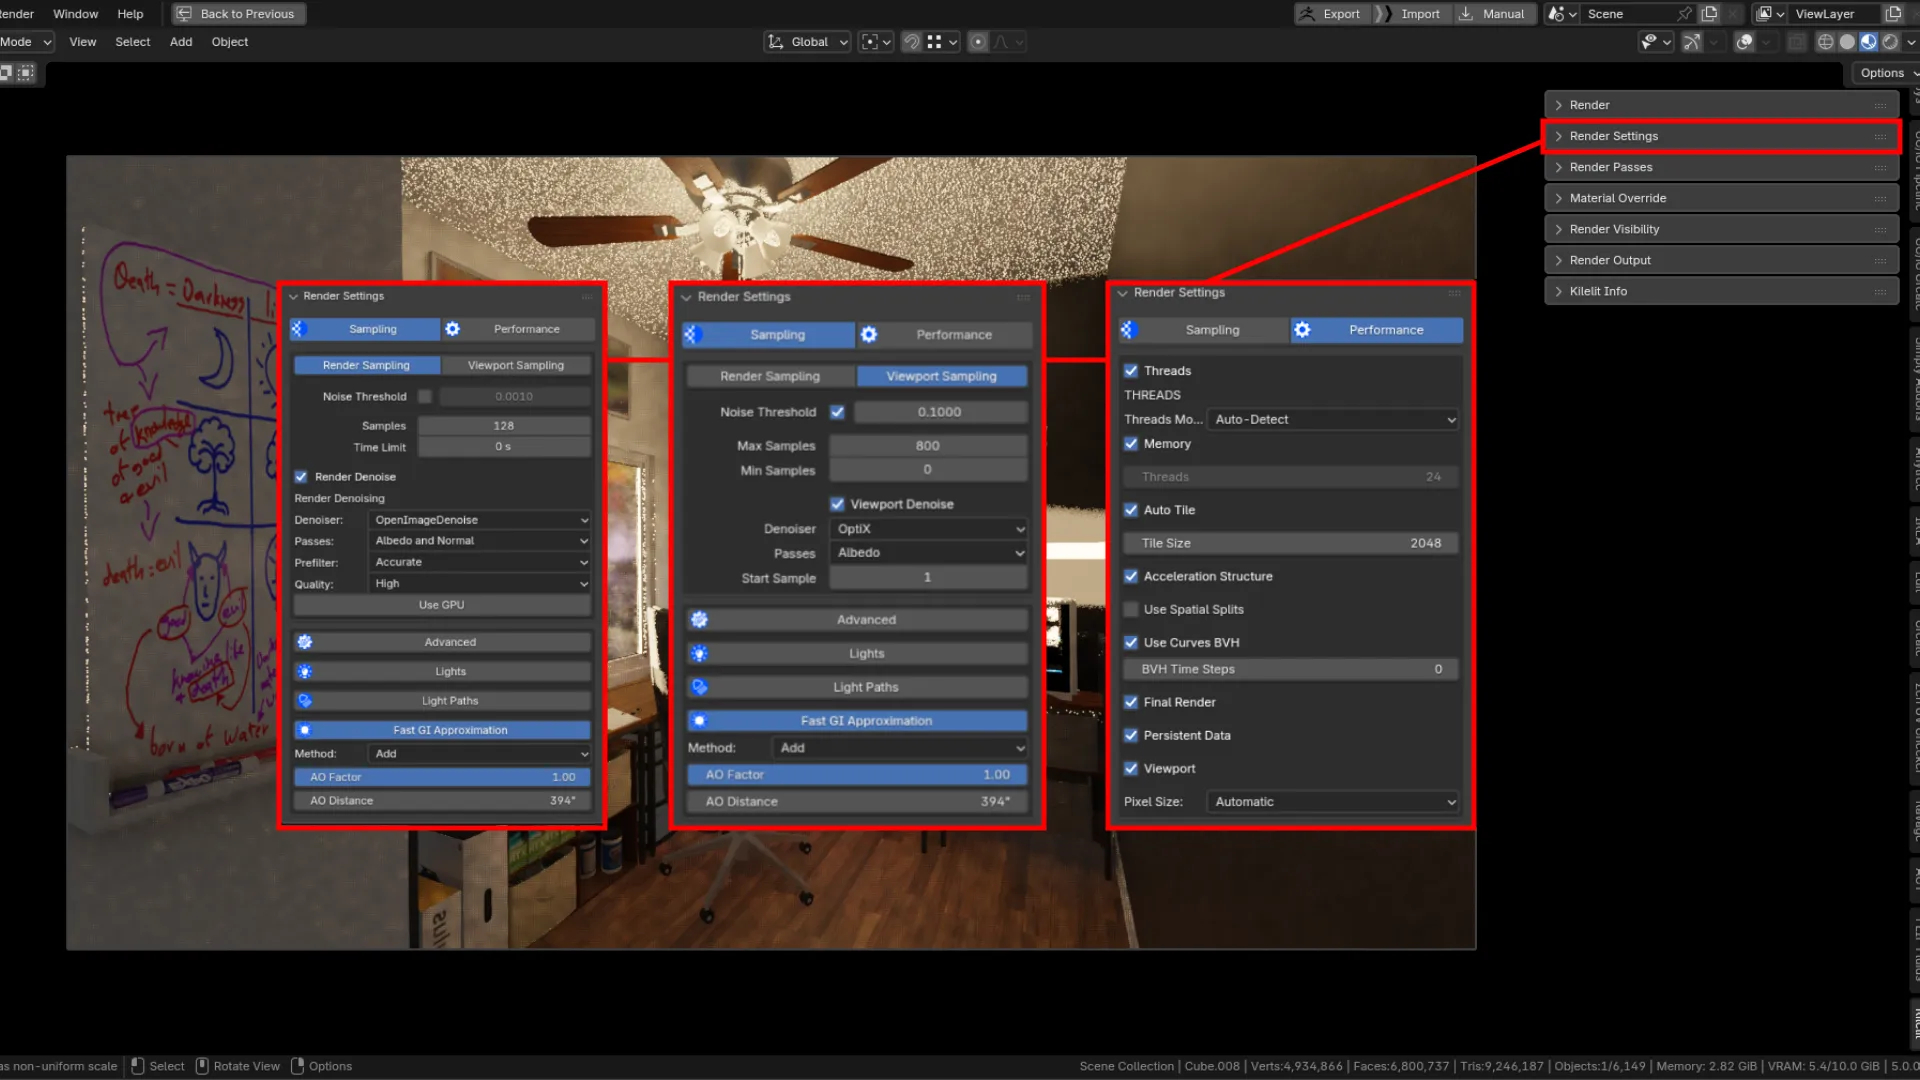
Render Sampling
This panel includes most of the render setting parameters for easy access. I included these parameters by adding the existing properties to this script. It is redundant at the moment, but I wanted to include this for easy access and a quick setup. I also tried to make this setup easier to look at as well so we can focus on one area at a time. These settings are also updated respective of the render engine. Whether you are using Cycles or Eevee, the Render Settings panel will update accordingly.
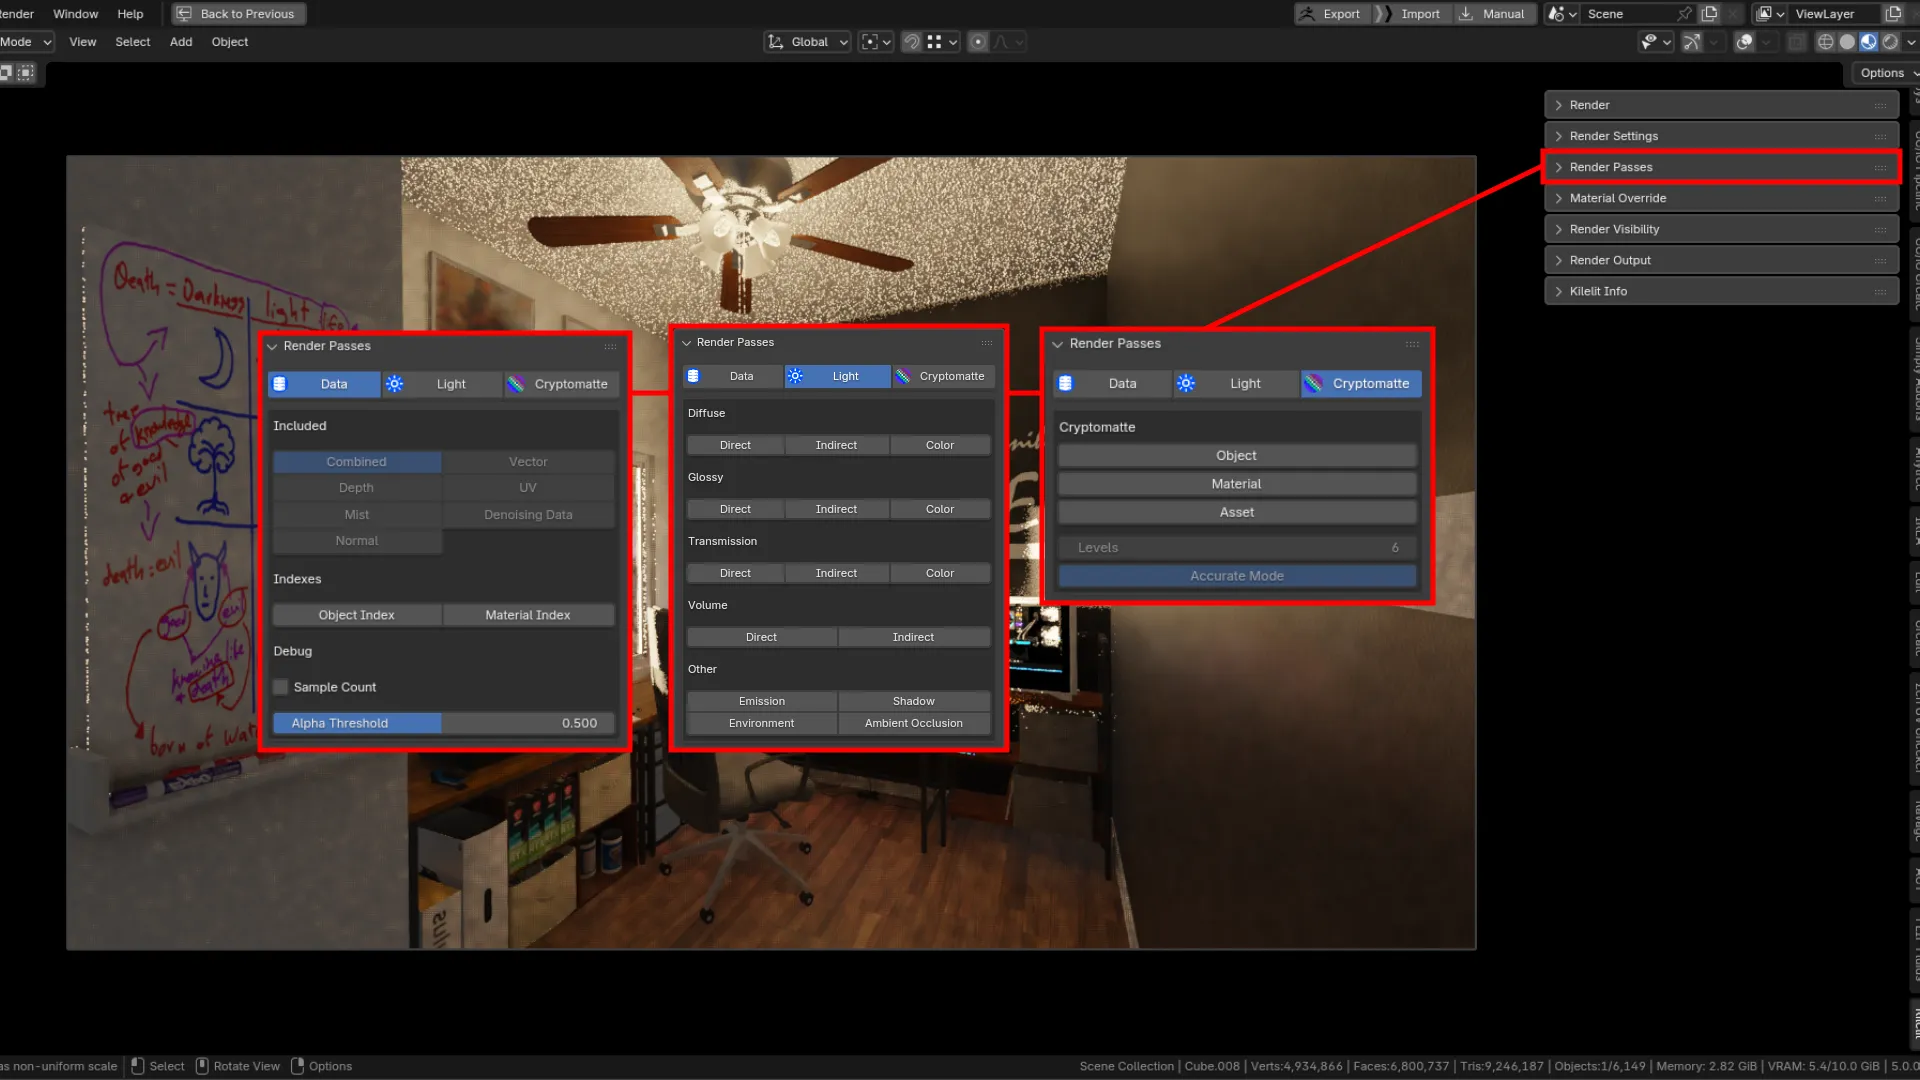
Render Passes
You also have an easy to look at panel including Data, Light, and Cryptomatte passes. Here you can quickly setup the passes you wish to include in your render for post compositing. Again, these are built in Blender features that are duplicated onto the Kilelit add-on for easy access, but offers another view of the passes under one add-on.
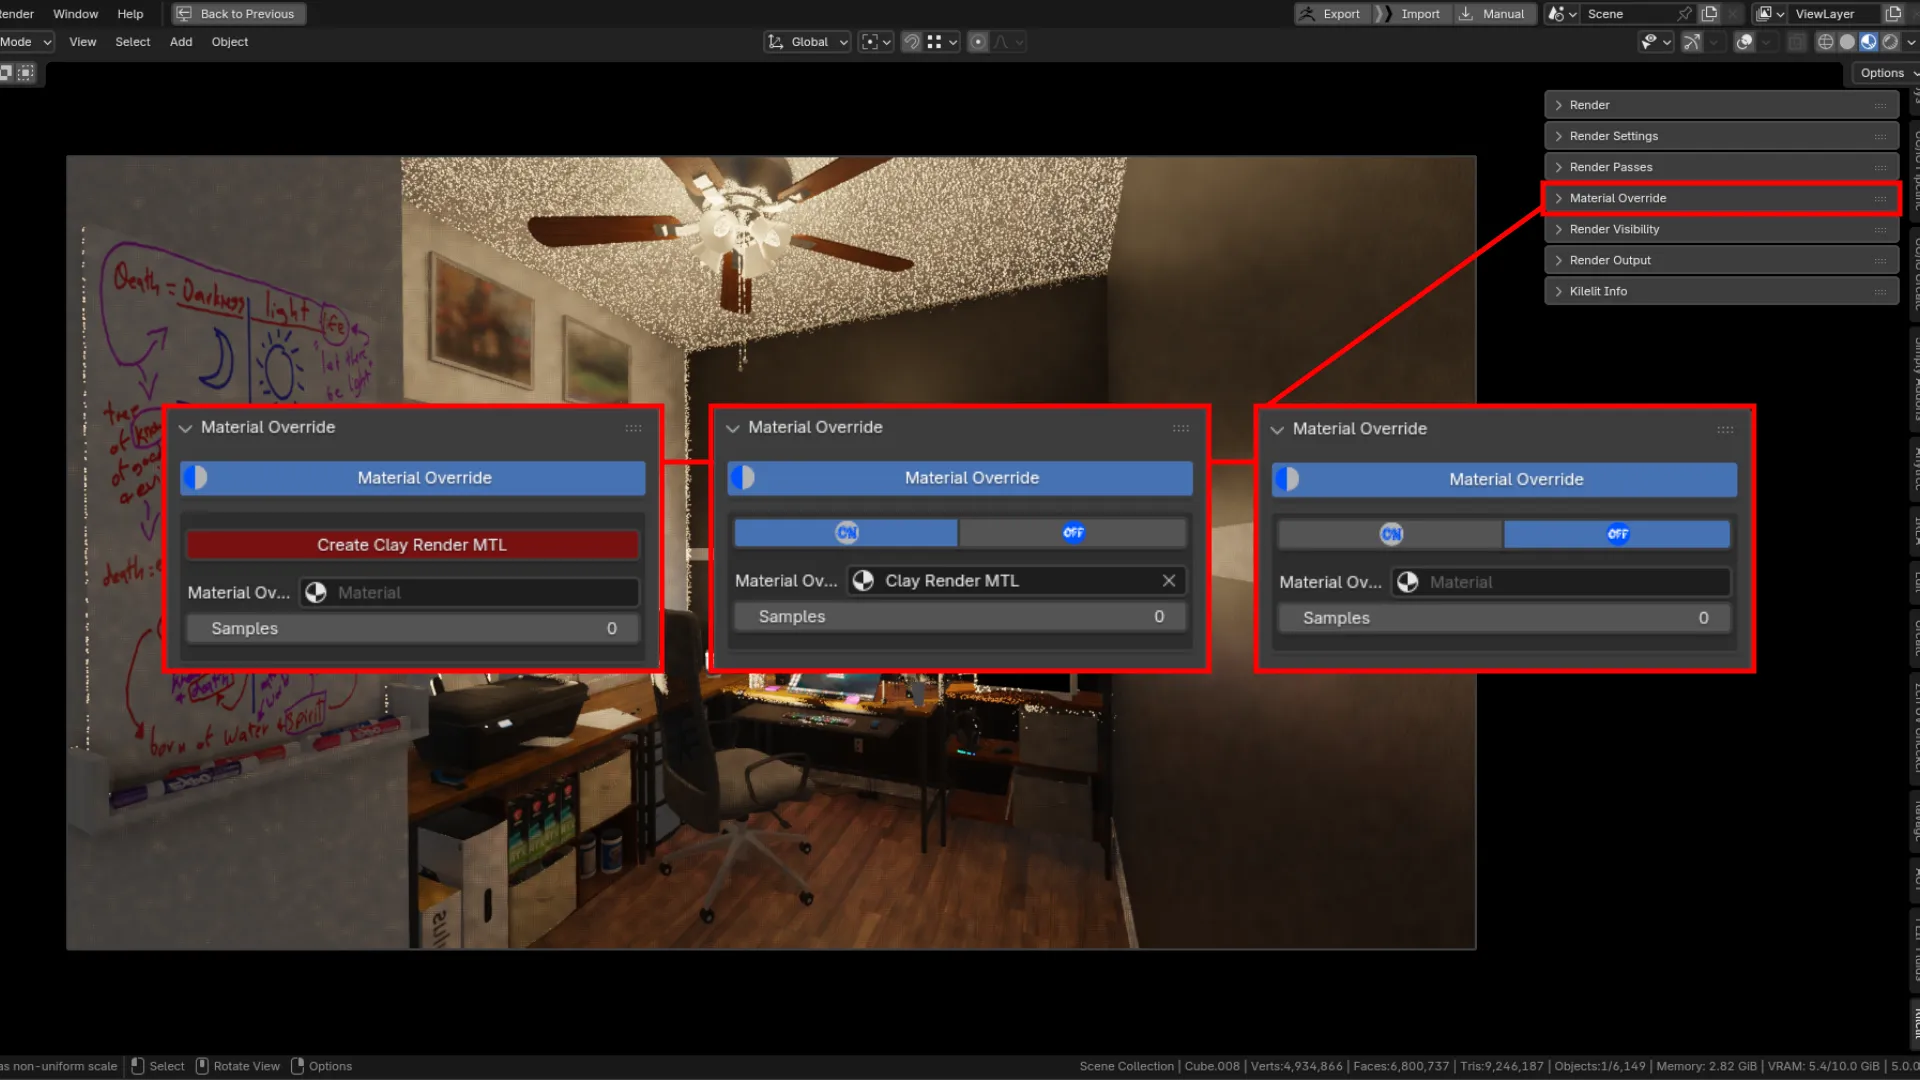
Material Override
The material override is another custom tool automating the setup in Blender with a few clicks. Here we can simply click on Create Clay Render MTL, and a material will be automatically setup, and applied to the Material Override field. Once applied, you can simply toggle On or Off.
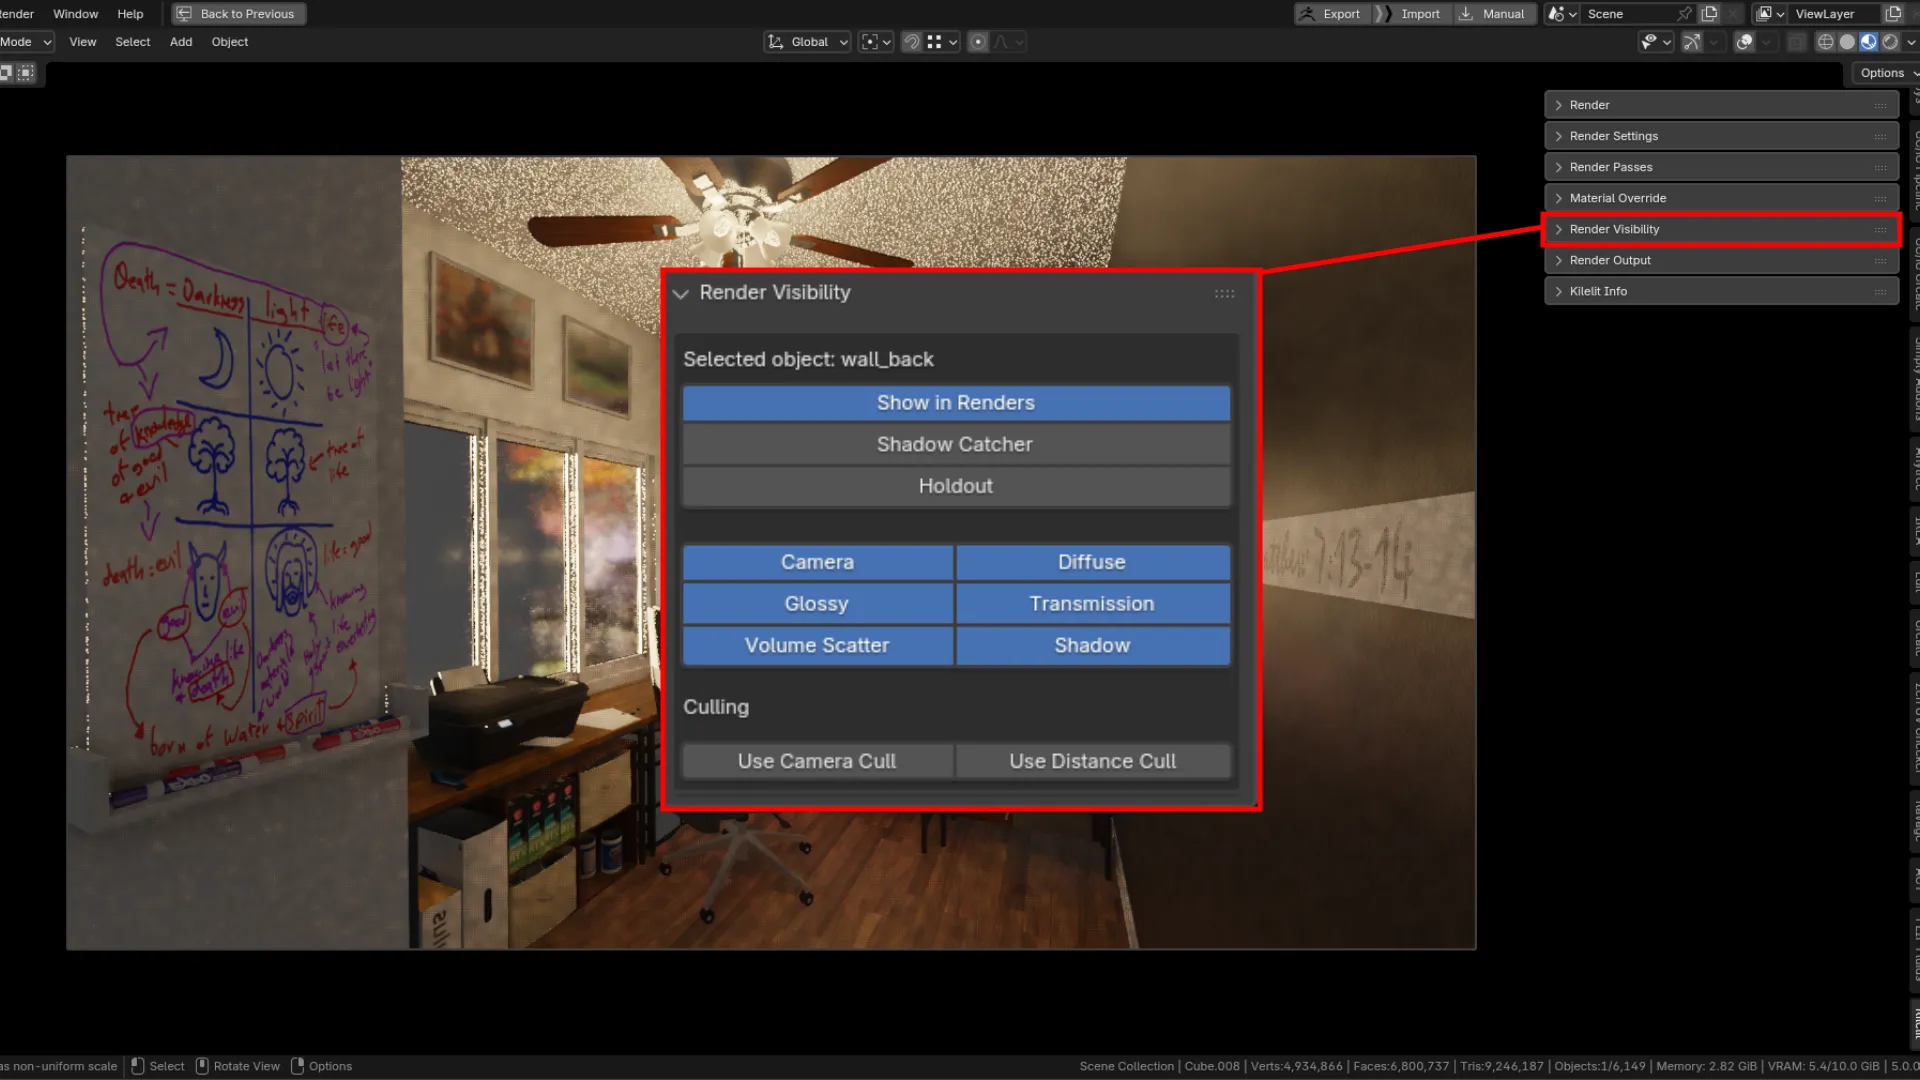
Render Visibility
The object visibility panel automatically iterates through all the objects selected. Traditionally you can achieve this in Blender by pressing alt+Enter when you are hovering over the specific field. In the Ki add-on, you simply select the objects you want affected, then click on the property. A small difference in approach, but effective in large scenes with numerous selections which can be adjusted on the fly with just a click.
Render Output
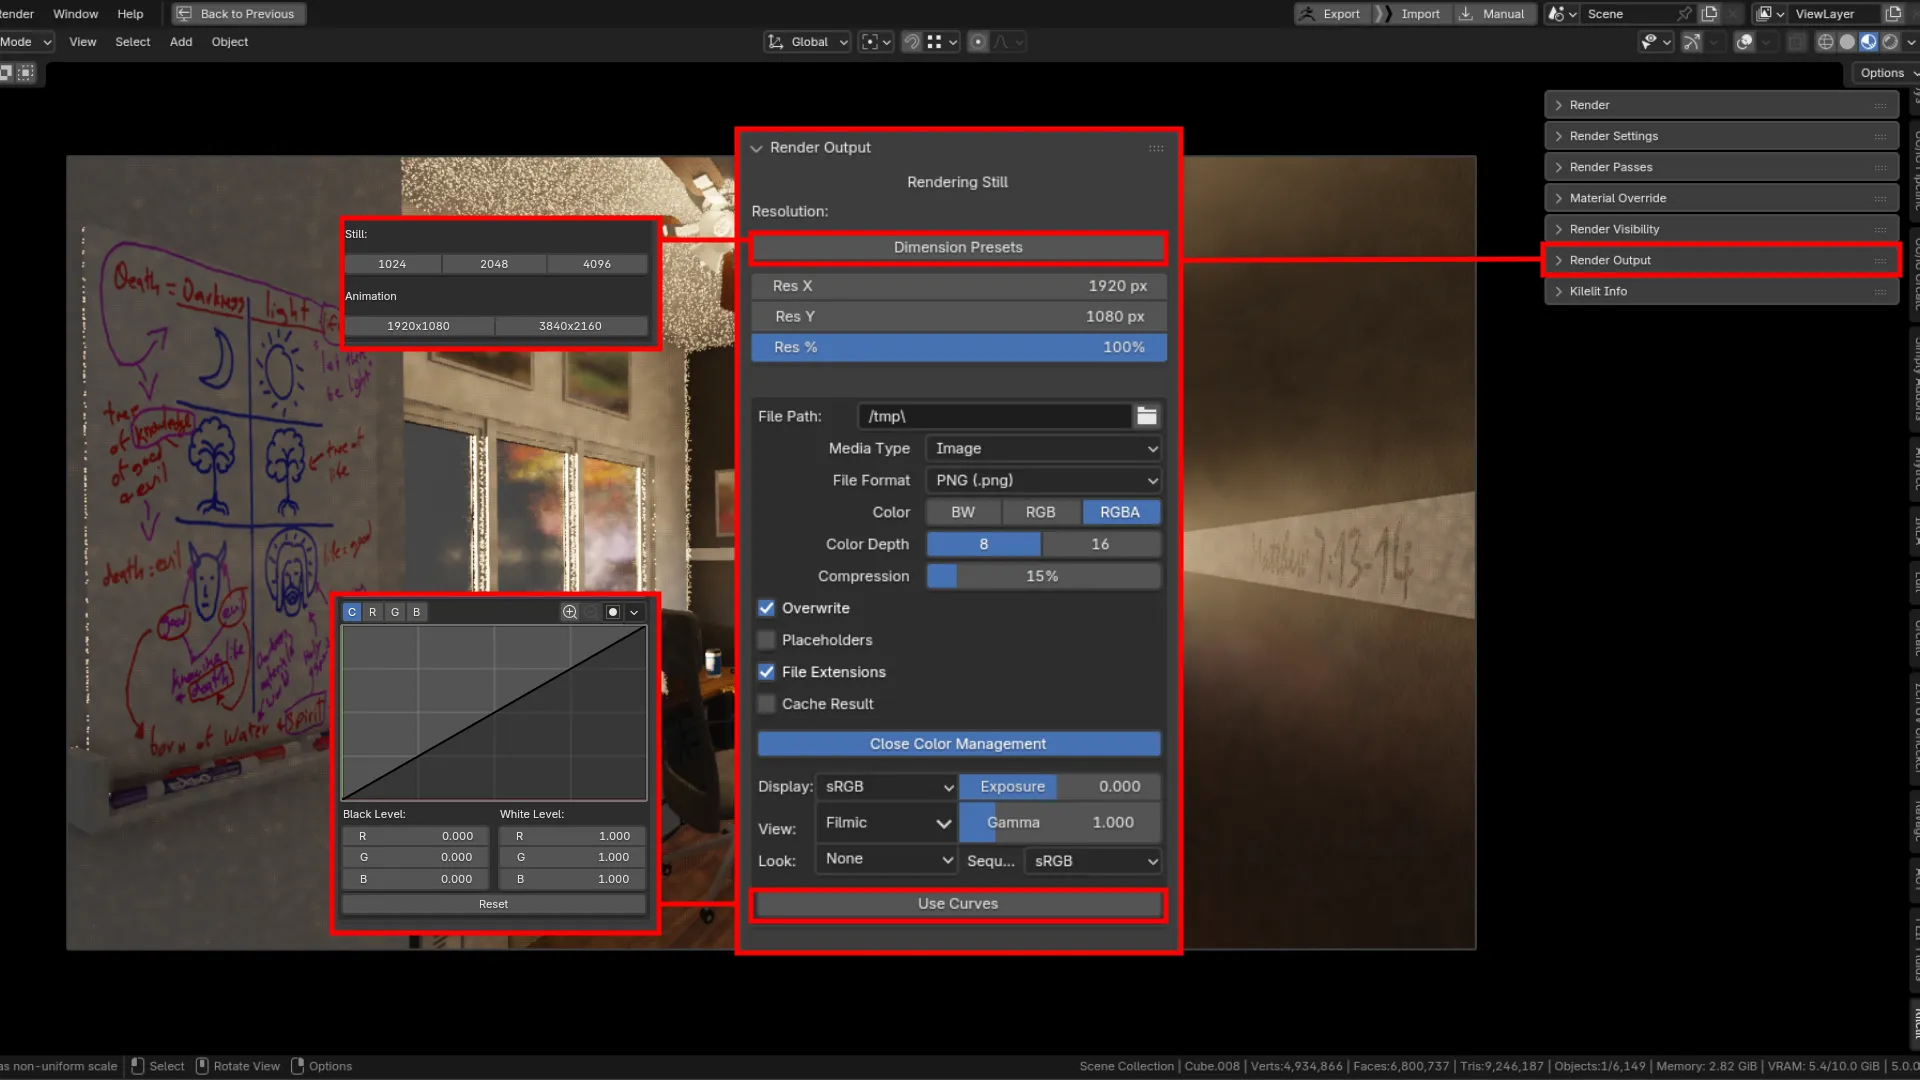
The second to last panel is your output panel which includes most of the parameters to setup your output needs. Depending on what you are rendering, whether animation or still, the ui will adjust accordingly. With the Animation mode toggled in the Render Panel, you will see frame range sliders for the start and end popup. Another useful little feature is the Dimension Presets, where you can select resolutions based on stills or animations.
I hope you find this tool useful! I do have a couple more ideas for this tool I want to implement in the near future. Happy Blendering! 🍻
Source Code (GPL):
https://github.com/kenray-barnabas/Kilelit_Blender_Addon.git