Latitude HDRI Studio
 Miles Ross


Latitude HDRI Studio — User Guide
Installation
Download latitude_hdri_studio-0.10.5.zip. Leave it zipped.
In Blender, open Edit → Preferences → Get Extensions.
Open the menu in the upper-right corner and select Install from Disk.
Select the ZIP and enable Latitude HDRI Studio.
Latitude works offline. No account or activation is required.
Compatibility
Officially supported on Blender 5.2.2 or later, with testing performed on Blender 5.2.2 on Windows.
Installation is permitted on Blender 4.2 and later. Versions below 5.2.2 display a compatibility warning and may have features that do not work correctly. macOS, Linux, dedicated Eevee workflows, and custom render integrations have not been fully tested.
Create your first lighting setup
Change an editor area to the Image Editor.
Press N and open the HDRI Studio sidebar tab.
Click Start HDRI Studio.
Choose Add Pin → Softbox.
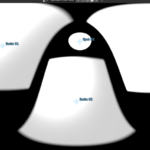
Drag the pin’s handle on the panorama to position the light.
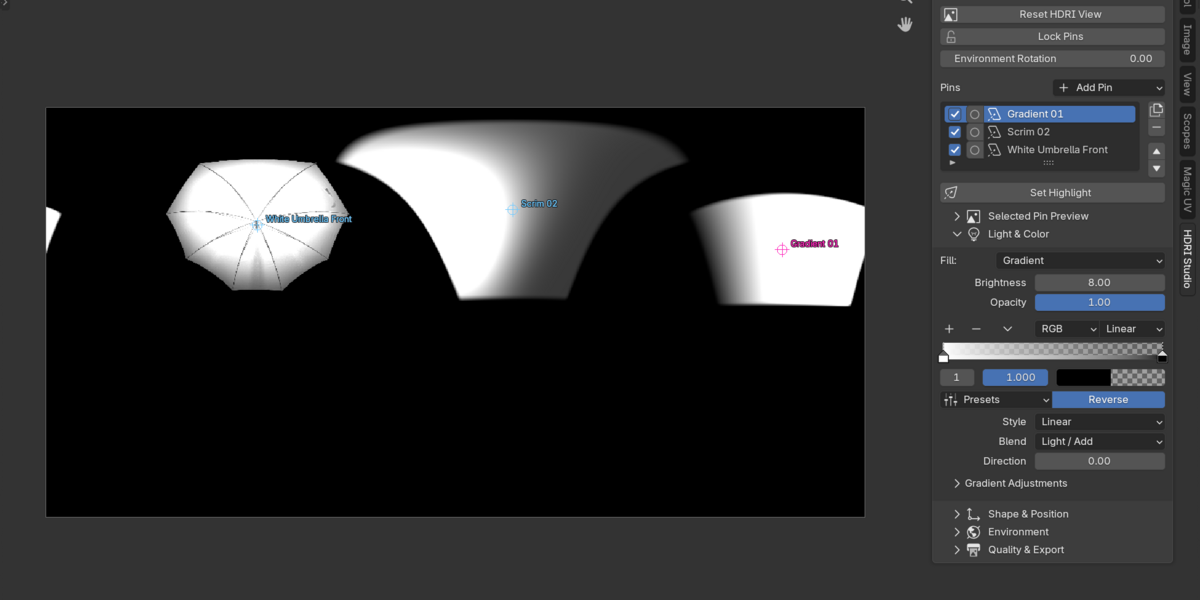
Adjust Brightness and Color under Light & Color.
Adjust its dimensions, rotation, and edge softness under Shape & Position.
Use Rendered viewport shading to see the result on your model. For Material Preview, enable Scene World.
Latitude creates lighting through Blender’s World environment. Pins are editable parts of the HDRI rather than physical light objects.
Pin types
Softbox, Strip, and Spot: starting shapes for creating studio lights.
Gradient: use a color ramp with linear, radial, or mirrored mapping. Adjust direction, offset, scale, and saturation.
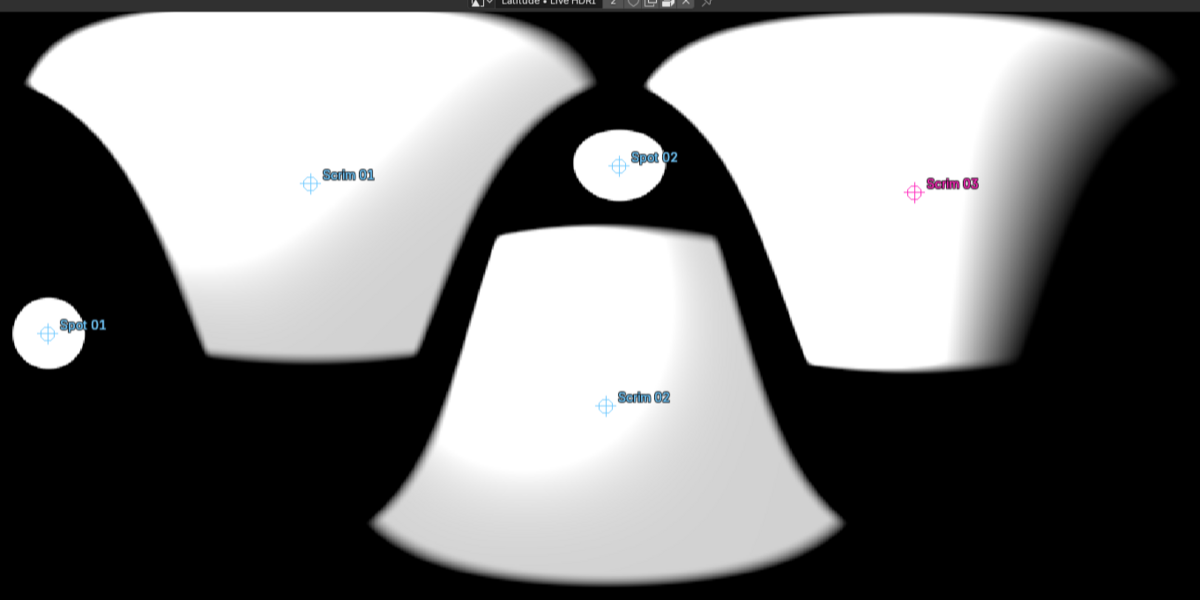
Scrim: create a soft panel with a movable hotspot. Control the hotspot’s position, spread, stretch, and fill.
Image: use your own HDR, EXR, or ordinary images as light sources.
Flag / Cutout: remove light from part of the environment.
Set an HDR Light Library folder in Latitude’s add-on preferences for convenient image browsing. Third-party HDRIs and light images are not included.
Color and temperature
Under Light & Color → Color Mode, choose:
Color: use the solid color, gradient colors, or original image colors.
Temperature: use a blackbody temperature between 1,000 and 12,000 K.
Lower temperatures produce warmer light; higher temperatures produce cooler light. Temperature sets the color of solid and scrim pins and tints the existing colors of gradient and image pins. Brightness remains a separate control.
Switching back to Color mode restores the original colors. Cutout pins have no emission color.
Positioning and preview controls
Reset HDRI View
Displays and fits the editable panorama without changing the lighting.
Lock Pins
Prevents accidental dragging on the panorama. Turn it off to reposition pins.
Environment Rotation
Rotates the background and all pins together horizontally.
Solo
The circular button beside a pin isolates that pin while retaining the background environment.
Selected Pin Preview
Expand this section to inspect the selected light’s appearance.
Set Highlight
Select a pin.
Open the HDRI Studio sidebar in the 3D Viewport.
Click Set Highlight.
Click or drag on your model to position the pin’s reflection.
Press Enter to keep the placement or Esc to cancel.
Background environment
Expand Environment to load a background HDRI and adjust its strength, rotation, blur, saturation, and contrast.
Base Rotation affects only the background. Environment Rotation moves the background and pins together.
Use Restore Original World to return to the World used before starting Latitude.
Live updates and quality
Latitude uses a faster preview while you edit, then refines the HDRI after interaction settles.
Settled Quality controls the environment used for scene rendering, up to 2K. Composition runs on the CPU, so many pins or large source images can slow updates. Rendered viewport responsiveness also depends on your scene and hardware.
HDRI editing is unavailable during rendering. Animation rendering temporarily locks Blender’s interface.
Saving and reusing lighting
Save in your Blender file
Save the .blend file to retain editable pins and their animation. The generated HDRI and image-pin sources are packed automatically.
For a portable project, pack the original background HDRI separately.
Environment presets
Use Environment → Save Preset to save a .latitude lighting setup.
Enable Include Base HDRI to bundle the background image.
Save any edits to the source background image before creating the preset.
When loading, choose Replace Setup or Add Pins.
Presets contain static settings, not animation.
Replace Setup clears existing pin animation.
Animation
Keyframe supported pin controls, including position and temperature, using Blender’s normal keyframe controls. Environment Rotation can also be animated.
Save animations in the .blend file and keep Latitude enabled when rendering animated pins.
Exporting an HDRI
Under Quality & Export, choose an export size and click Export EXR.
Latitude exports a flattened 32-bit EXR, up to 4K. Export reflects the current pin visibility and solo state.
The EXR contains the finished environment image, not editable pins or animation. Export produces one image at a time.
Current limitations
Pins use World lighting. Physical dome lighting and per-pin light linking are not supported.
HDRI composition uses the CPU.
Live and scene-rendering environments are limited to 2K; flattened EXR exports support up to 4K.
Environment presets do not include animation.
Temperature colors use linear Rec.709 and are intended for Blender’s standard color configuration.
macOS, Linux, dedicated Eevee workflows, and custom render integrations have not been fully tested.
Have questions about this product?
Login to message
| Blender Extension Compatible | Yes |
| Published | about 20 hours ago |
| Blender Version | 4.2 - 5.2 |
| Render Engine Used | Cycles |
| License | GPL |

Discover more products like this
product-visualization product rendering Lighting Environment Lighting Cycles hdri Studio Lighting hdri-editor