 孙堪伟
孙堪伟


Lattice Craft - Installation and User Guide
📦 Installation Method
Recommended Installation:
Simply drag and drop the downloaded installation zip file into the Blender window to complete the installation.
Traditional Installation Steps:
-
Open Blender and navigate to Edit → Preferences.
-
In the left panel, select the Add-ons tab.
-
Click the Install... button in the top-right corner.
-
Locate the downloaded "Lattice Craft" zip file (no need to unzip it).
-
Click Install Add-on to complete the installation.
-
Type "Lattice Craft" in the search box to find the plugin.
-
Check the box next to the plugin name to enable it.
🎯 How It Works
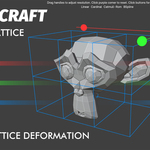
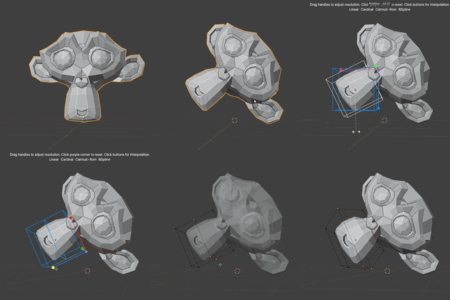
Lattice Craft automatically calculates the bounding box size and position of the selected object, creates a matching lattice object, and adds a lattice modifier to the original object, linking it to the newly created lattice.
🚀 How to Use
Add a Lattice:
-
Object Mode:
-
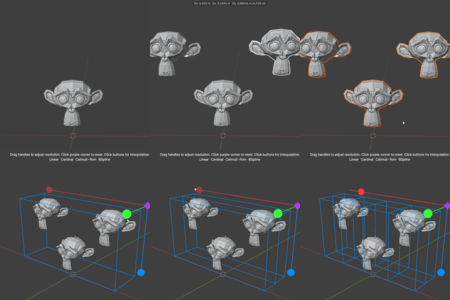
Select one or more mesh/curve objects.
-
Press Alt + C to enter lattice editing mode.
-
-
Edit Mode:
-
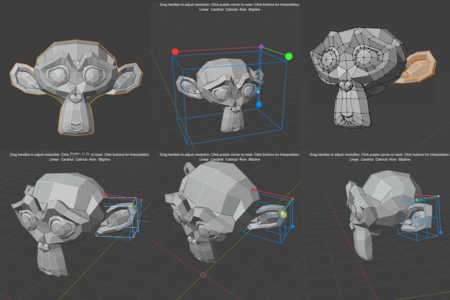
Enter the object's edit mode and select specific vertices.
-
Press Alt + C to create a local lattice for the selected vertices.
-
Interactive Operations:
-
Drag the colorful axis handles to adjust the resolution along that direction in real-time.
-
Click the purple corner control point to reset all settings.
-
Click the top button to switch between interpolation algorithms.
-
Press Enter to confirm or Esc to cancel.
💡 Notes:
-
Supports simultaneous processing of multiple objects.
-
Vertex groups are automatically created in edit mode for local deformations.
-
All operations are undoable, and temporary resources are automatically cleaned up upon cancellation.
Have questions about this product?
Login to message
| Sales | 70+ |
| Published | 11 months ago |
| Blender Version | 4.2 - 5.0 |
| Extension Type | N/A |
| Render Engine Used | Cycles, Eevee |
| License | GPL |
Discover more products like this
distortion resolution lattice control-points warp twist modeling cage deformation