 Fulford
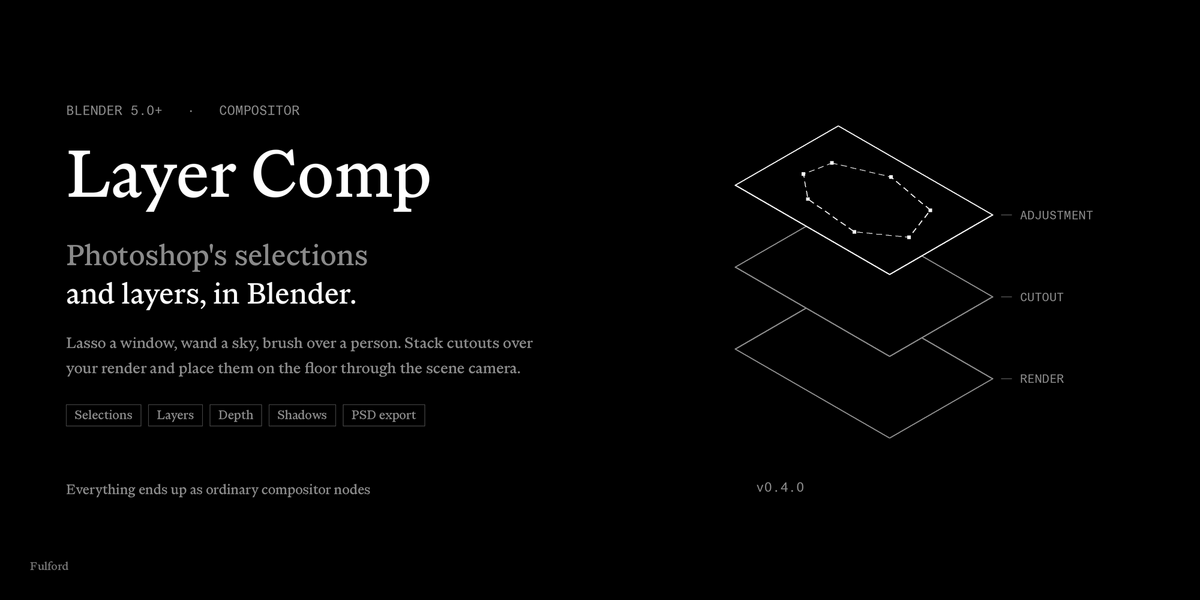

Layer Comp
Photoshop's selections and layers, inside Blender's compositor. Lasso a window, wand a sky, brush over a person and watch the selection snap to their edges. Then stack cutouts over your render and drop them onto the floor through the scene camera, with real height, shadows from your own lights, and depth that puts them behind the furniture.
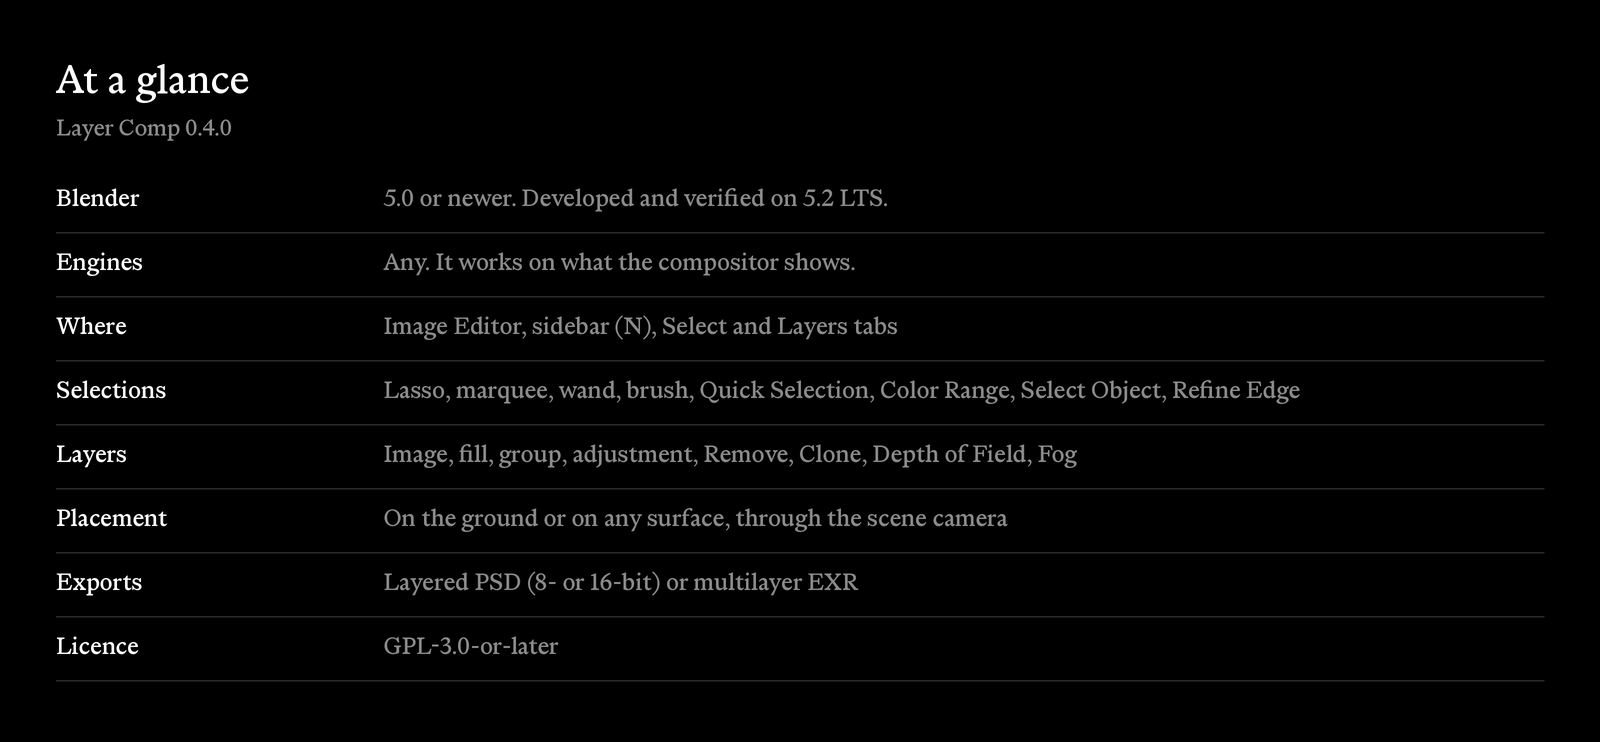
It doesn't replace the compositor. Every grade and pixel operation stays in nodes. Layer Comp does what node editors are bad at, pointing at the image, and what it makes ends up as ordinary nodes you can see and wire. Works with Blender 5.0 and newer, with Cycles and EEVEE.
How it works
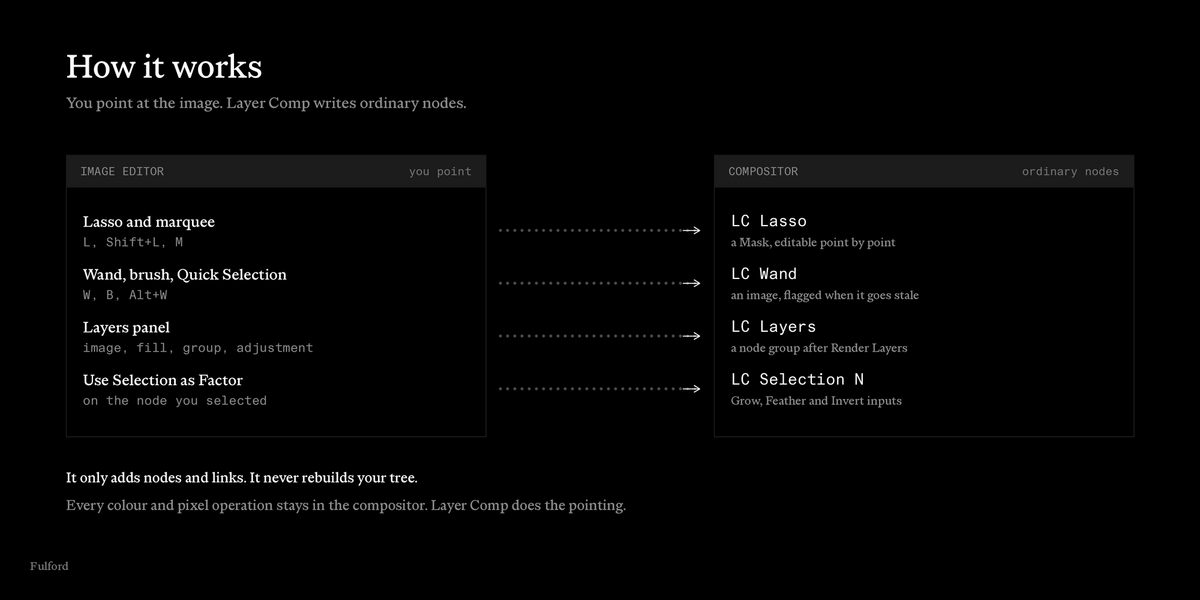
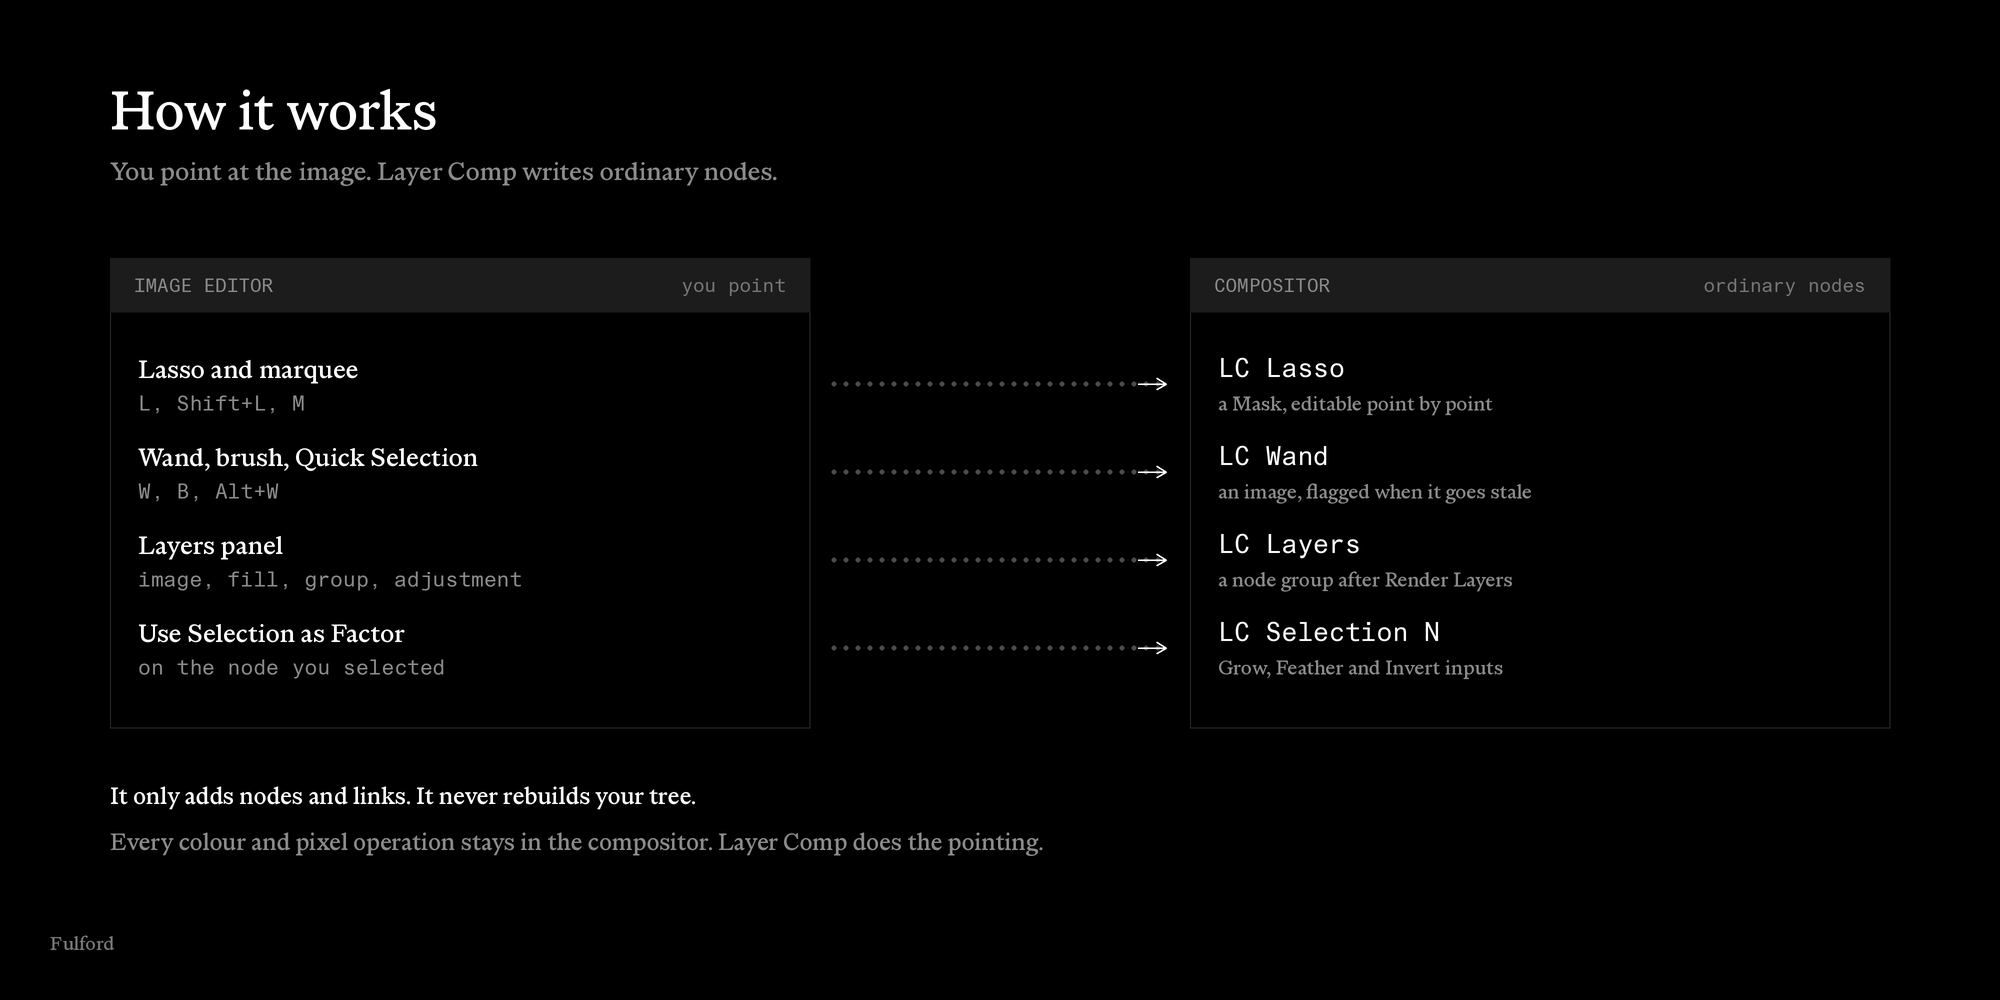
You point at the image in the Image Editor. Layer Comp writes ordinary nodes into the scene's compositor. It only adds nodes and links, and never rebuilds your tree.
-
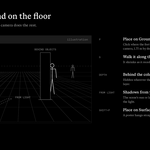
Lasso, polygonal lasso, marquee write
LC Lasso, a Mask. Its points stay editable in Mask mode. -
Wand, brush, Quick Selection write
LC Wand, a packed image. It is flagged when the image under it changes. -
The Layers panel compiles the stack into
LC Layers, a node group placed right after Render Layers. -
Use Selection as Factor saves a selection as
LC Selection N, a node group with Grow, Feather and Invert inputs.
The selection nodes are never linked for you.
Selections that feel like Photoshop
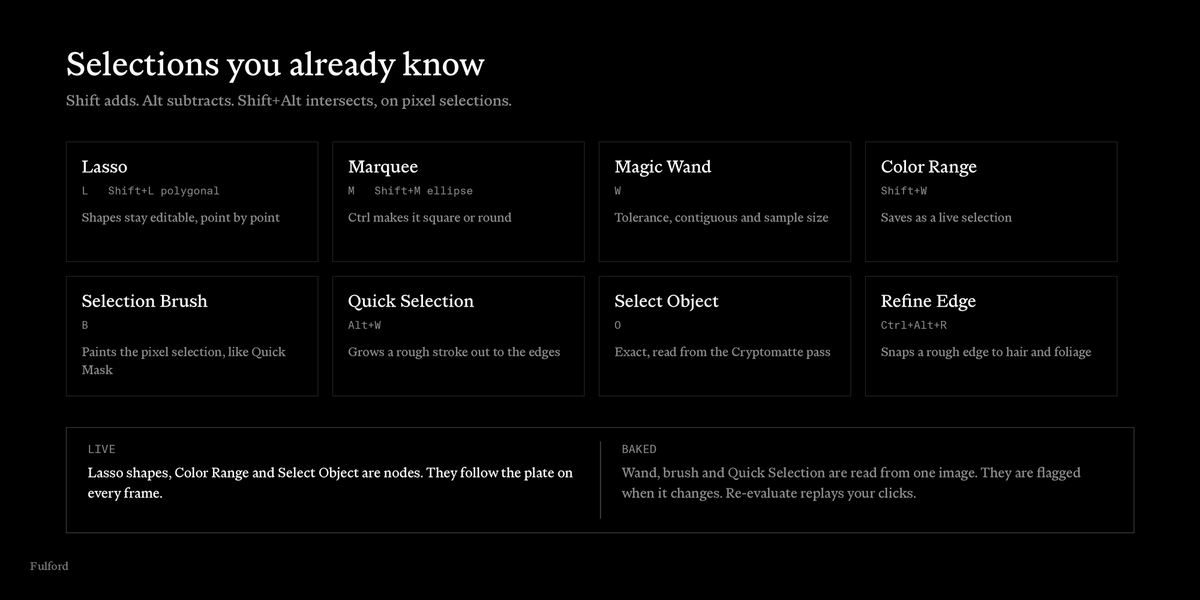
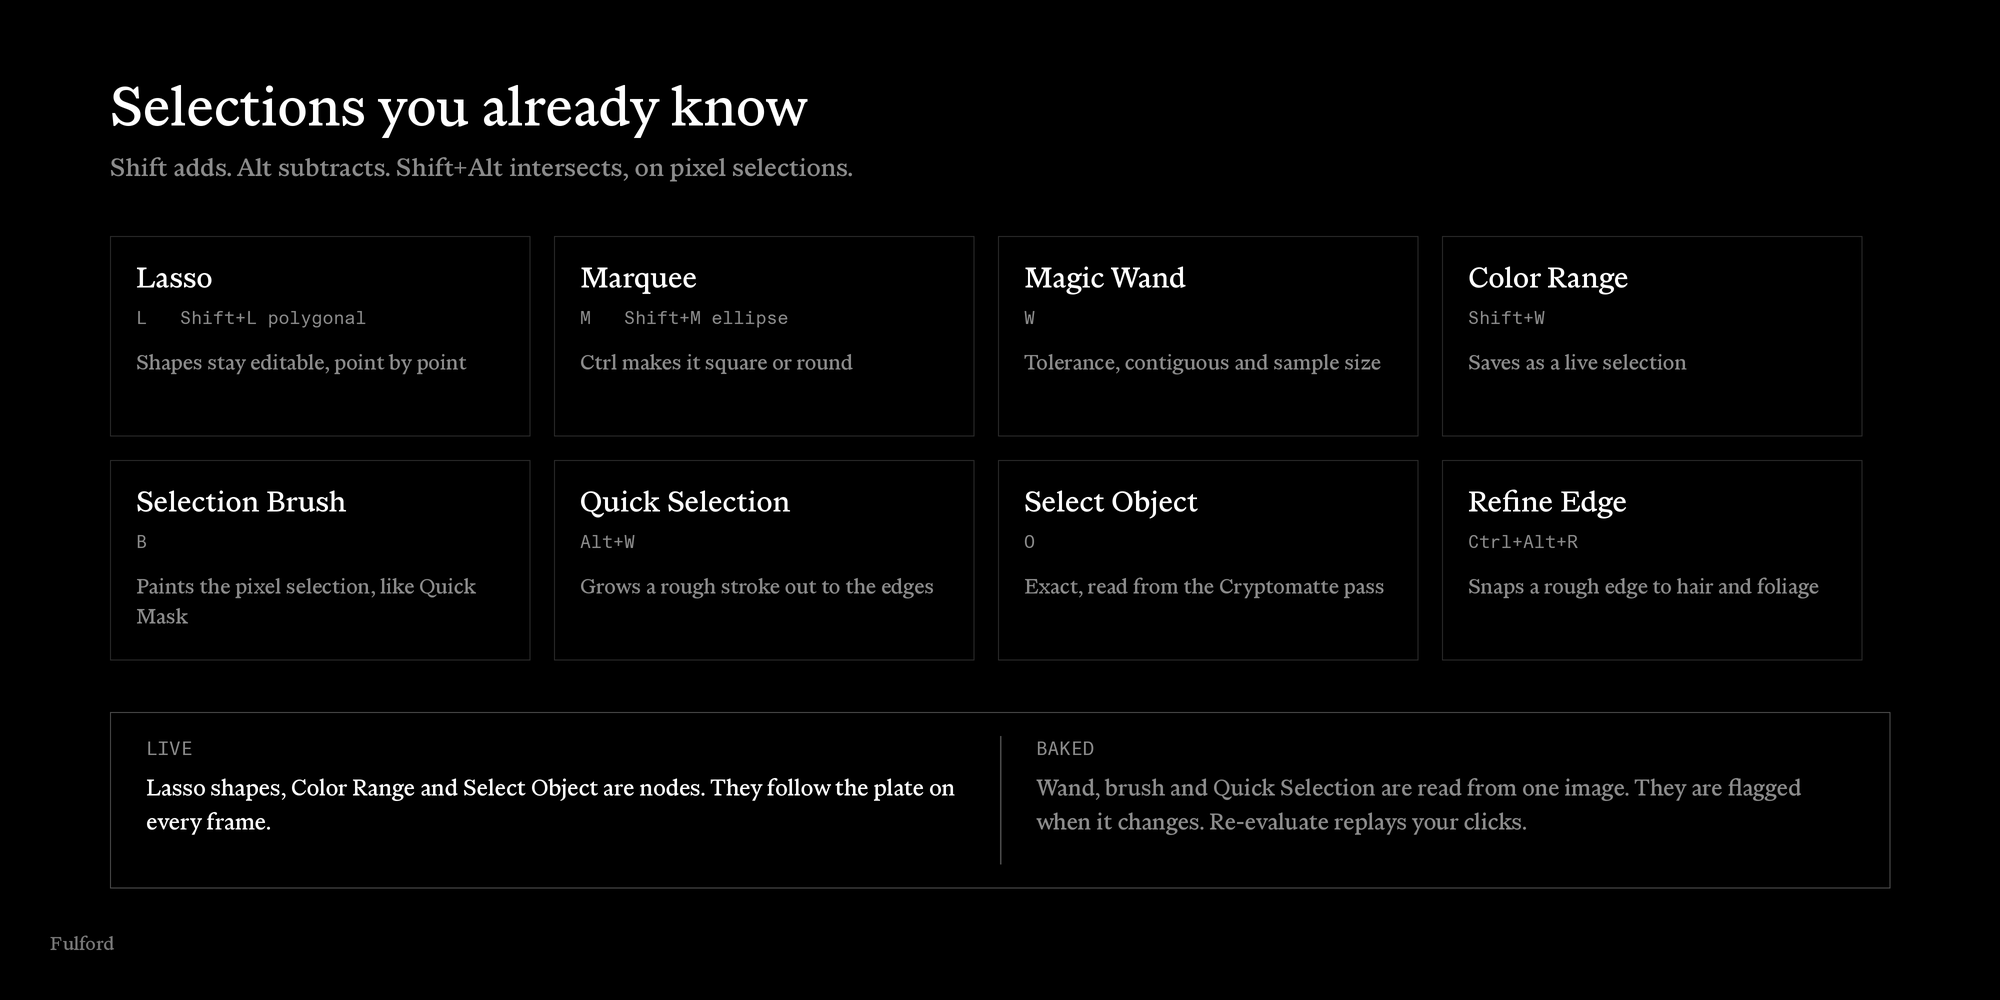
L, M, W, B: the keys you already know, with Shift to add and Alt to subtract. Quick Selection grows a rough stroke out to the object's edges, with a live preview, and learns from the strokes you take away. Refine Edge handles hair.
Live where it matters
Lasso shapes stay editable point by point. Color Range and Select Object save as nodes that follow the plate on every frame. A baked wand selection tells you when the image under it has changed, and Re-evaluate replays your clicks on the new pixels.
A selection on any node
Select Curves or Hue/Saturation, make a selection, click Use Selection as Factor. Grow, Feather and Invert become inputs on a node in your tree.
Layers over the render
Cutouts, fills, groups and adjustment layers with blend modes, opacity, clipping and masks, compiled into one node group placed after Render Layers. Remove an object with Shift+Backspace; clone in perspective along a floor or wall.
Controls
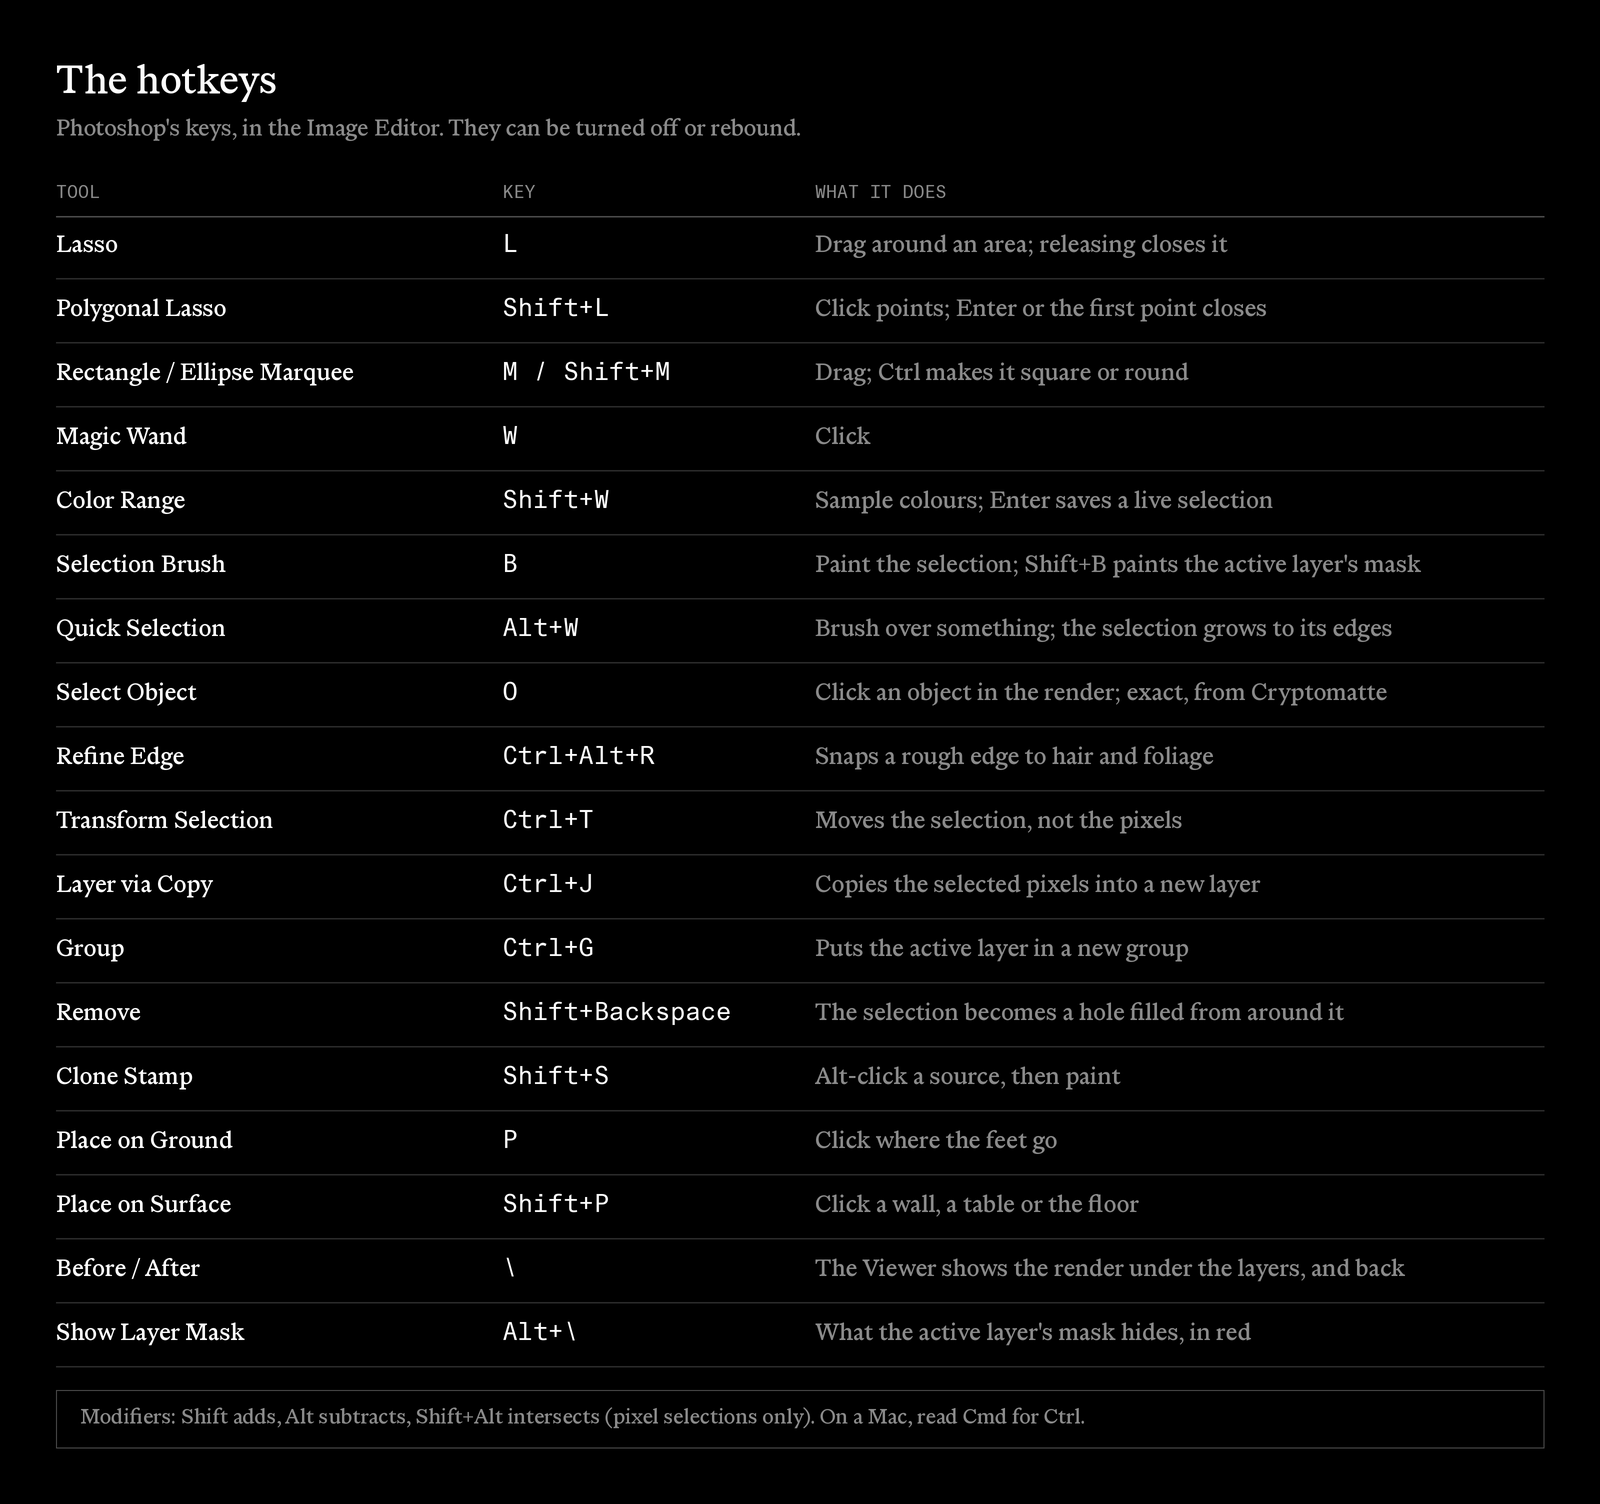
Photoshop's keys, in the Image Editor. They can be turned off or rebound in the add-on's preferences.
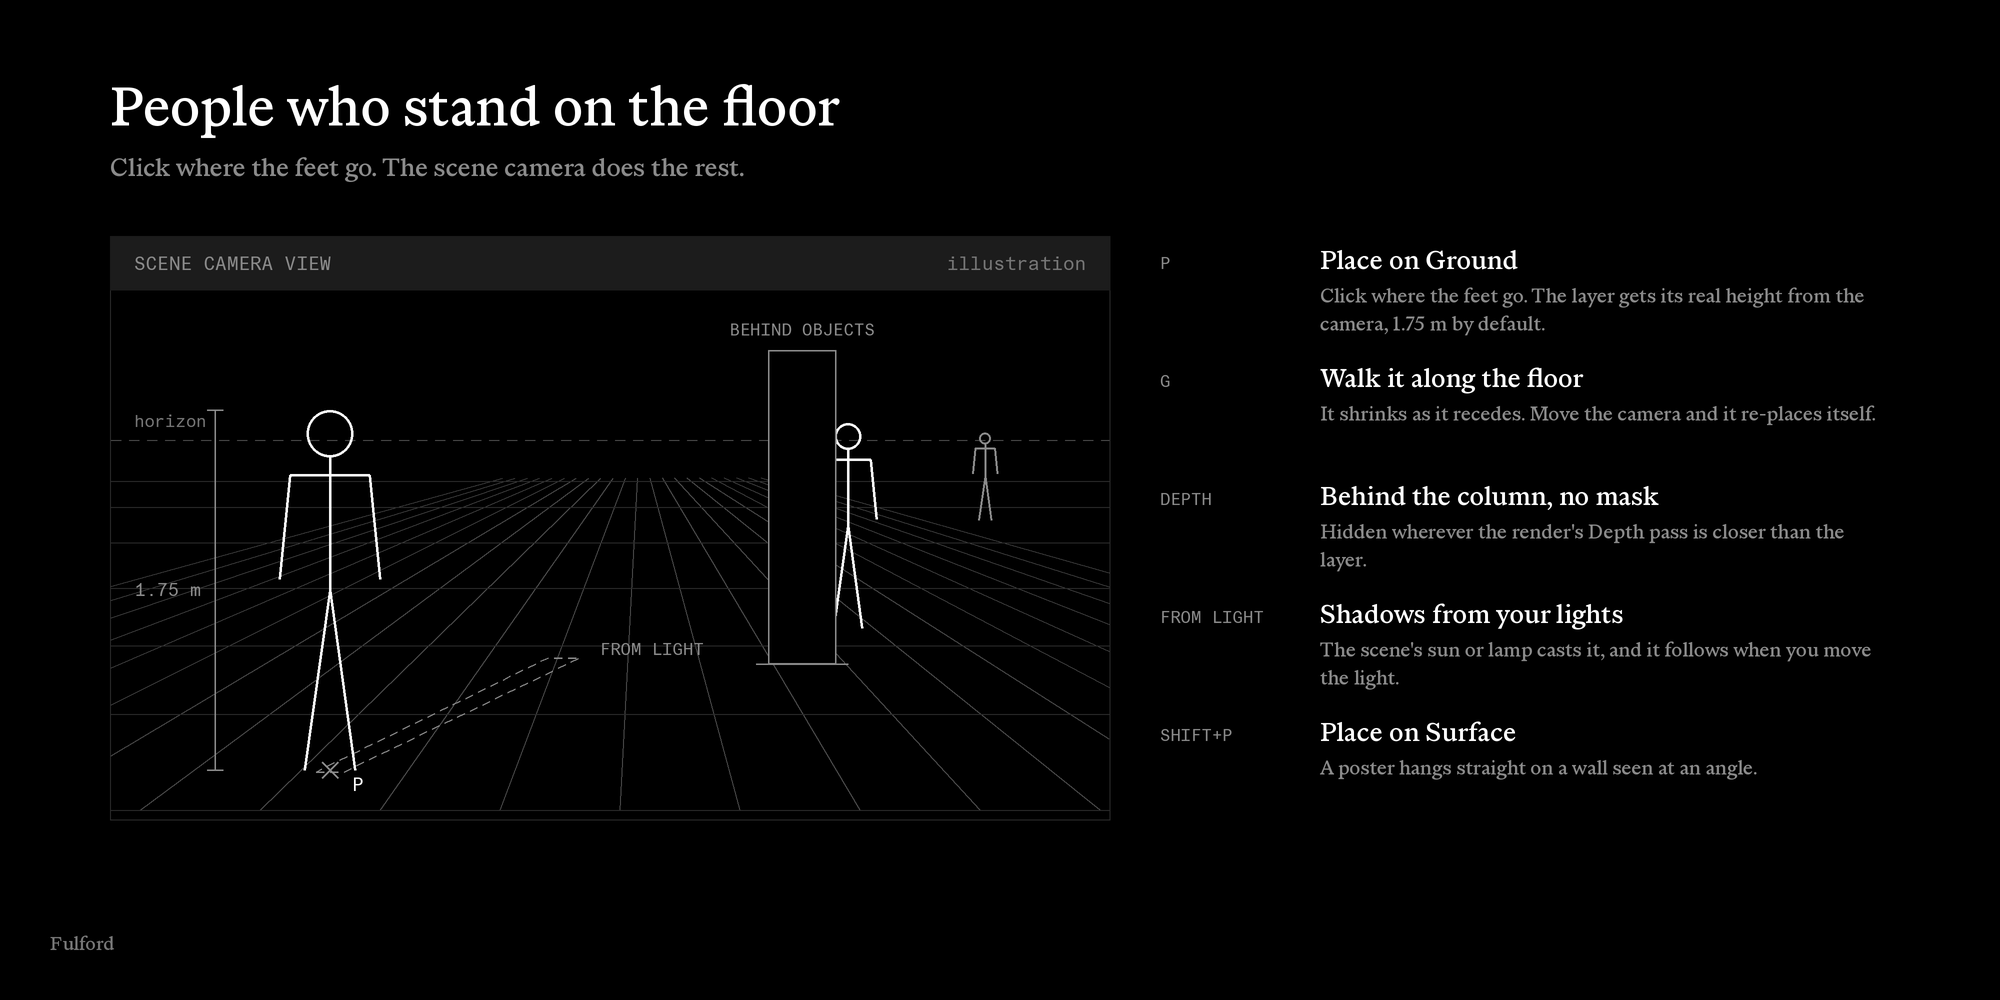
People who stand on the floor
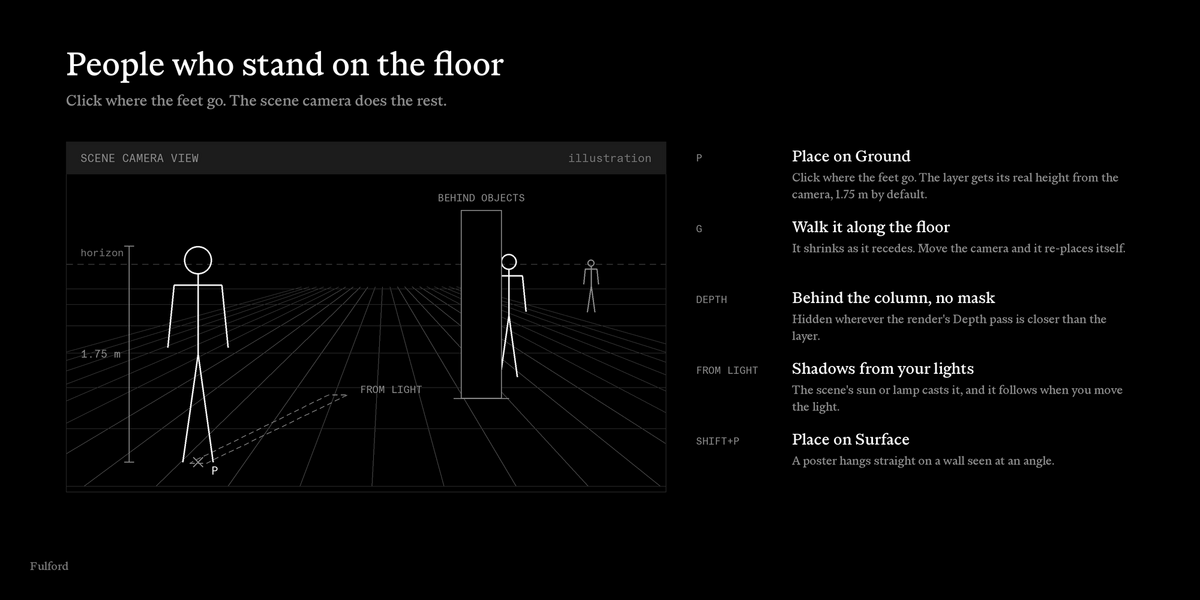
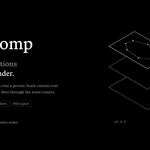
Press P and click where the feet go. The cutout gets its real height from the camera, walks along the floor with G, and re-places itself when you move the camera. Place on Surface hangs a poster straight on a wall seen at an angle.
Depth from your render
With the Depth pass, a cutout disappears behind a column without a mask, picks up the scene's haze, and blurs like the render around it. Depth of Field and Fog layers work by distance across the render and your layers together.
Shadows from your lights
From Light casts a cutout's shadow the way the scene's sun or lamp would, and follows when you move it. Add a reflection for glossy floors.
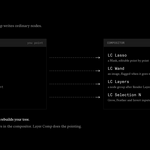
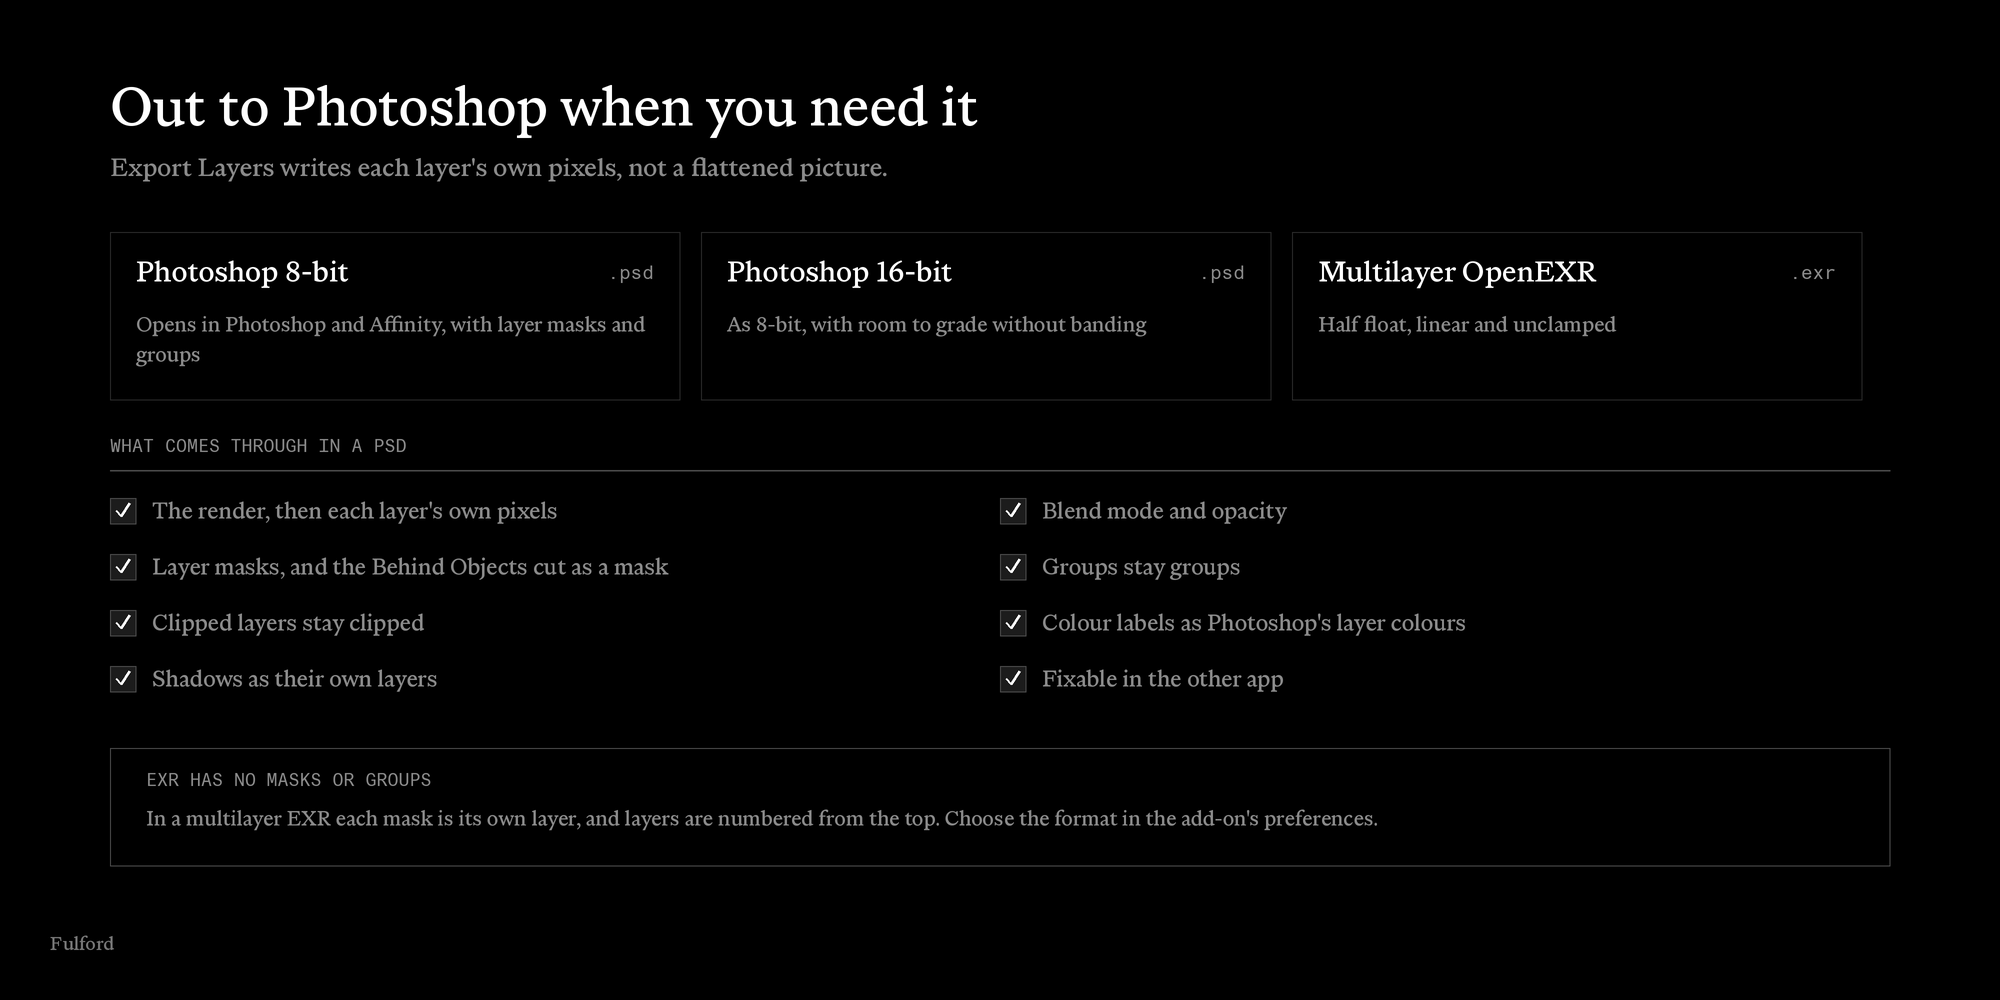
Out to Photoshop when you need it
Export Layers writes a PSD with every layer's own pixels, blend mode, opacity, mask and group, or a multilayer EXR.
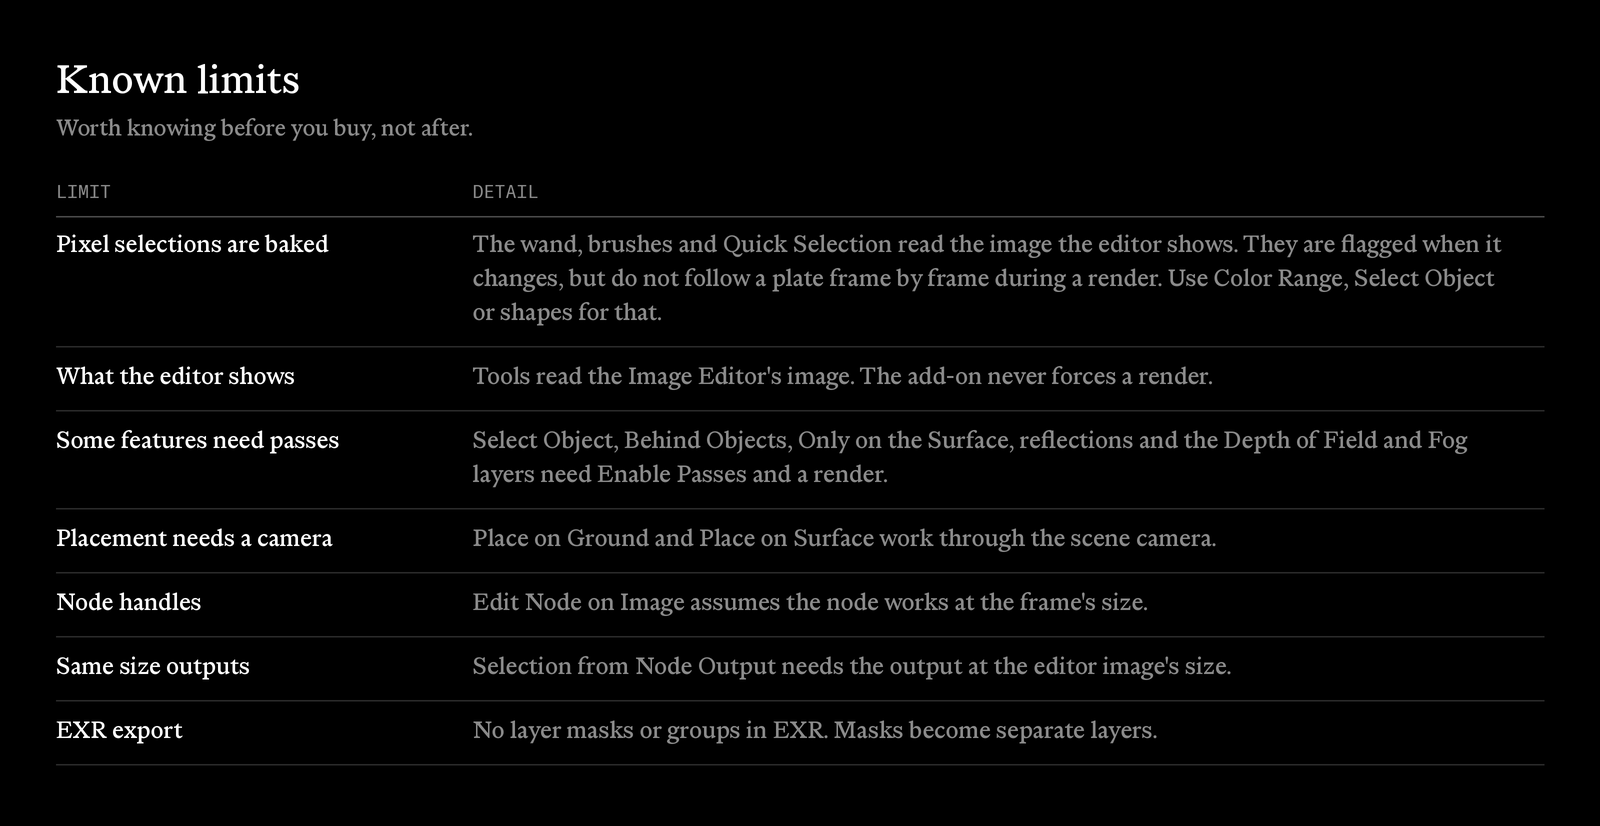
Honest limits
Things worth knowing before you buy, not after.
Installation
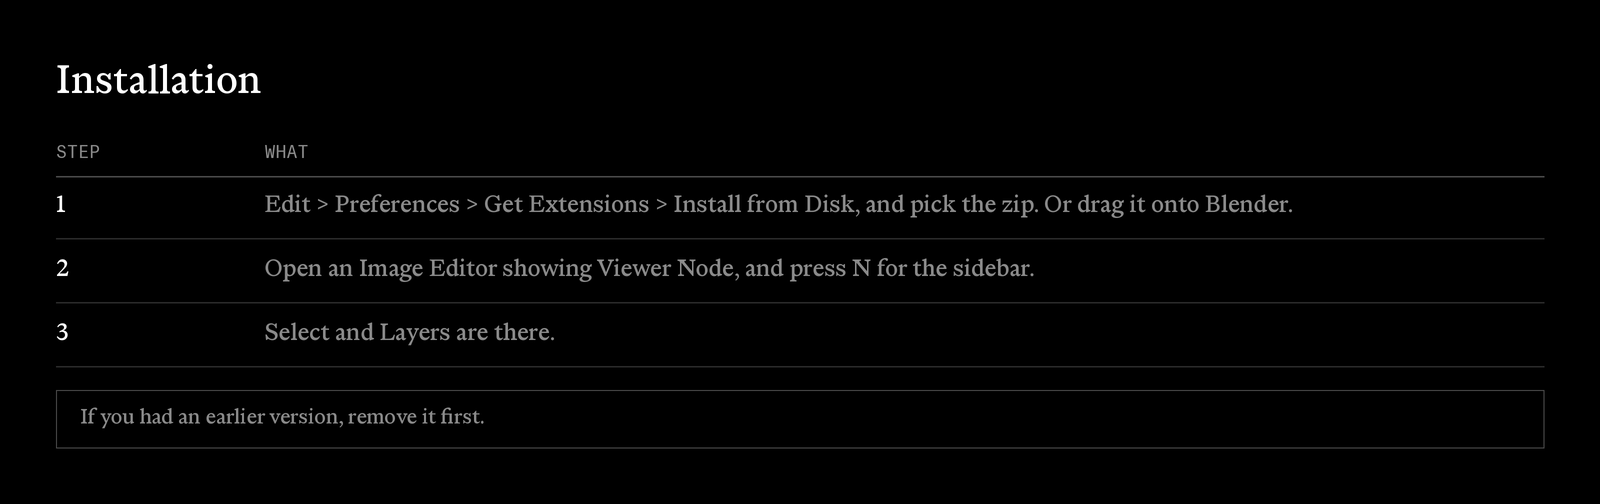
In Blender: Edit > Preferences > Get Extensions > Install from Disk, and pick the zip. Or drag it onto Blender. Open an Image Editor showing Viewer Node, press N for the sidebar, and Select and Layers are there. If you had an earlier version, remove it first.
Layer Comp 0.4.0 — by Fulford
