LED Wall Studio – Modular Screen Generator for Blender
 Andrea Verri
LED Wall Studio User Guide
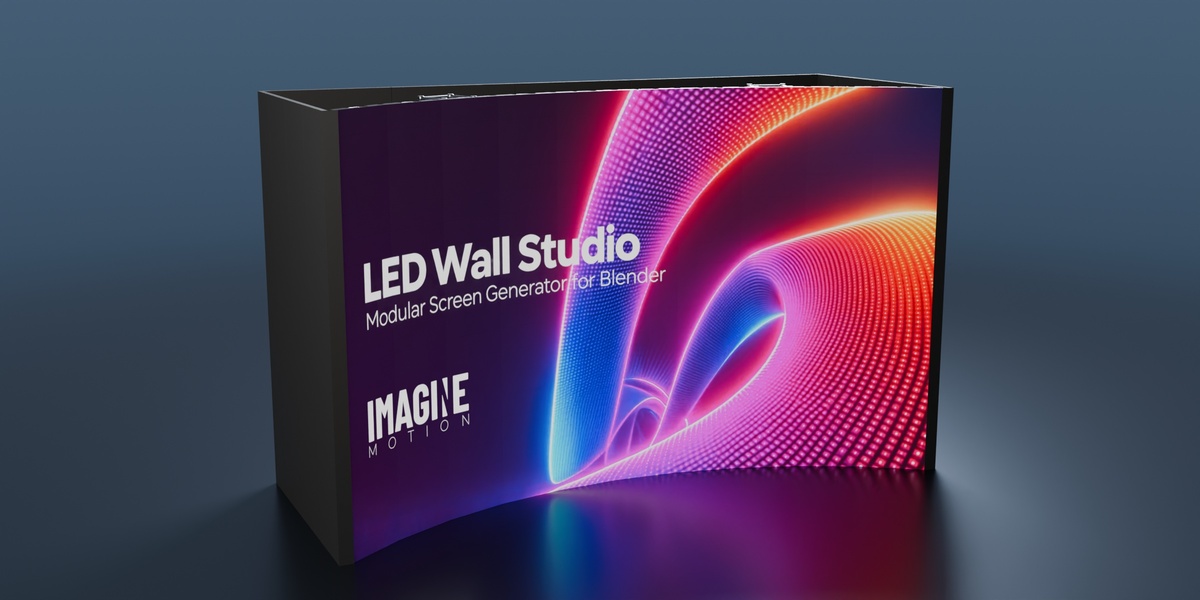
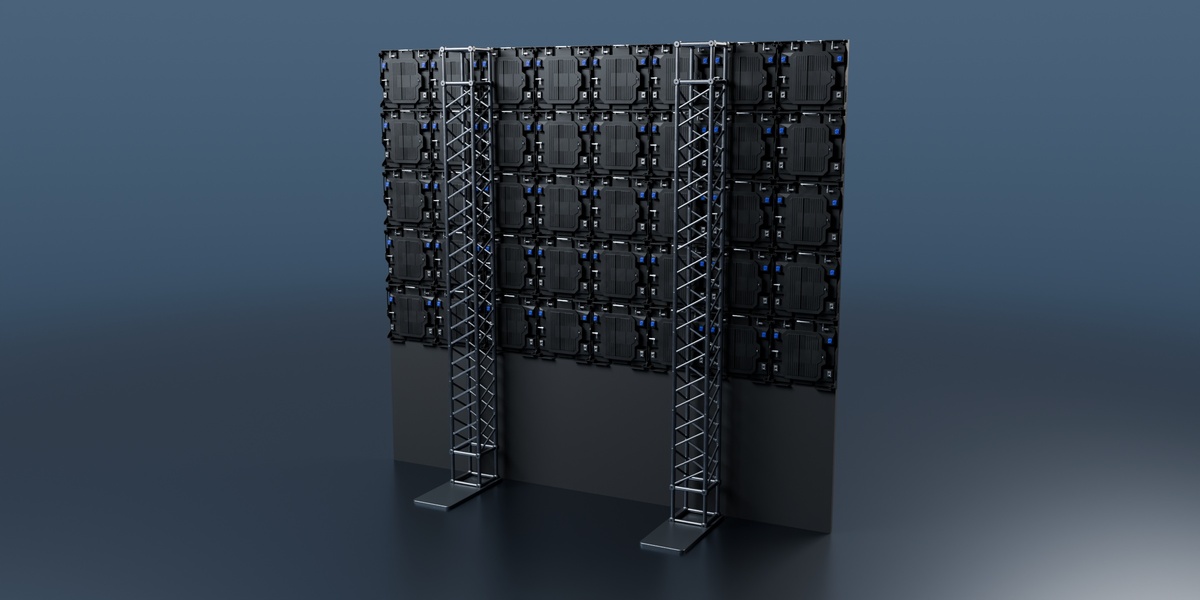
LED Wall Studio is a Geometry Nodes generator for modular LED video walls in Blender. Use the modifier to build the screen, configure its supports and enclosure, and display technical specifications. Use the screen material to choose what the display shows.
Quick start
- Open LED Wall Studio v21.blend in Blender. Select the LED Wall Studio object in the viewport or Outliner.
- Open Modifier Properties (the wrench icon) and expand the LED Wall Studio Geometry Nodes modifier.
- Set Size X and Size Z for one cabinet, then set Amount X and Amount Z for the entire wall. Set Resolution to match the pixel count of one cabinet.
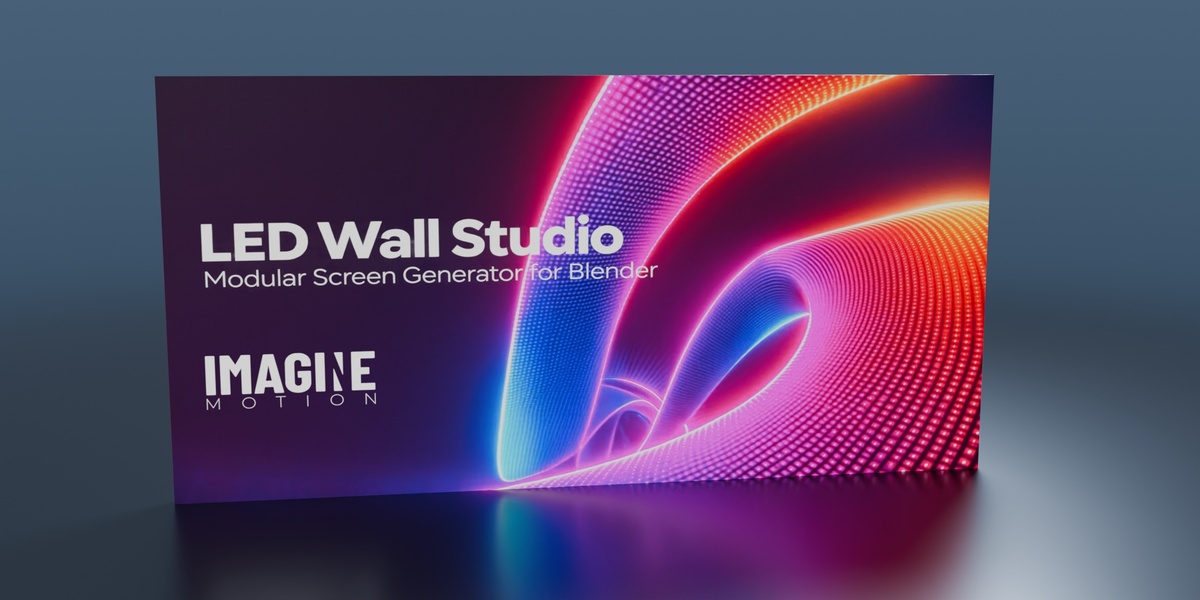
- Set Bend to 0° for a straight screen or use a negative angle for a curved screen. Open the Rear enclosure, Truss supports, and Screen elevation panels to configure the installation.
- Replace the sample artwork in the screen material and switch the viewport to Material Preview or Rendered to see it.
Cabinet size, layout, and resolution
- Size X sets the width of one cabinet in metres. For example, 0.50 means 50 cm.
- Size Z sets the height of one cabinet in metres.
- Amount X sets the number of cabinet columns across the screen.
- Amount Z sets the number of cabinet rows from bottom to top.
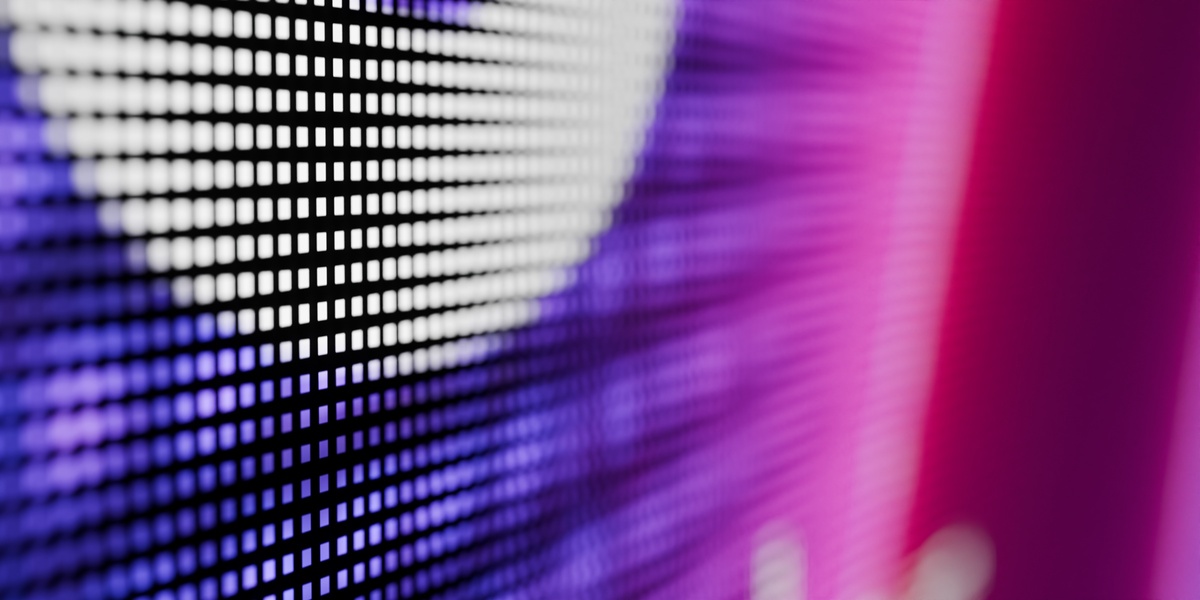
- Resolution sets the number of pixels along each axis of a single cabinet. With 10 columns, 6 rows, and a cabinet resolution of 192, the complete screen is 1920 × 1152 pixels. Keeping the cabinet size fixed and increasing this value reduces the physical pixel pitch. This setting controls the LED screen, while Blender’s Output Properties control the size of the rendered image.
Curvature
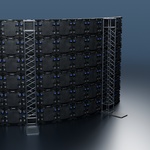
- Bend sets the horizontal bend angle. Use 0° for a straight screen and move toward −180° for a stronger bend. Start with −45° to see the effect.
- Bend Range Start sets where the curved section begins along the width, on a scale from 0 to 1.
- Bend Range End sets where the curved section ends on the same scale. Keep End higher than Start. Use 0 and 1 to bend the full width, or 0.25 and 0.75 to bend the middle half and leave straight sections at the ends.
Technical specifications and estimates
The readout shows screen dimensions, total pixel resolution, aspect ratio, and estimated power draw. When the screen is raised, it also shows overall height.
- Per brick power W sets the assumed wattage of one cabinet. Estimated total power is the wattage per cabinet multiplied by the number of cabinets.
- Euro x sqm sets the price in euros per square metre of screen surface. Estimated cost is the rate multiplied by the screen area.
- Text ON/OFF turns the technical readout on or off. Enable it to see the readout in the viewport.
- Price ON/OFF includes the cost estimate in the technical readout when the readout is enabled.
- Render text ON/OFF makes the technical readout visible in the final render. Keep Text ON/OFF enabled too. To see the readout only while working in the viewport, leave Render text ON/OFF disabled.
Rear enclosure
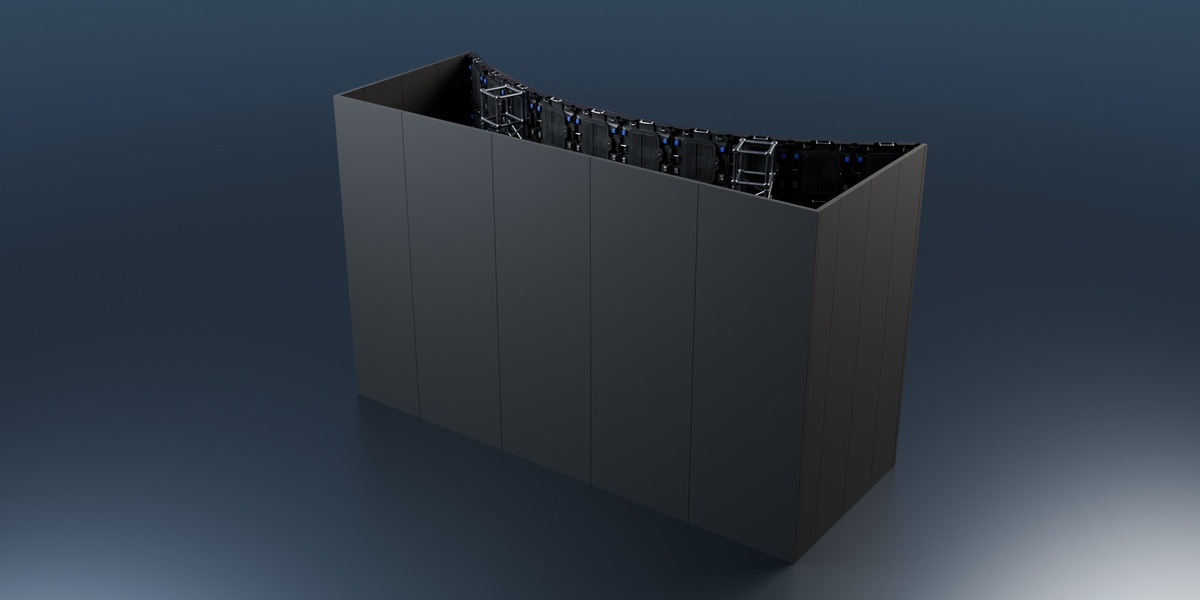
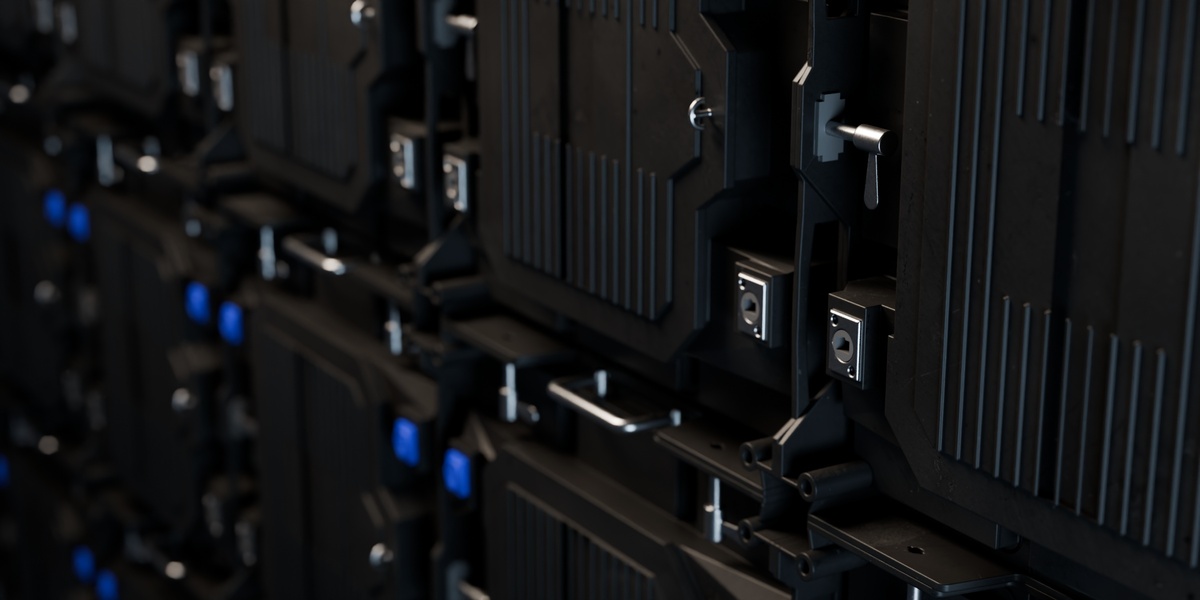
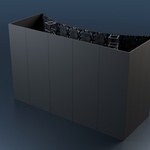
- Enable enclosure adds enclosure panels to the sides and, when enabled, to the rear of the wall.
- Depth sets the requested depth in metres, measured from the rearmost part of the screen. Fit around truss bases can increase the enclosure depth to provide clearance.
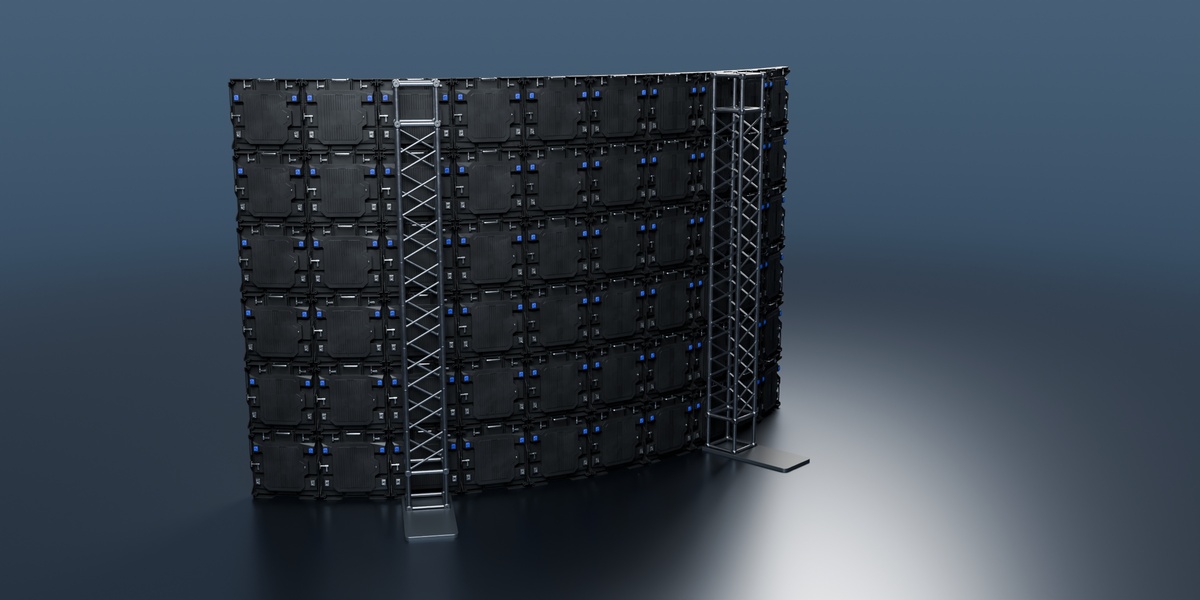
- Rear panels closes the back with modular panels. Turn it off to keep the enclosure’s side panels and expose the rear cabinets.
- Color changes the base colour of the enclosure panels and corner trim.
- Roughness controls the finish of the enclosure panels and corner trim. Lower values give sharper reflections, while higher values give a more matte finish.
- Fit around truss bases reserves enough room for the truss floor plates. It can preserve this clearance even when the trusses are hidden.
Truss supports
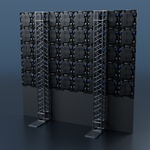
- Enable truss supports adds vertical truss uprights and floor plates. The number of uprights adjusts with the width of the screen.
- Truss Color changes the base colour of the truss sections and end pieces.
- Truss Roughness controls the finish of the truss sections and end pieces. Lower values give sharper reflections, while higher values give a more matte finish.
Screen elevation
- Height above floor sets the distance in metres from the floor to the bottom of the LED display. Use 0 for a floor-level screen. The truss bases and enclosure stay on the floor, and the lower infill adjusts to the clearance as the screen is raised.
Screen material and custom content
SCREEN MATERIAL selects the material assigned to the LED display surface. Keep LED Wall Studio · Screen to use the supplied pixel-grid shader with your own artwork.
- With the wall selected, open the Shader Editor and choose the LED Wall Studio · Screen material.
- Find Screen Image / Video and use its Open Image control to load a still image or movie.
- For a movie, set the playback range in the texture node. Enable Auto Refresh to update the image as you scrub the timeline and Cyclic if you want it to loop.
- Adjust Emission Strength on the LED Screen node to control the display brightness. Match the source artwork’s aspect ratio to the screen’s reported aspect ratio when preparing graphics or video.
If you replace the texture node, reconnect Screen UV → UV to the texture’s Vector input, then connect the texture’s Color output to LED Screen → Content.
Use LED Wall Studio in another project
- Append from File → Append in the destination file. Open LED Wall Studio v21.blend, go into Object, select LED Wall Studio, and click Append.
- Copy and paste by selecting the LED Wall Studio object in the source viewport and pressing Ctrl+C. In the destination viewport, press Ctrl+V.
- Asset Browser users can drag the LED Wall Studio object asset into the scene when it is available in their asset library. Choose the object asset to start with the configured wall and its modifier.
The LED Wall Studio · Resources collection contains the source pieces the generator uses for the enclosure and truss assembly. Keep that collection in the project and leave it hidden. Configure the visible wall through its modifier.
Troubleshooting
- The technical text appears in the viewport only. Enable both Text ON/OFF and Render text ON/OFF.
- The rear is still open. Enable both Enable enclosure and Rear panels.
- The screen content is missing. Check that the source image or movie is loaded in Screen Image / Video, the supplied screen material is assigned, and the viewport is in Material Preview or Rendered mode.
Have questions about this product?
Login to message
| Dev Fund Contributor | |
| Published | about 2 hours ago |
| Blender Version | 4.5 - 5.3 |
| Render Engine Used | Cycles, Eevee |
| License | Royalty Free |
