Lens Sim
 Håvard Dalen

Contents
• Foreword
• Installation, Usage, Tutorials, Changelog and Data
• Forum
• Render times
• Technical details
• How it works
• Ray-Guiding
• Auto Focus
• Chromatic Aberration
• Limitations
• Credits
Foreword
When using Lens Sim I want you to treat each lens and the camera as a real physical object. Just like real lenses, they are not designed to work at all distances. Every lens has its designed working range that the optics are carefully built for. If you try to use a telephoto lens as a macro lens, it will break. Same with standard lenses, they are not necessary designed for macro photography. As all lenses are modeled to real measurements, be aware of your scene scale when using a Lens Sim Camera.
Understanding these boundaries is essential for not breaking the ray guiding- and automatic focus system. I have tried to not set any hard limits on the lenses, so if you want you can easily break them. If you really want to push the lens to it limits I suggest turning off the ray guiding system and enable manual focusing, or tailor the ray guiding system to a specific distance, because the integrated systems will not work outside the working distance of the lens.
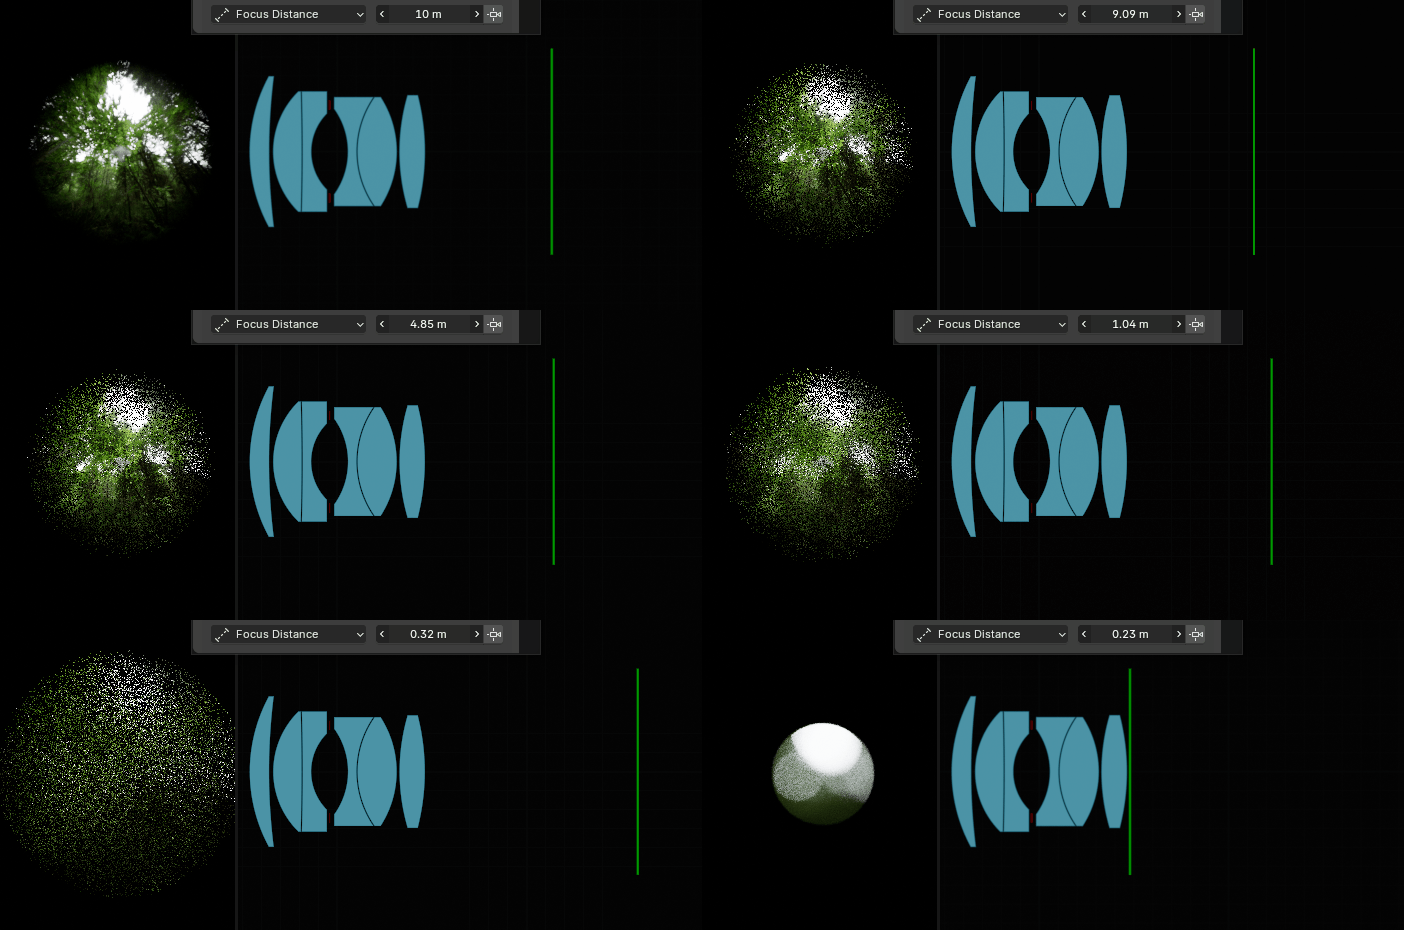
Although Lens Sim is designed to be user-friendly, mastering its advanced features and settings may require some time and experimentation, especially when implementing your own lenses and calibrating the ray guiding system.
Installation
1: Save the .zip file of the addon to your computer.
2: Open Blender and go to Edit > Preferences > Add-ons.
3: Click "Install from Disk..." from the "Extension Settings" dropdown menu(top right side), select the downloaded .zip file and press "Install From Disk".
4: If not enabled, find the Lens Sim Add-on in the "Add-ons" panel and enable the addon by checking the box next to its name.
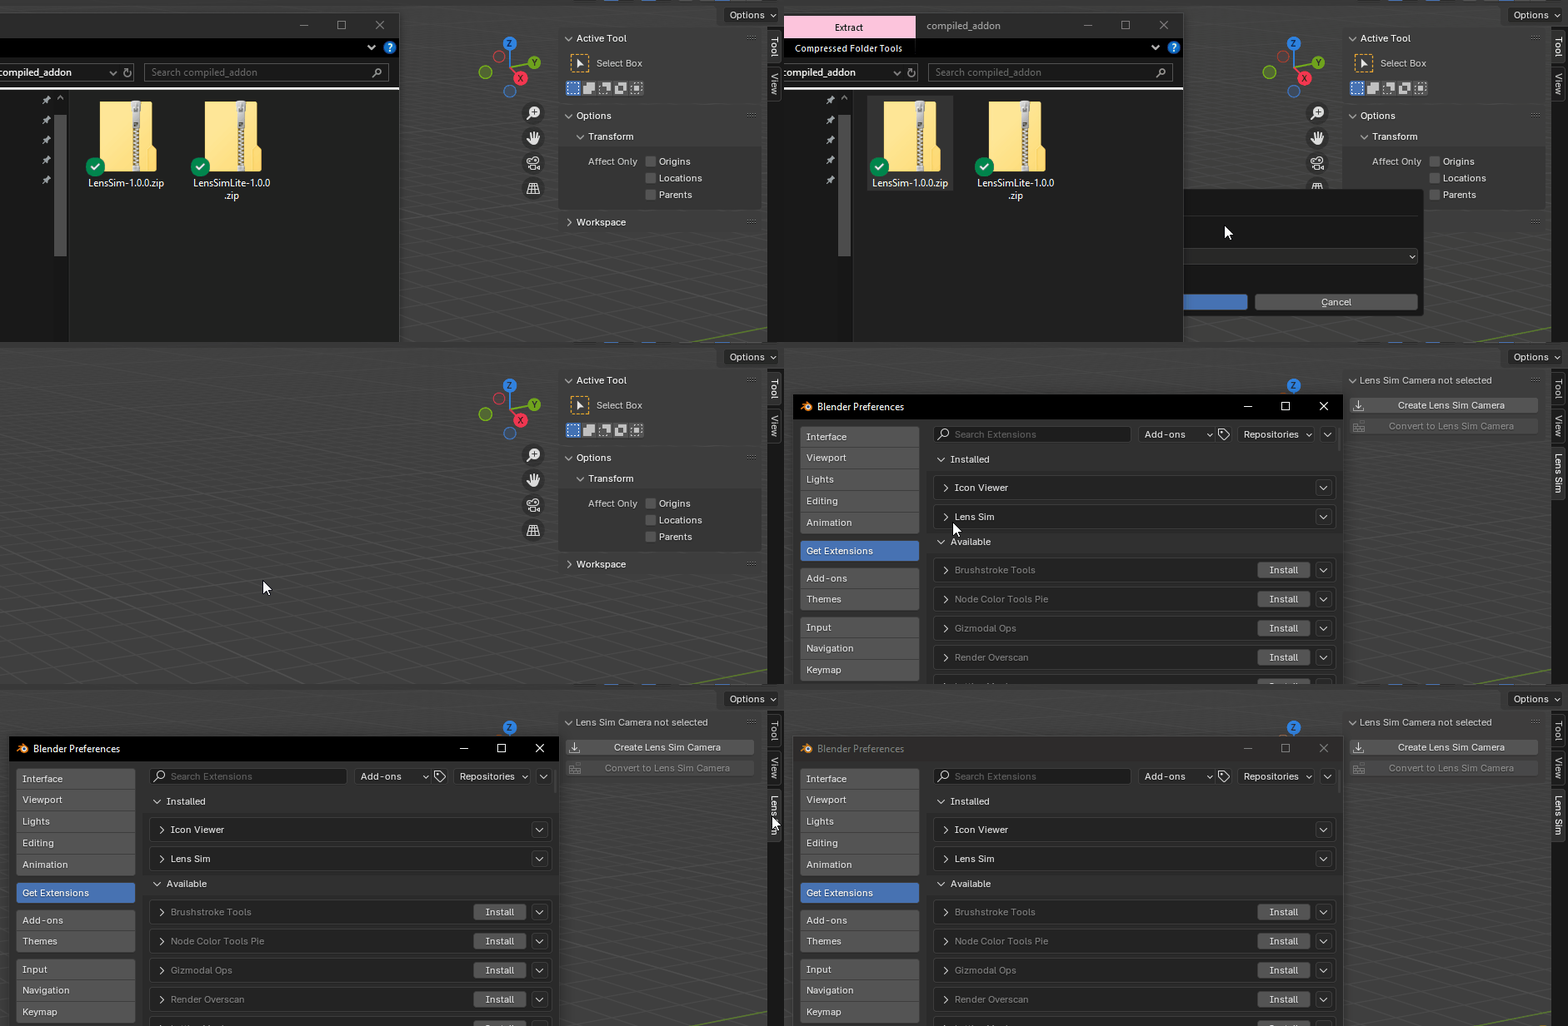
When upgrading from Lite to Full version I recommend uninstalling the Lite version before installing the full version.
Usage
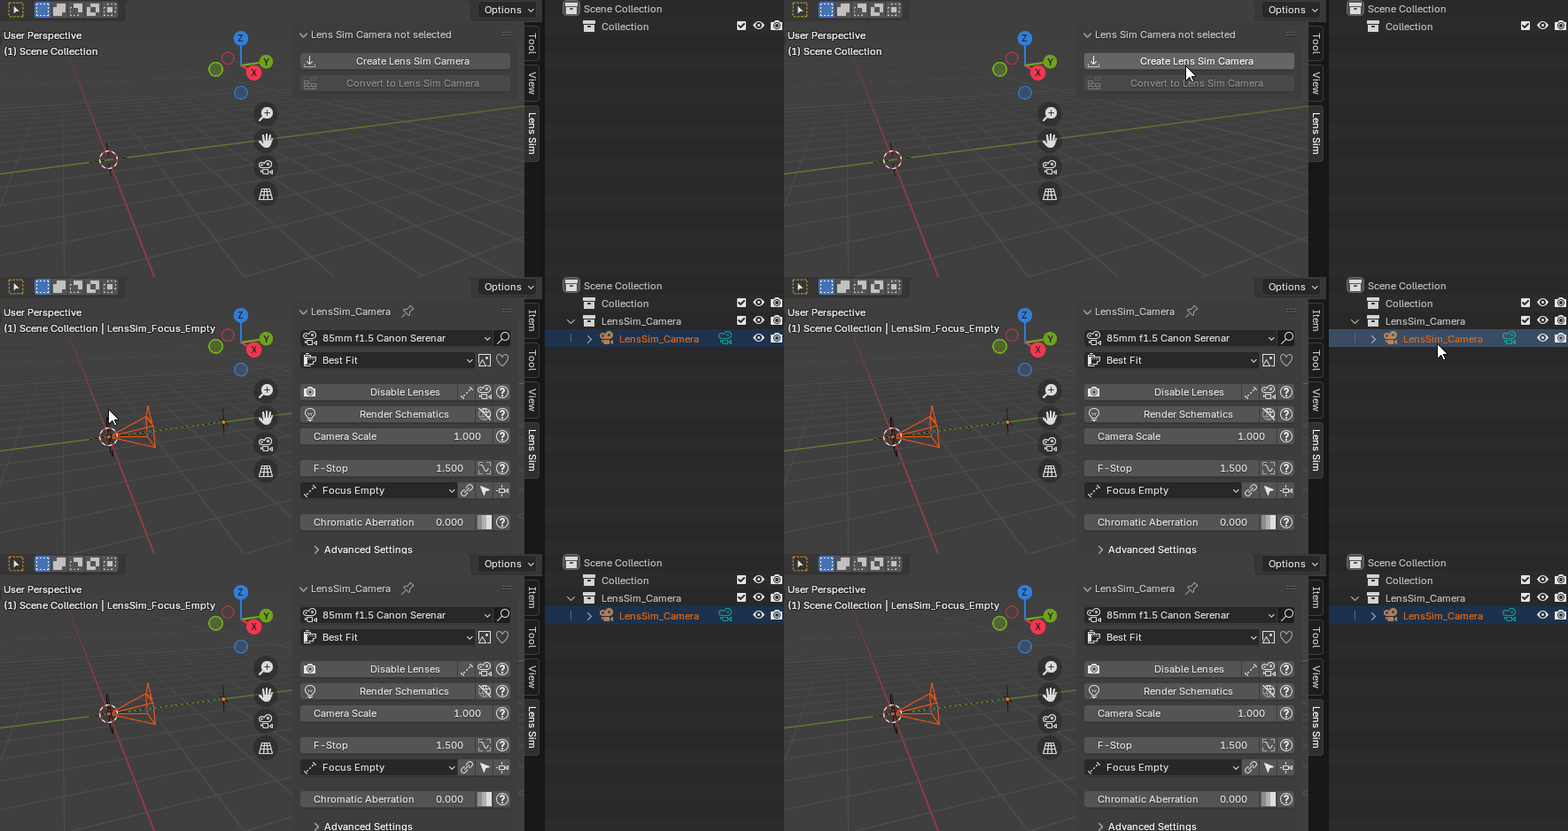
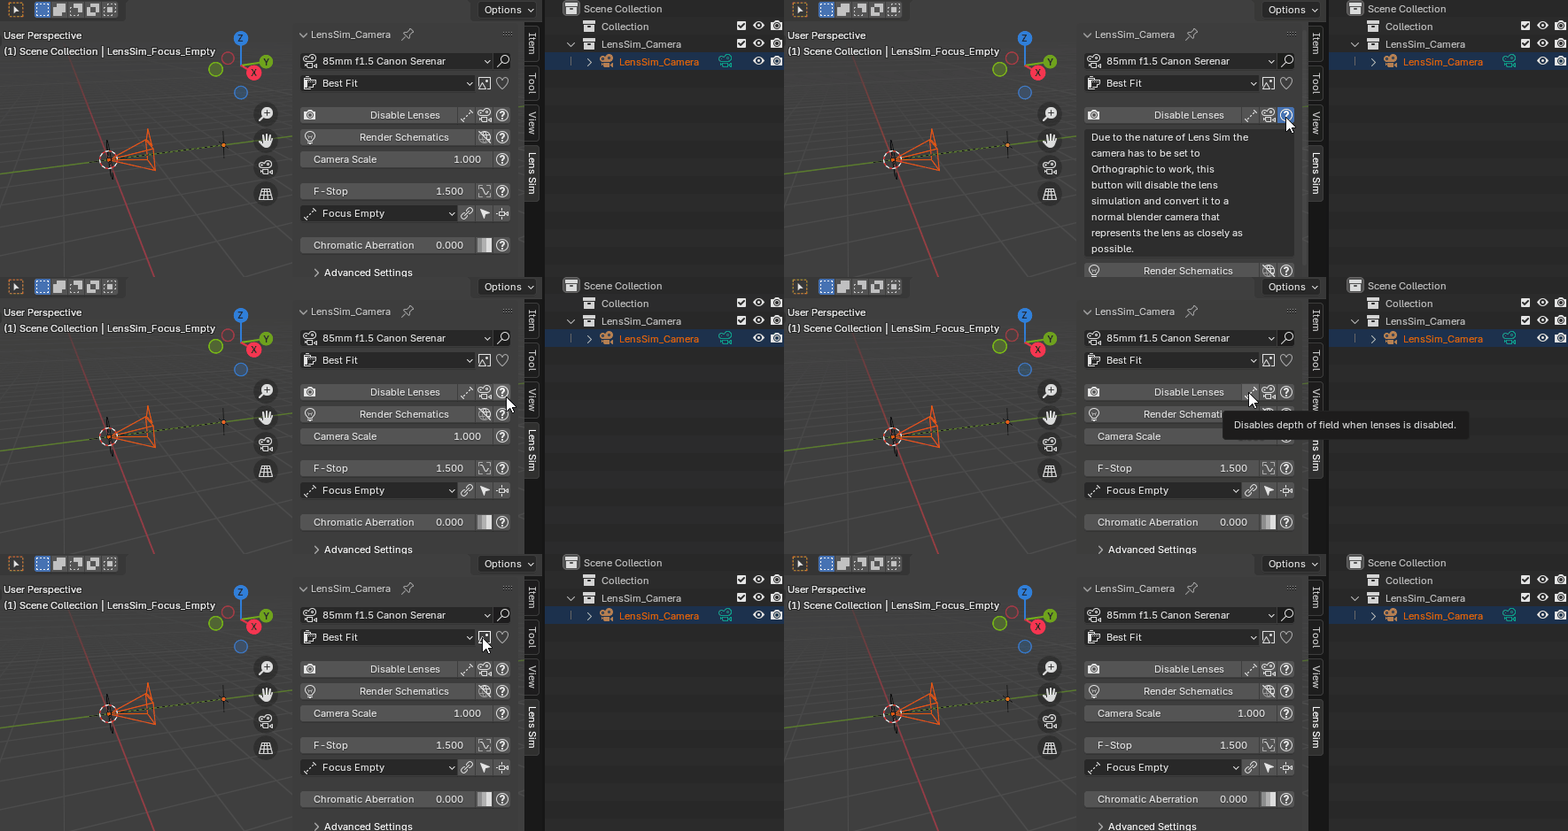
Tutorials
• Intro Tutorial (link)
• Implement your own lenses (link) (Tutorial update is coming soon, I am collaborating @zircron45 and he will remake the tutorial)
Changelog
• Lens Sim 3.0.0 (link)
• Lens Sim 2.3.0 (link)
• Lens Sim 2.2.0 (link)
• Lens Sim 2.1.0 (link)
• Lens Sim 2.0.0 (link)
Data
The addon data folder can be found in the "AppData\Roaming\Blender Foundation\Blender\4.2(current blender version)\extensions\user_default\lens_sim" folder.
Lenses that comes with the addon are found in the "lens_sim\LensSim_Data\lenses" (in the addon data folder) directory or the User Data folder set under the Addon Preferences. To share lenses simply copy or paste the lens.txt file into your User Data folder and the lens will pop up in the addon.
Some included bokeh images are found in the "lens_sim\LensSim_Data\textures\bokeh" (in the addon data folder) folder. You can use them for the "Aperture Image".
Forum
I wanted a place where people can discuss the addon, suggest features, lenses and post renders. So, I opened a Discord server (link)
Render times
For a lot of you looking into this the render times will be a deal breaker for getting this product. Therefore, I want to address this part first before diving into the technical part of how the system works.
Please be aware that it will render slower than Blender’s native camera system. This is due to the per ray calculations involved in simulating lenses. A key element for performance is the amount of lens elements and of course the sharpness of the lens. Cylindrical lenses used in anamorphic lenses is slower to render than standard spherical lenses making larger anamorphic lenses the slowest. Also, softer lenses will need more samples to render compared to the clean result of the standard blender camera.
Enabling chromatic aberration will introduce a lot of noise into your render. This happens because each light ray samples a random color value from the color spectrum to simulate that specific wavelength. In order to end up with an average of white light we need a substantially amount of samples. Fireflies can be reduced by clamping max intensity of light rays(recommended when rendering with chromatic aberration). The color sampling will also make it harder for denoising algorithms to clean up the noise since it is present in the Albedo Pass.
From my experience tracing the lens seems to add a constant amount of extra render time per sample. On simple scenes the render time will be quite slow compared to the standard camera, since the extra time tracing the lens might be greater than the time it takes to trace the scene. If we render a empty scene. On larger scenes with thousands of objects the slowest part will be traversing the scene, so the performance hit will be relative small. When doing animations you will in general get more noise with Lens Sim cameras, so the render might require more samples to get the same results as the standard camera. If I should take a guess I think a render time multiplier of 1.1-2.0 is realistic, but it is hard to say due to the amount of render factors we have to consider. Additionally, bigger and brighter bokeh shapes are hard to get noise free since the bokeh sample distribution might be uneven on some lenses, especially in animations.
Even though some of the Lens Sim renders are faster than the standard camera, the images will be noisier and therefore require more samples. Due to optical vignetting, some rays are discarded instead of traversing the scene and contributing to reducing noise. So, even though it renders faster with the same number of samples, you would need to increase the sampling to achieve the same noise level.
Render comparisons
System specs: Windows 10, AMD Ryzen 9 3900X 12-Core Processor, NVIDIA GeForce RTX 3080
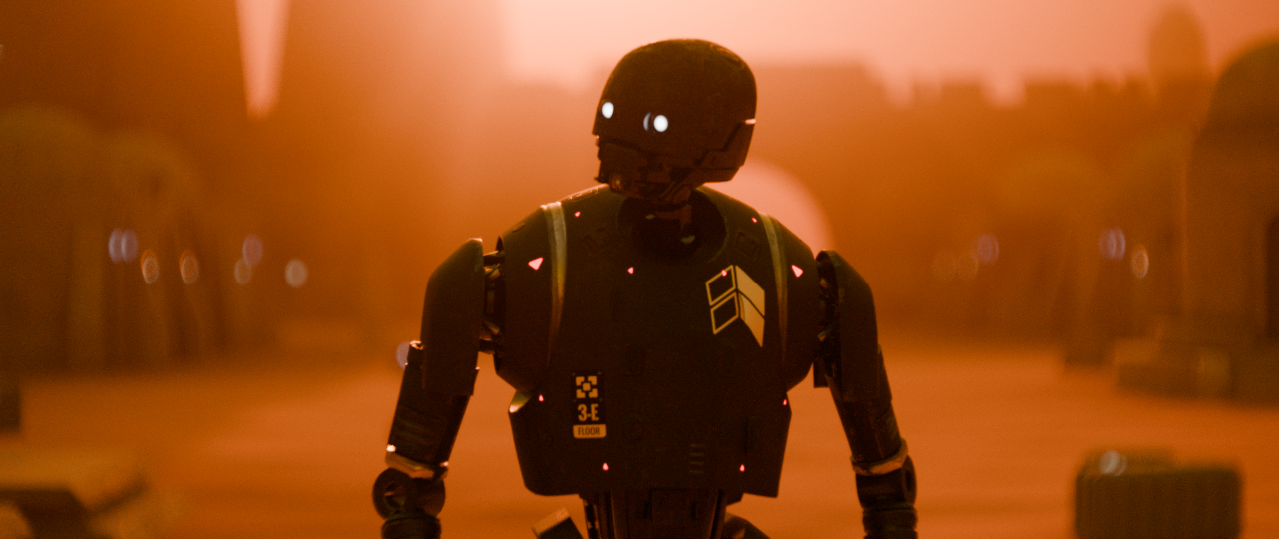
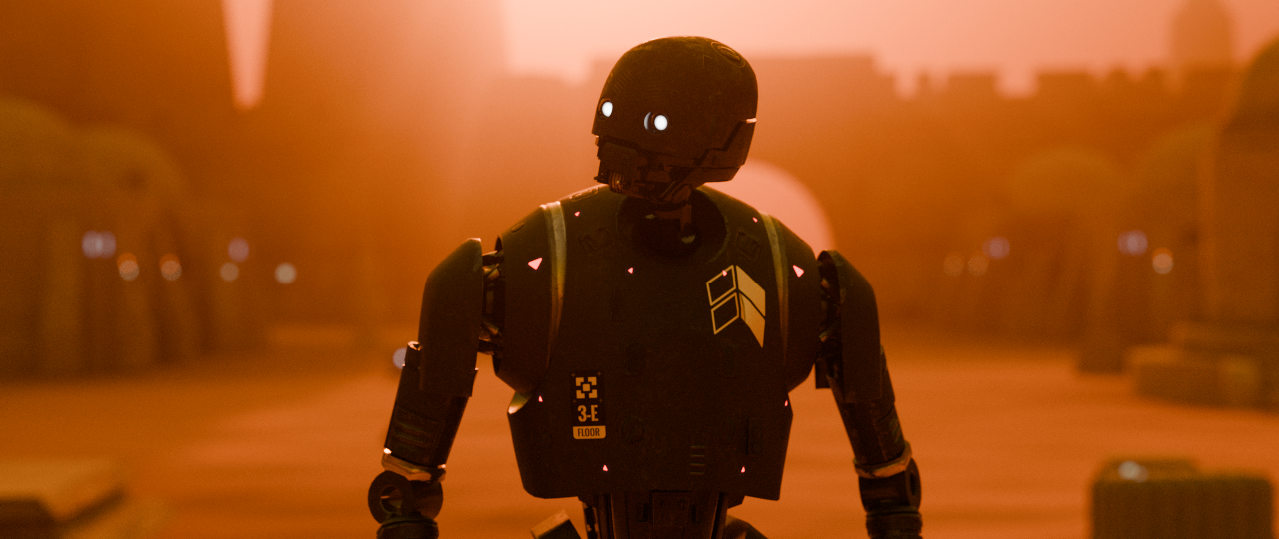
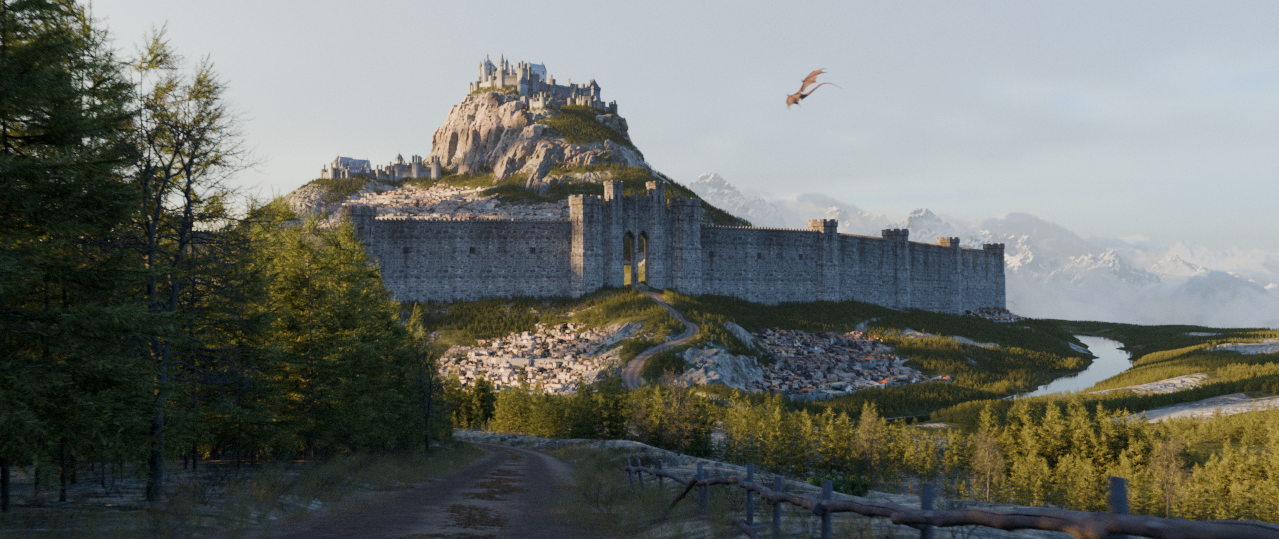
Here you can see the noise levels of different modes:
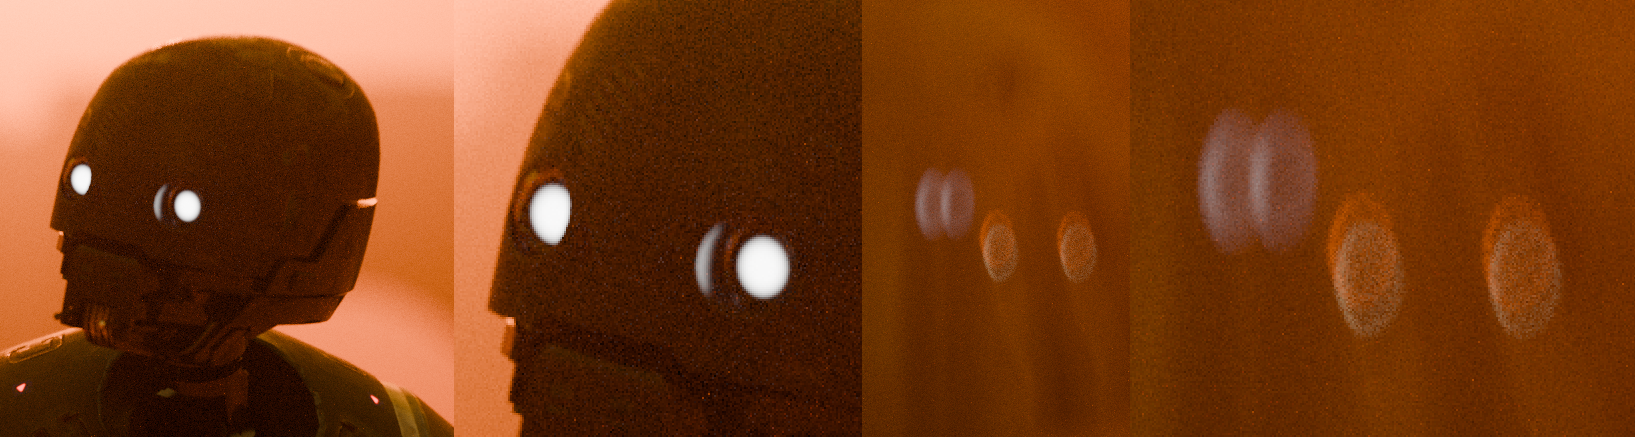
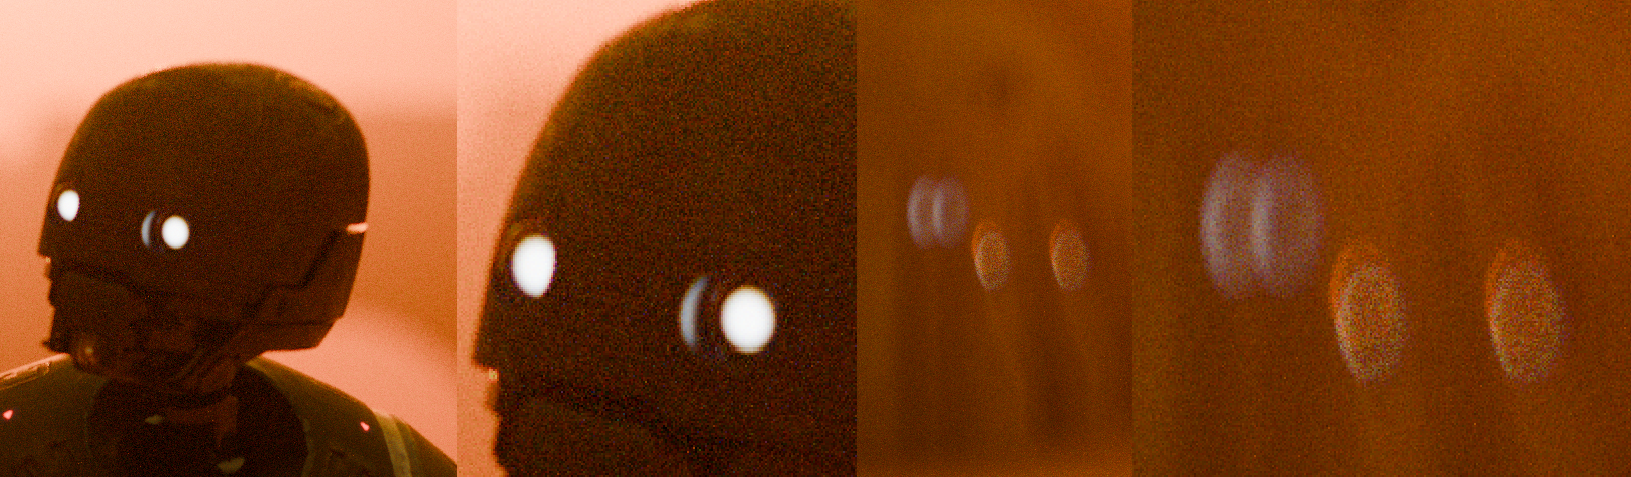
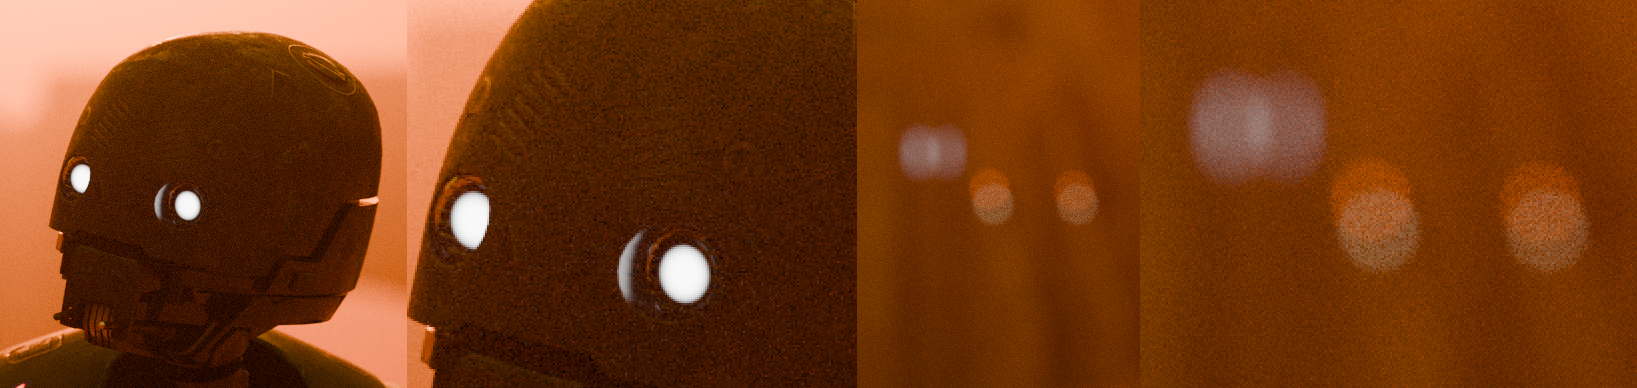
This is a quite heavy scene, so most of the time spent is tracing the scene, hence not that much extra render time. Also, the vignette will block some of the light, making the edges more noisy:
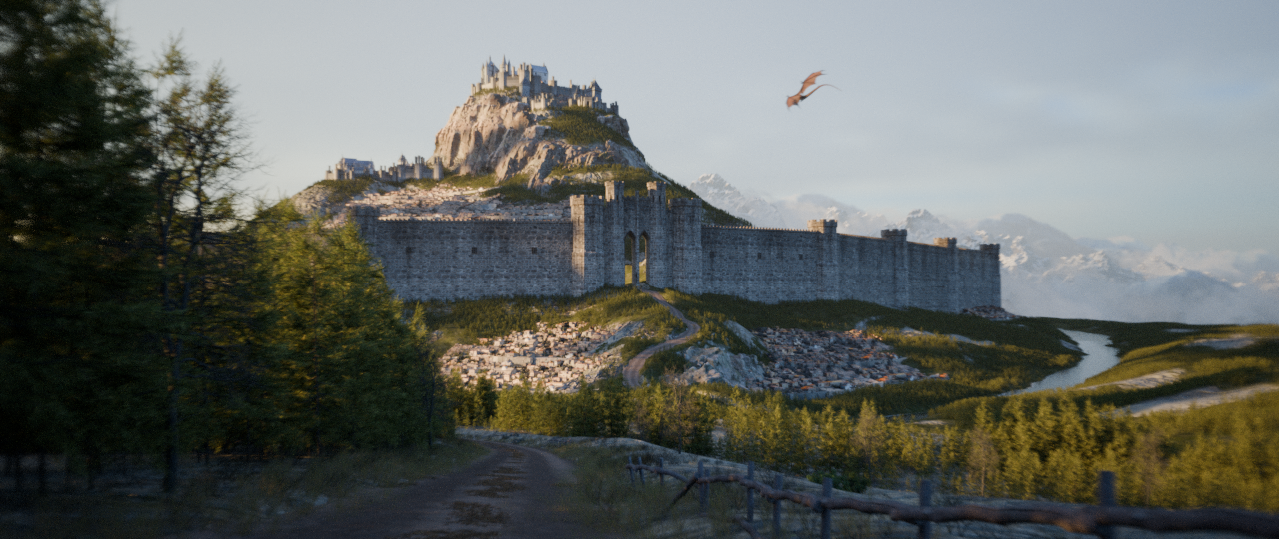
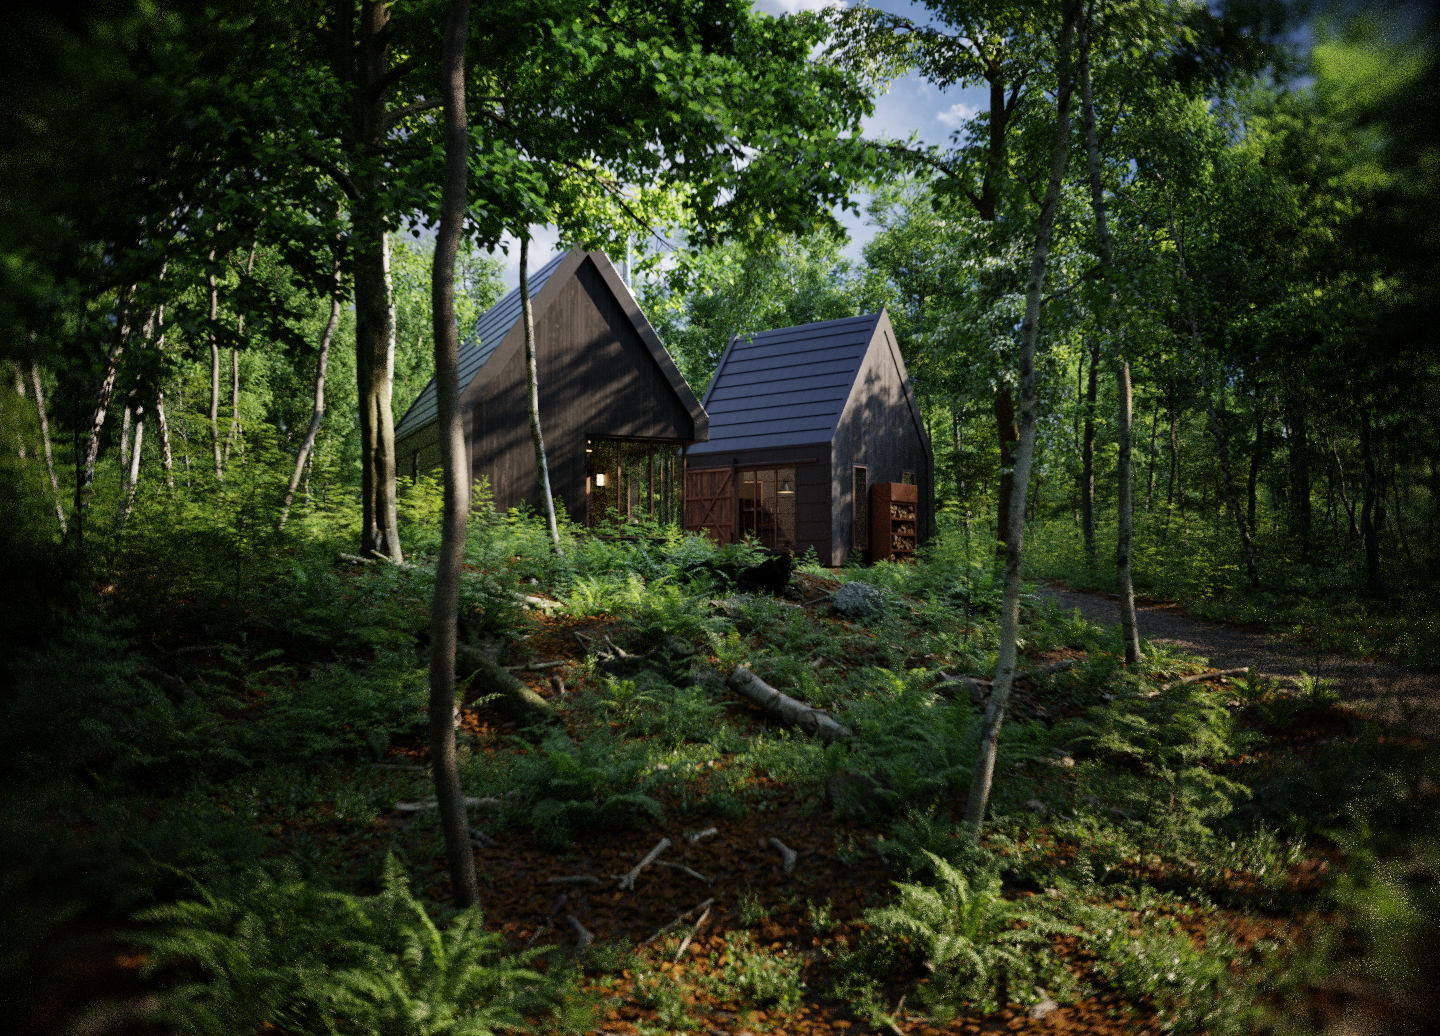
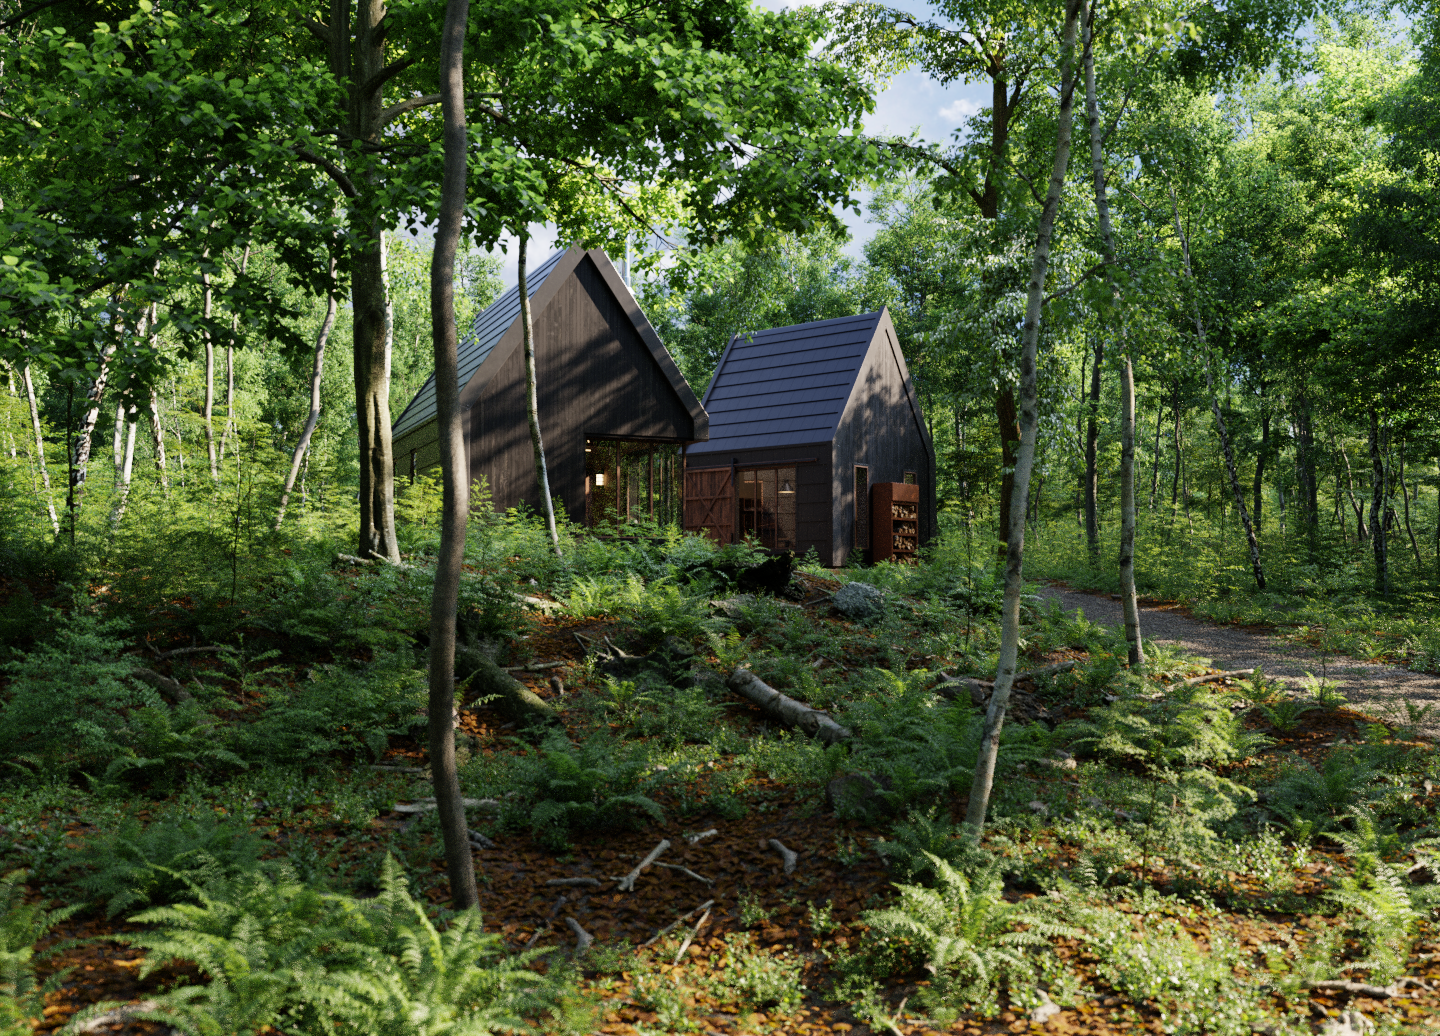
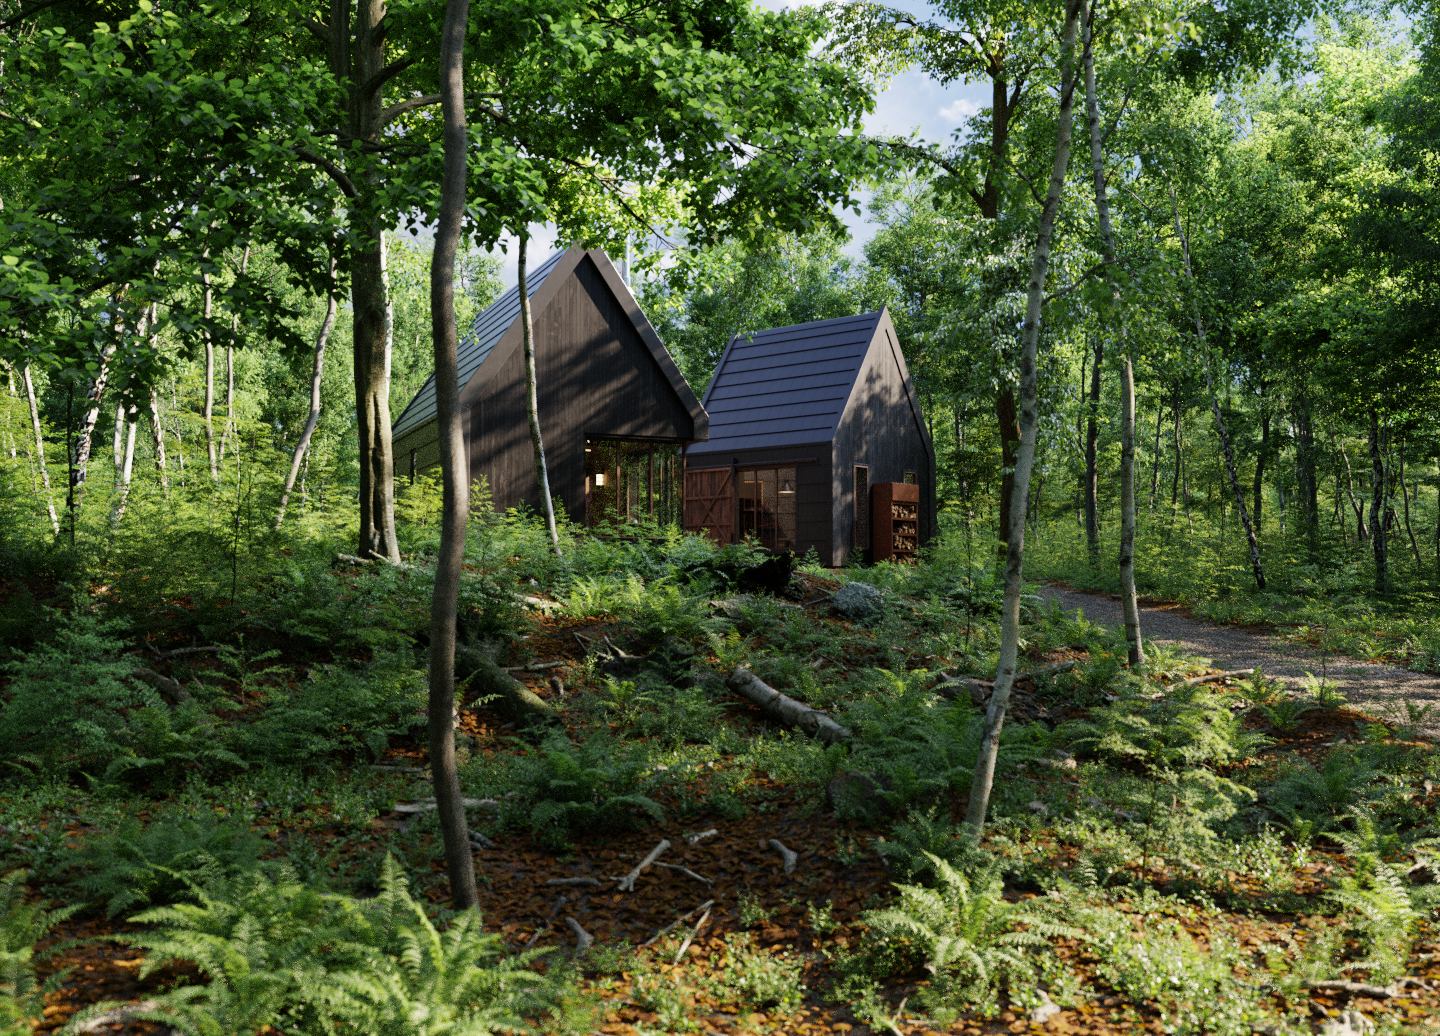
This lens might have some issues with rays being discarded, the image looks a bit darker. The render time is quite similar to the standard camera, but because some % of rays might get discarded here we need more samples to reach the same noise quality. If you look at the top left corner of the Lens Sim renders, you will see that the image is significantly noisier. So even though the render time is equal with the same amount of samples, we will need more samples to clean up the Lens Sim render.
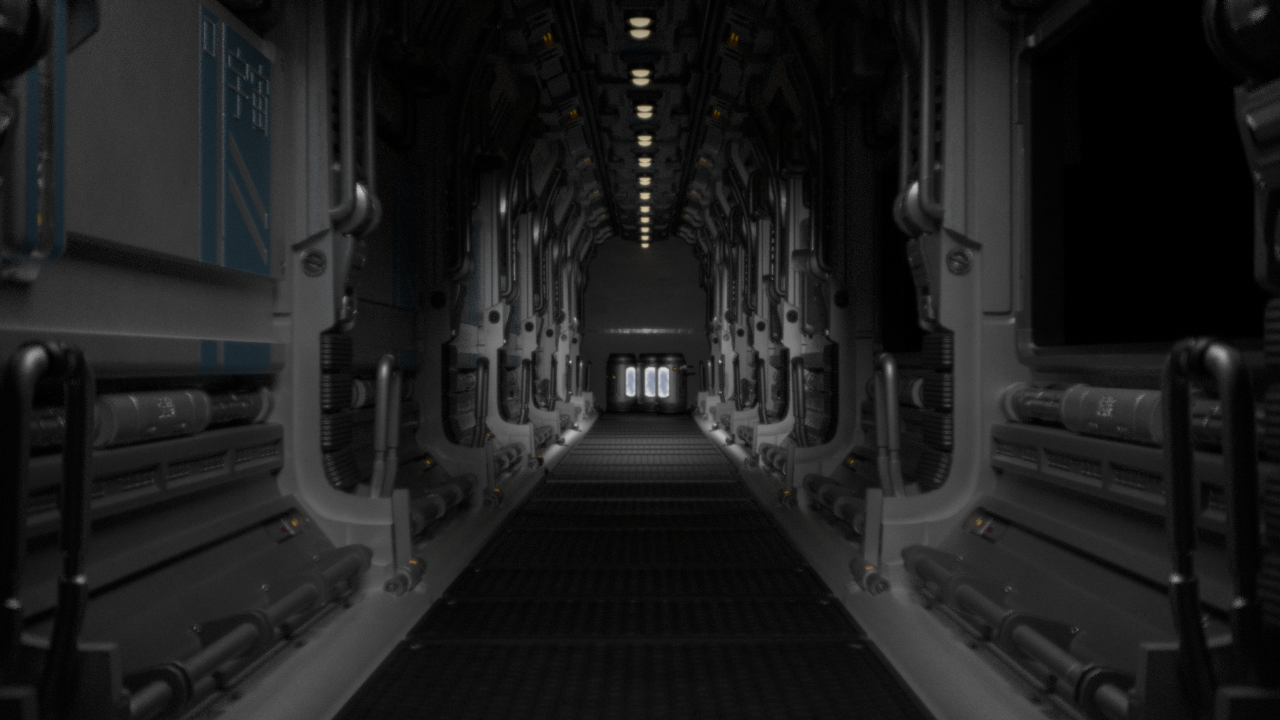
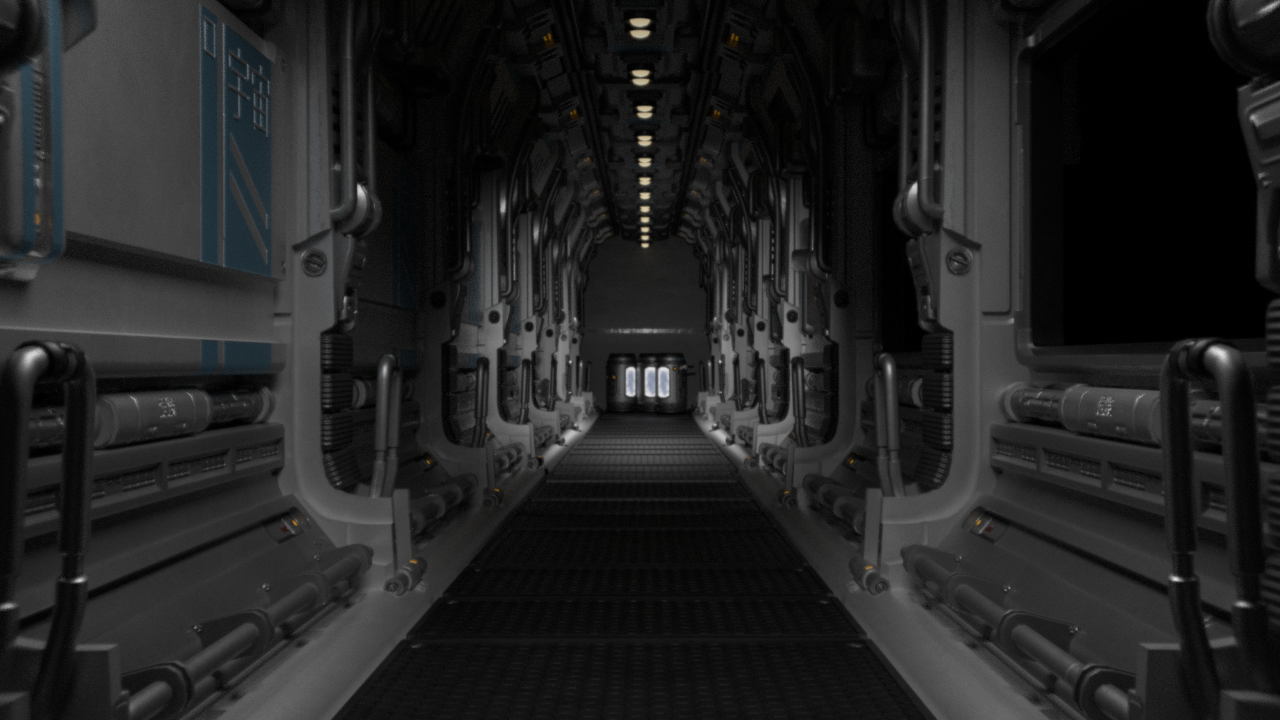
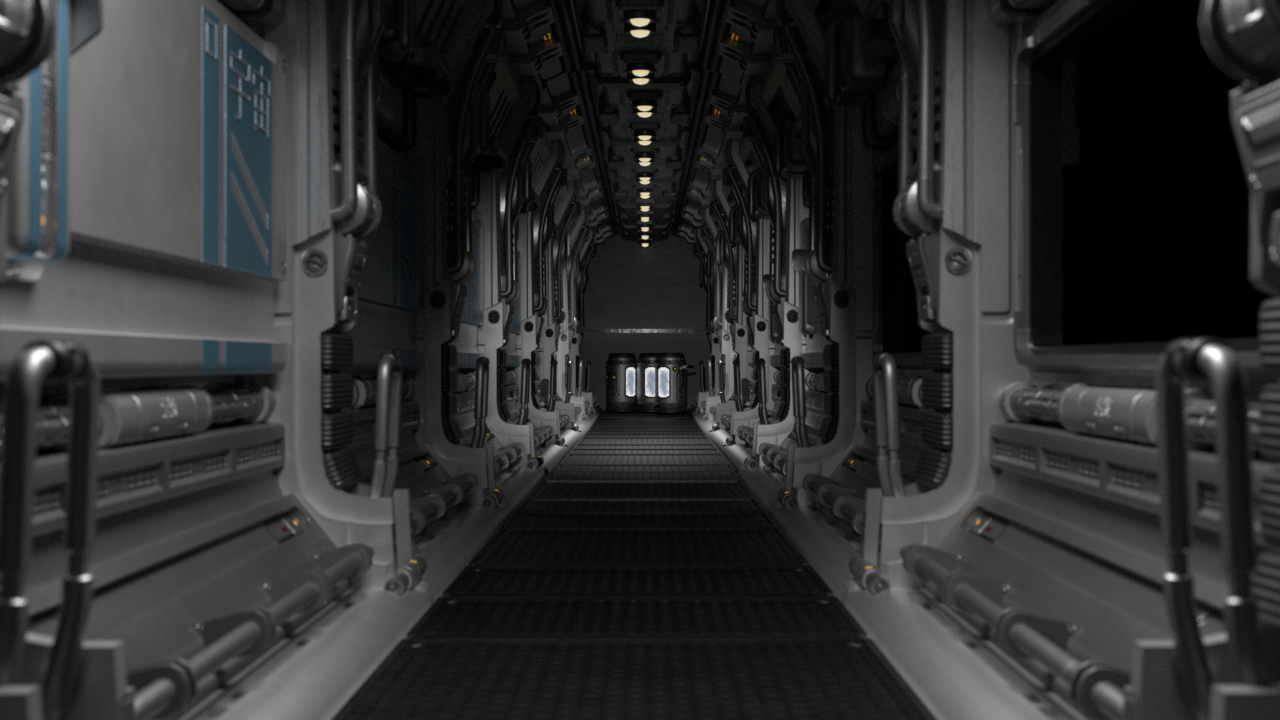
Here you can see the impact between lens complexity and render speed. Note, even though render times does not vary a lot, the noise level might be increased:
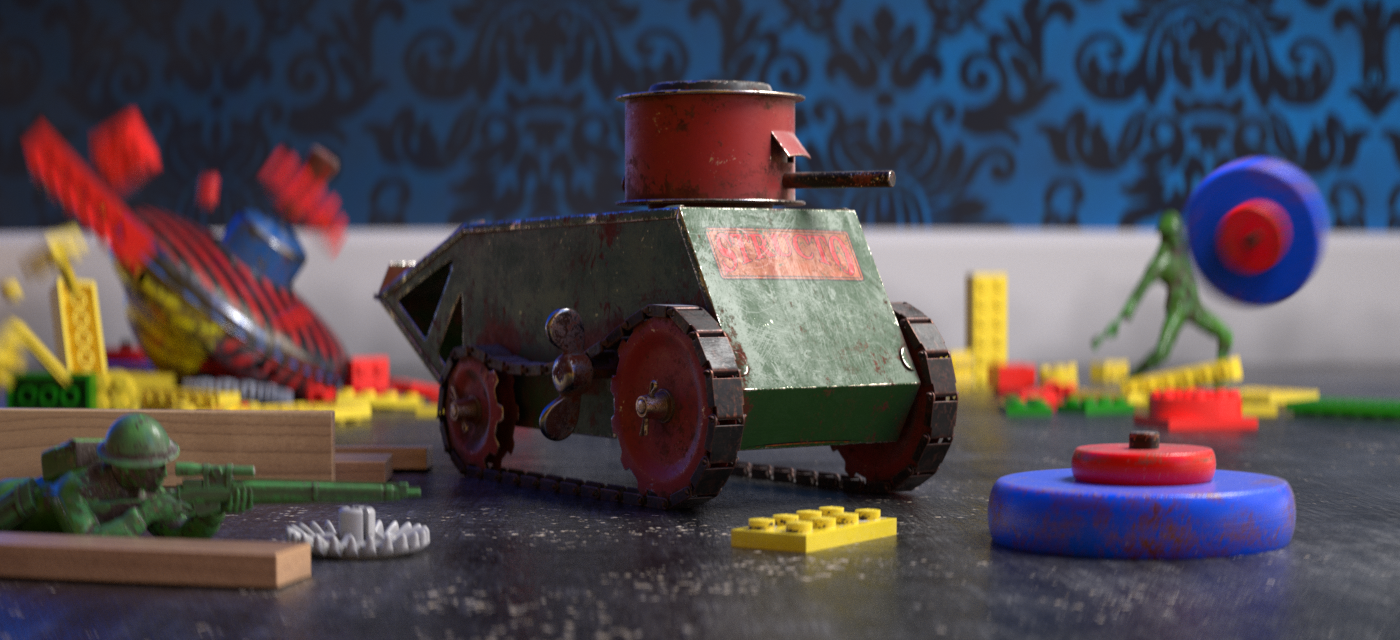
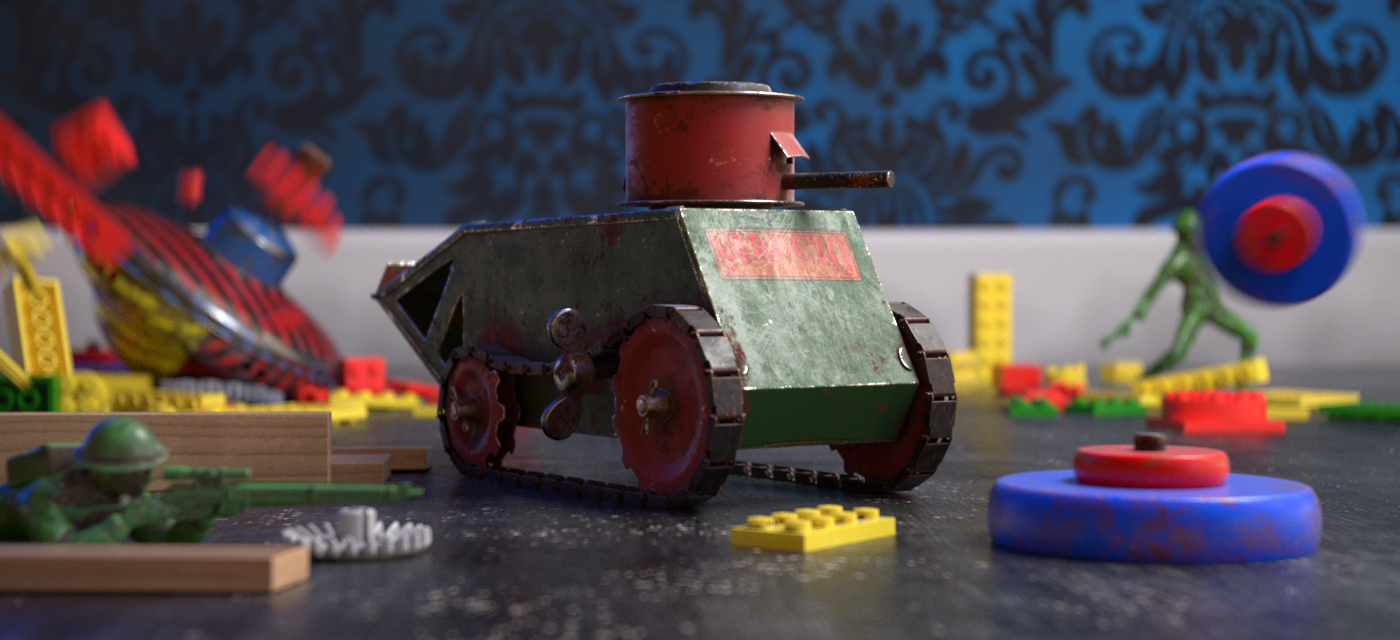
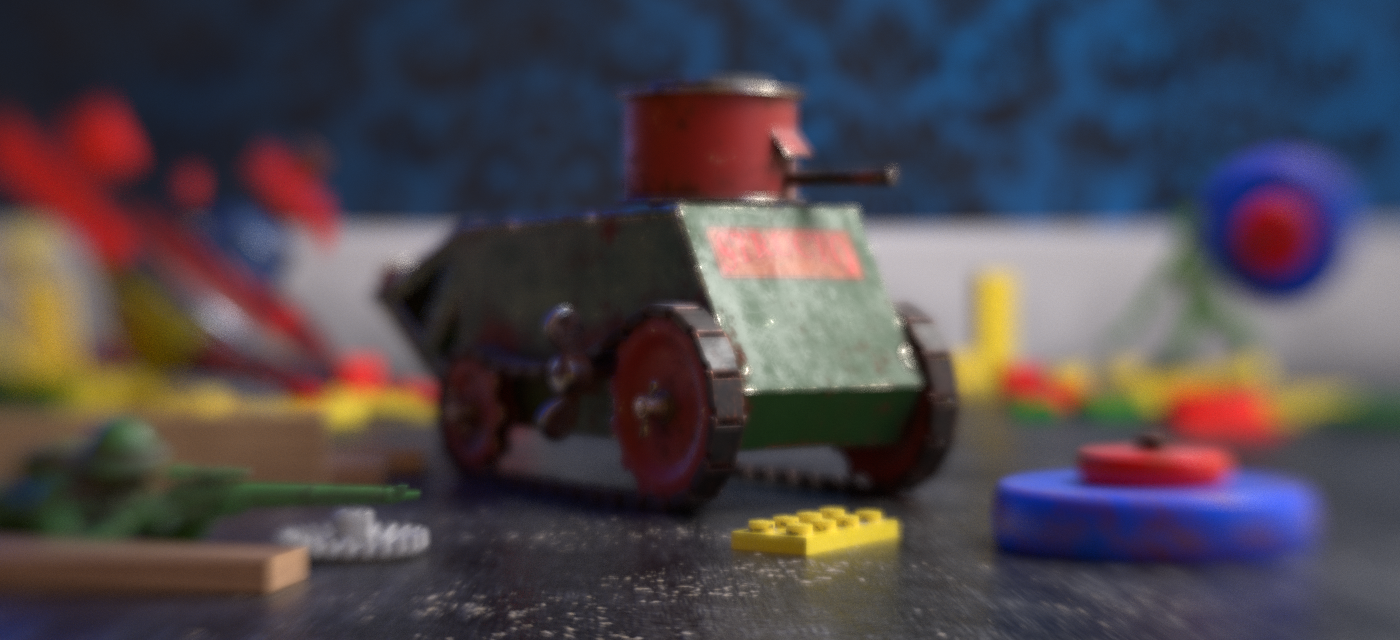
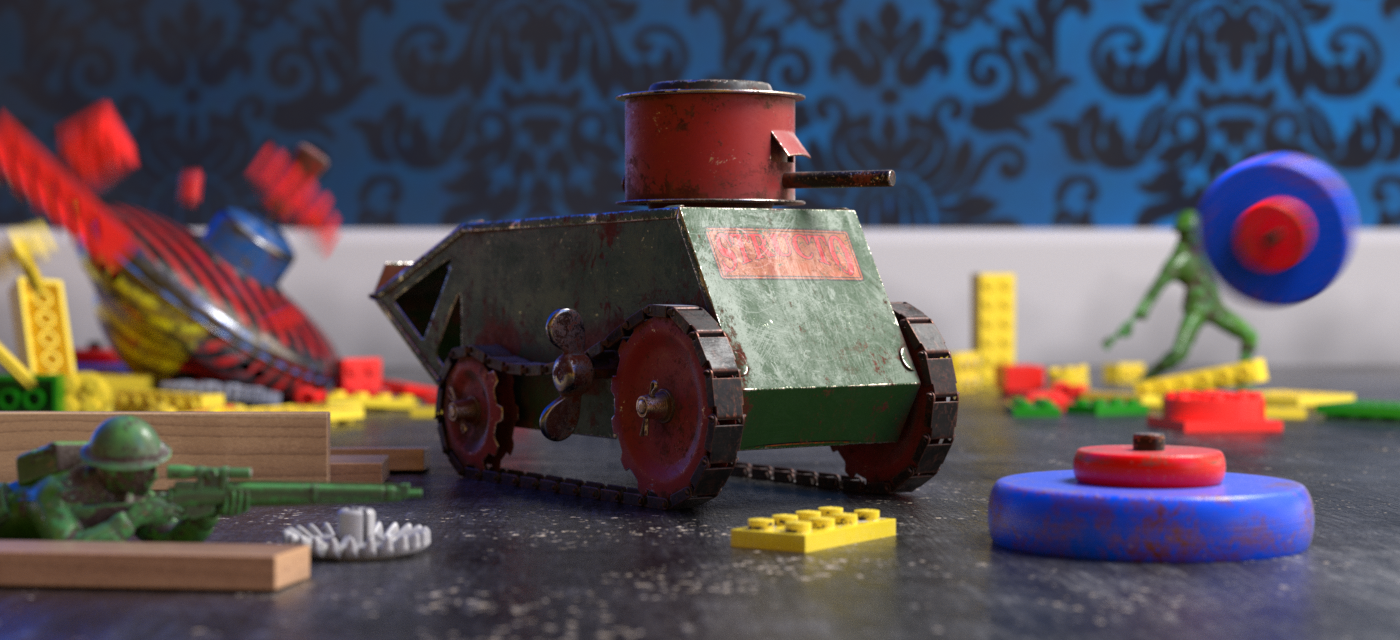
Here the scene tracing is quite fast due to the simple background, Lens Sim is approximately 1.39 slower than the standard camera. Also notice that the Lens Sim render still needs more samples due to the hard to render bokeh shape, while the standard cameras bokeh is evenly sampled and therefore less noisy.
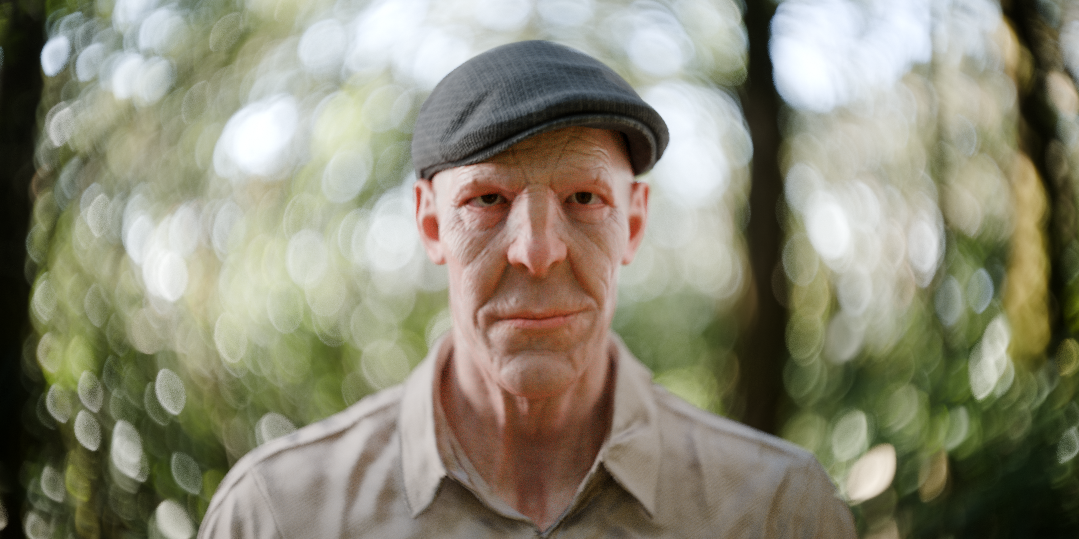
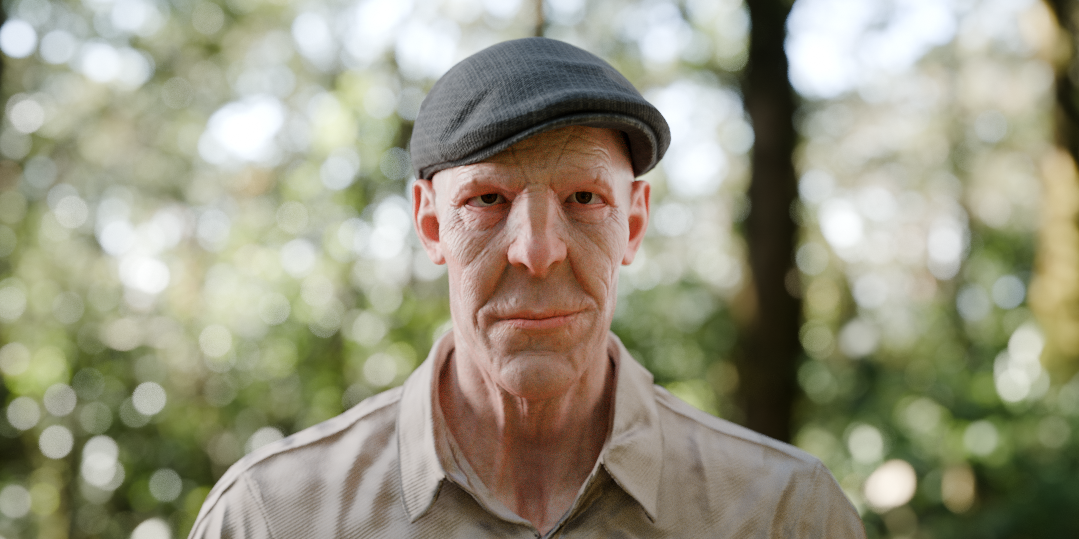
The main issue I have had with rendering animations is with shallow depth of field on hard to render places, like large bokeh shapes that comes from specular highlights. Sometimes, those bokeh shapes never seem to get clean no matter how many samples I throw at the render. The rendered scenes where optimized to render with bokeh. If I would add more depth of field to the star wars scene and at the same time increase the light intensity, the bokeh highlights would be quite hard to render for animations without noticeable noise. Moreover, the noise amount varies from lens to lens, some softer lenses would require more samples than sharper lenses.
For projects where render time is a critical factor, I would consider using simplified lens profiles with a deep depth of field to balance performance and quality, or just do lens effects in post instead :(
Technical details
How it works
The addon simulates lenses by using the OSL camera shaders that where introduced in Blender 4.5. The whole lens system is simulated virtually in the lens shader using code. To trace the lens surfaces I mostly use ray sphere or ray cylinder intersection functions. The addon will write and update the camera shader according to the selected lens. The whole lens setup is self contained in the camera object. Contradictory to existing geometry lens setups, the lens is stimulated directly in the camera shader, making common floating point issues on complicated geometry systems a non issue.
Ray-Guiding
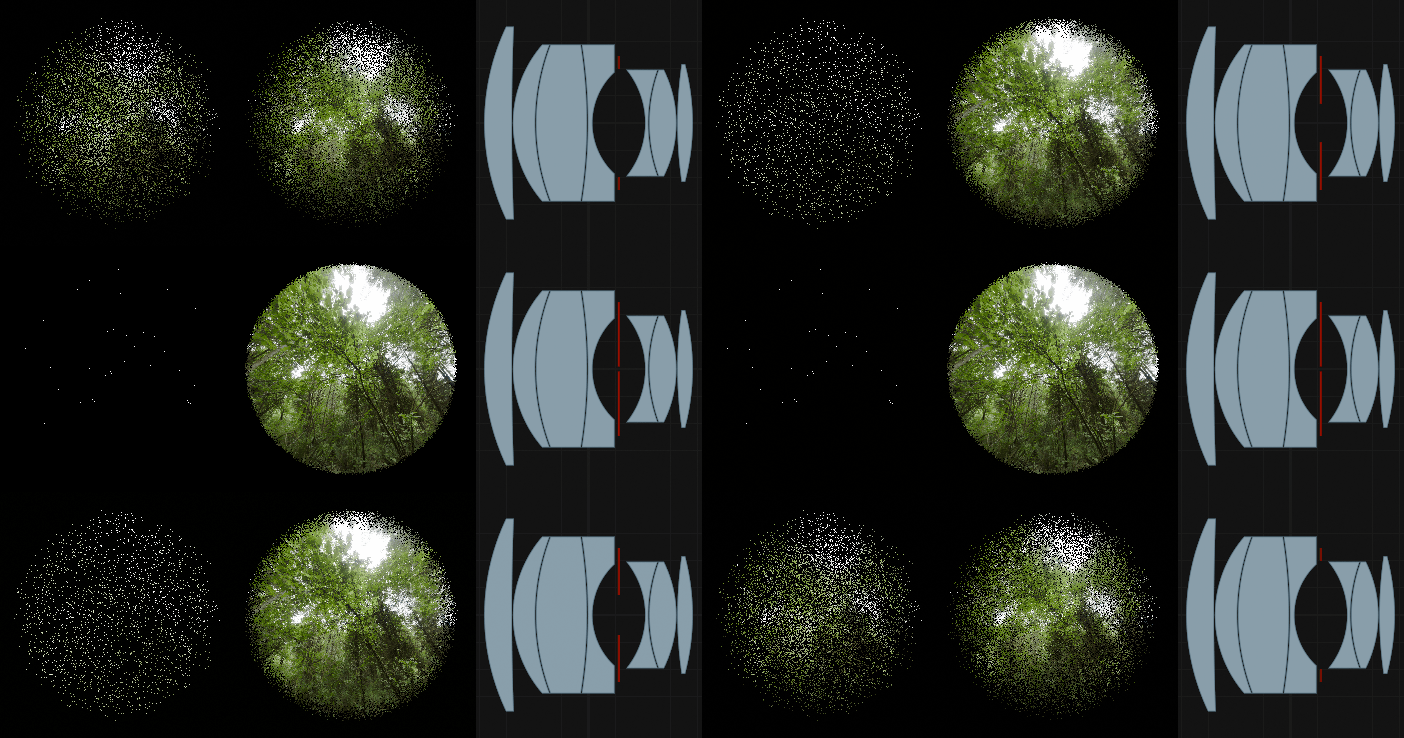
Most existing simulations struggle when rendering images with small apertures, leading to excessively long render times. This happens because many light rays miss the tiny aperture opening, resulting in wasted samples and inefficient processing. Lens Sim’s ray-guiding system tackles this problem by directing light rays toward the aperture opening. This ensures that each ray contributes to the final image, maximizing the use of available samples. As a result, you can render at a wide variety of f-stop values, whether it is wide open or stopped down without suffering from the usual performance bottlenecks. This approach allows fast, efficient rendering across the full aperture range, giving you the flexibility to achieve the exact depth of field you need.
Auto Focus
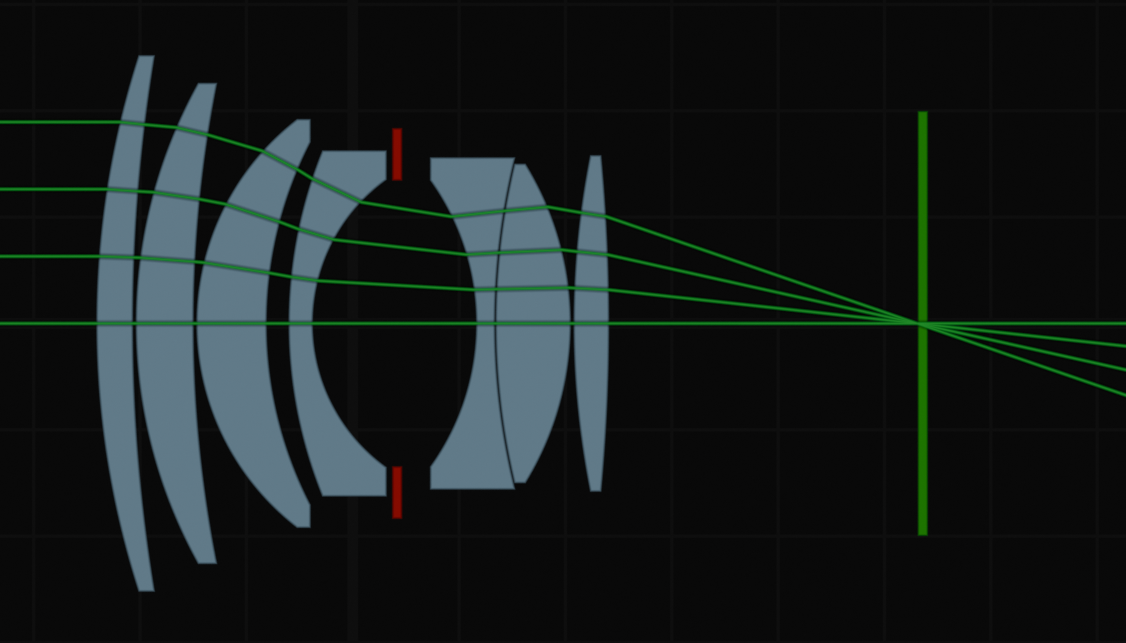
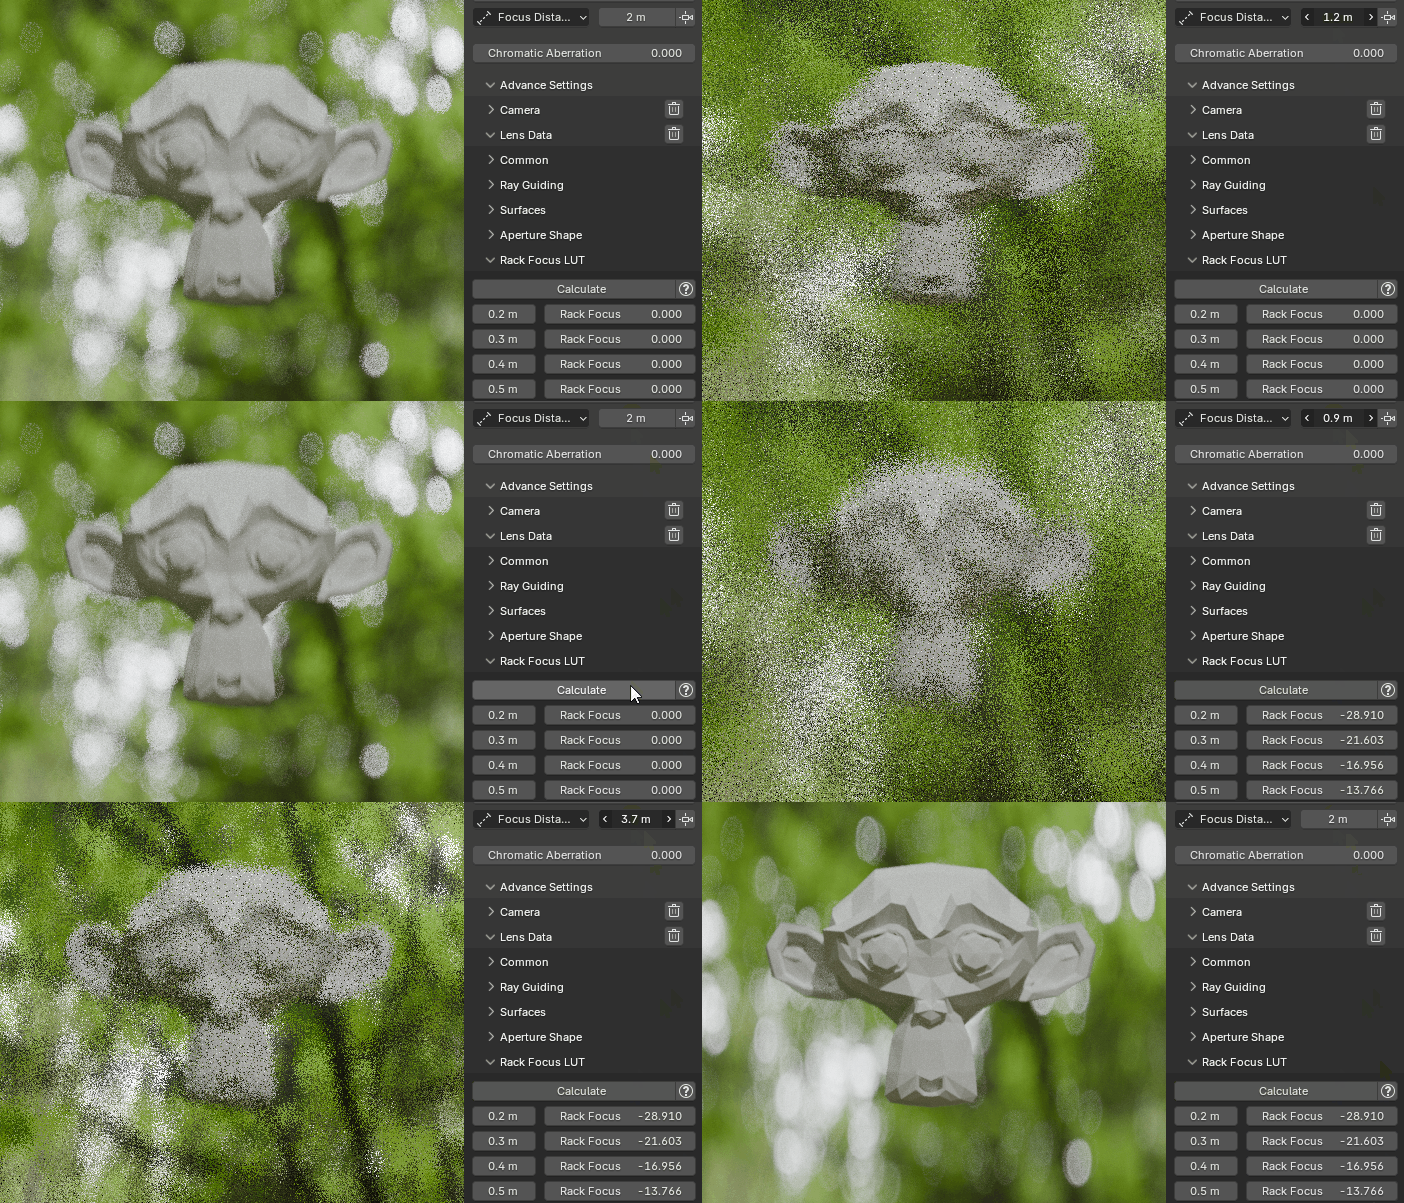
By sending a single ray from the requested focus distance towards the lens aimed at a point vertically on the first lens surface, we can calculate the optimal sensor position based on the converged ray. This works native for all cylindrical lenses, the only factor we have to adjust is the position where we want the ray to hit the first lens surface. For cylindrical lenses (used in anamorphic lenses) we have to build a lookup table for the rack focus by sampling various distances and its optimal rack focus shift, luckily this can be calculated by the addon automatically (by also sending a ray aimed horizontally we can check whether or not they line up, if their not lined up we shift the rack focus a tiny amount and try again until the subject is in focus).
Chromatic Aberration
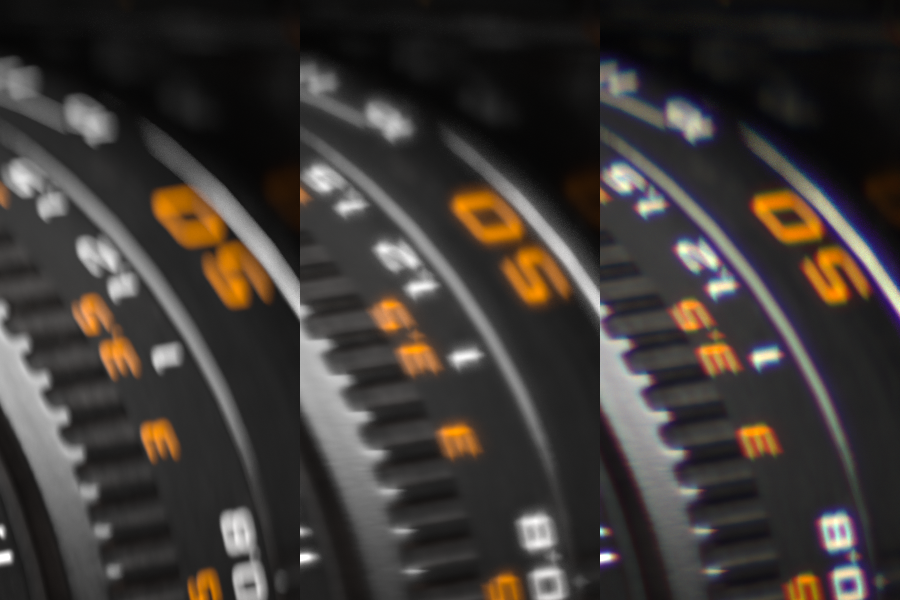
By utilizing the Abbe value of each lens element, we can approximate the wavelength-dependent behavior of light within the lens. To simulate chromatic aberration, we randomly sample a wavelength from the visible color spectrum and calculate the corresponding index of refraction (IOR) for each lens element based on the abbe value of the lens. The ray is then refracted based on this wavelength-specific IOR, allowing for proper wavelength folding through the whole lens.
Limitations
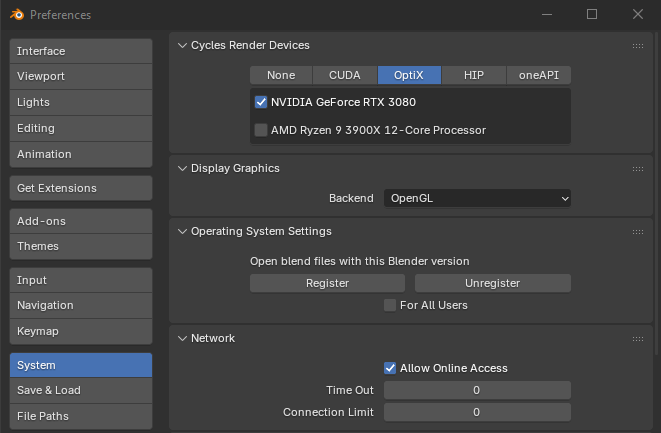
• Lens Sim works with Blender 4.5+, NVIDIA OptiX GPU's or CPU, Cycles Render engine only. The OSL camera shader is a requirement for it to work so older blender versions is not supported. Certain features or advanced settings may have limitations when used with other plugins. The focusing method is the same as the standard camera, so it should be compatible with most setups. But, always verify compatibility with your specific rendering setup to avoid potential issues.
• All AOV passes and the image alpha will be affected by the optical vignetting. Passes like depth, position and the motion vector will be quite useless due to its sampling method, I believe they are set from the first sample so if that sample hitts the inside of the lens boundary it will be black. The Mist pass for example(that takes the depth average) will be darkened towards the edges since some of the rays hits the edges of the lens, making it quite useless for adding mist. AOV passes that is an average of all accumulated samples is less useless but still affected by the optical vignetting. This means that you will be able to reconstruct the whole render via combining passes like (DiffDir + DiffInd) * DiffCol etc, but the passes will be darkened towoards the edges of the circle of illumination. There is currently not a way to tell cycles to discard a ray completely inside the OSL camera shader, so there is not much I can do about these issues.
• Some features in Cycles, in particular the Vector pass and Window texture coordinates, require inverse mappings from rays to image coordinates. This is not yet supported with OSL camera shaders.
• No support for orthographic rendering.
• The max number of lens elements is set to 30 (soft limitation). Lens types supported is spherical, cylindrical and aspherical lenses with 10 conic constants (also a soft limitation).
• There is only support for a single aperture. It shouldn't be hard to implement but it might break the current ray guiding setup so its not something I've seen necessary to have.
• This is a general system for rendering lenses, so some custom lenses might not work, especially with the ray guiding system. I have had some issues with smaller lenses where the curvature of the lens was quite large, like the 15mm f8.0 Zeiss Hologon. That lens is tiny with very curved lenses, it ran into some floating point issues. Most normal looking lenses should work.
Credits
• This work is based on "Tattoine Buildings Kitbash" (https://sketchfab.com/3d-models/tattoine-buildings-kitbash-b5a2140fa2264bac8a4b6de3693272b6) by chuckcg (https://sketchfab.com/chuckcg) licensed under CC-BY-4.0 (http://creativecommons.org/licenses/by/4.0/)
• This work is based on "Free Droide De Seguridad K-2SO By Oscar Creativo" (https://sketchfab.com/3d-models/free-droide-de-seguridad-k-2so-by-oscar-creativo-e4c65688ae1b47ec9e1dd6acec2dcadd) by OSCAR CREATIVO (https://sketchfab.com/oscar_creativo) licensed under CC-BY-4.0 (http://creativecommons.org/licenses/by/4.0/)
• This work is based on "Spaceship Corridor" (https://sketchfab.com/3d-models/spaceship-corridor-1cdd1db557b8428892af4773bdada913) by the_table (https://sketchfab.com/the_table) licensed under CC-BY-4.0 (http://creativecommons.org/licenses/by/4.0/)
-
$40
(Full version: all features and lenses)
-
$15
(Basic features and limited lenses)
Have questions about this product?
Login to message
| Blender Extension Compatible | Yes |
| Sales | 7400+ |
| Rating | 71 ratings |
| Dev Fund Contributor | |
| Published | almost 2 years ago |
| Blender Version | 4.5 - 5.1 |
| Extension Type | Add-on |
| Render Engine Used | Cycles |
| License | GPL |
