 RUIDO VFX


INSTALLATION:
Open Blender.
Go to Edit > Preferences.
In the Preferences window, open the Add-ons section and click "Install from Disk".
Locate and select the file "logo_to_3D.zip" and confirm installation.
The add-on will appear in the list as "Logo to 3D"; enable it by checking the box.
It is recommended to close and reopen Blender, as this may refresh the add-ons.
Installation is complete.
Where to find the Logo to 3D tab:
The tab is located in the Sidebar of the 3D Viewport. You can access it by pressing "N" on your keyboard or clicking the small arrow icon in the top-right corner of the viewport.
INSTRUCTIONS:
-For best results, use a high-quality version of your logo in black on a white or transparent background. Make sure the logo does not touch the edges of the image.
-If your logo already meets these requirements, you can skip to Step 2.
-If your logo is in color, has a black background, or includes shaded textures, proceed to Step 1 to prepare it.
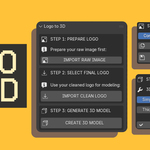
STEP 1: PREPARE LOGO
This step converts your image into a clean black-and-white version and allows you to adjust contrast or invert colors for optimal results.
1. Import your logo (PNG or JPG format). To see the image, you need to be in Material Preview or Rendered Shading mode.
2. Adjust the contrast or invert the colors if necessary.
Notes:
-Black areas will be extruded, and white areas will be removed in the final 3D model.
-If the image appears completely black after importing the file, adjust the contrast slider until your logo becomes visible.
3. When finished, click "Save Prepared Logo" and save it to your computer.
4.After exporting the image, you can delete it from the 3D viewport. Then, re-import it using Step 2.
STEP 2: SELECT FINAL LOGO
1. Import the final black-and-white, high-contrast version of your logo (PNG or JPG).
2. Important: Use the import button/tab. Do not import manually, or the add-on may not recognize the file.
STEP 3: GENERATE TRACE
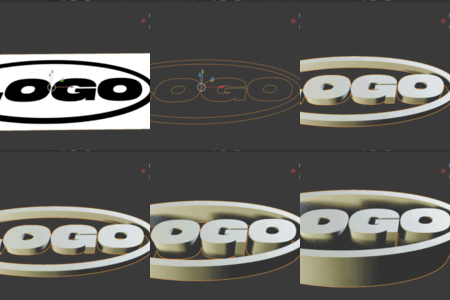
1. Click "Trace Image" to convert your logo into a clean trace mesh.
2. You can enter Edit Mode to manually adjust vertices if needed.
STEP 4: GENERATE 3D MODEL
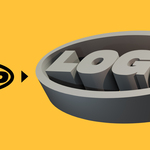
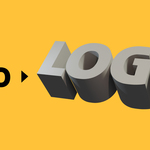
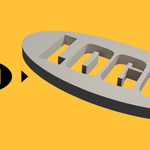
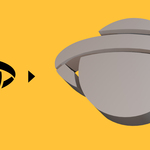
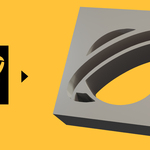
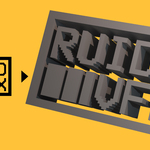
1. Click "Create 3D Model" to generate the 3D version of your logo.
2. Two adjustable options will appear:
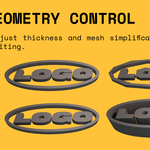
- Simplify: Reduces polygon count in real time while preserving the logo’s shape.
- Thickness: Adjusts the depth of the 3D model.
STEP 5: BAKE
1. Click "Bake Mesh" to finalize the model. This applies all modifiers and creates a clean, optimized 3D mesh ready for export or rendering.