Lumina Studio - Procedural Product Staging Kit
 VektorLab
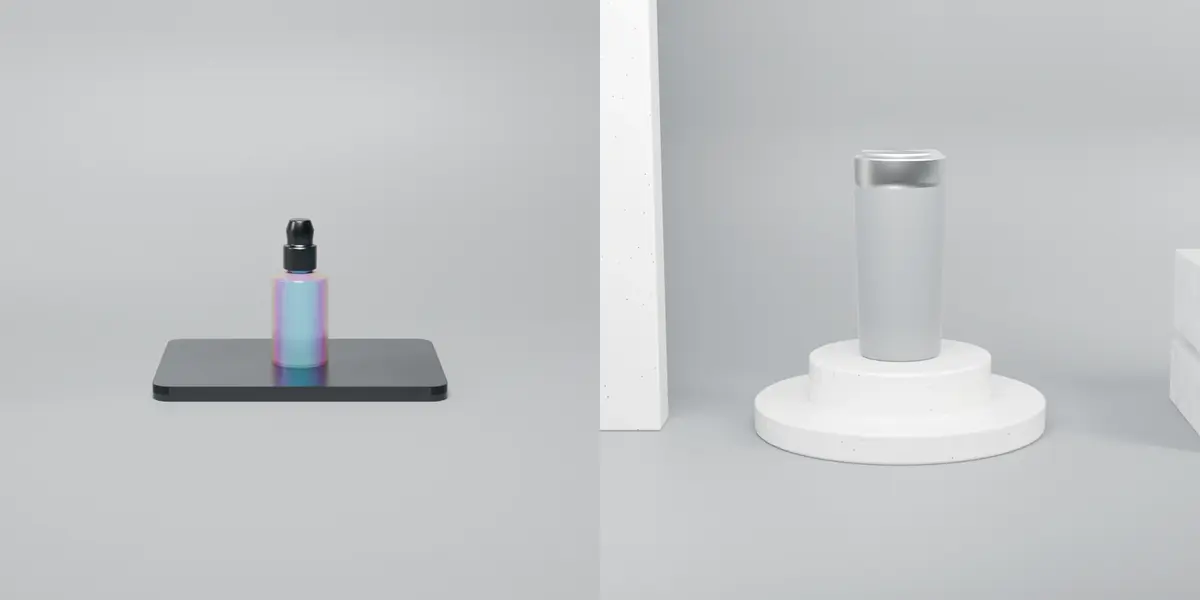
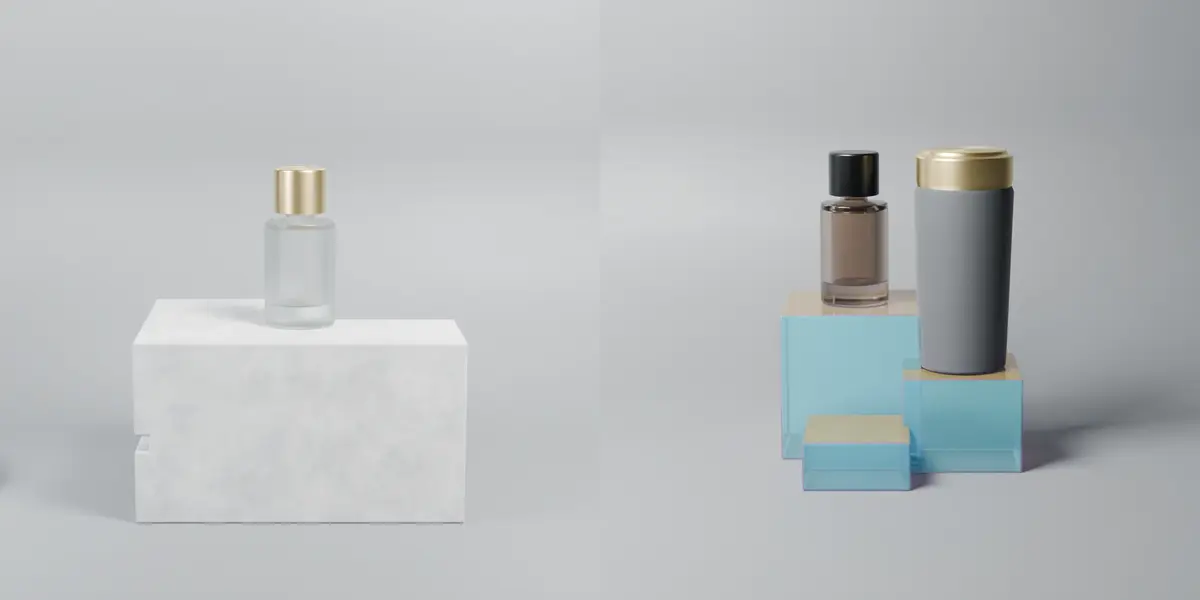
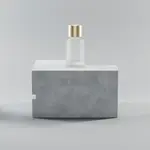
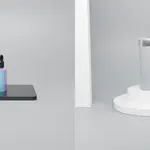
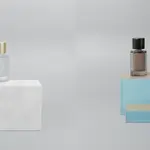
QUICK START & INSTALLATION (UNDER 60 SECONDS)
1. Extract lumina-studio-pack-release.zip to a permanent folder on your drive (e.g. C:\3D_Assets\lumina-studio-pack).
2. Open Blender (4.0 through 5.2+ LTS) and go to Edit → Preferences → File Paths → Asset Libraries.
3. Click the "+" button, select the extracted folder (or lumina-studio-pack/blend), name it "Lumina Studio", and save preferences.
4. Open an Asset Browser editor (Shift + F1), switch the library dropdown to "Lumina Studio", and drag-and-drop Pedestals, Materials, Lighting Rigs, or Cameras directly into your viewport.
SCALE & STAGING GUIDE (1:1 METRIC)
• 1.0 Blender Unit = 1.0 Meter.
• Photometric lights, volumetric glass absorption, and camera Depth of Field are calibrated to real-world metric dimensions (e.g. a 500ml tumbler is ~0.22m tall; a dropper bottle is ~0.11m tall).
• Always apply transforms (Ctrl + A → Apply All Transforms) to your custom product meshes before applying anisotropic or procedural shaders.
RENDER ENGINES (CYCLES & EEVEE NEXT)
• Cycles: Recommended 256–512 samples with OpenImageDenoise (Accurate) and Transmission Bounces ≥ 8 for Frosted Glass. Color Management: AgX.
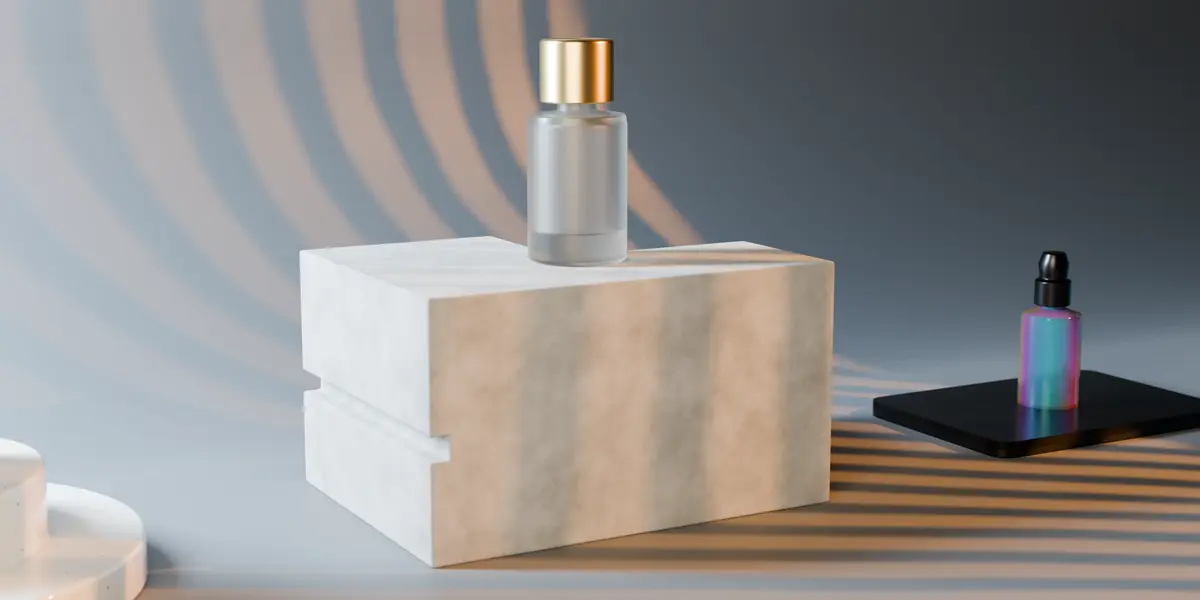
• EEVEE Next (4.2+ / 5.x): Enable Raytracing (Screen Tracing) in Render Properties and set Shadow Pool to 1024MB–2048MB for sharp procedural gobo shadows.
STANDALONE GLB EXPORTS (WEBGL / THREE.JS / R3F)
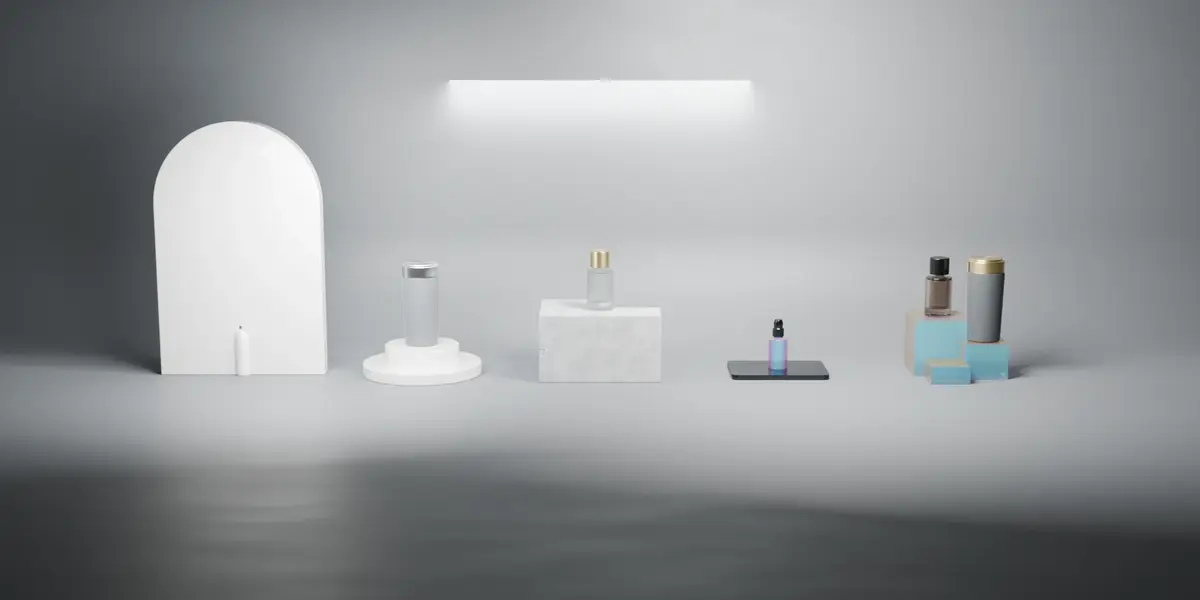
• The exports_glb/ folder contains all 6 pedestals/backdrops as clean glTF 2.0 (.glb) meshes with applied transforms and unwrapped UVs.
• Note: Standard glTF 2.0 does not support custom Blender shader nodes; the 8 procedural materials and gobo lighting rigs are native to lumina_studio_assets.blend.
Have questions about this product?
Login to message
| Published | about 3 hours ago |
| Blender Version | 4.0 - 5.2 |
| Render Engine Used | Cycles, Eevee |
| License | Royalty Free |
Discover more products like this
podium mockup packshot blender asset-browser Cycles product-visualization eevee next Studio Lighting pedestal procedural materials lighting rig