 ParametrStudio


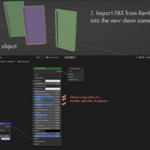
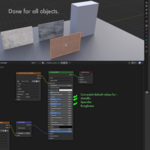
Fix Revit and Rhino material values in one click.
Why one click matters
A typical Revit or Rhino import lands in Blender with hundreds - often thousands - of materials, every single one carrying the same broken values from the FBX exporter. Resetting them by hand isn't slow, it's impossible at project scale.
Before you start real material work, you need a clean baseline - Blender defaults across the whole scene. You can't judge what to tweak until you've seen what neutral looks like. MAI gets you there in one click instead of five thousand.
For
Rhinoceros and Revit users importing FBX into Blender.
What it does
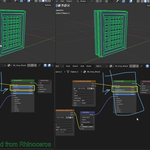
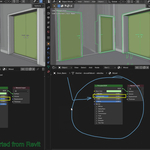
FBX exports from Revit and Rhino arrive in Blender with wrong material values - incorrect Metallic, Roughness, and Specular settings. Revit exports additionally bring empty Normal Map nodes that serve no purpose. Rendering them as-is gives flat or unnaturally shiny results. Fixing each material by hand is repetitive and slow.
MAI resets all materials on selected objects to Blender's defaults in a single command. Two presets - one for each exporter, because each leaves a different kind of mess.
What gets reset
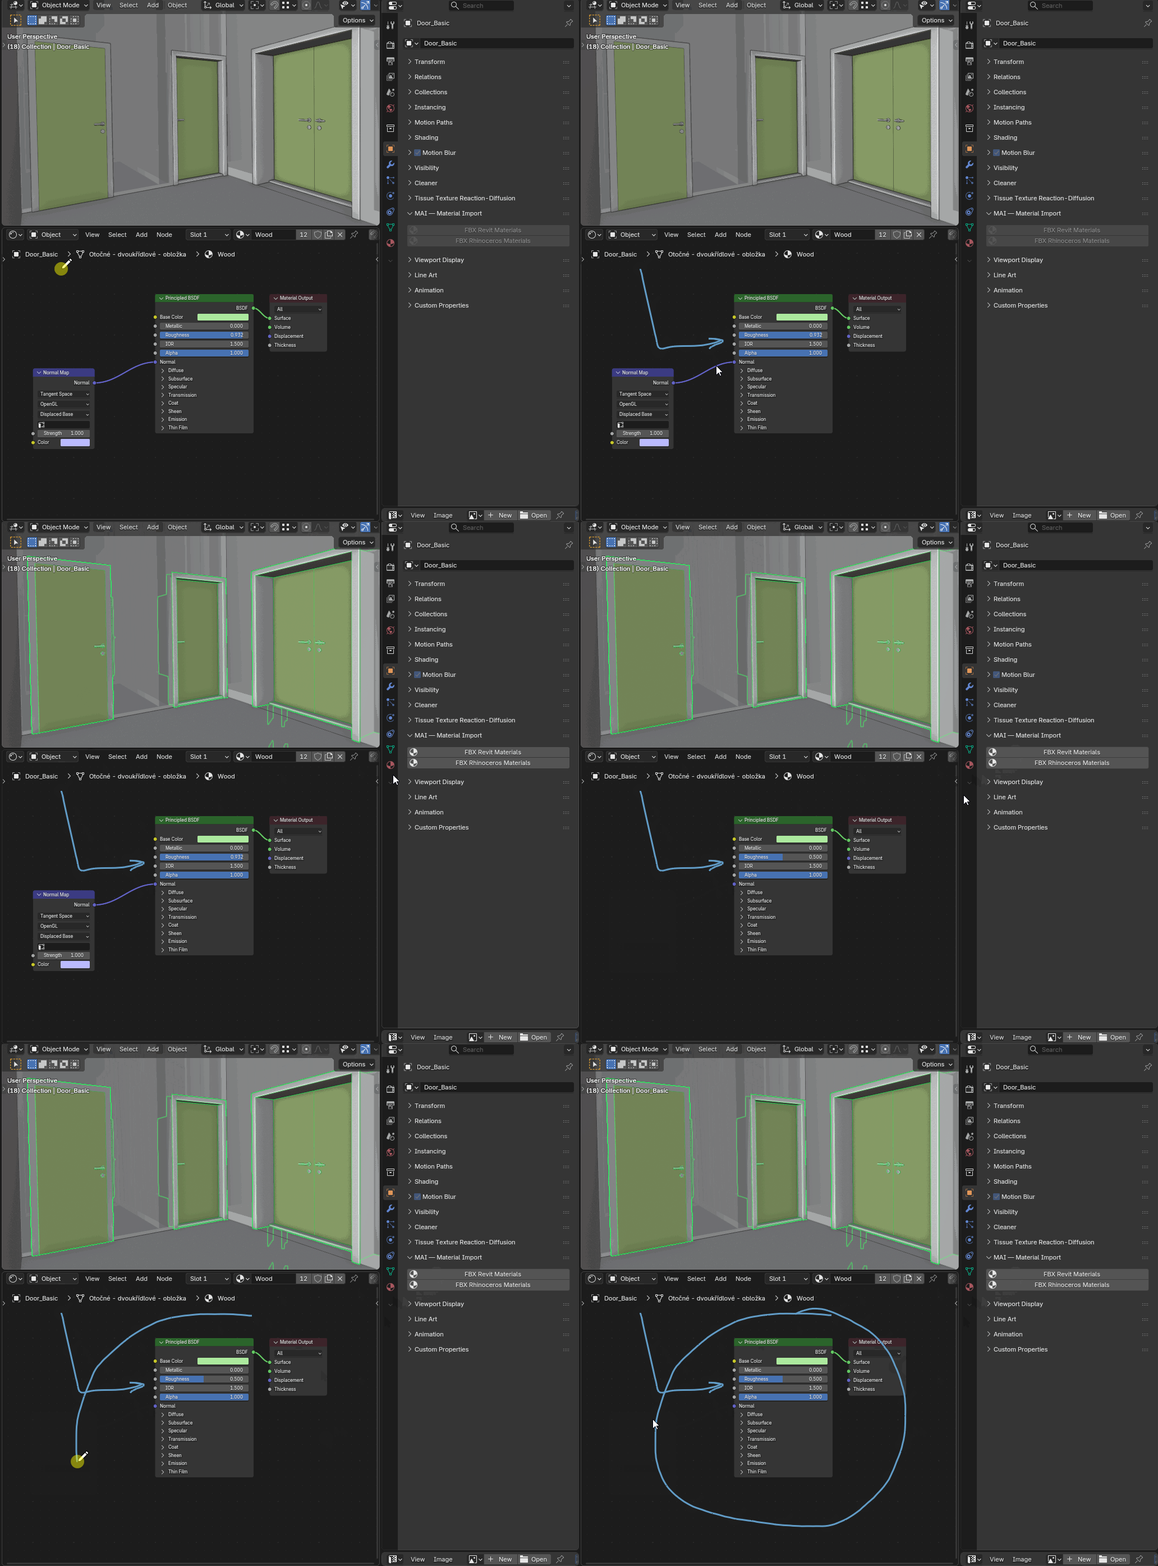
- Revit preset: Metallic → 0, Roughness → 0.5, Specular IOR Level → 0.5, plus deletes empty Normal Map nodes.
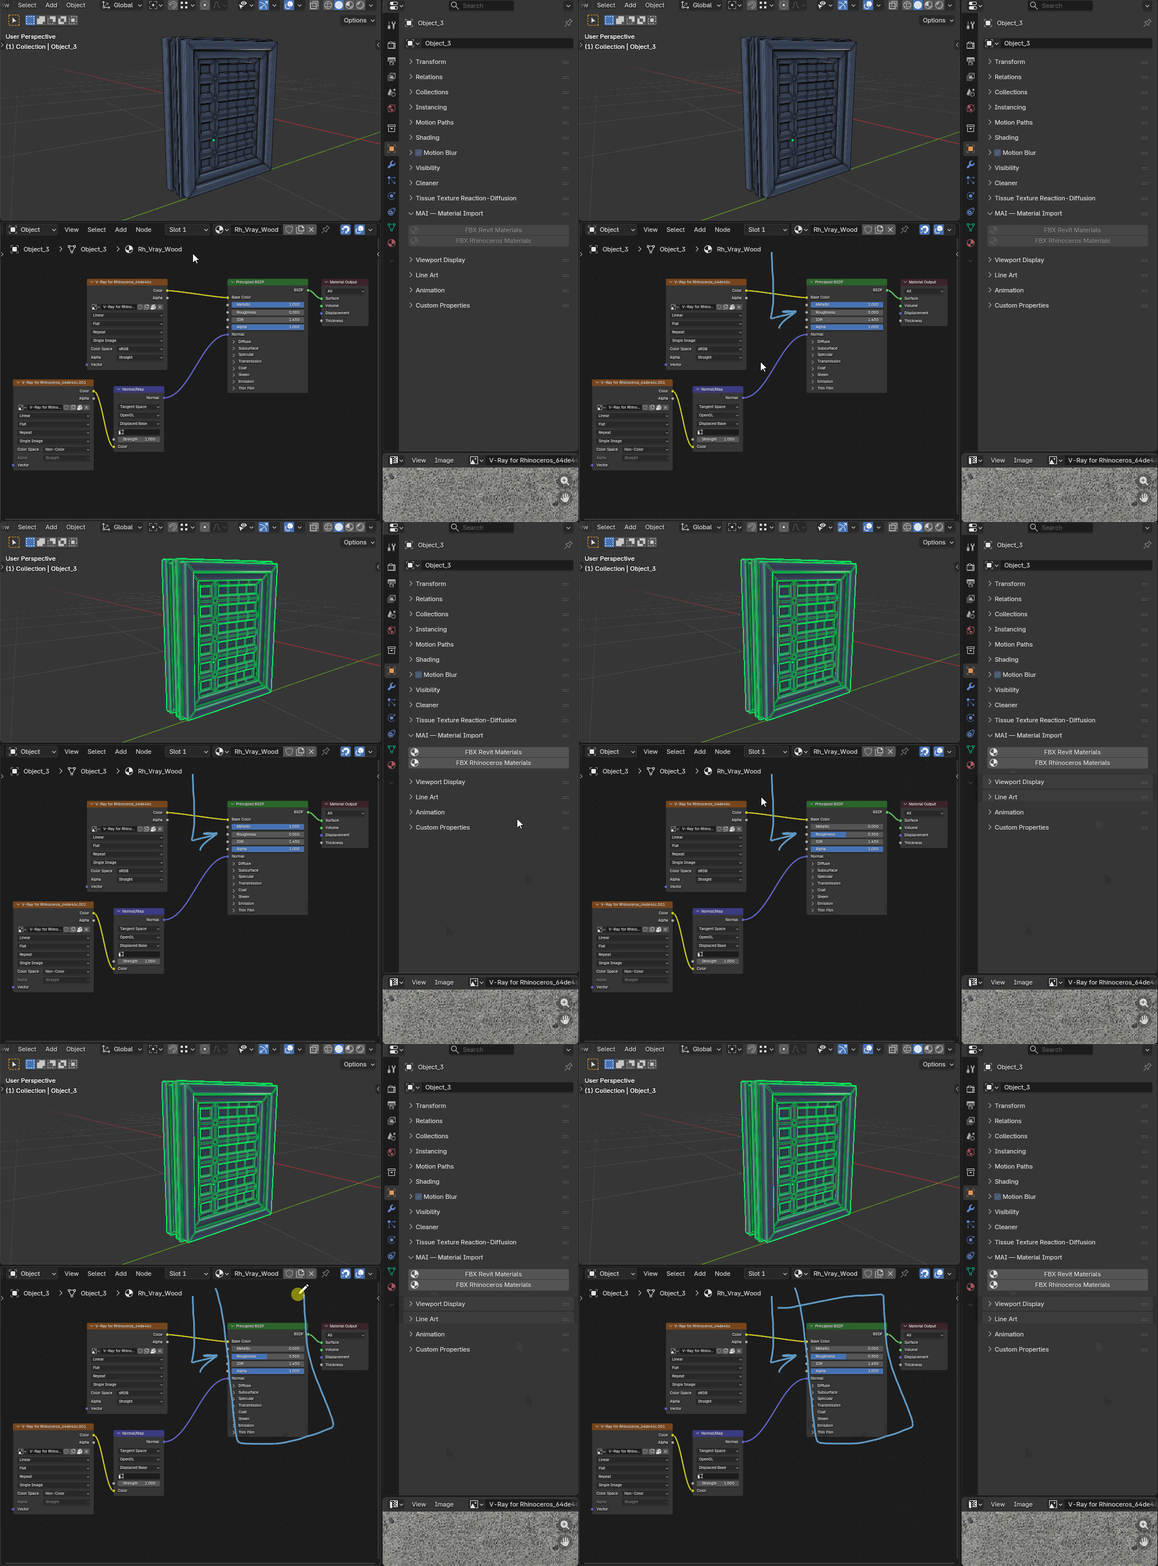
- Rhino / V-Ray preset: Metallic → 0, Roughness → 0.5, Specular IOR Level → 0.5.
Best for
Architecture, automotive, product design, industrial design.
Works well with
- Cleaner - purge unused data after import. [link]
- MAD - replace placeholder materials with real PBR materials from a curated library. [link]