Marching Sky
 Giorgi Samukashvili
DOCUMENTATION
Marching Sky
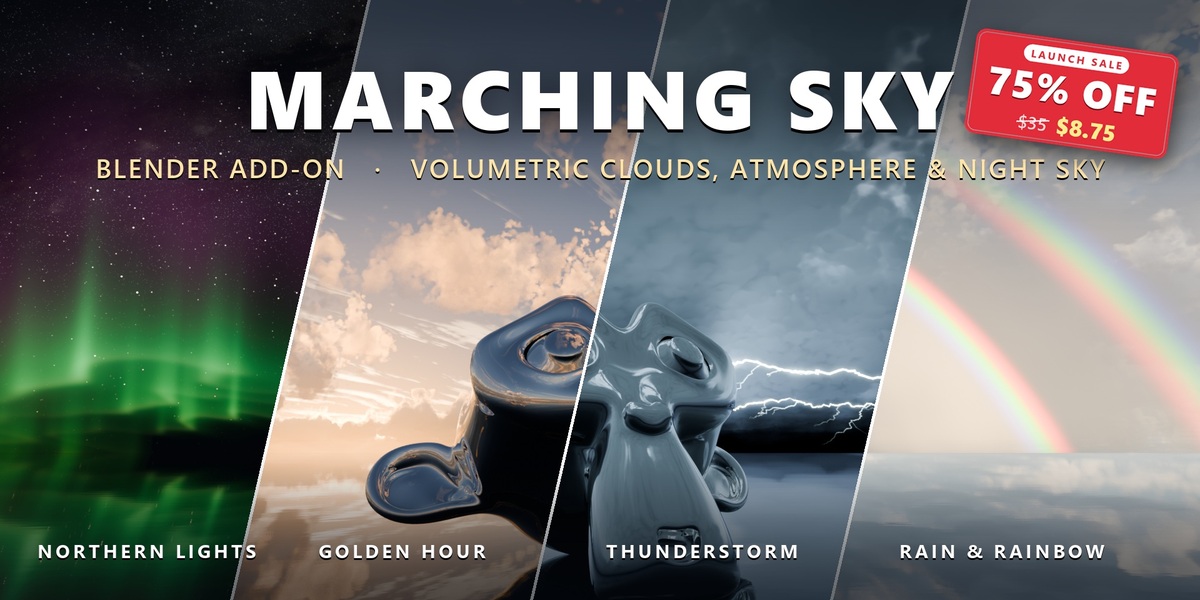
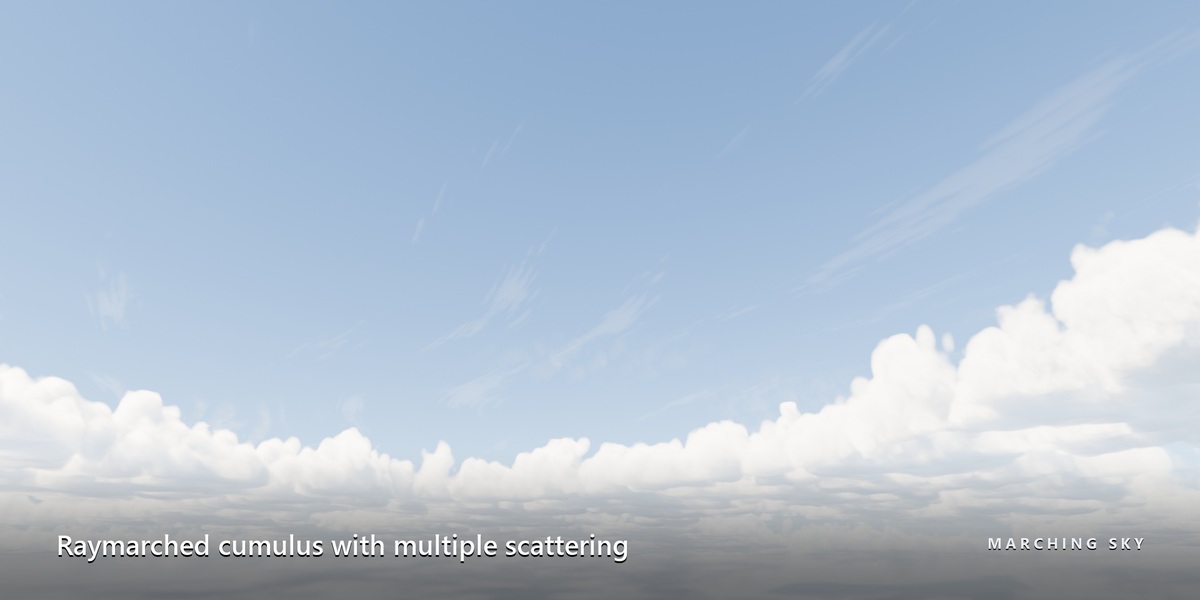
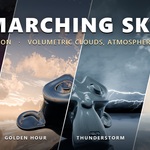
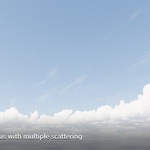
Ray-marched volumetric clouds, a physical day-and-night atmosphere and a set of sky effects, all driven from one sidebar tab in Blender. Every GIF below is a real click in the add-on next to the rendered result.
STEP 1
Install and create your first sky
A minute from download to a rendered sky.
Install the extension
Download the Marching Sky .zip from your Superhive library. Keep it zipped.
In Blender open Edit › Preferences › Get Extensions, open the small ⌄ menu at the top right and choose Install from Disk.... Pick the .zip.
In the 3D Viewport press N to open the sidebar and click the Marching Sky tab.
Click Create sky + clouds for the bundled sky, or Add clouds to current world to keep your own world or HDRI.
Switch the viewport to Rendered shading (Z › Rendered) to see the sky.
WHAT SETUP CHANGES
Setup switches the scene to Cycles, turns on Open Shading Language (OSL), which the clouds need, and picks your NVIDIA OptiX GPU when there is one. Other machines render on the CPU.
THE FIRST RENDER IS SLOW
The first time Cycles compiles the sky shaders for OptiX it can take several minutes. Later renders and edits start much faster.
Requirements
| Blender | 4.5 LTS or newer. Every feature, the lens flare included, works from 4.5 on. |
| Render engine | Cycles. Eevee is not supported. |
| GPU | NVIDIA cards render on the GPU with OptiX. Cycles runs OSL only on the CPU and OptiX, so AMD, Intel and Apple GPUs render the clouds on the CPU. |
| Projects | Keep the extension installed on every computer that renders the project: the cloud noise data lives in the extension folder. |
ORIENTATION
The sidebar at a glance
Everything lives in one tab. The top part is always visible; the tabs below hold the details.
How the panel is organised
3D Viewport › Sidebar (N) › Marching Sky- Sky presets: complete looks in one click.
- Time card: one clock for the Sun, Moon and stars, with Dawn Noon Dusk Night shortcuts.
- Location and season: latitude, north direction and day of the year.
- Global seed: re-roll every pattern at once.
- Tabs: Celestial (Sun & Moon, Night sky, Effects), Weather (clouds), Lighting, Motion (animation) and Quality.
Every optional feature is a box whose header is a checkbox. Tick it and its controls appear; untick it and the effect costs nothing. Finer groups open from small disclosure rows.
HELP IS BUILT IN
Hover the i icon on any section for an explanation, or click it to read it in a popup. Every field has a tooltip, and right-clicking a value › Reset to Default Value restores its default.
Simple or Expert interface
Edit › Preferences › Add-ons › Marching SkyExpand Marching Sky in the add-on list and choose an Interface. Expert, the default, shows every control. Simple keeps Time, the Global seed and four tabs (Sky, Clouds, Effects, Quality) with the controls most looks need.
Settings that Simple hides keep their values, so switching between the two never changes your sky.
FAST RESULTS
Presets and Global seed
Start from a finished look, then explore variations without touching a single slider.
Sky presets
Marching Sky › Sky presets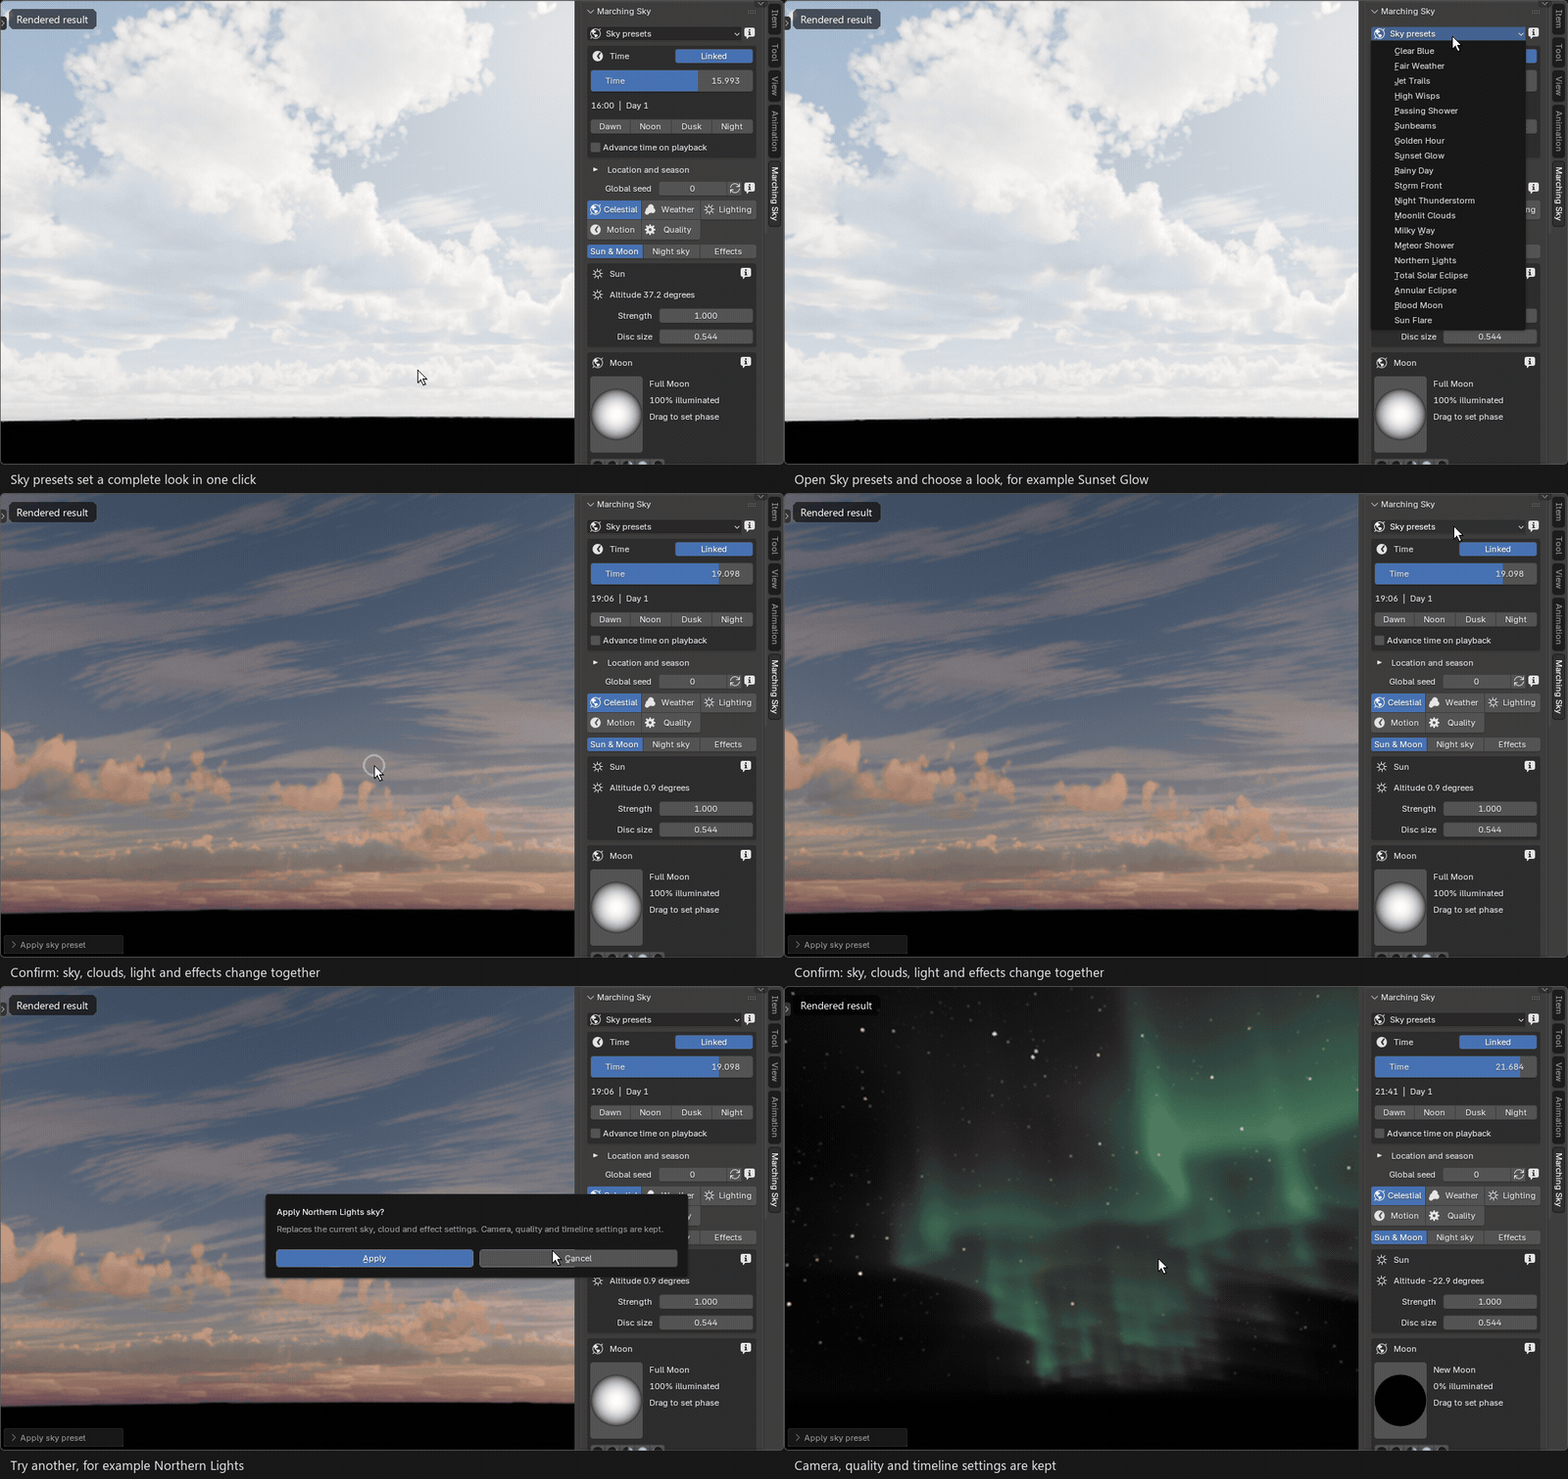
Open Sky presets, pick a look and confirm. Sky, clouds, light and effects change together.
A preset replaces the sky, cloud and effect settings, so the previous look cannot leak into the next. Your camera, quality and timeline settings are kept, and Blender asks before applying. Every control stays editable afterwards.
PRESETS SET THE SKY, NOT THE CAMERA
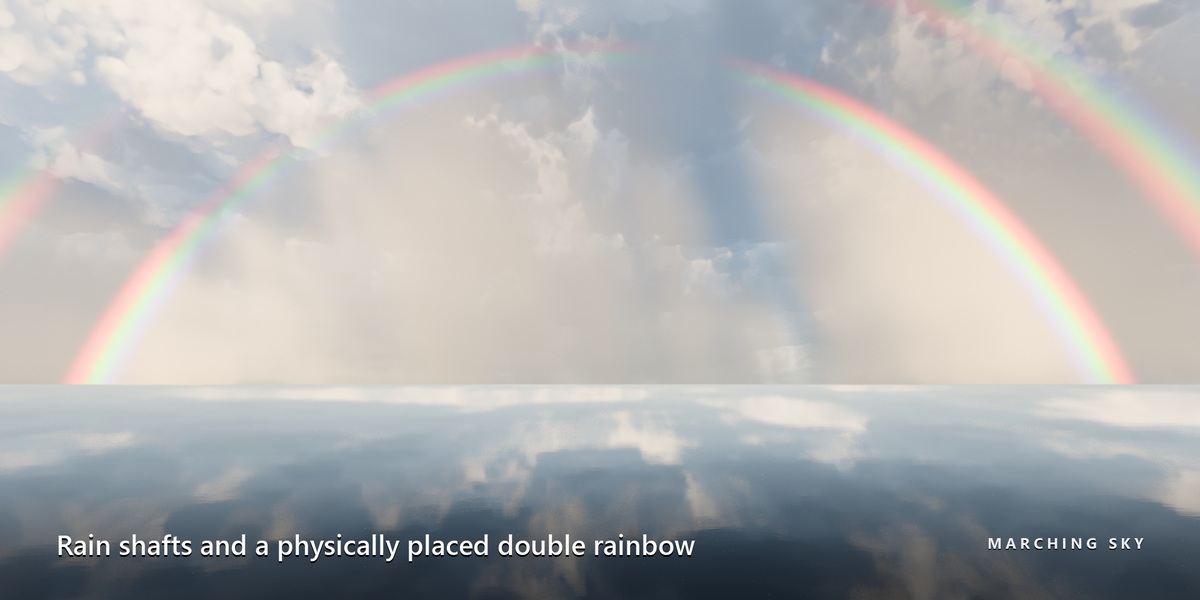
Some looks are aimed at a direction. Passing Shower shows its double rainbow when you face away from the Sun; Sunbeams when you face the Sun.
Global seed
Marching Sky › Global seed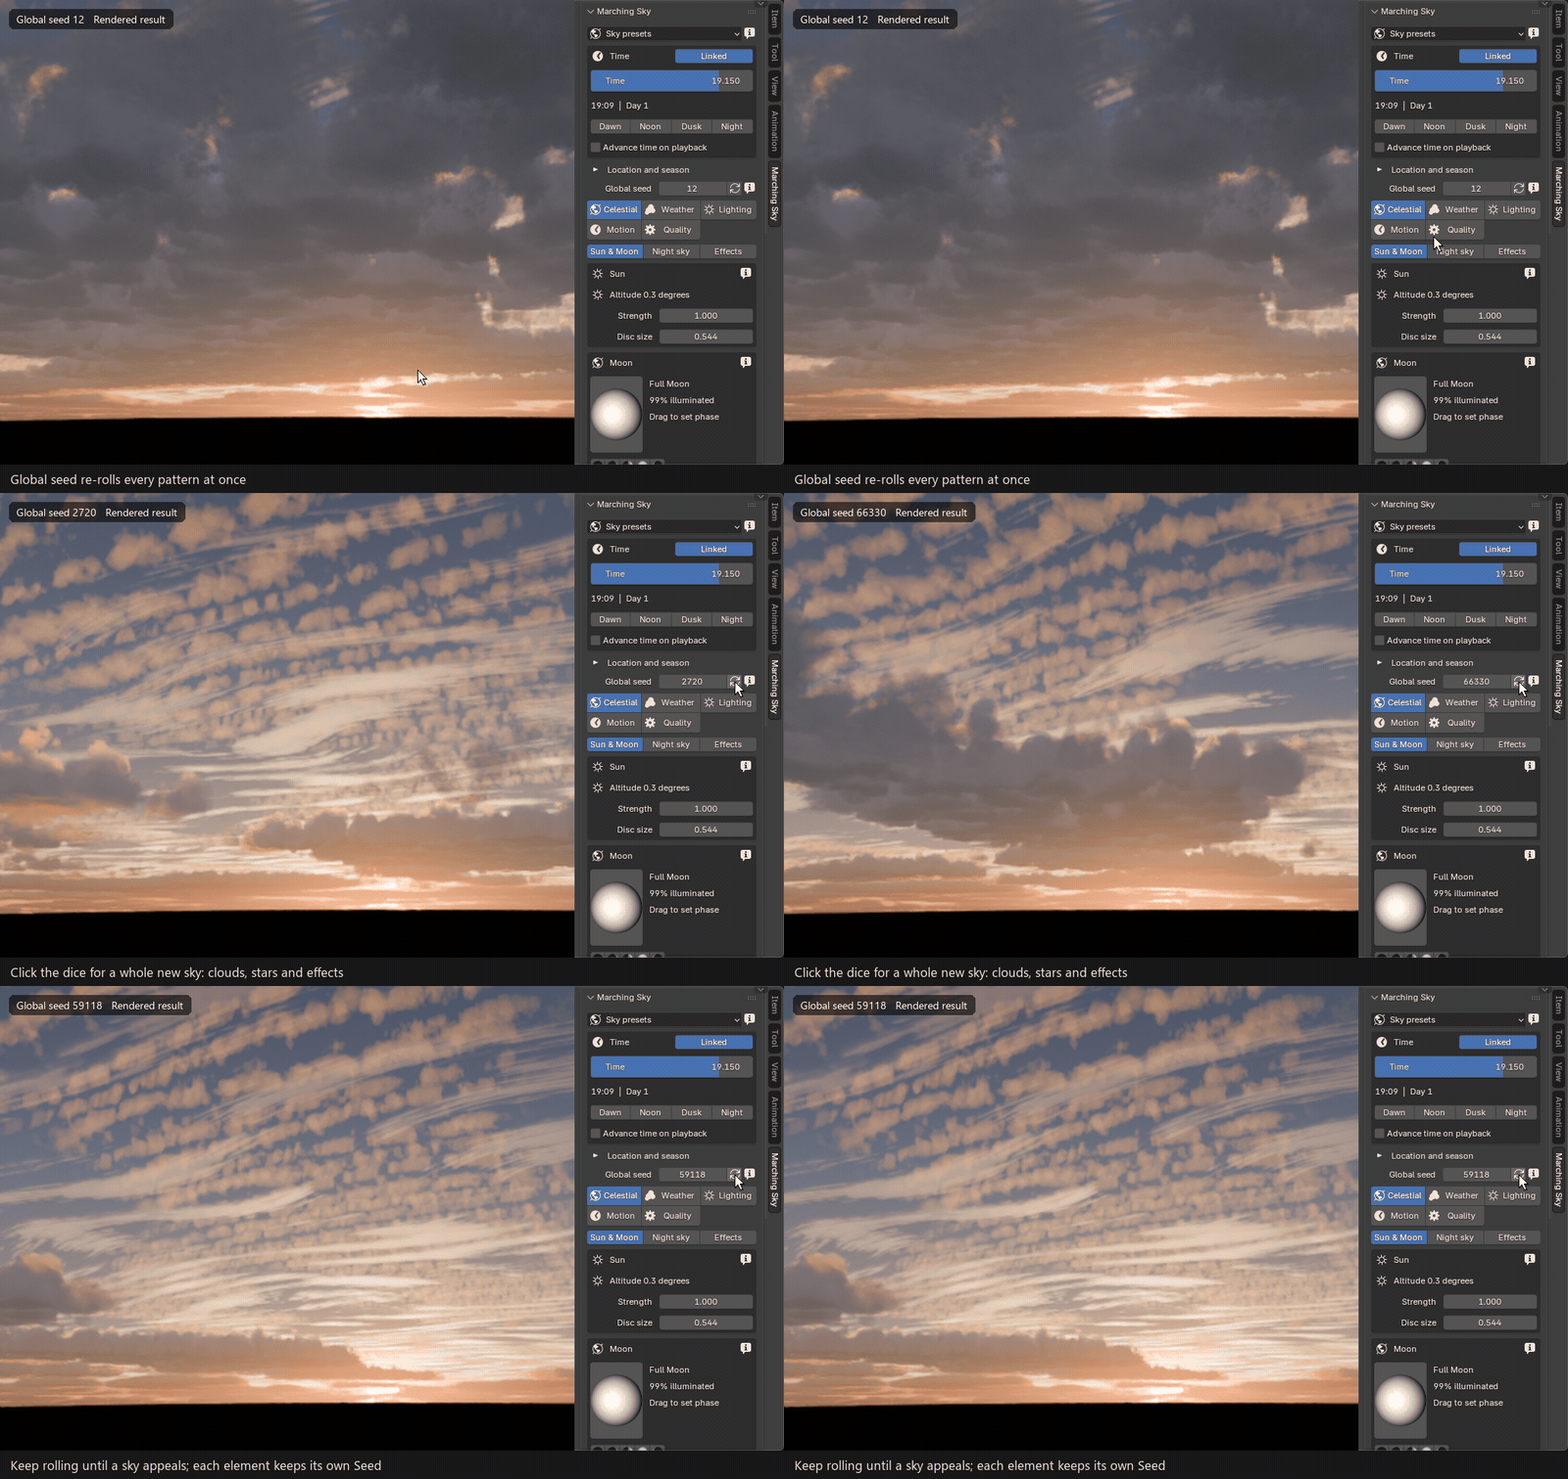
Each click of the dice gives a whole new sky; the same number always gives the same sky.
One number re-rolls every procedural pattern at once: the clouds (all three layers), stars, aurora, nebula, contrails, meteors and lightning. Type a number or click the dice button for a random one.
Each element still has its own Seed for fine-tuning. Editing one changes only that element, and the panel notes that some seeds were tuned by hand. Changing the Global seed again replaces those edits.
CELESTIAL
Time, Sun and Moon
One clock drives the whole sky. Change the hour and the Sun, Moon, stars, colours and lighting follow.
Time of day
Marching Sky › Time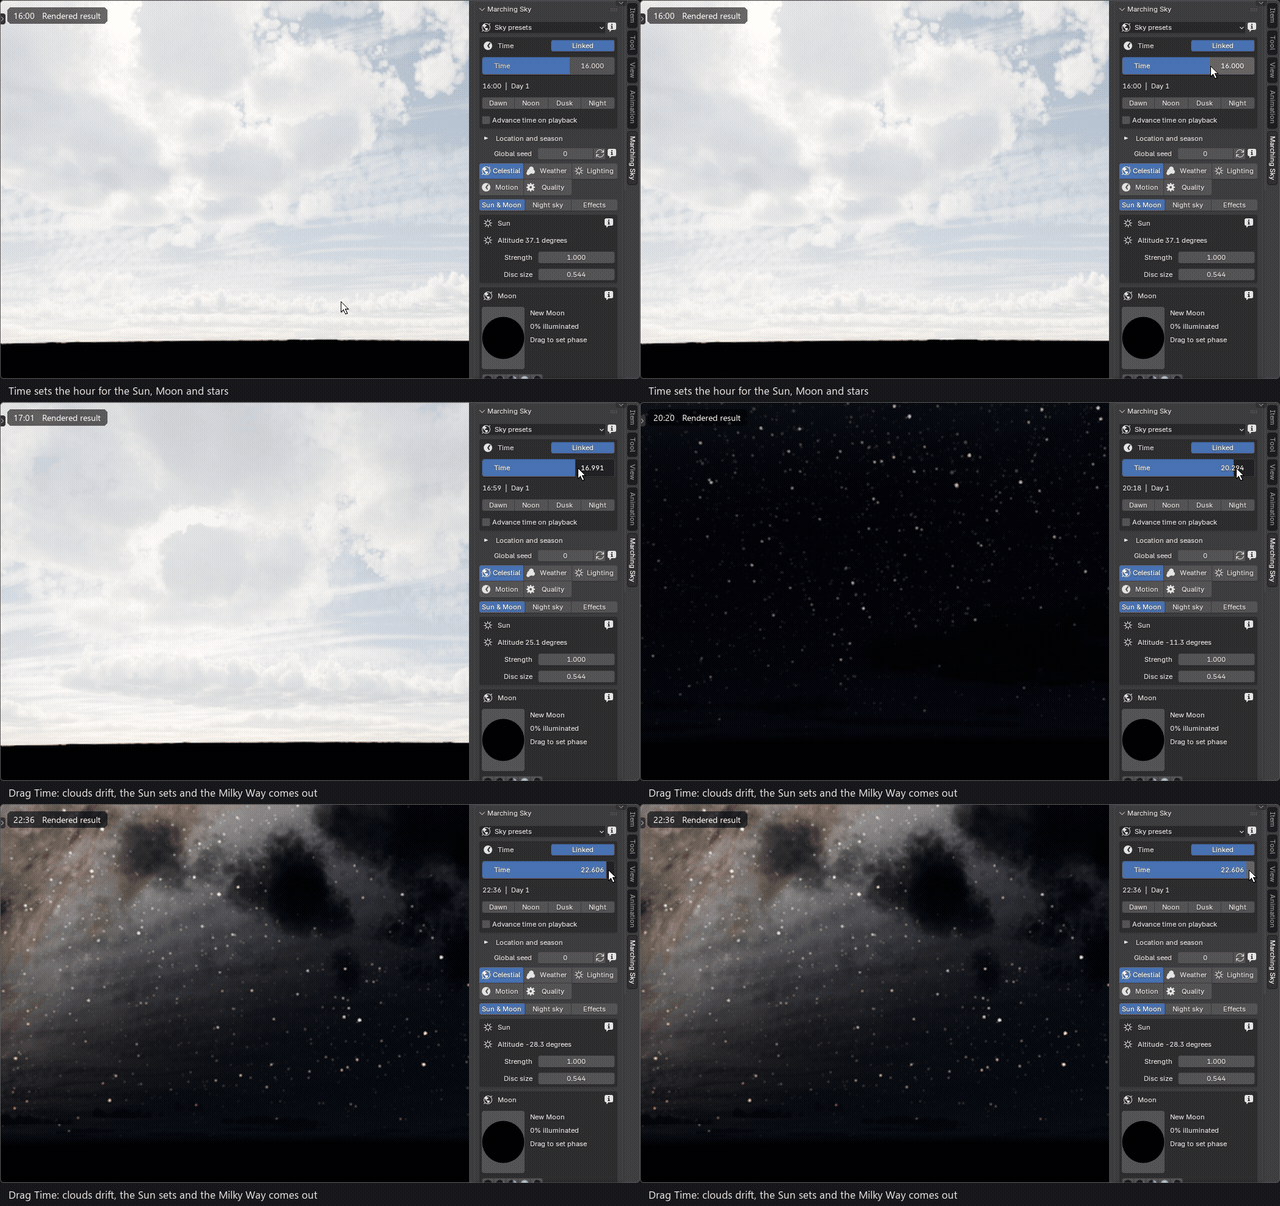
Dragging Time from afternoon to night: the clouds drift, the Sun sets and the Milky Way comes out.
Time is local solar time in hours. Values past 24 continue into the next day, so keyframing Time from 18 to 30 gives an evening-to-morning time lapse. With Linked on, one clock positions the Sun and Moon and turns the stars.
- Advance time on playback moves the clock while the timeline plays, at Time speed (1 is real time, 3600 is one hour per second).
- Location and season sets Latitude, North and Season day, which decide sunrise, sunset and where the Milky Way rises.
- With Animate clouds on (in Motion), changing Time also moves the clouds, as in the GIF above.
Dawn, Noon, Dusk and Night
Marching Sky › Time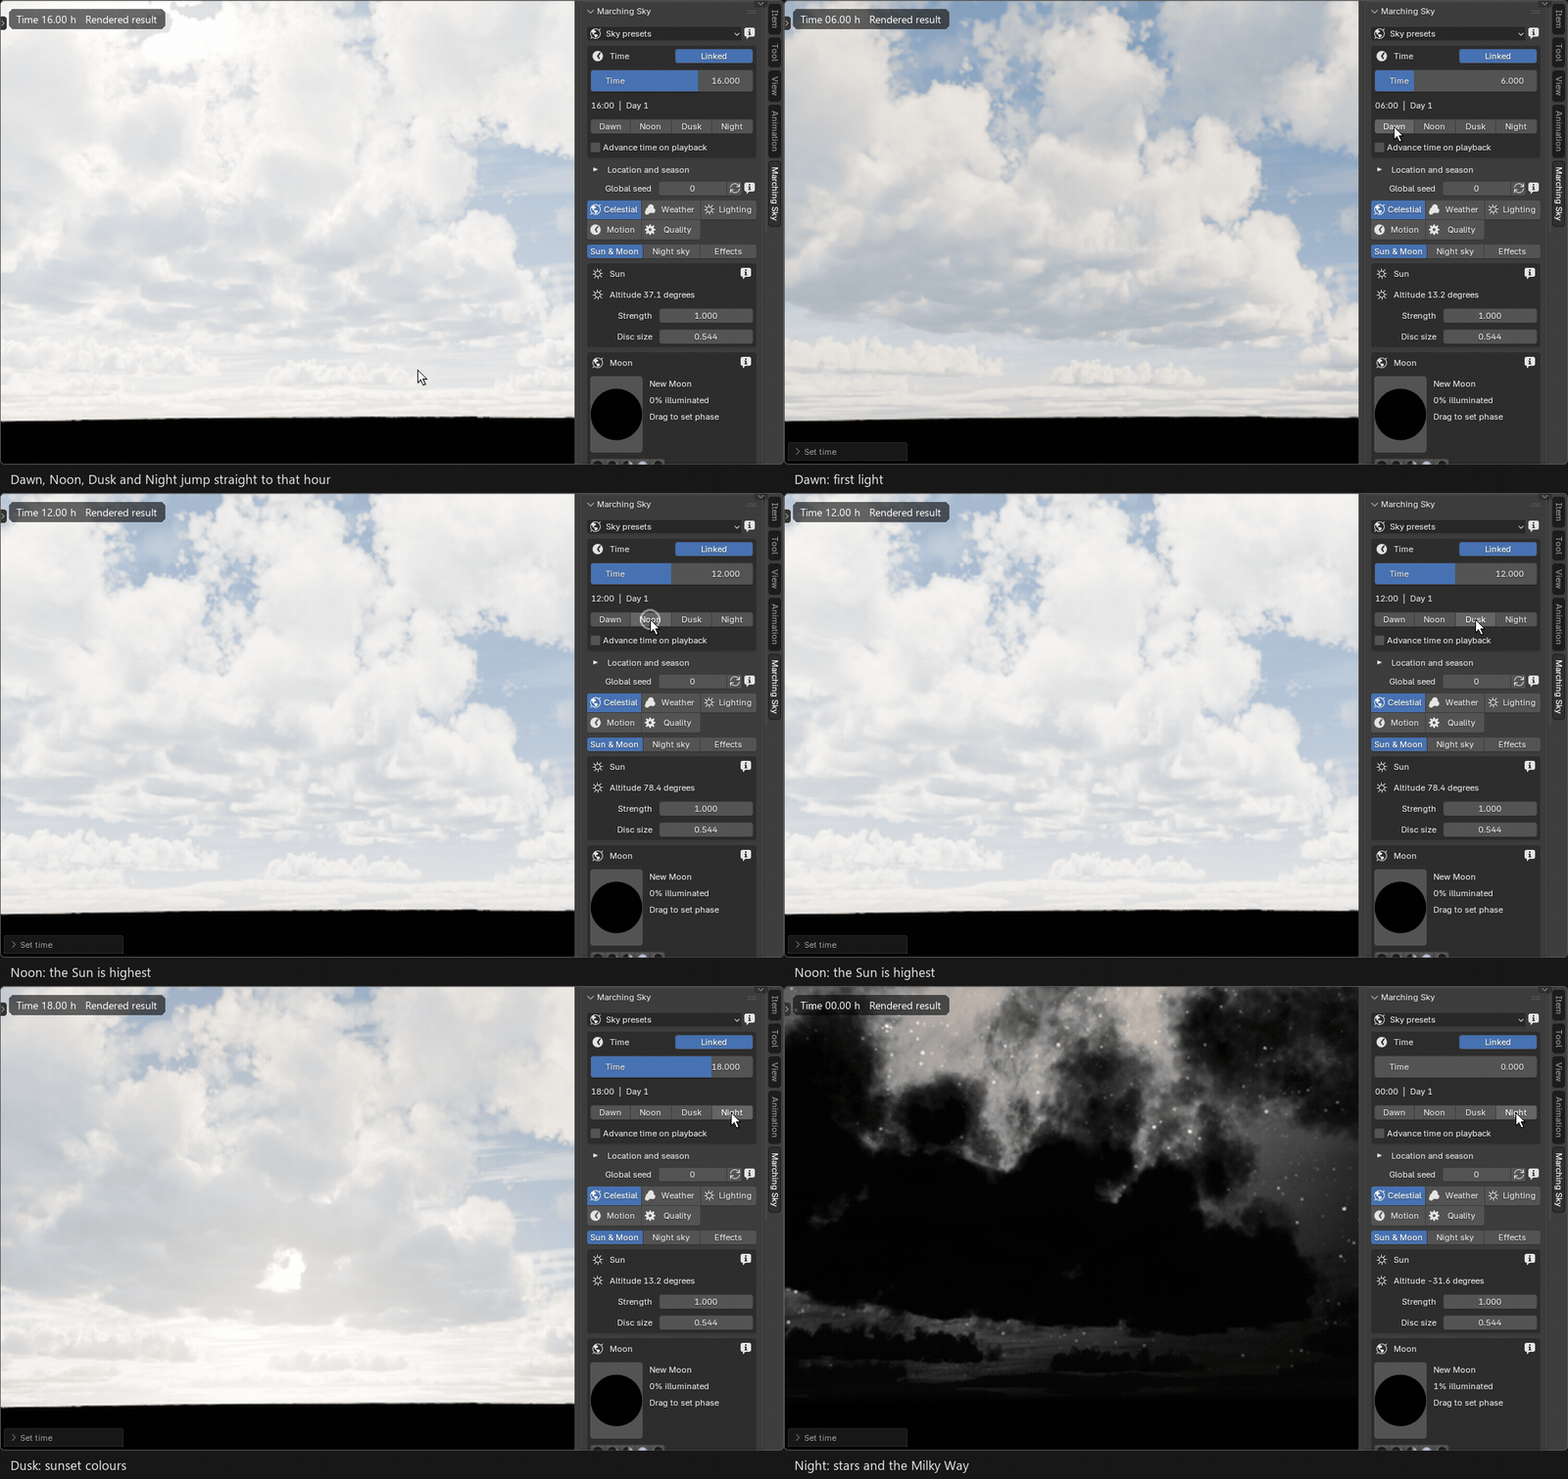
The four buttons jump to 6:00, 12:00, 18:00 and 0:00 of the current day.
Latitude and season decide the actual sunrise and sunset, so Dusk is not always sunset.
Sun
Celestial › Sun & Moon › Sun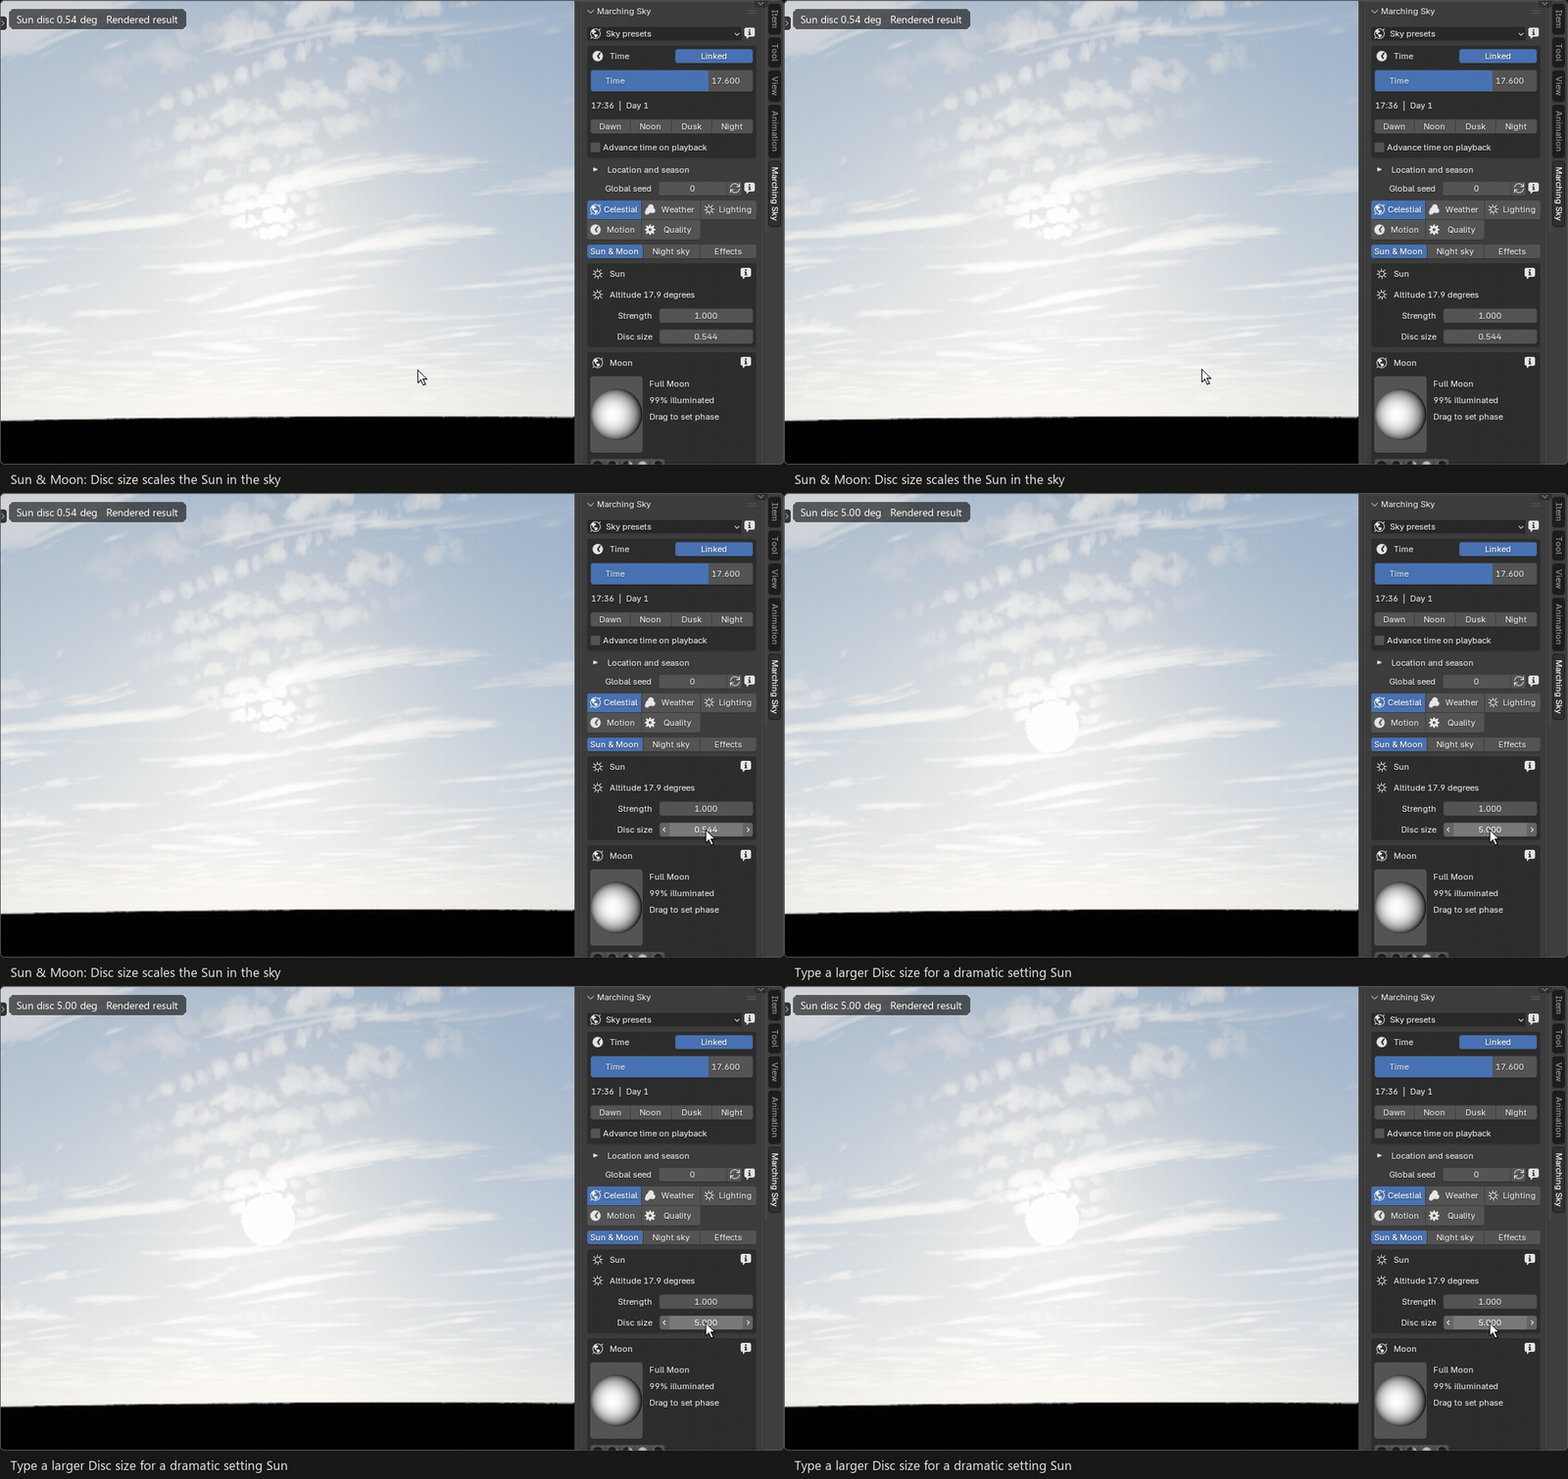
Disc size scales the Sun in the sky, here from its real size to 5 degrees.
Strength sets the sunlight and Disc size the visible disc, in degrees. With Linked time the Sun's height follows the clock, and the panel shows its altitude.
Moon
Celestial › Sun & Moon › Moon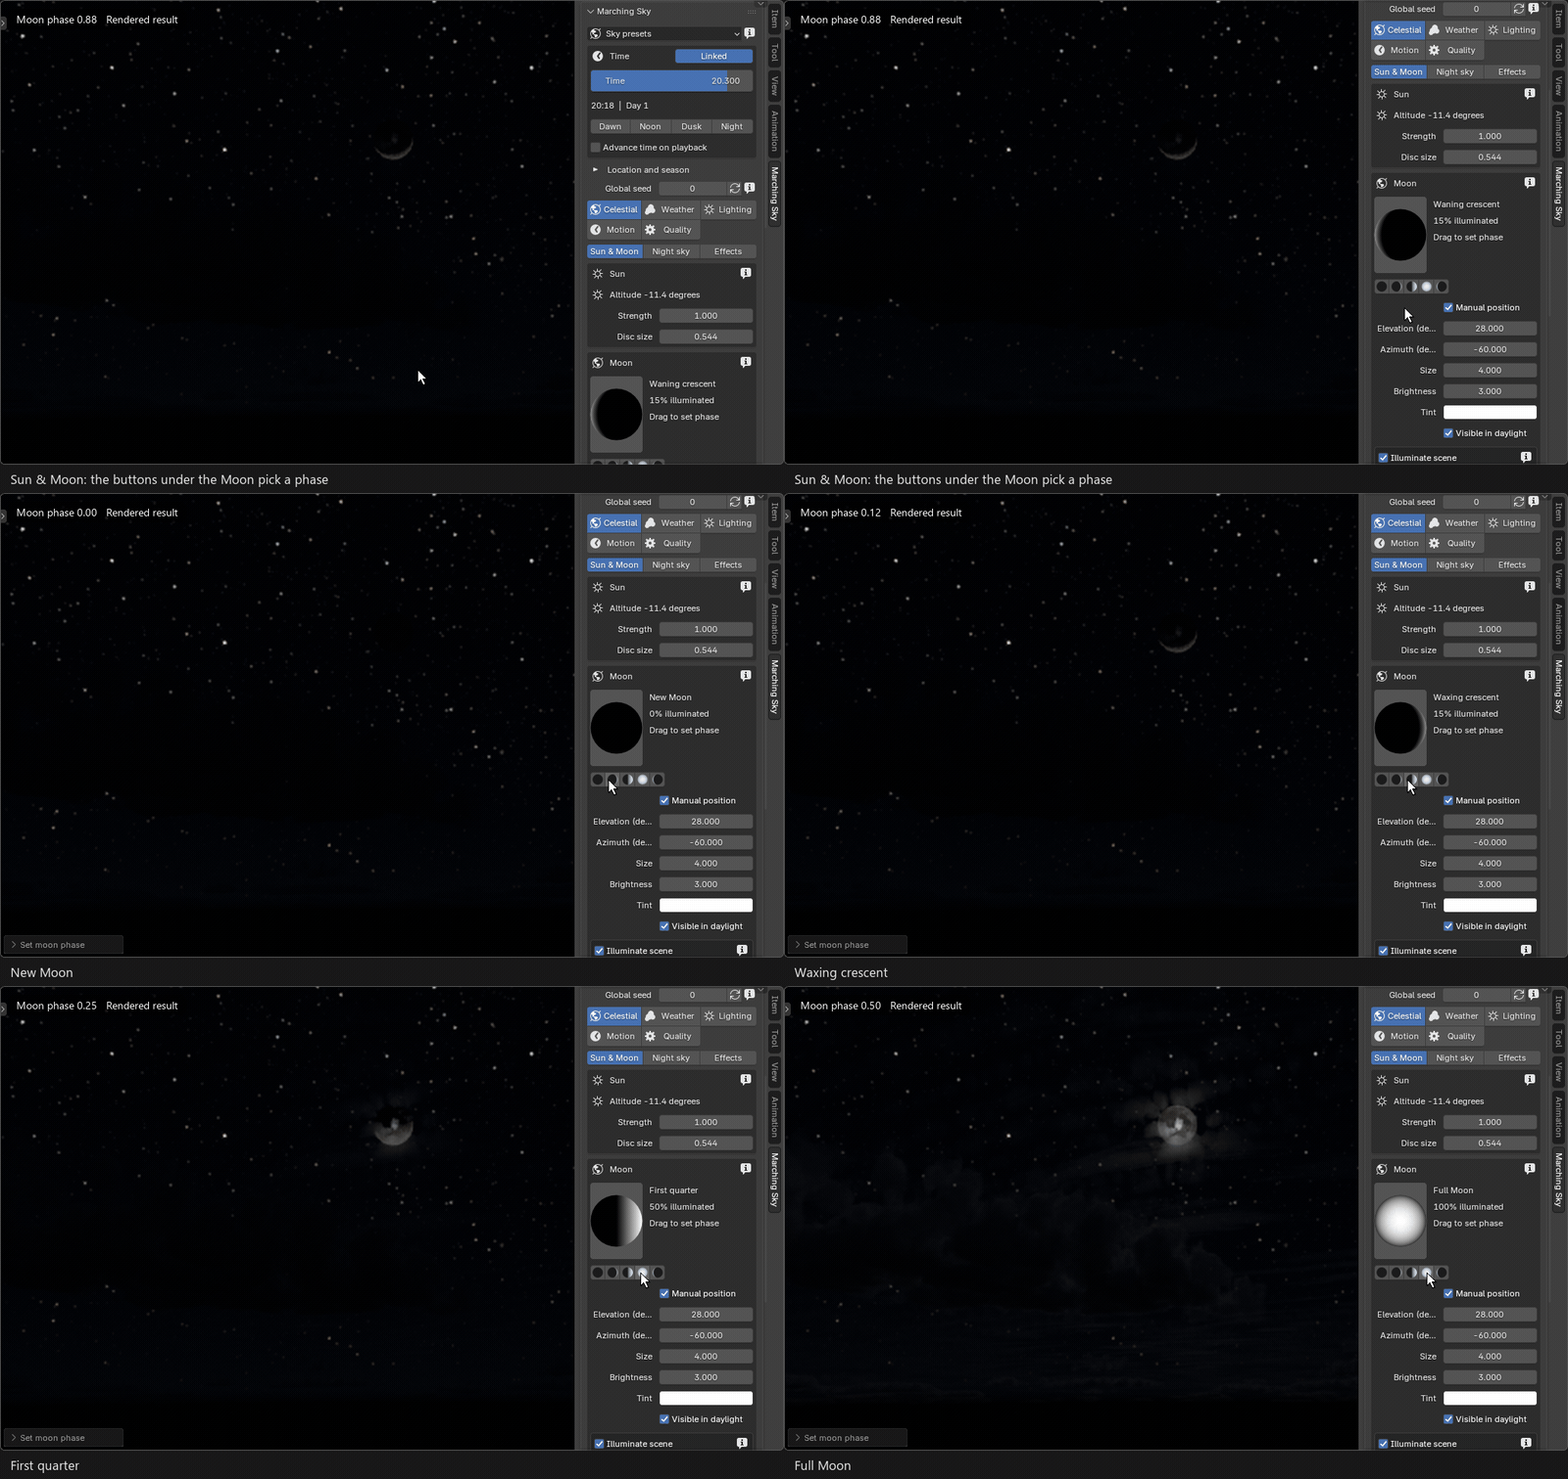
The phase buttons under the Moon: New, waxing crescent, first quarter and Full.
Drag the shaded sphere to choose how much is lit (left and right pick waxing or waning), or use the New Wax Half Full Wane buttons. The phase then follows the clock.
- Manual position places the Moon by hand while the Sun and stars stay on the clock.
- Illuminate scene adds a Moon lamp that lights your scene and the clouds. A quarter Moon gives a quarter of full-Moon light; a new Moon gives none.
- Visible in daylight shows the Moon against a blue sky. Surface detail holds relief and lets you load your own Moon texture.
Eclipse studio
Celestial › Sun & Moon › Eclipse studio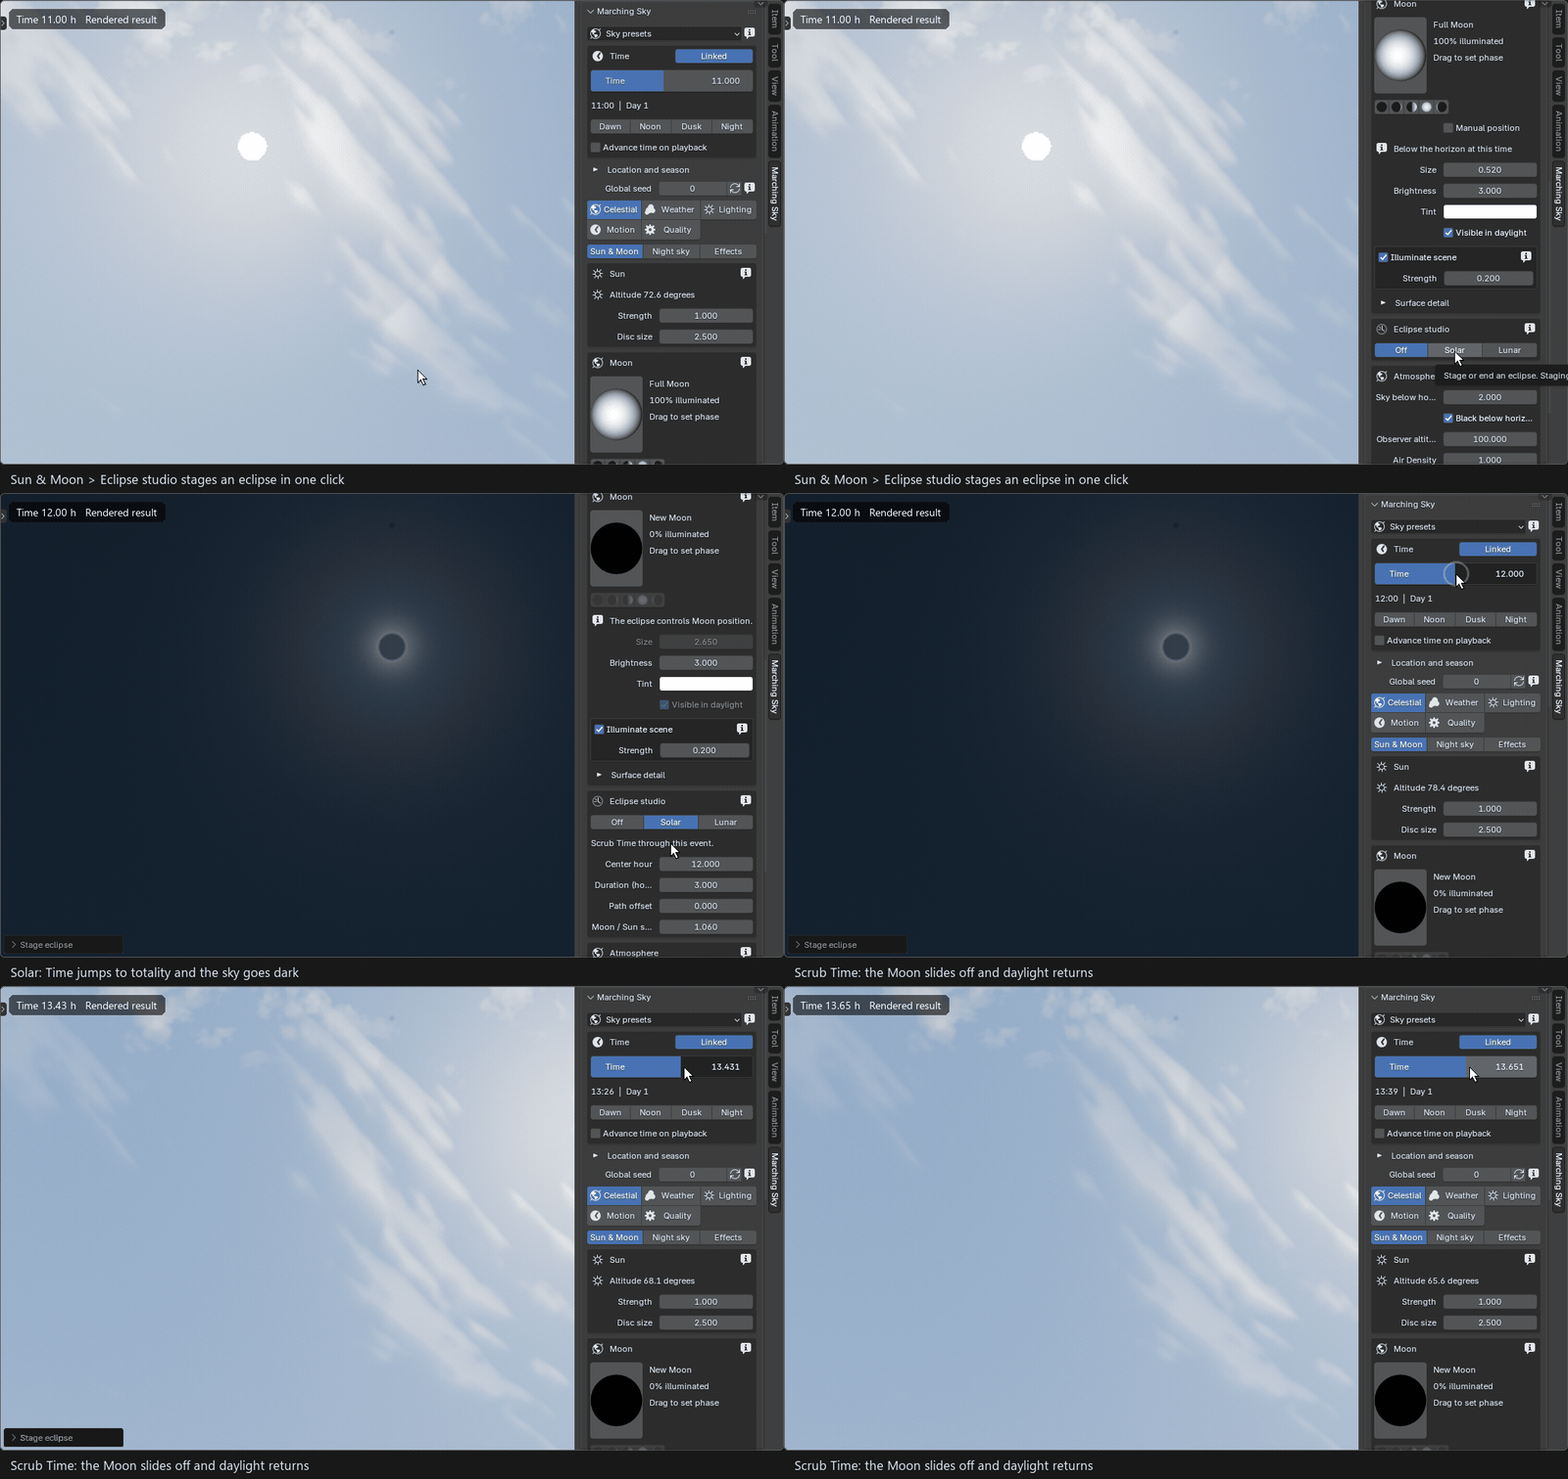
Solar jumps to totality and the sky darkens; scrubbing Time lets the Moon slide off the Sun.
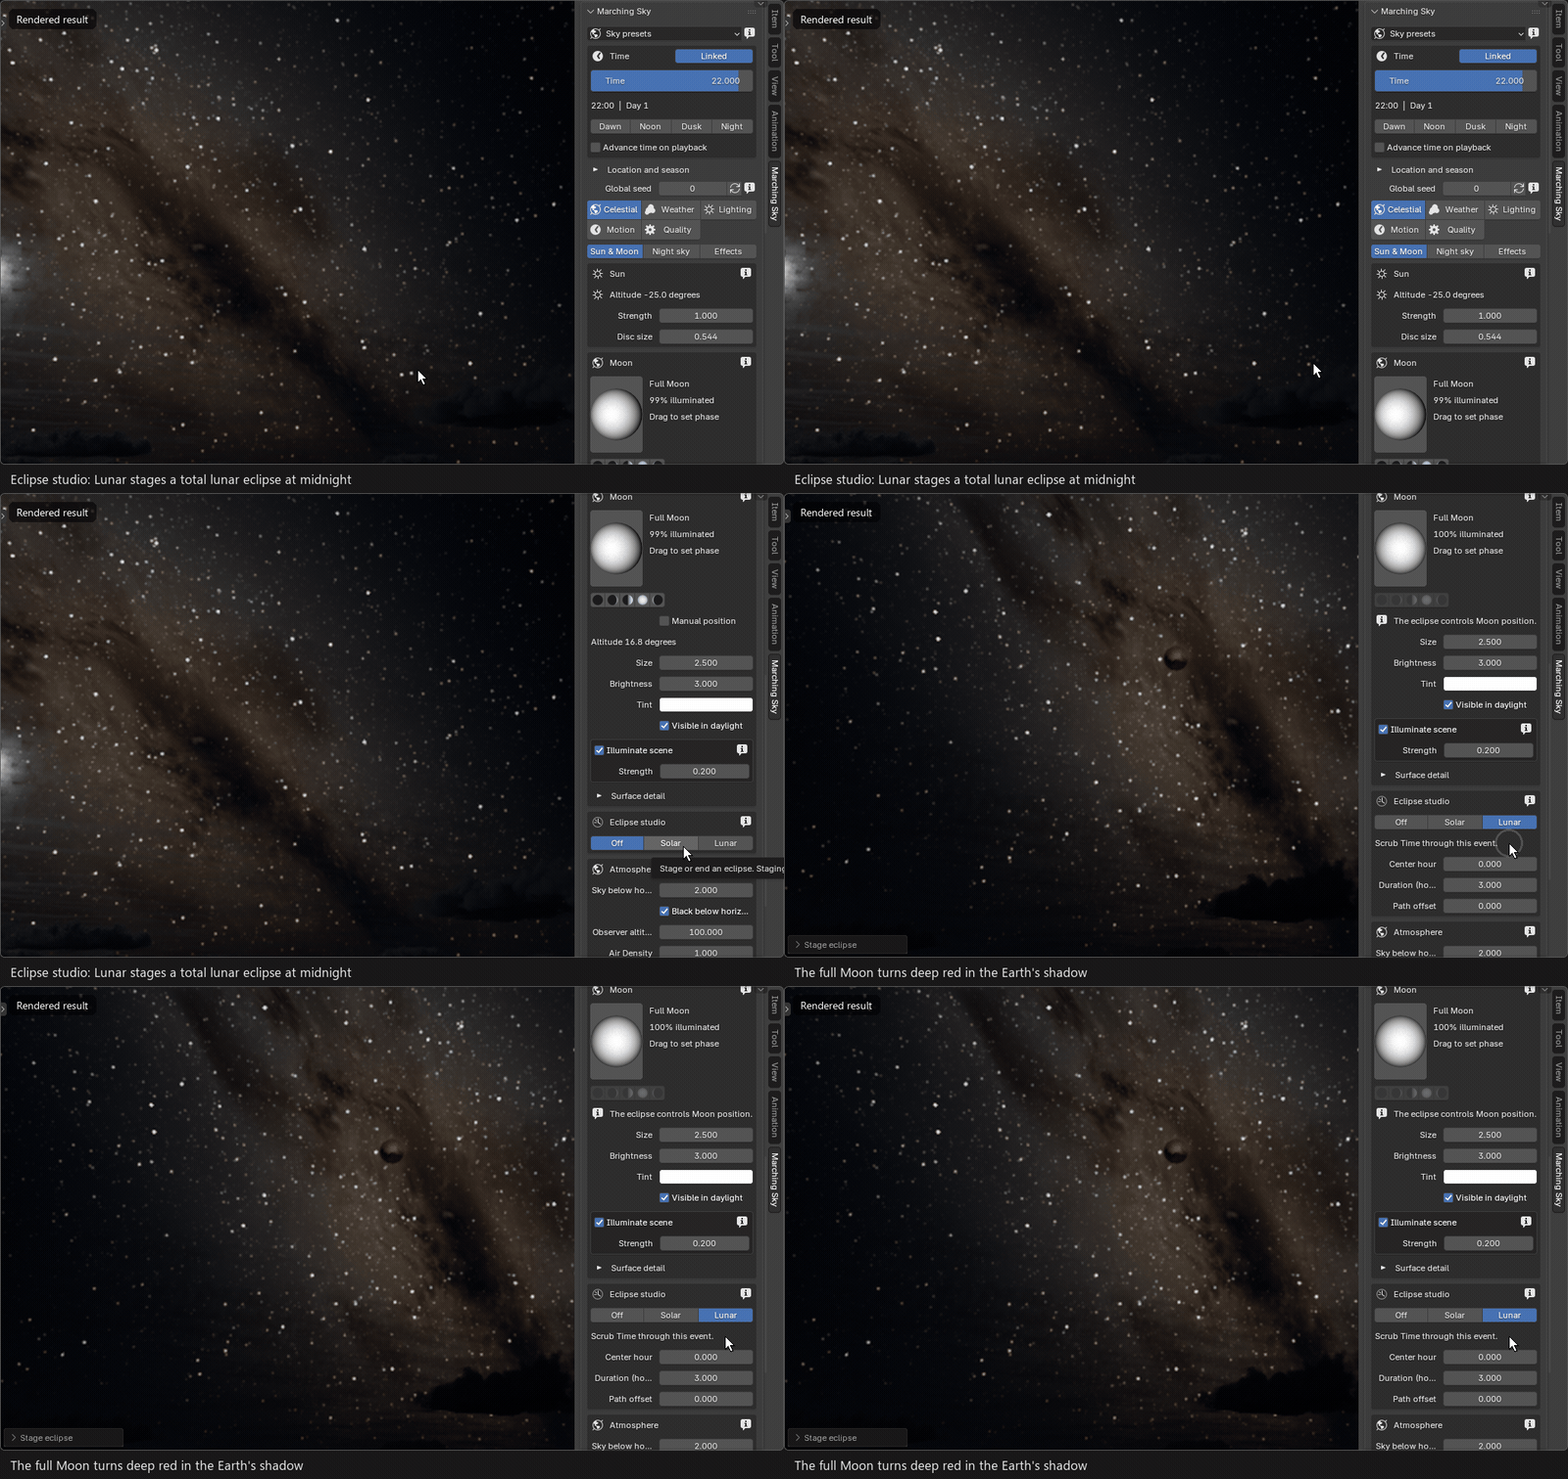
Lunar stages a total lunar eclipse at midnight: the full Moon turns deep red.
Solar stages an eclipse at noon and Lunar at midnight, moving Time to the event. Scrub Time around Center hour to play it; Duration sets its length and Path offset moves the crossing off-centre. A Moon / Sun size above 1 gives a total eclipse, below 1 an annular ring. Off returns to the normal orbit.
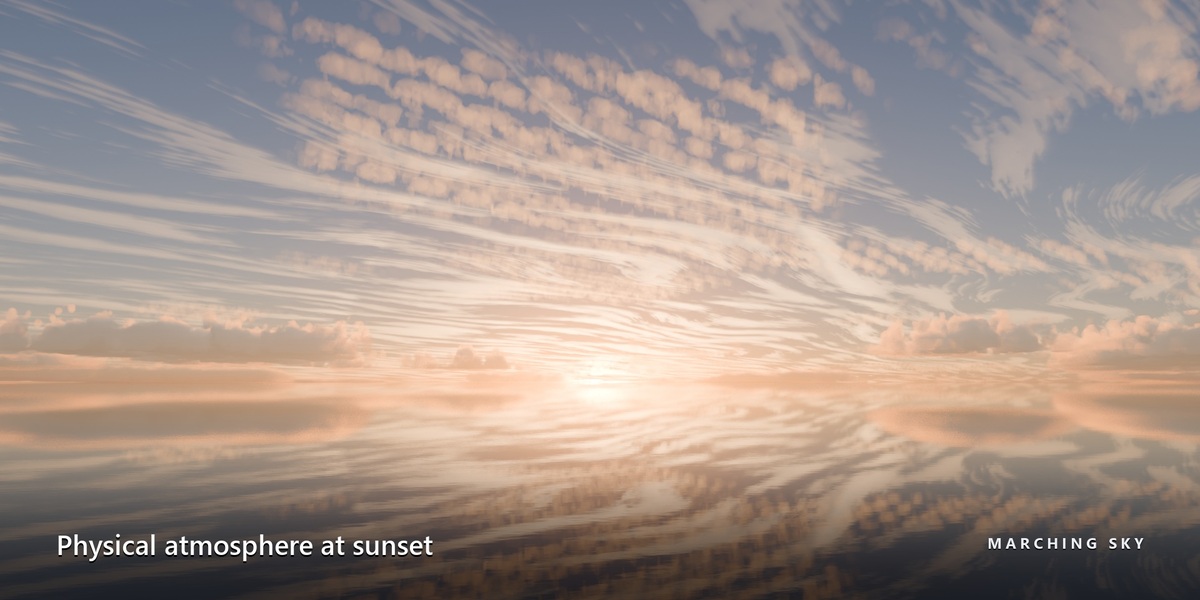
Atmosphere and horizon
Celestial › Sun & Moon › Atmosphere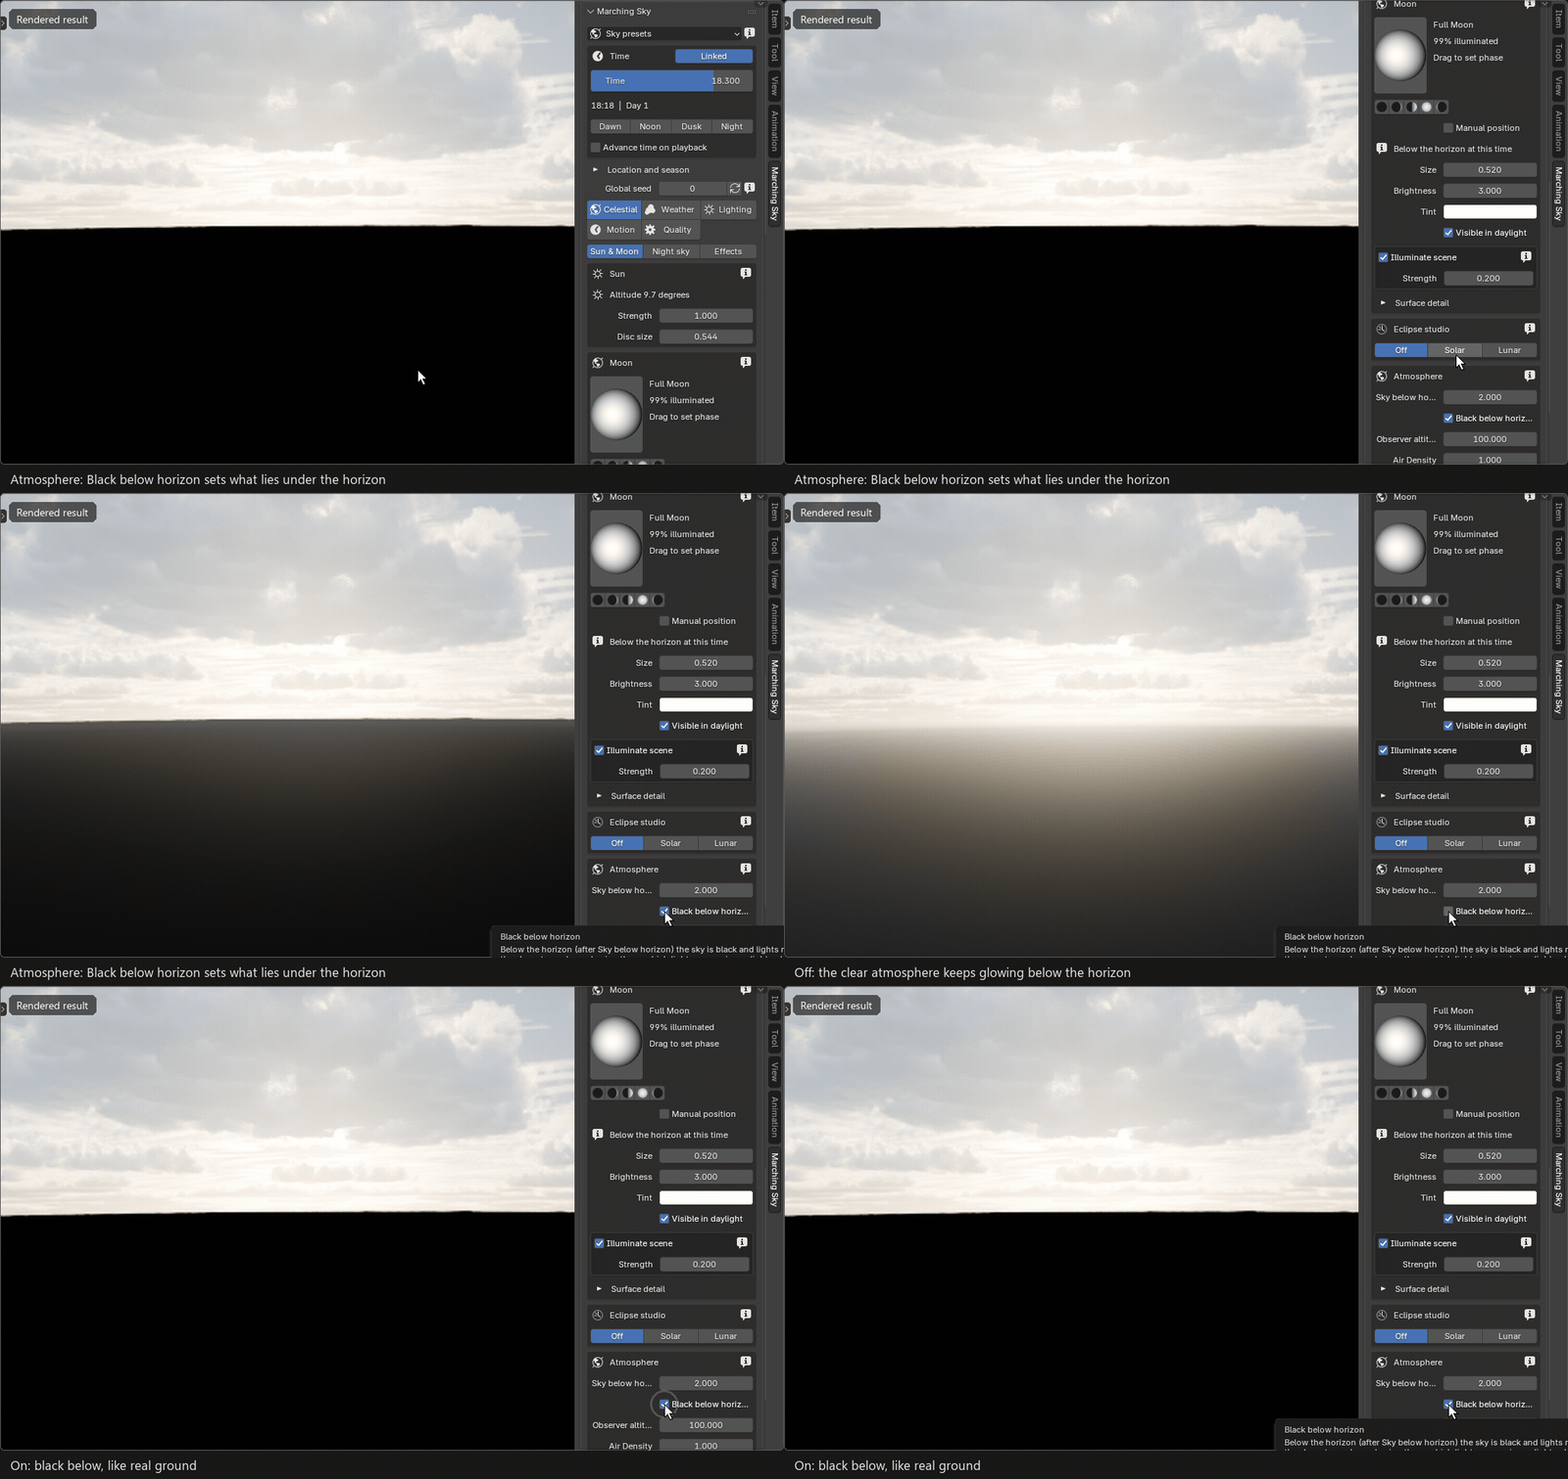
Black below horizon off: the clear sky keeps glowing under the horizon. On: black, like real ground.
- Sky below horizon continues the sky a few degrees under the true horizon (2 by default), hiding the seam behind ground that ends below eye level.
- Black below horizon, on by default, makes everything under that line black so it emits no light, as real ground would. Turn it off for HDR panoramas meant to light scenes without ground.
- Observer altitude, Air Density, Aerosol Density and Ozone Density change the colour and haze of the daytime sky.
CELESTIAL
Night sky
Stars, the Milky Way and twinkle appear once the Sun is down. Move Time into the night to see them.
Stars
Celestial › Night sky › Stars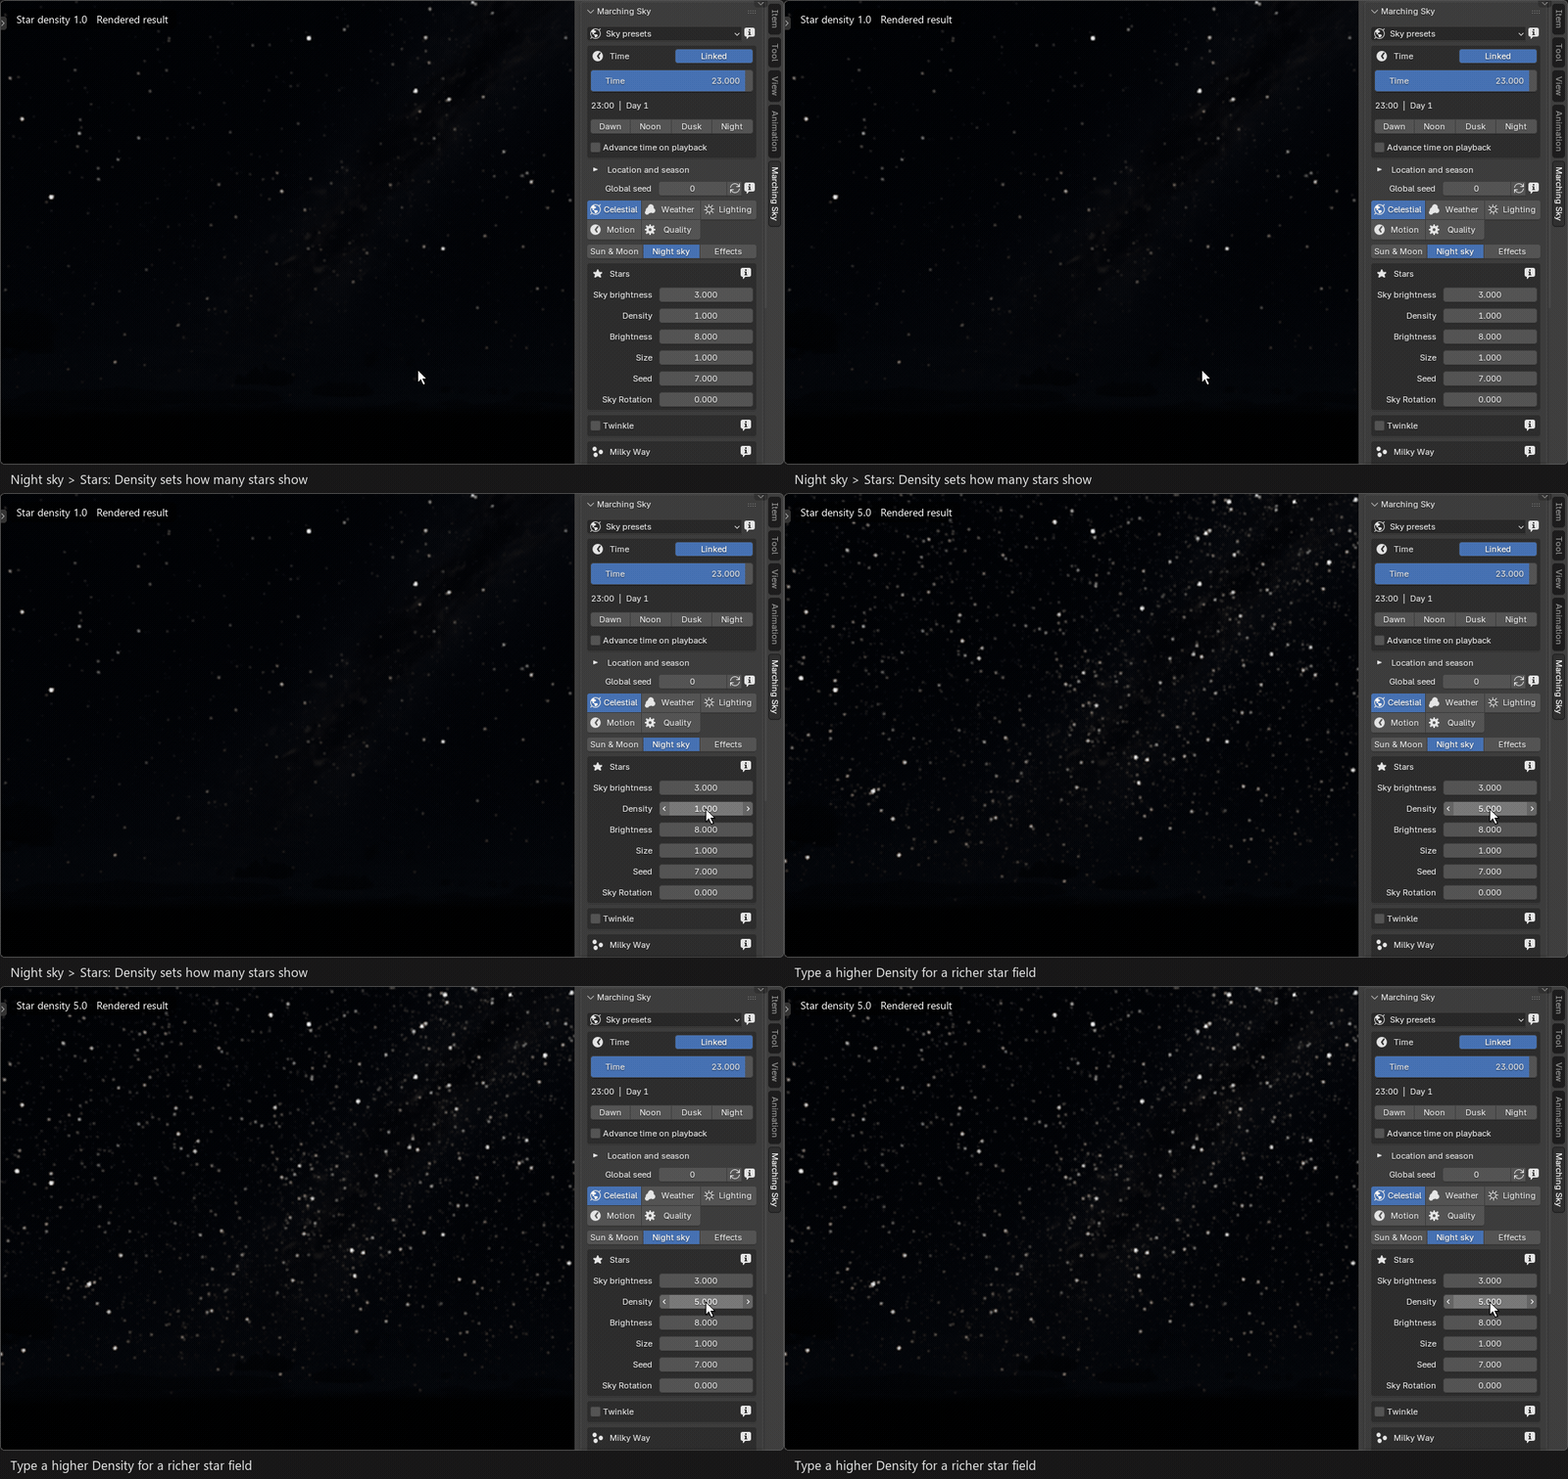
Density reveals more of the same fixed star field; mostly faint stars are added.
Density 0 removes the stars and higher values reveal more of them, mostly faint ones (2.5 by default, up to 5). Brightness, Size, Seed and Sky Rotation complete the set; Sky brightness lifts the whole night sky.
Twinkle adds atmospheric scintillation while the timeline plays, stronger near the horizon. It affects only the stars.
Milky Way
Celestial › Night sky › Milky Way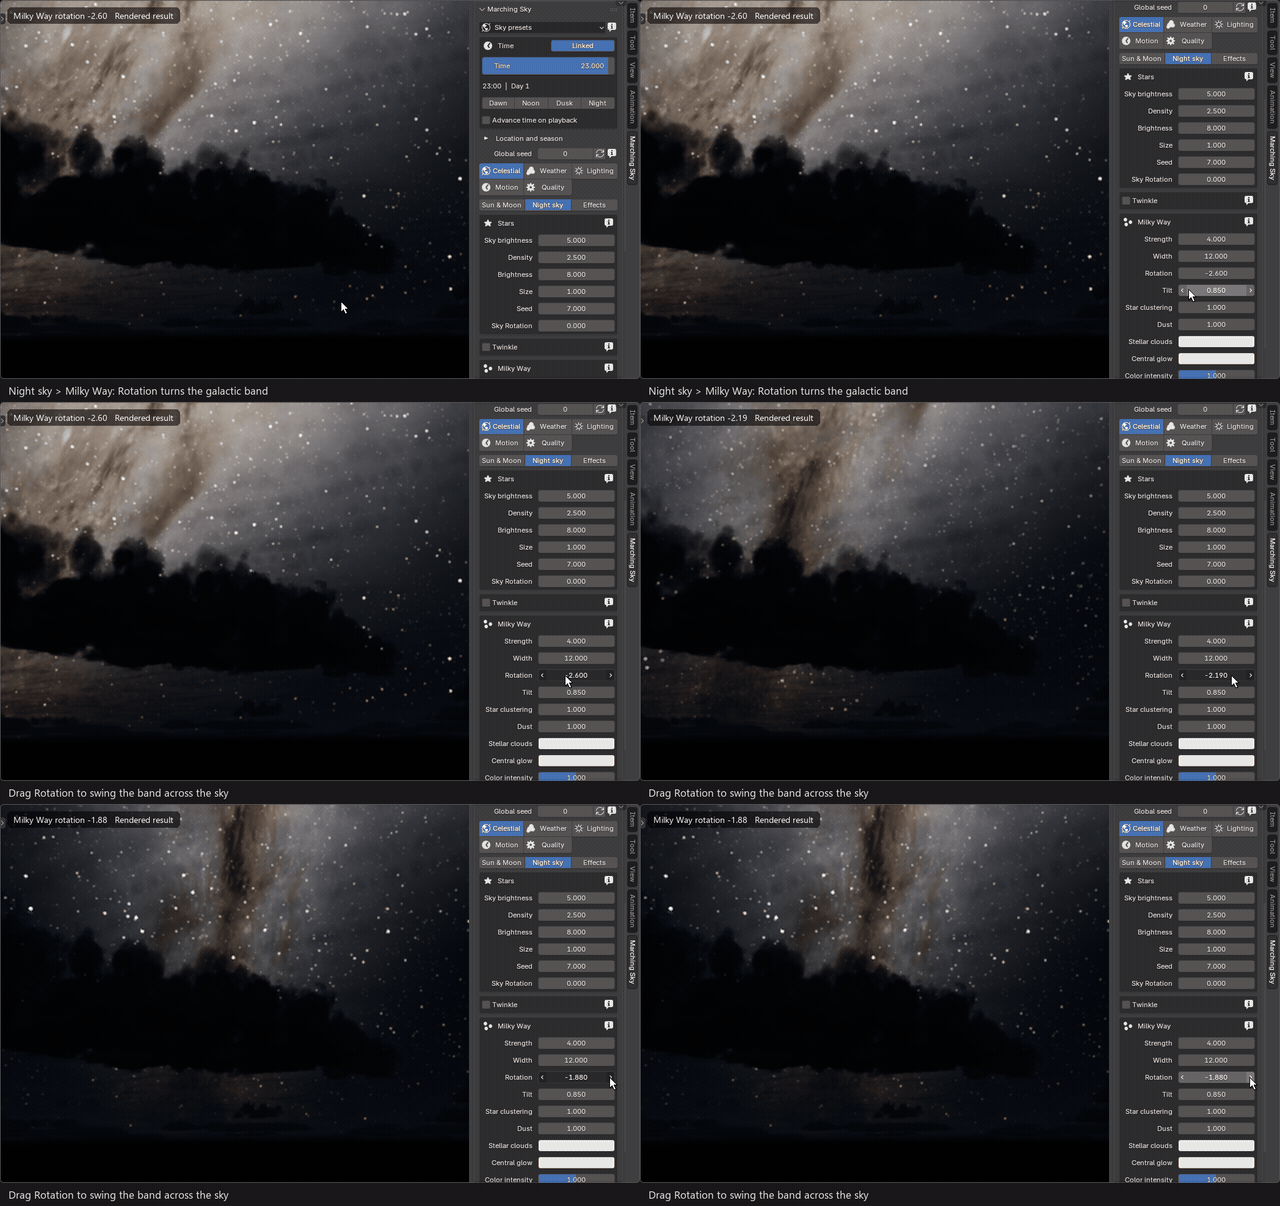
Dragging Rotation swings the galactic band across the sky.
Strength, Width, Rotation and Tilt shape the band; Dust darkens its rifts and the Stellar clouds and Central glow colours set its palette. With Linked time it sits where the real galaxy does, rising in the south-east and setting in the south-west.
FOR THE CLEAREST MILKY WAY
Use a new Moon and few clouds: a full Moon washes out faint stars, as in real photographs.
WEATHER
Clouds
Three ray-marched layers: low cumulus, a middle sheet and high wisps. Pick a layer to shape it; the lower controls affect all of them.
Coverage
Weather › Low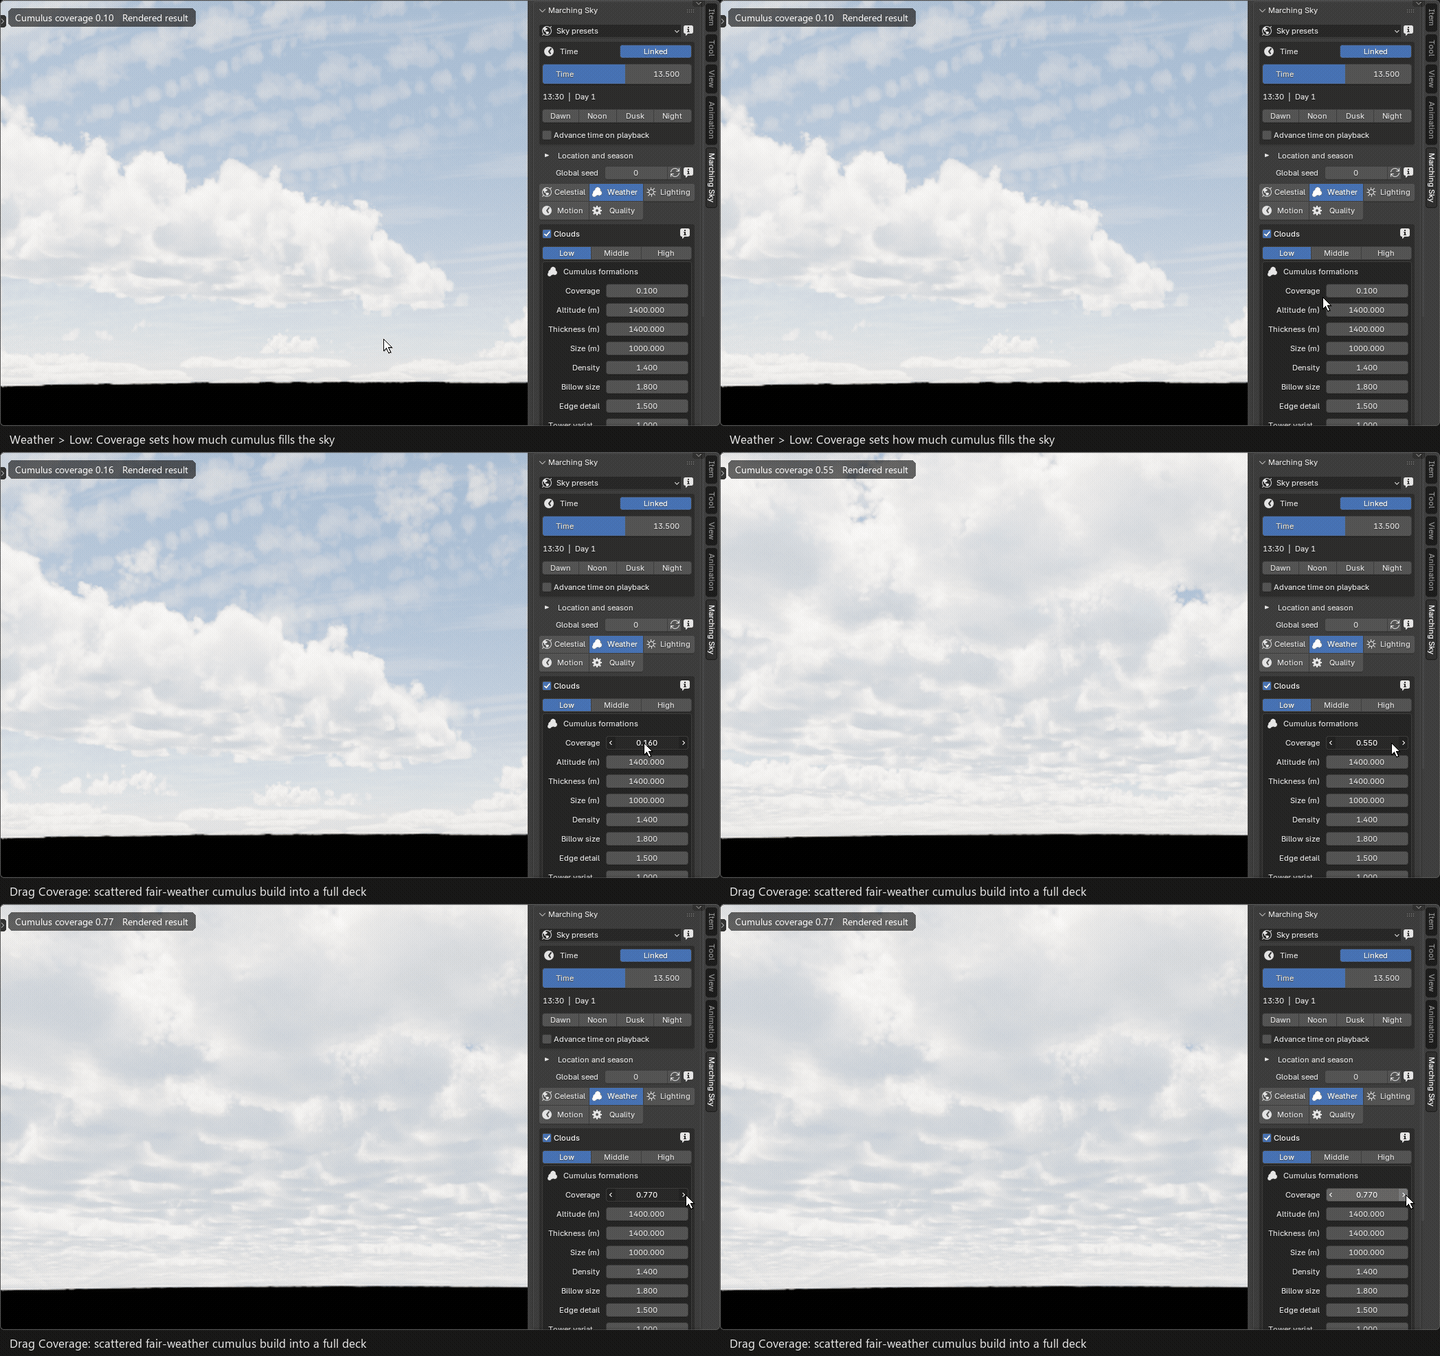
Dragging Coverage: scattered fair-weather cumulus build into a full deck.
Each layer has Coverage, Altitude (m), Thickness (m), Size (m) and Density. Above about 0.8 the middle layer closes into a continuous sheet and the high layer into a veil.
Three layers
Weather › Low · Middle · High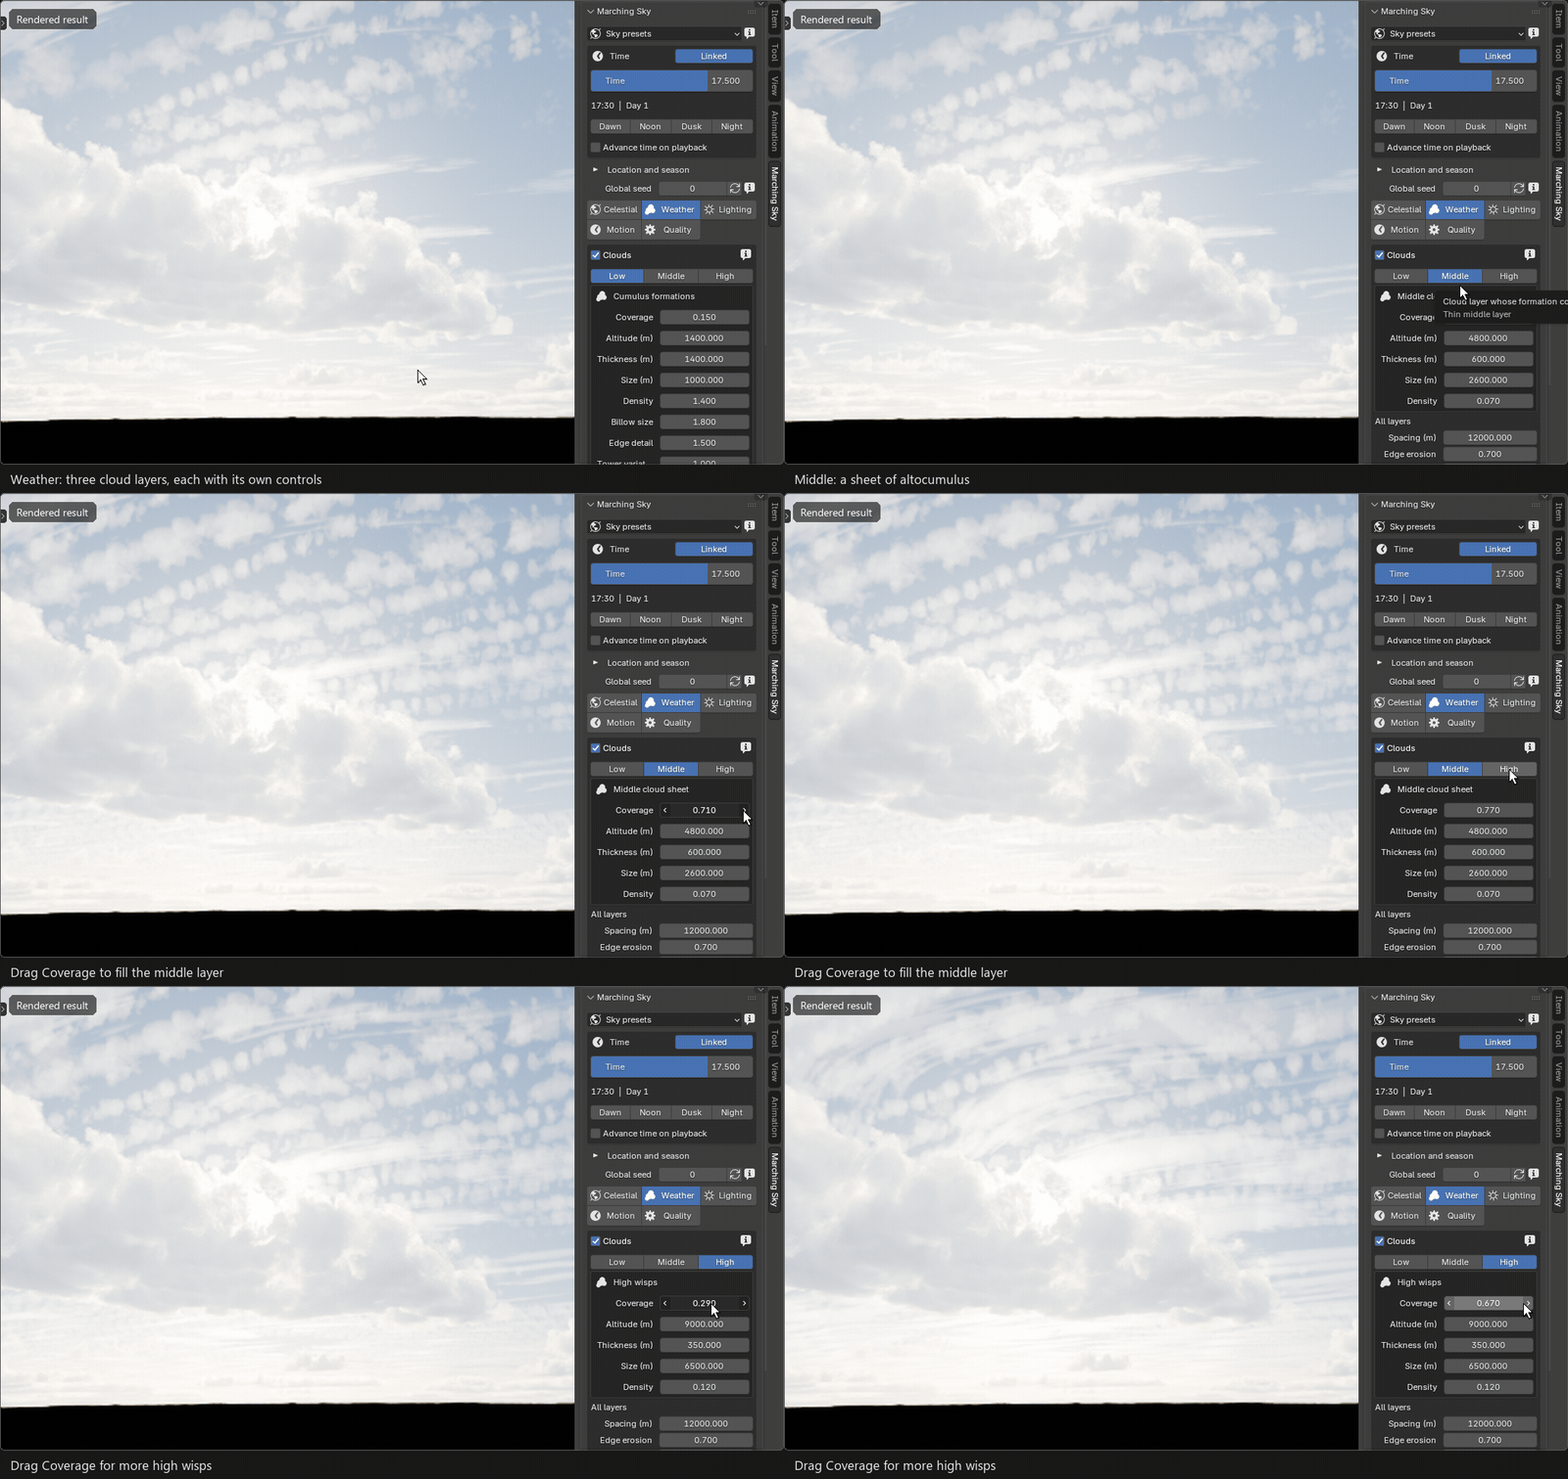
Middle: a sheet of altocumulus. High: wispy cirrus far above.
Keep the layers' altitude ranges apart. Sunlight reaching one layer passes through the others, so clouds under an overcast deck are shaded by it.
Cumulus size and shape
Weather › Low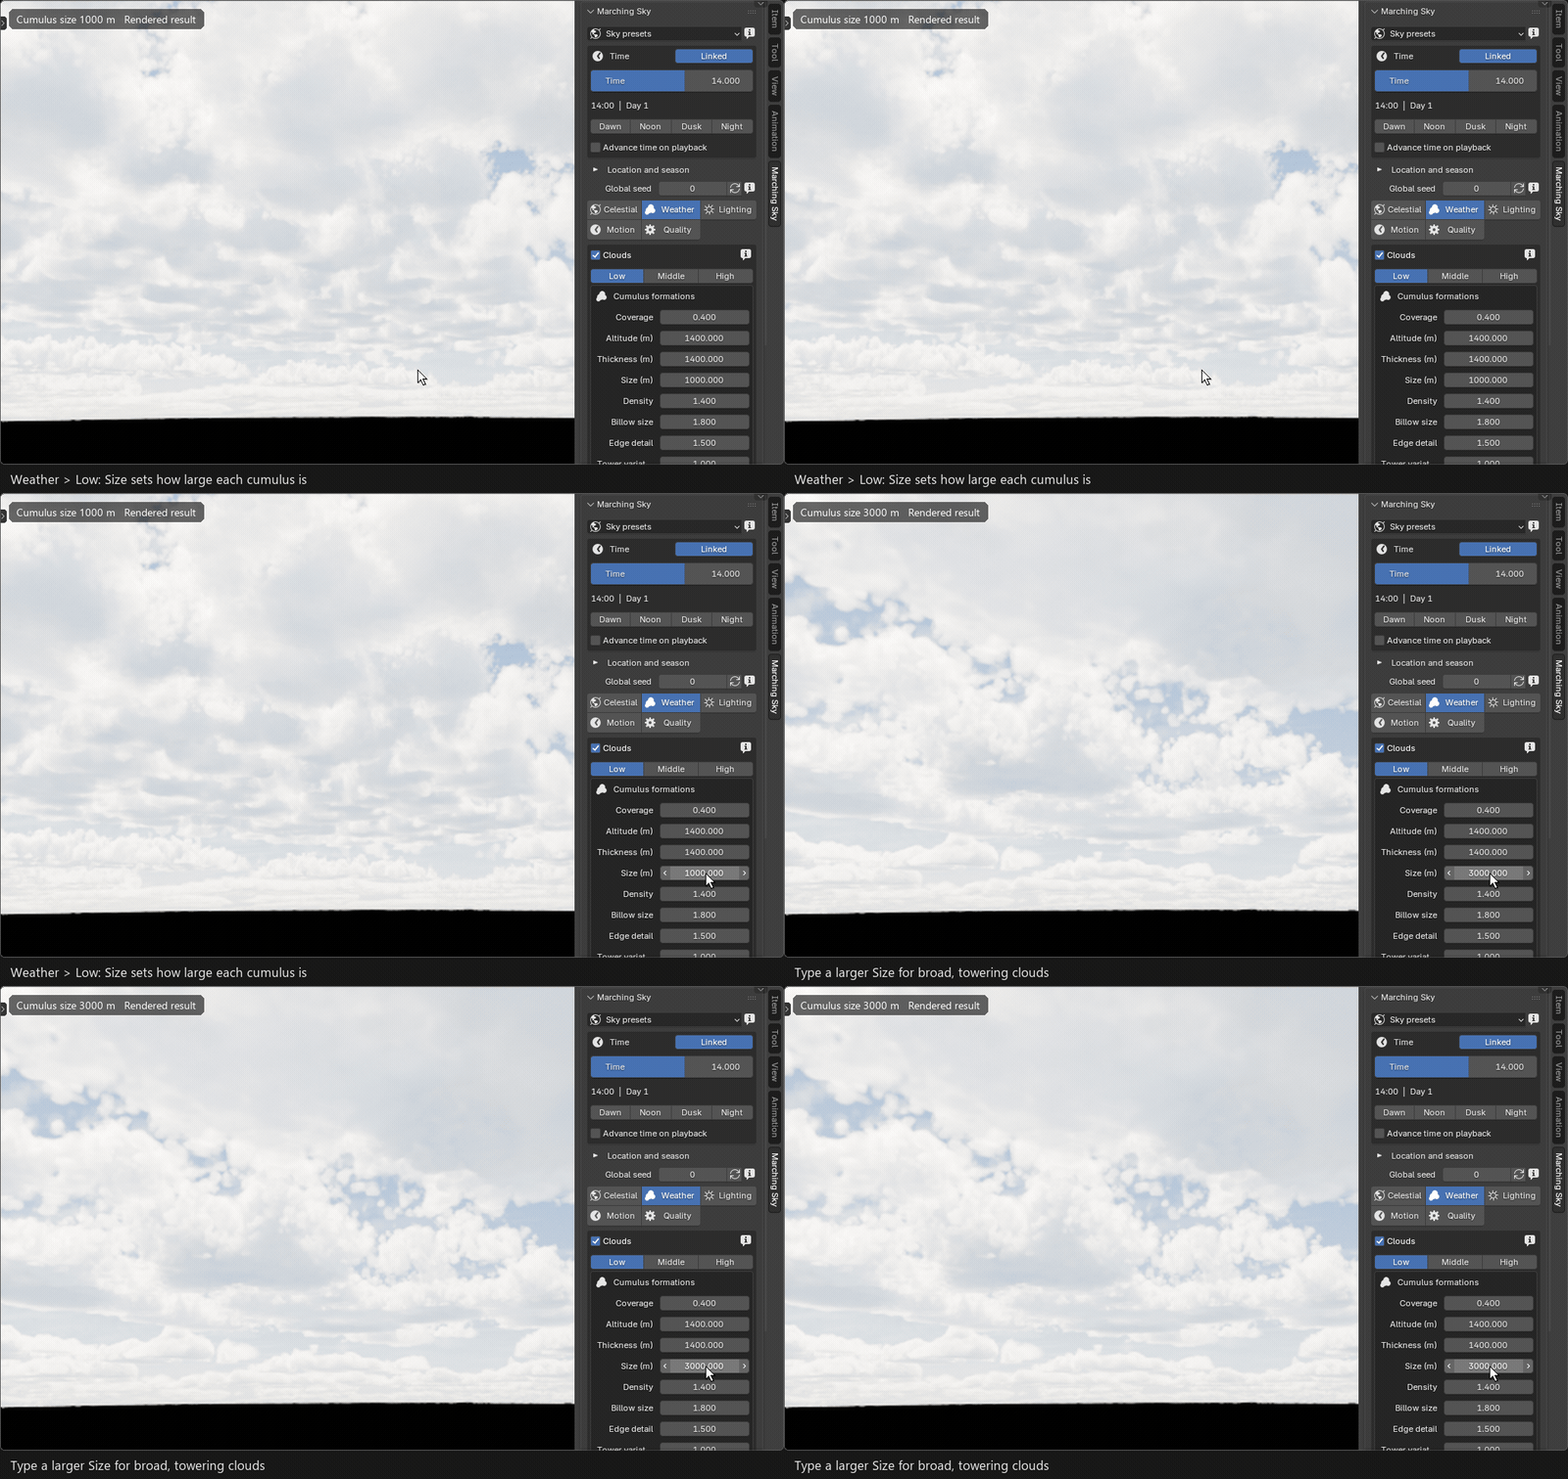
Size (m) from 1000 to 3000: broader, larger clouds.
The Low layer adds Billow size (puff spacing), Edge detail (small puffs and surface relief) and Tower variation. Under All layers: Spacing (m) sets how far apart cloud groups are, Edge erosion the wispiness of edges, and Seed the cloud pattern.
Moving the cloud field
Weather › All layers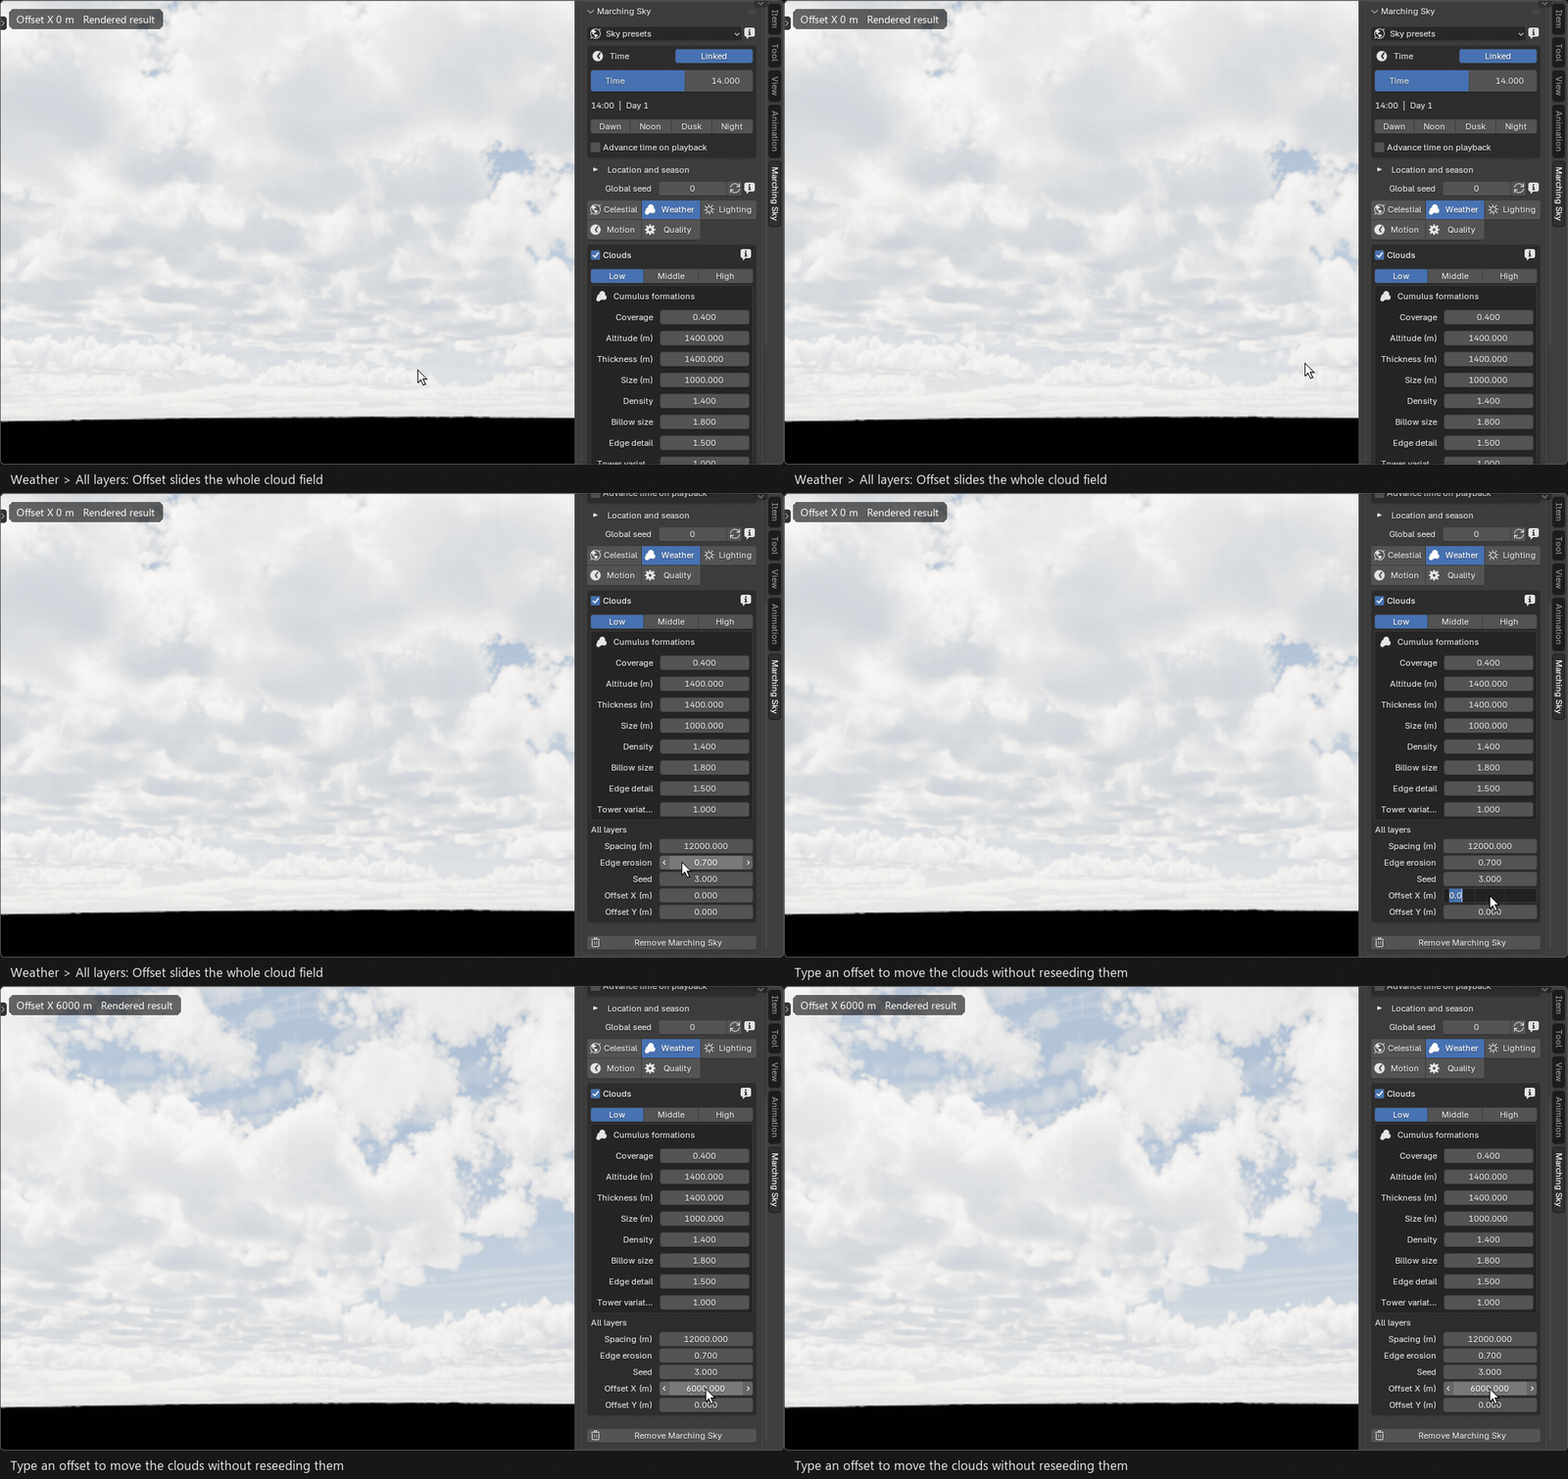
Offset X slides the whole cloud field without changing its pattern.
Offset X (m) and Offset Y (m) are handy for framing a shot. For moving clouds use Animate clouds in the Motion tab.
Lighting and haze
Lighting › Cloud lighting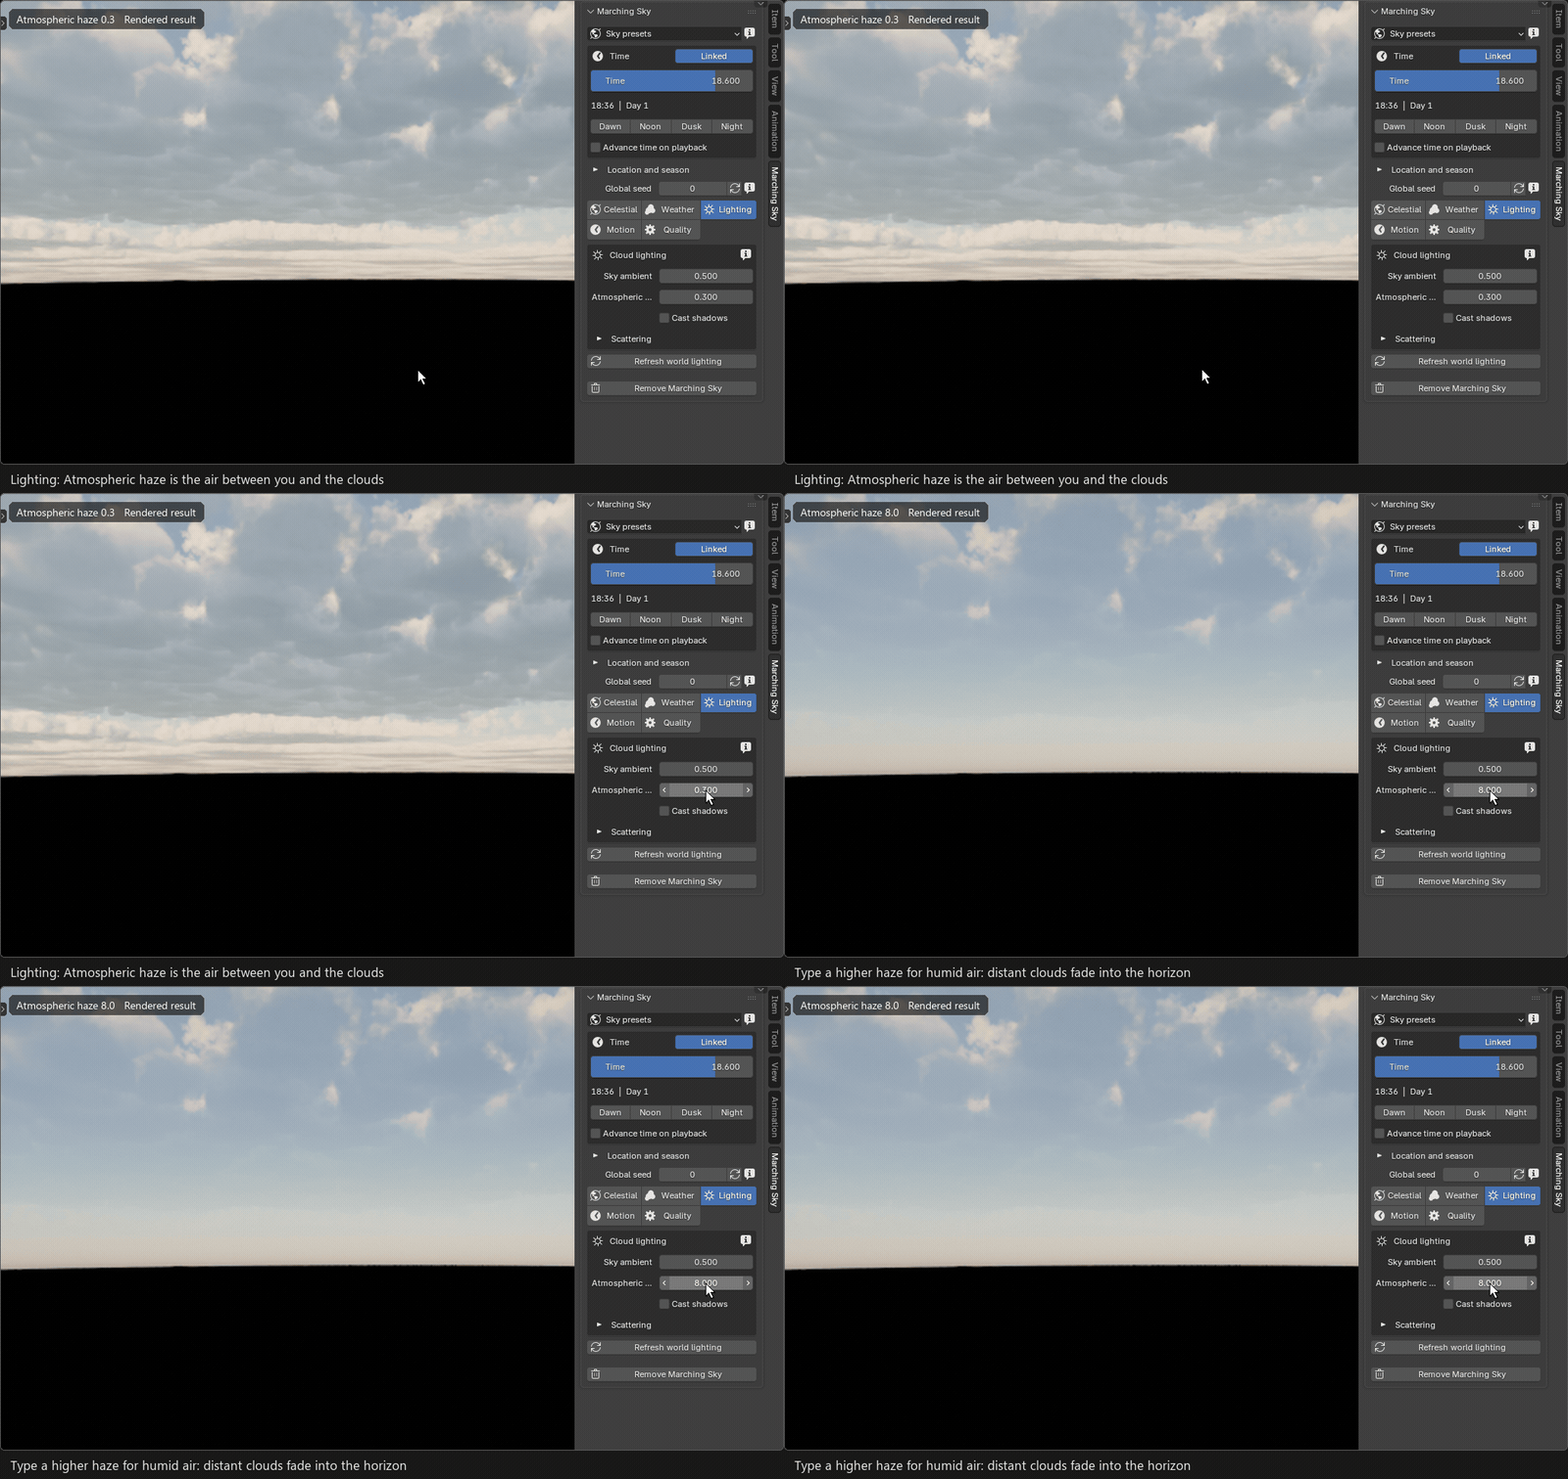
Atmospheric haze from 0.3 to 8: distant clouds fade into the horizon, as in humid air.
- Atmospheric haze is the air between you and the clouds. 1 matches the real atmosphere; raise it for humid or polluted air, set 0 to turn it off.
- Sky ambient sets how much skylight fills the shadows.
- Cast shadows lets the clouds shadow your scene. It is off by default because it adds render time.
- Scattering holds the advanced droplet and light-scattering settings.
CLOUDS ARE LIT BY THE SKY
The clouds take their sunlight, moonlight and ambient colour from the sky. Point, spot and area lamps in your scene do not light them.
CELESTIAL › EFFECTS
Sky effects
Each effect starts off. Tick its box to turn it on; while it is off it adds no render time.
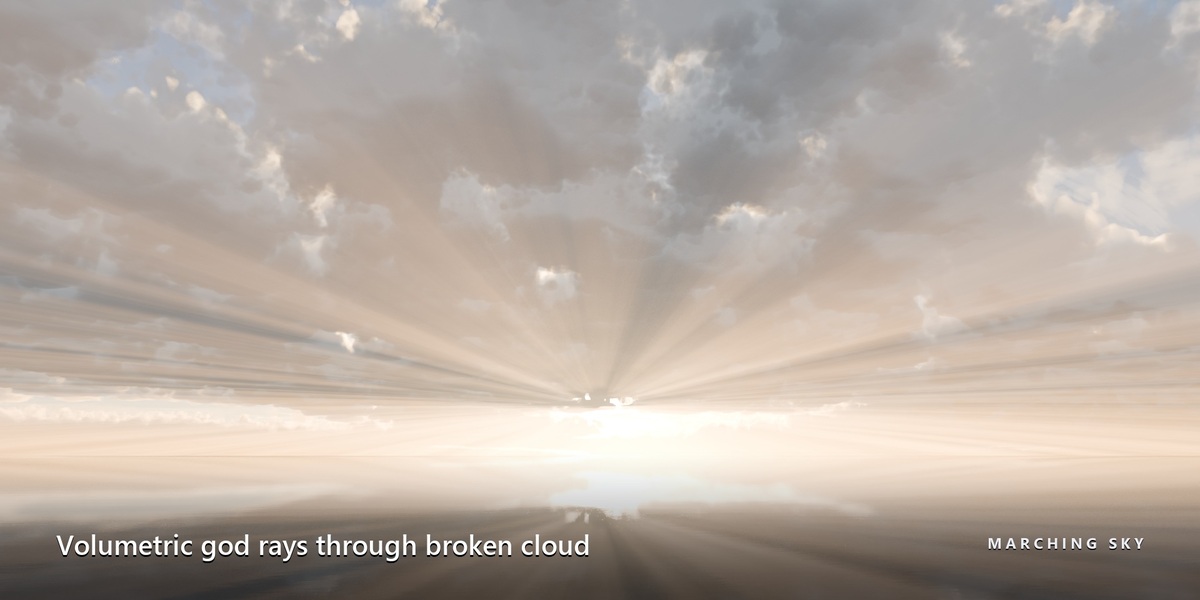
God rays
Celestial › Effects › God rays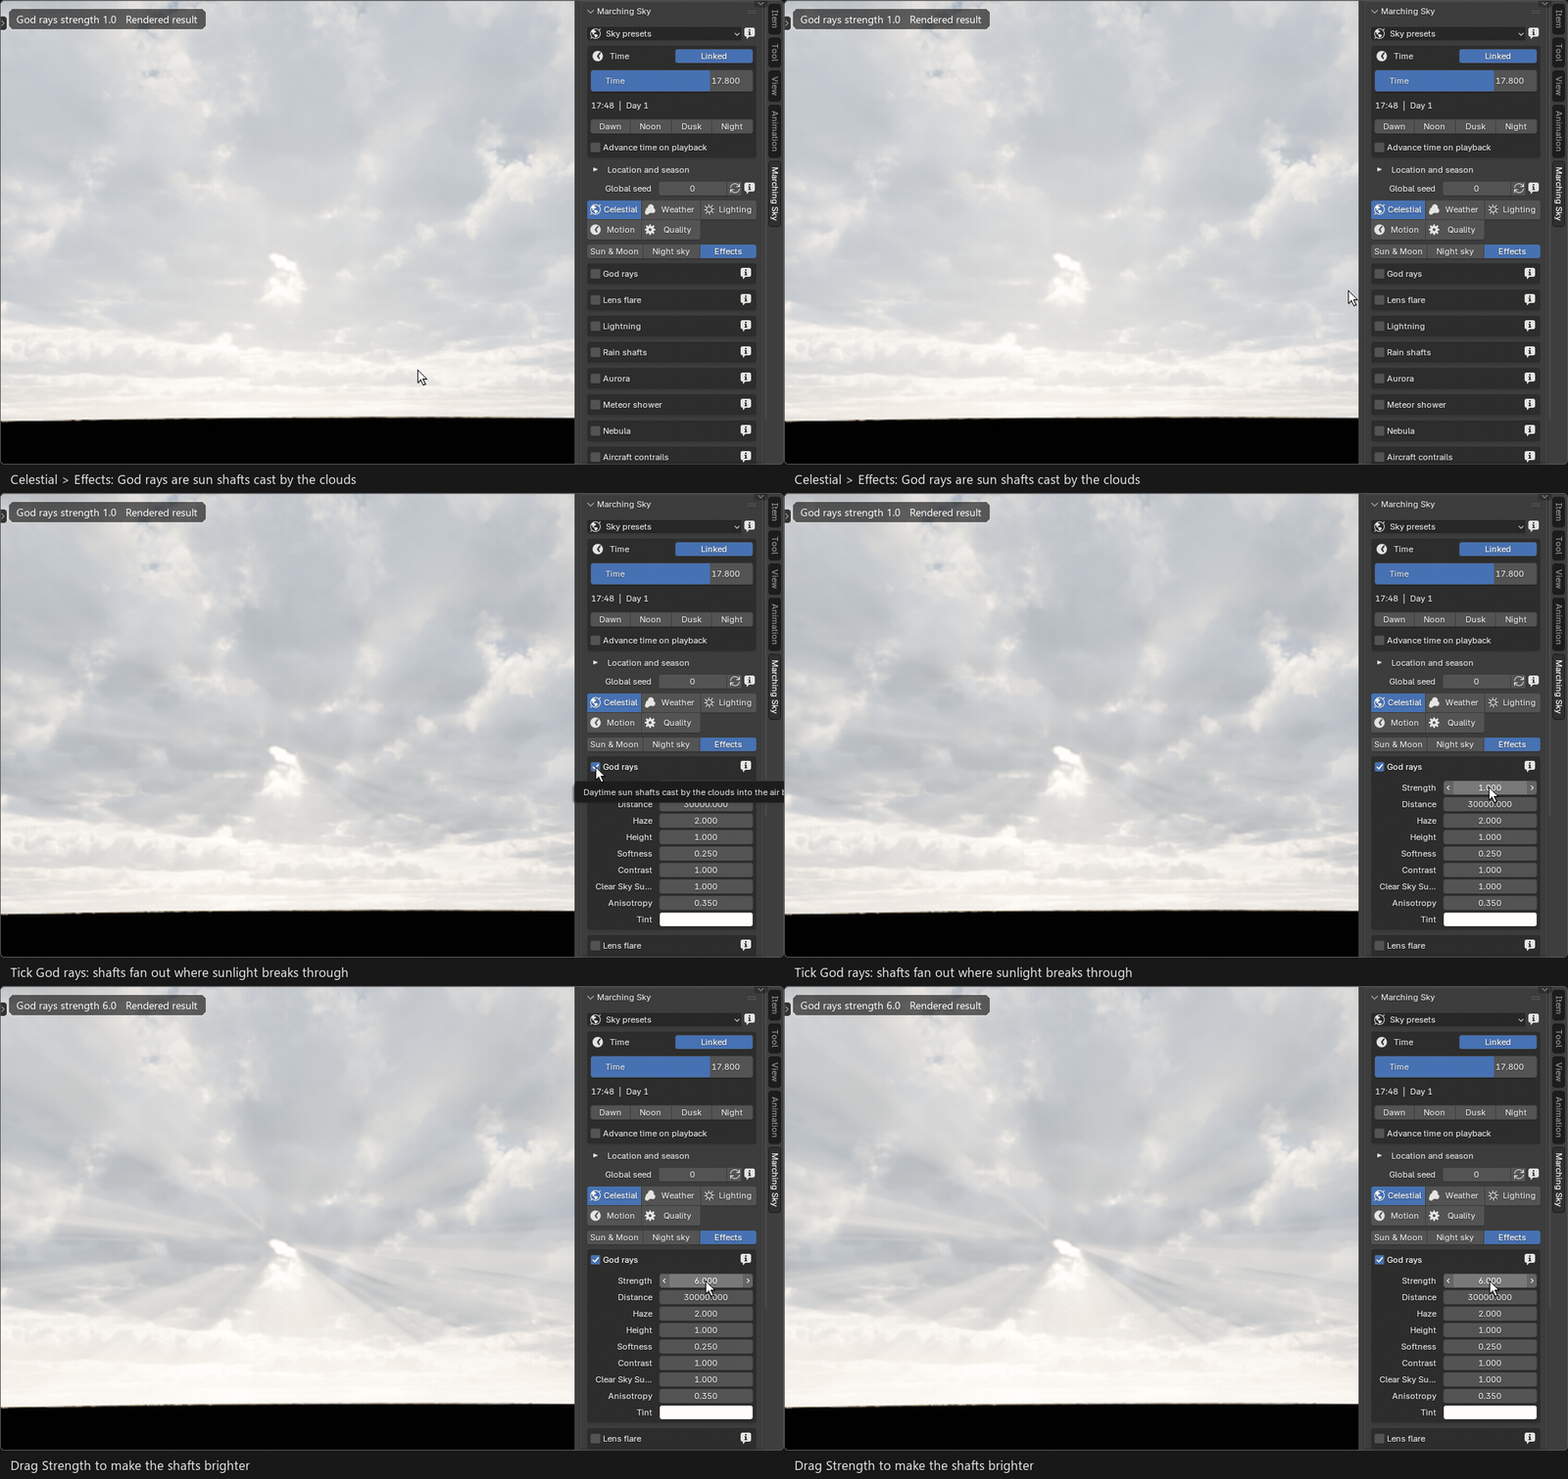
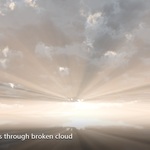
Sun shafts fan out where sunlight breaks through the clouds; Strength makes them brighter.
Shafts form under the clouds from the actual cloud shadows. Strength, Haze and Tint set their look; Distance and Height limit their reach.
Lens flare
Celestial › Effects › Lens flare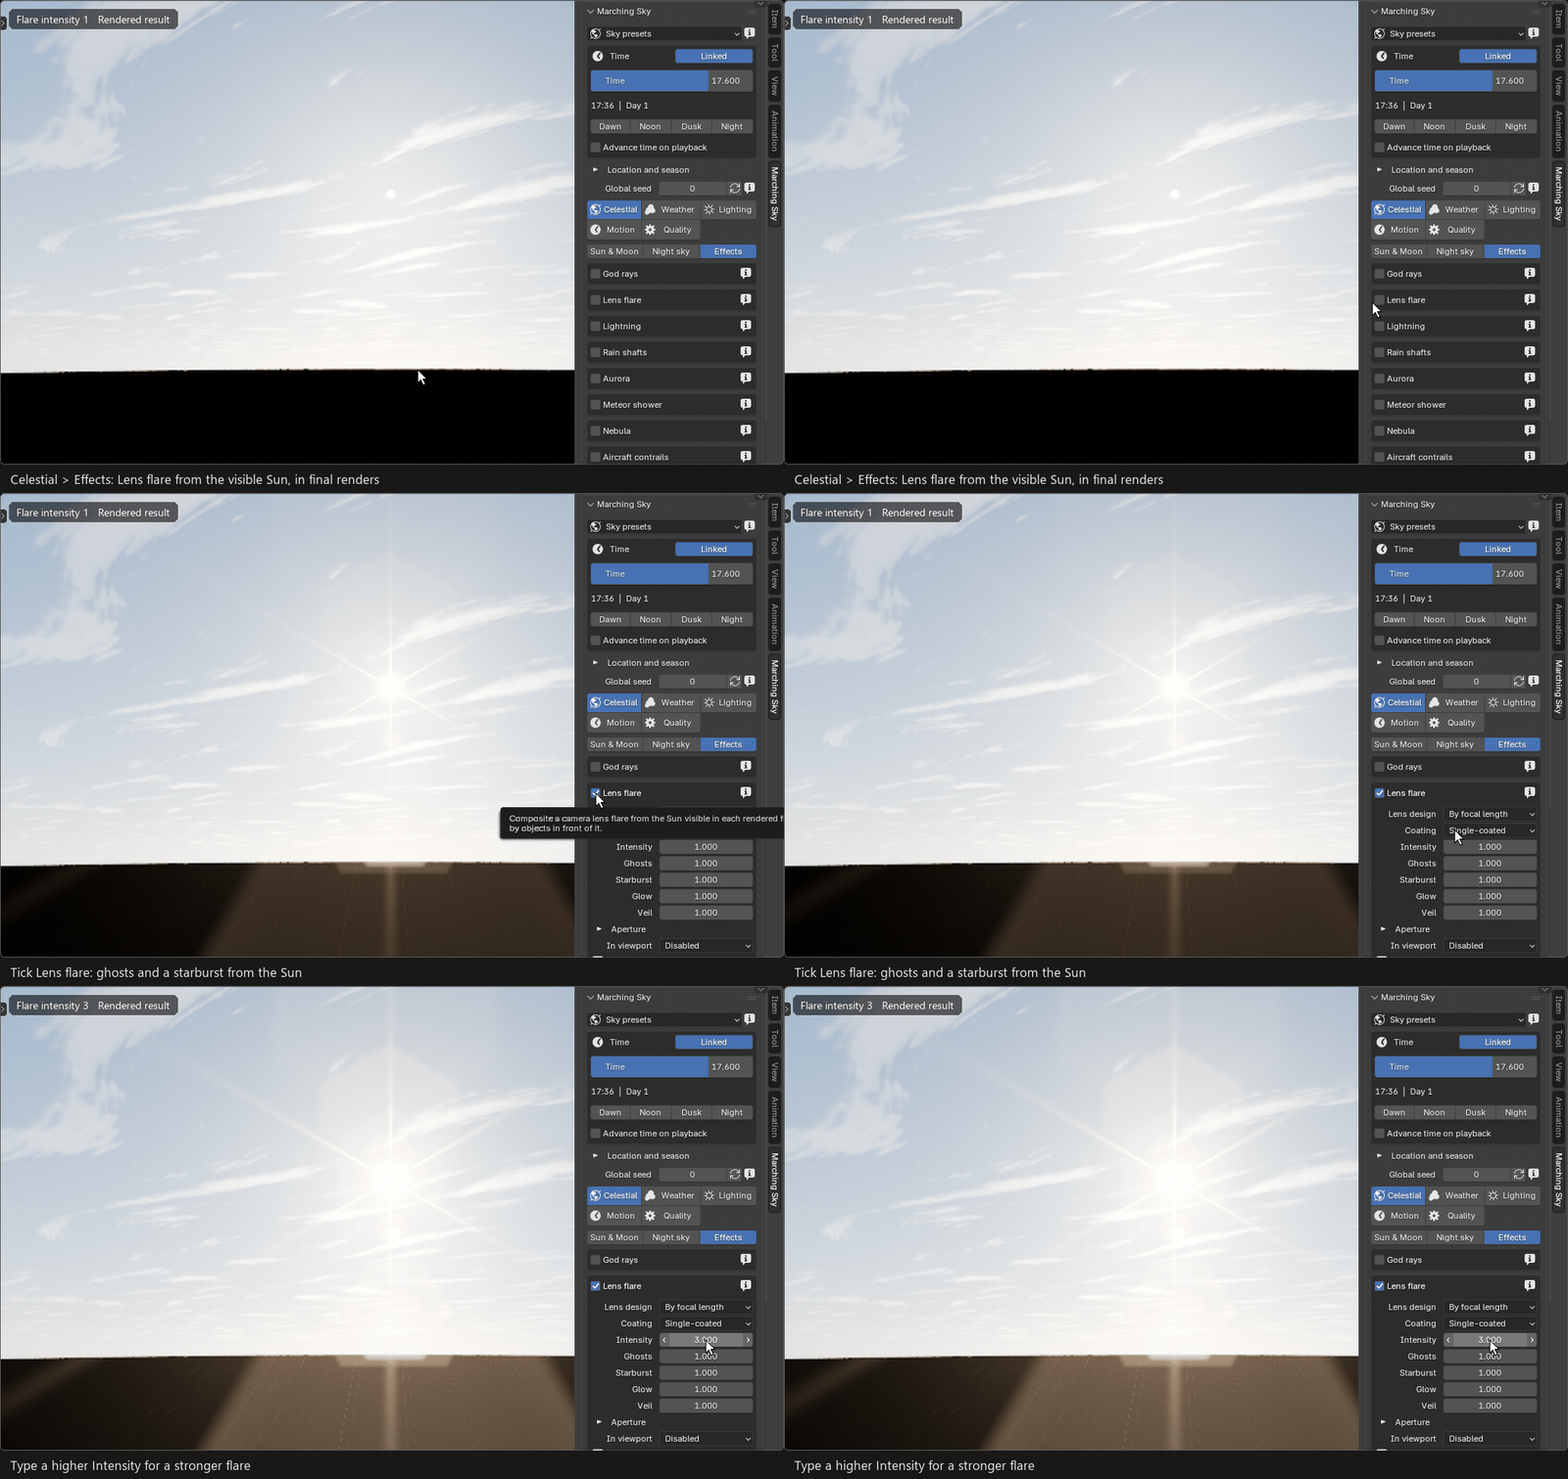
Ghosts and a starburst from the Sun; Intensity makes the flare stronger.
A camera flare built from real lens designs, measured from the Sun visible in each rendered frame, so clouds dim it and objects in front hide it. Choose a Lens design (By focal length follows your camera) and a Coating; Ghosts, Starburst, Glow and Veil scale its parts.
It appears in final renders. To see it in the viewport, set In viewport to Camera or Always.
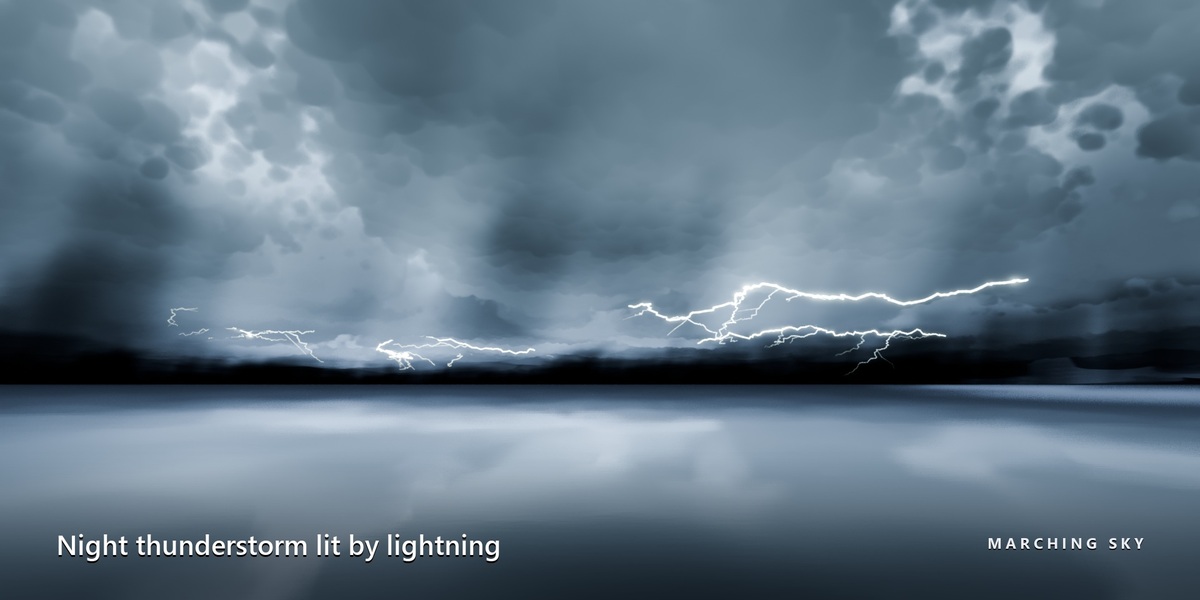
Lightning
Celestial › Effects › Lightning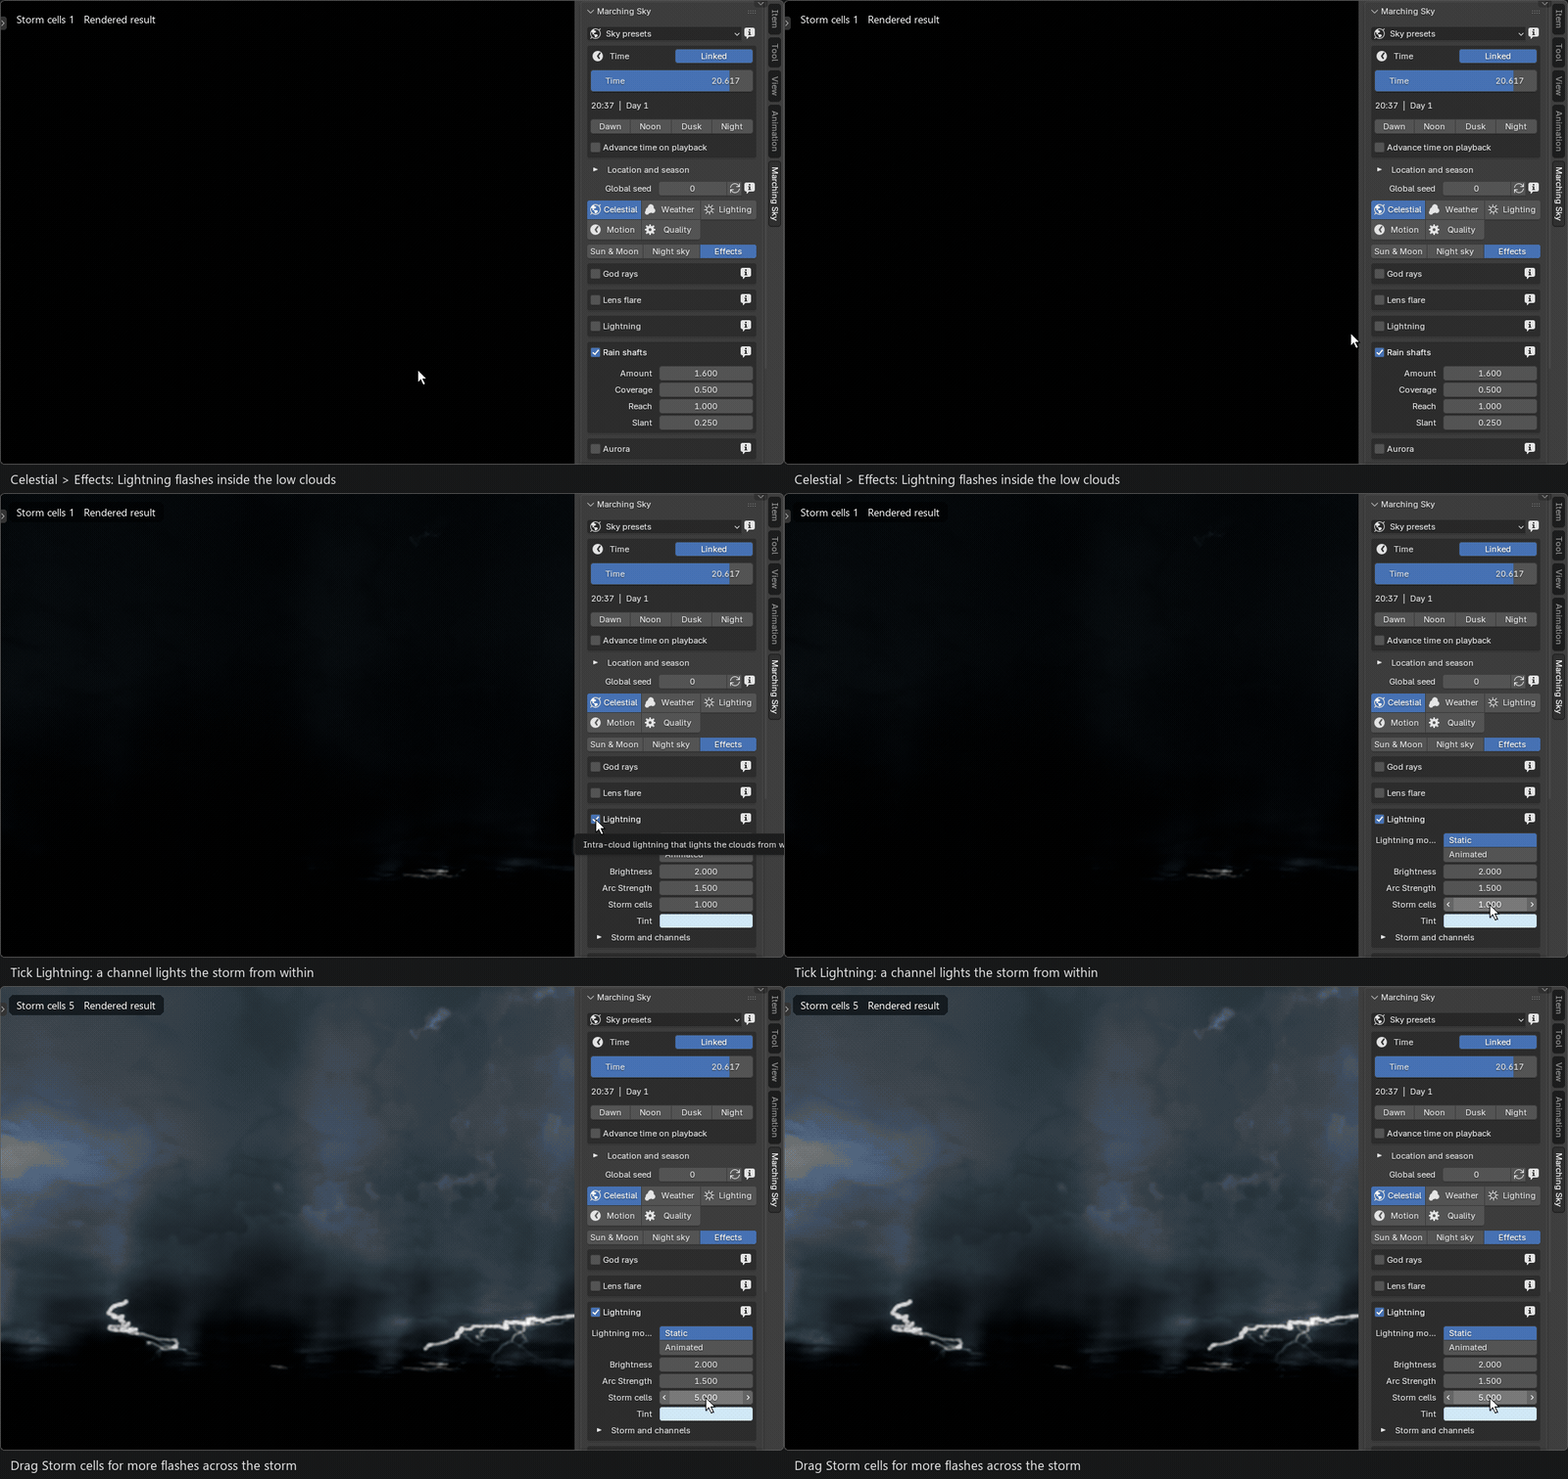
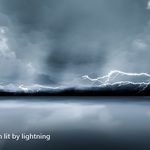
A dark storm lights up from inside; more Storm cells add channels across it.
Intra-cloud lightning that lights the clouds from within and draws jagged, branching arcs under the base. Static keeps every channel lit for stills; Animated fires flickering flashes as the timeline plays. Storm and channels holds placement, size and branching.
Rain shafts
Celestial › Effects › Rain shafts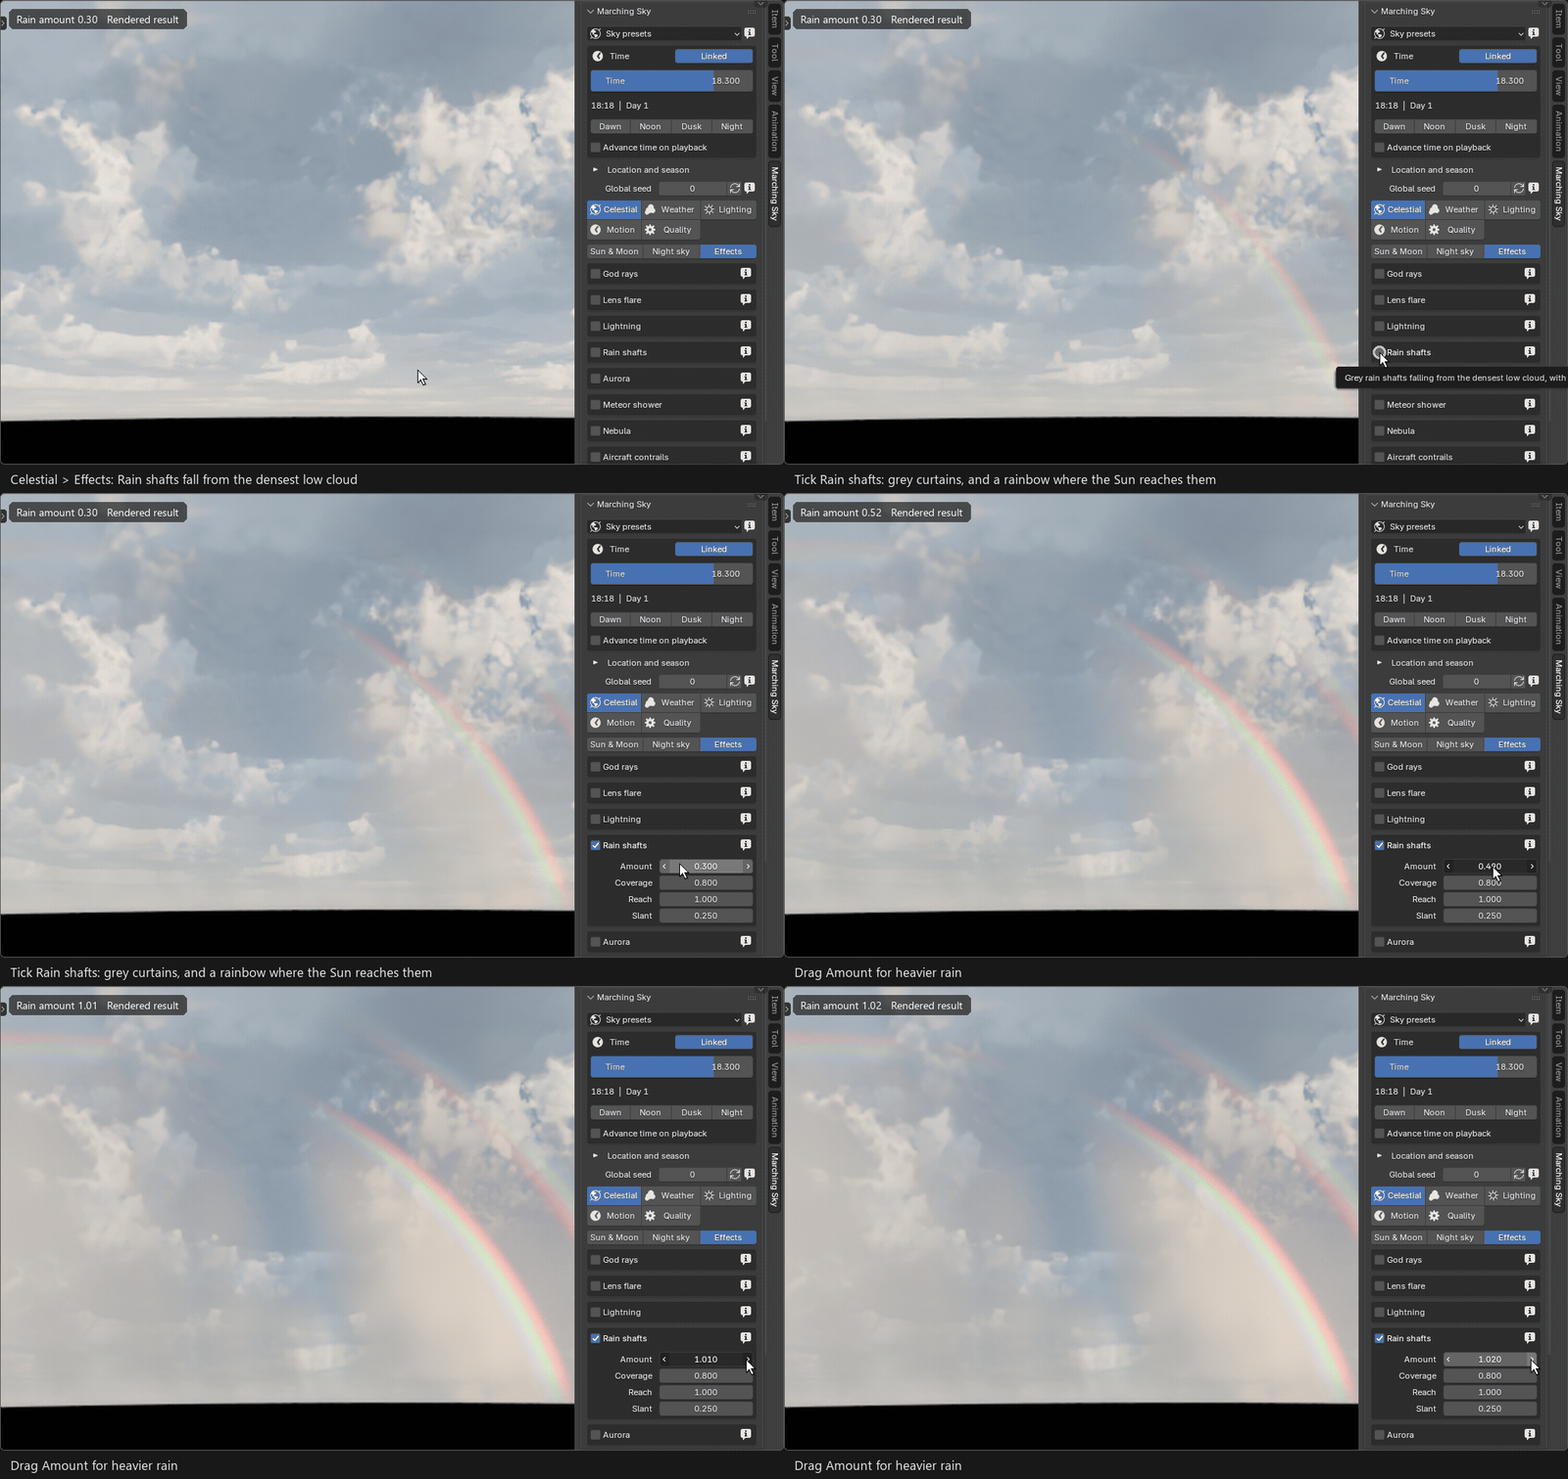
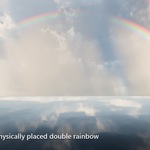
Grey rain curtains under the clouds, with a double rainbow where sunlight reaches them.
Rain falls from the densest low cloud. Amount sets how dense it is, Coverage how much of the cloud rains, Reach how far it falls before evaporating, and Slant how it trails in the wind. With the Sun behind you, a rainbow appears.
Aurora
Celestial › Effects › Aurora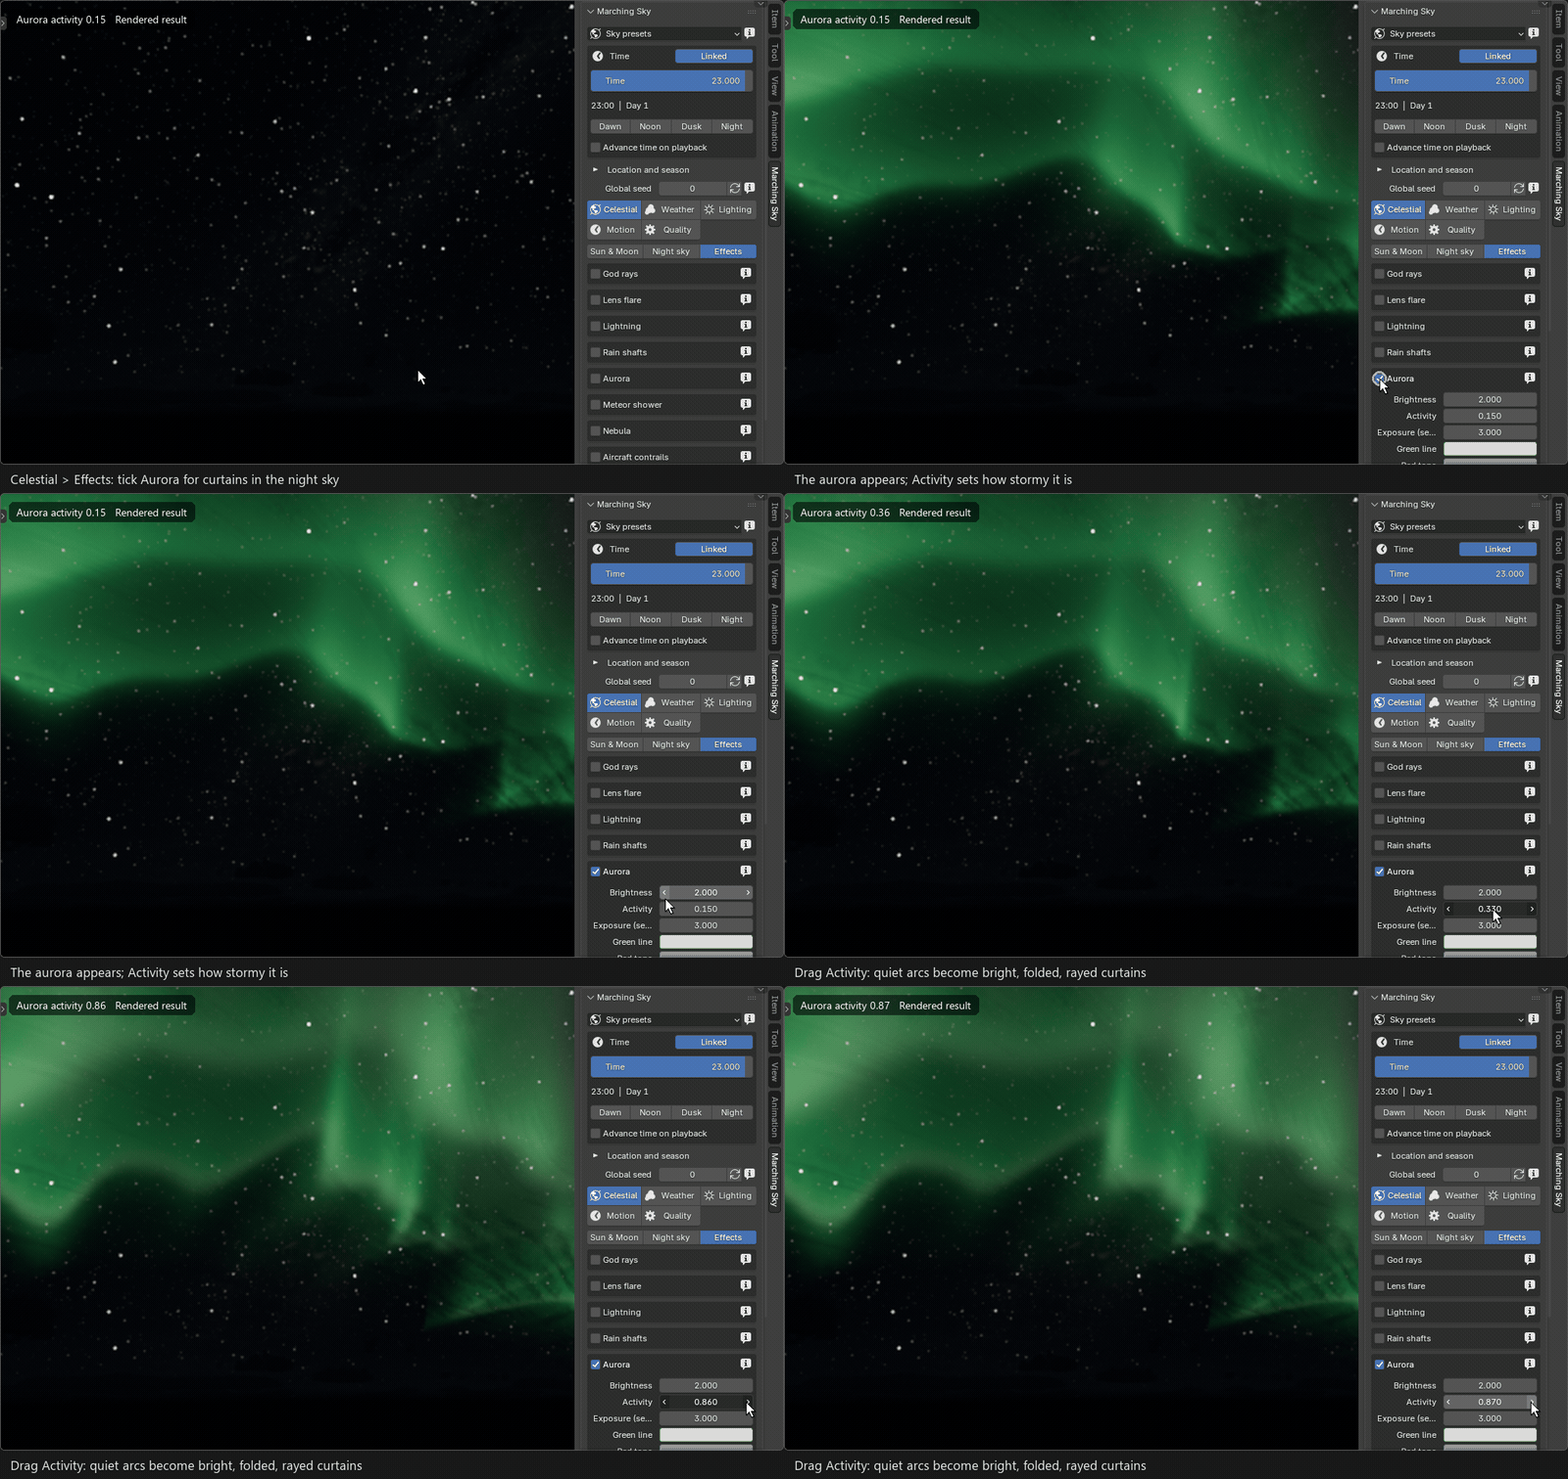
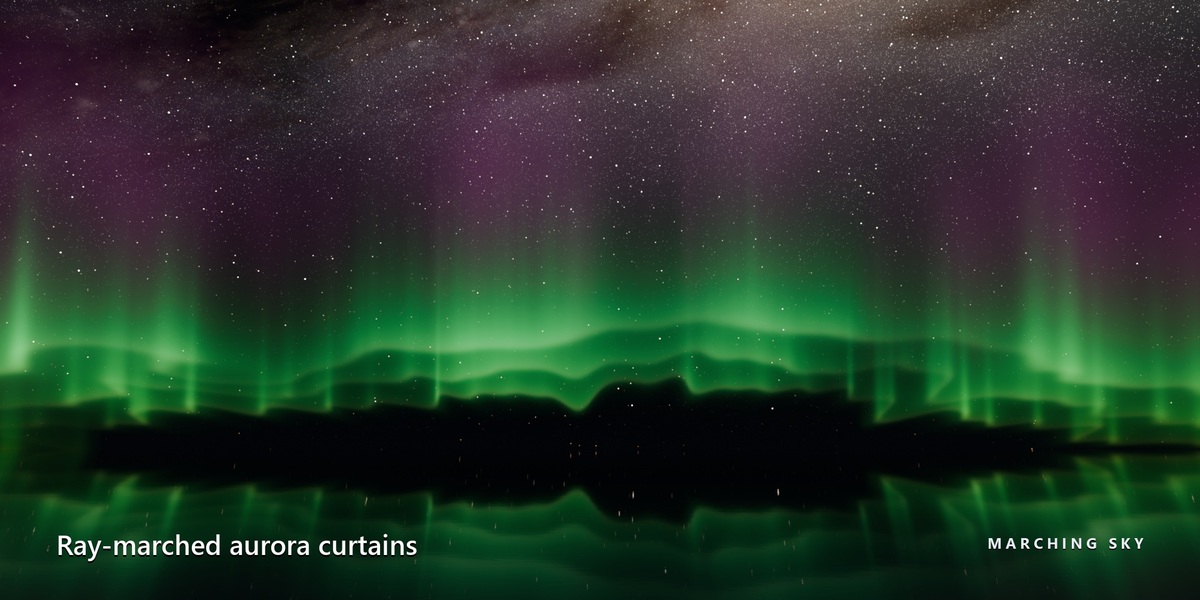
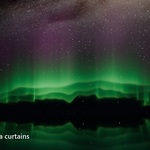
Tick Aurora, then drag Activity: quiet arcs become bright, folded, rayed curtains.
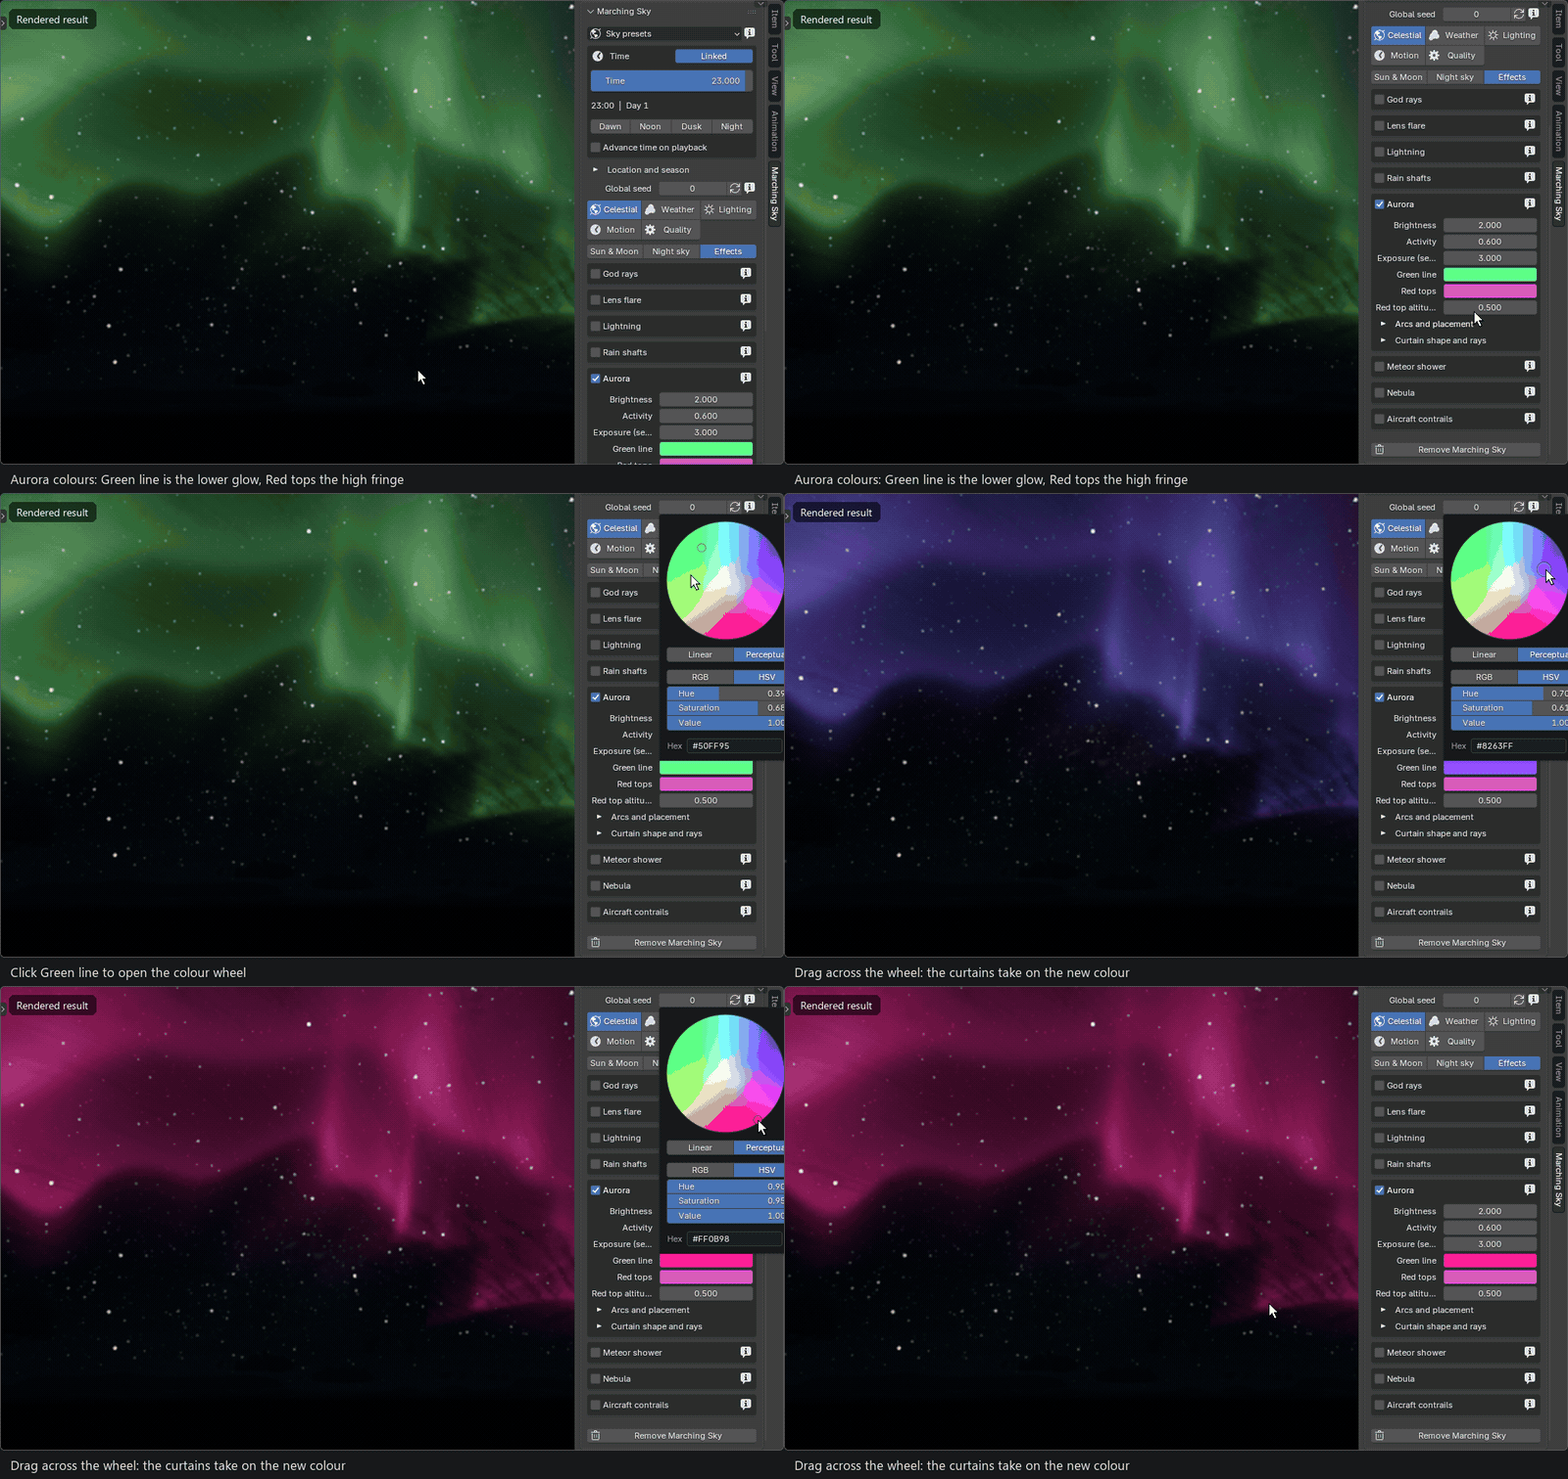
Green line and Red tops are colour pickers: drag across the wheel and the curtains follow.
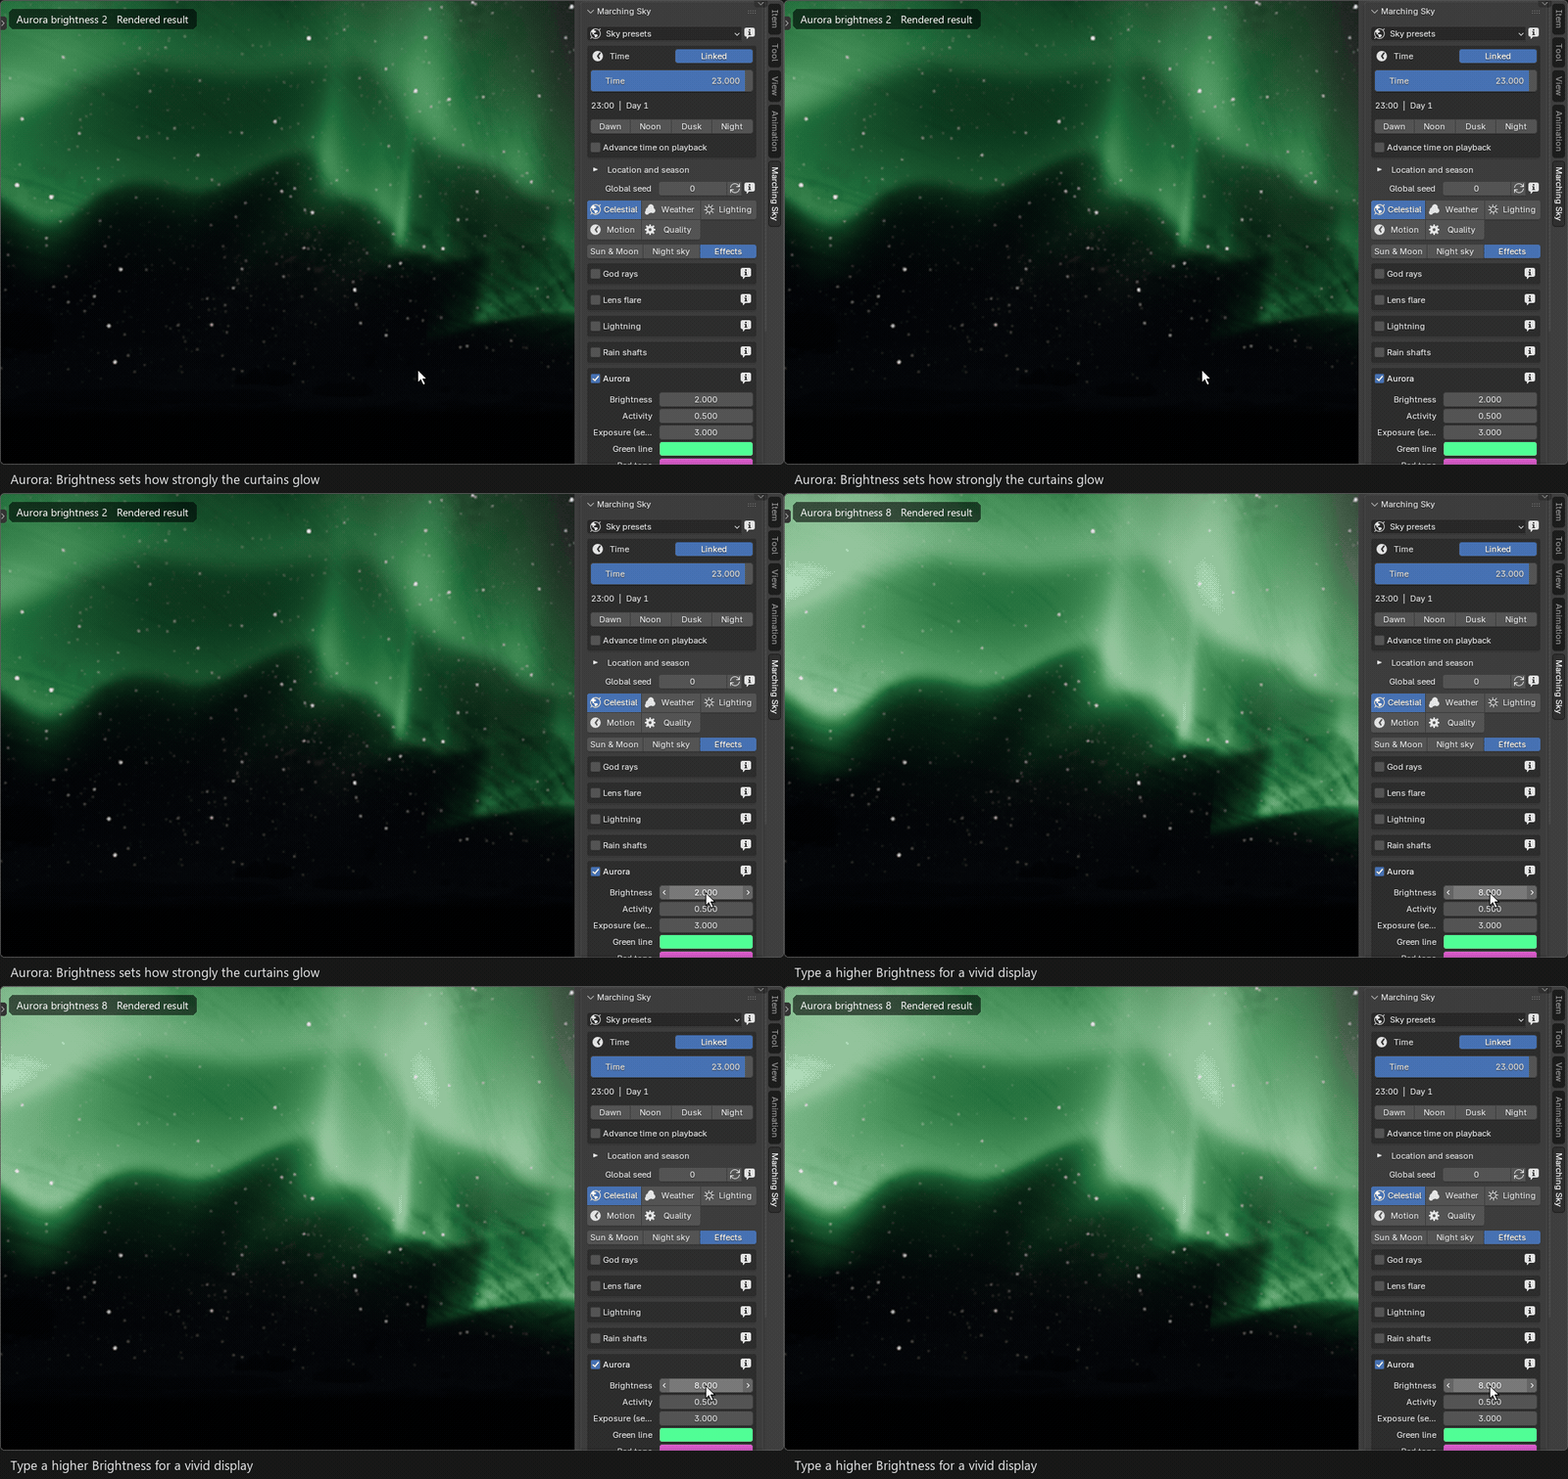
Brightness sets how strongly the curtains glow.
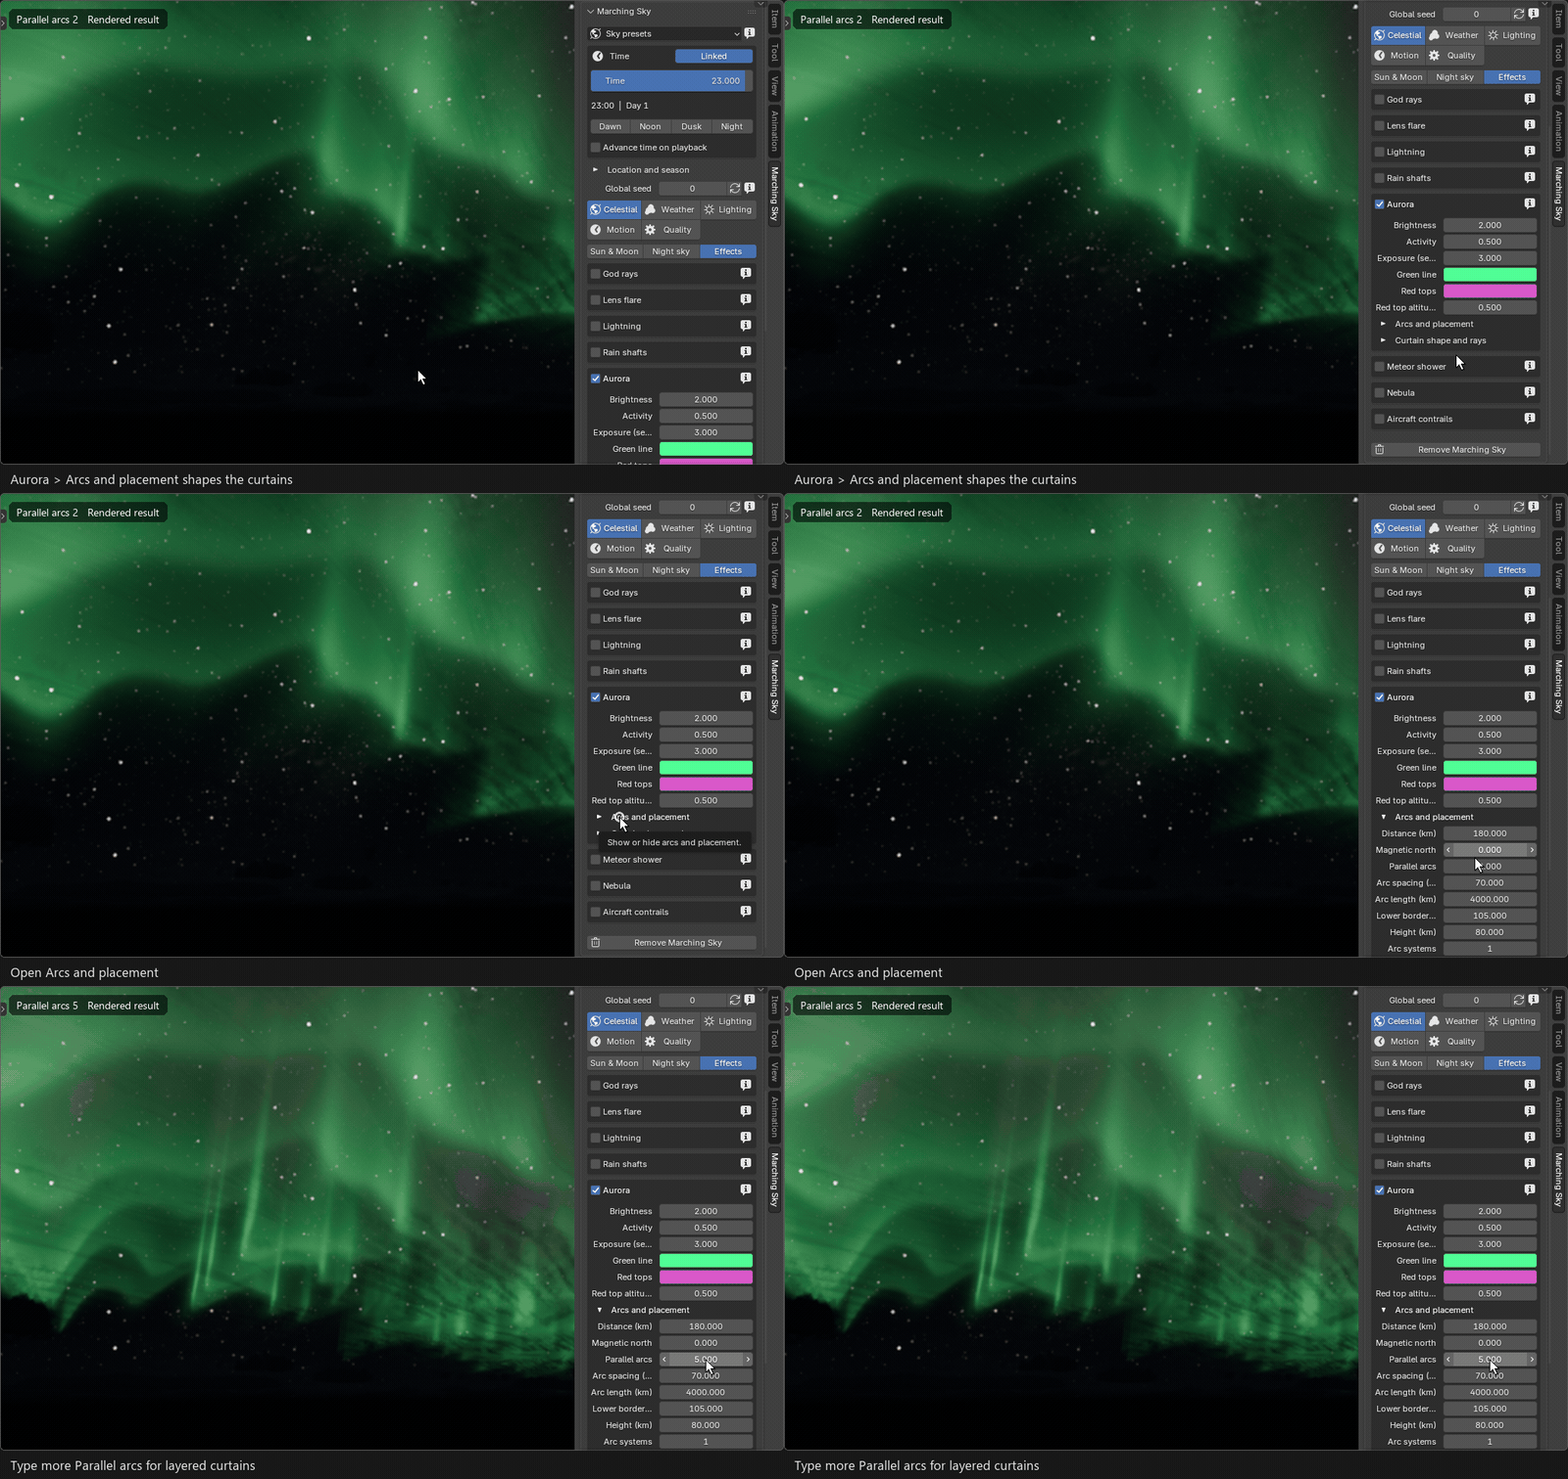
Arcs and placement: more Parallel arcs give layered curtains.
- Activity runs from quiet arcs at 0 to a storm at 1, with deeper folds, stronger rays and red tops.
- Exposure (seconds) works like a camera shutter: 3 seconds gives the soft look of photographs, 0 a crisp instant.
- Arcs and placement sets distance, magnetic north and arc spacing; Curtain shape and rays the folds and rays.
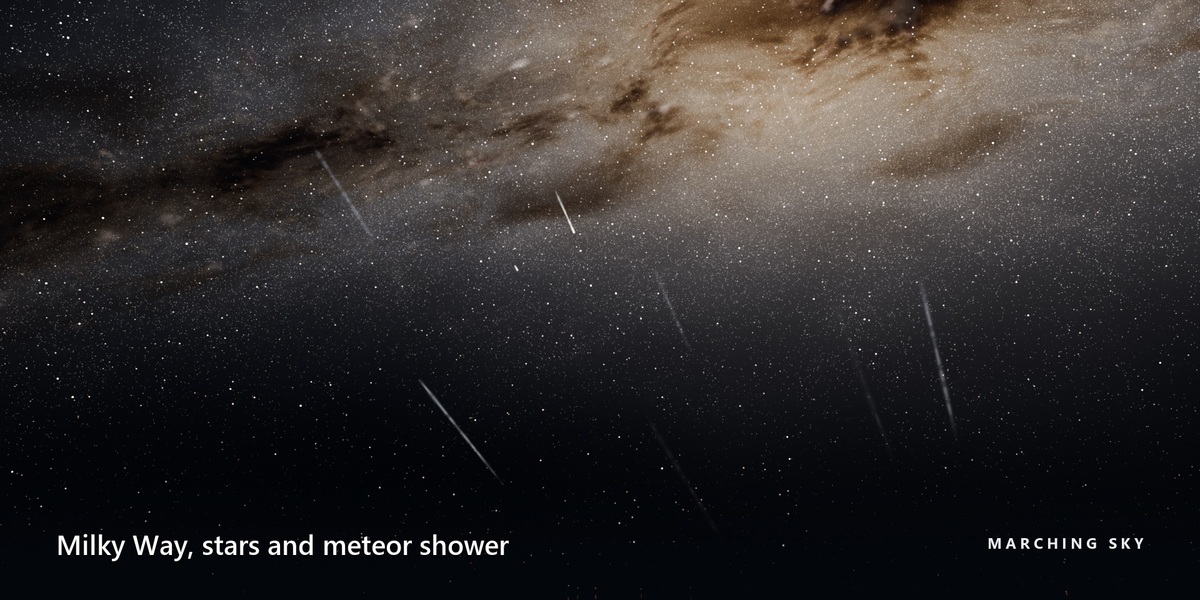
Meteor shower
Celestial › Effects › Meteor shower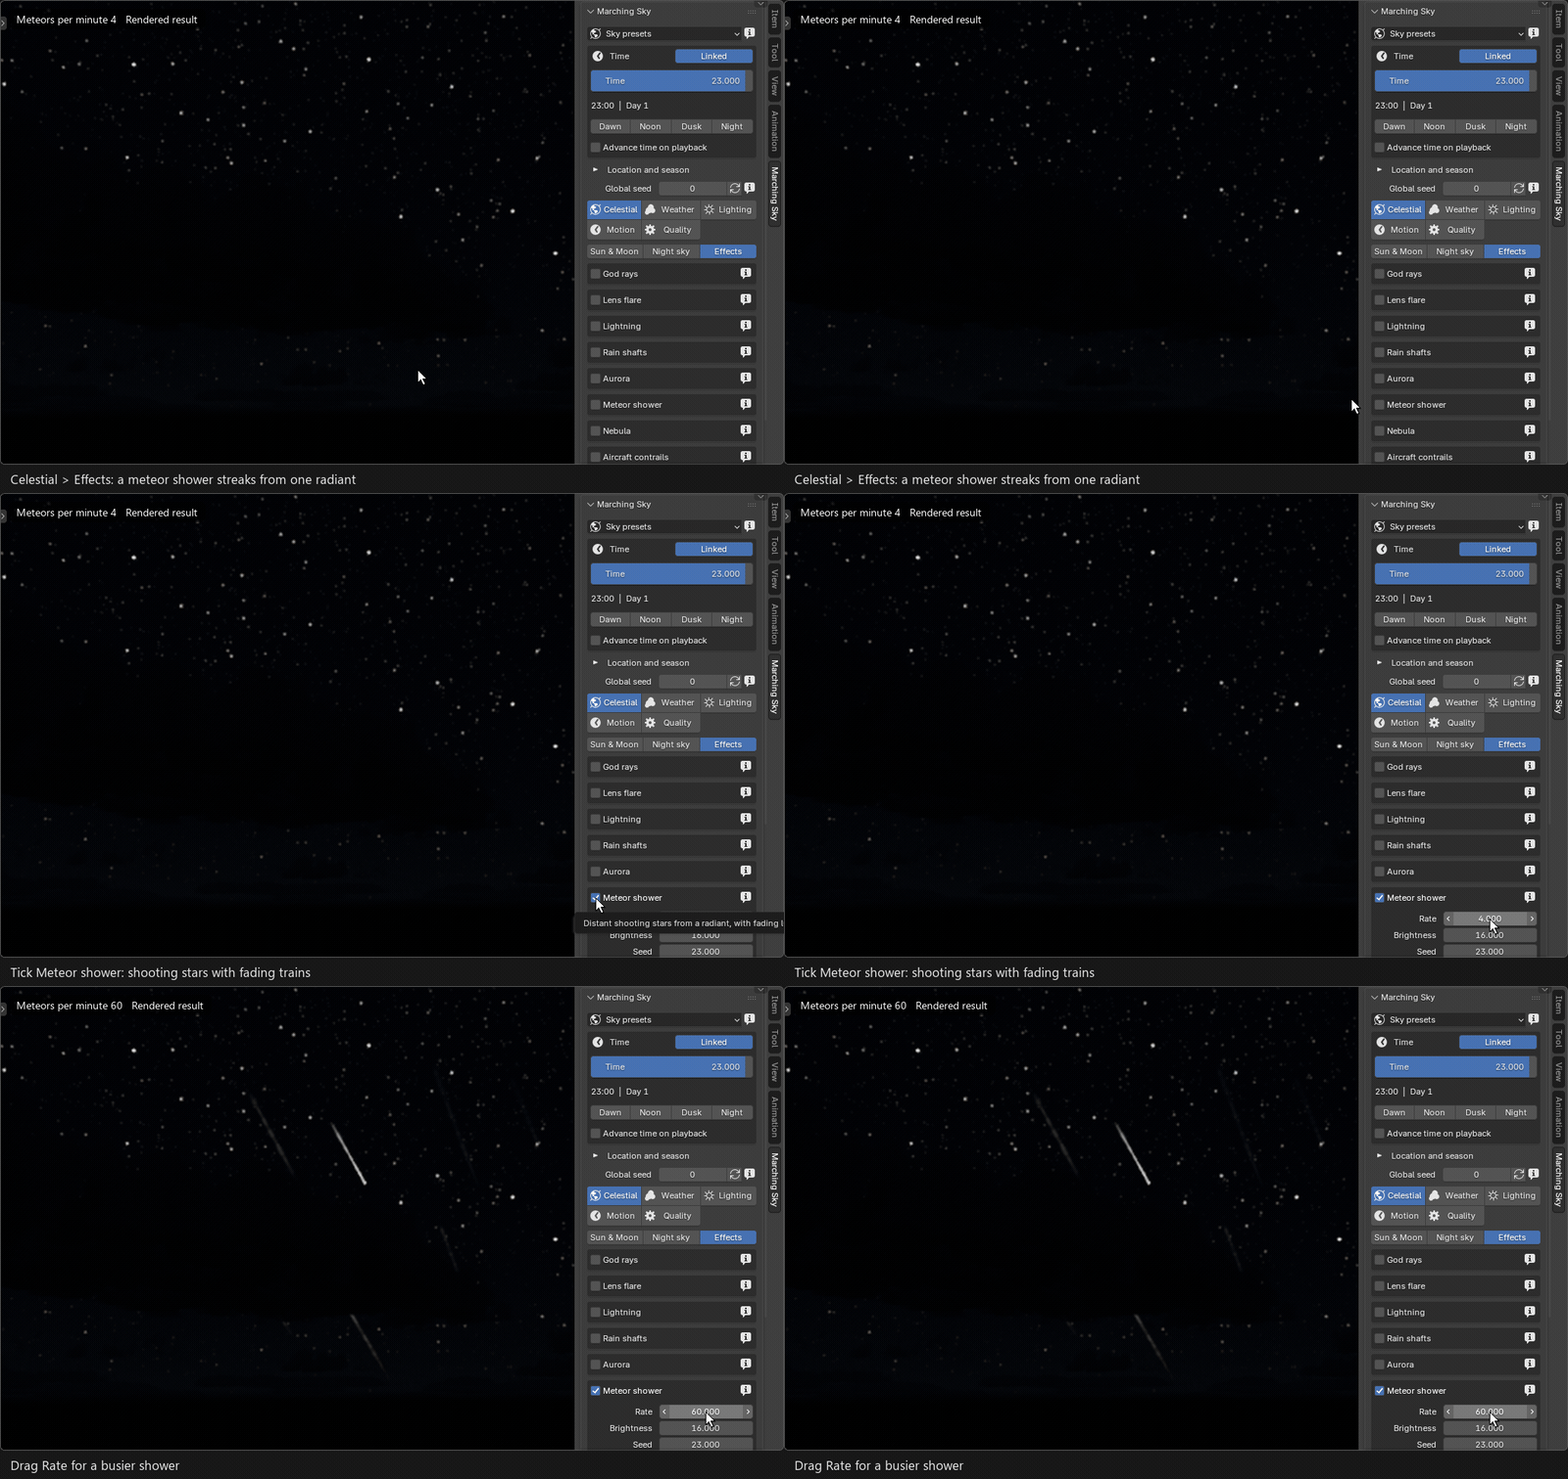
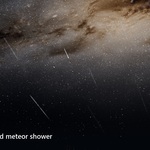
Rate from 4 to 60 meteors per minute.
Shooting stars streak from one radiant and leave fading trains. Rate and Brightness are the main controls; Radiant and paths and Streaks and trains shape them. Play or scrub the timeline to see them move (Animate meteors is on by default).
Nebula
Celestial › Effects › Nebula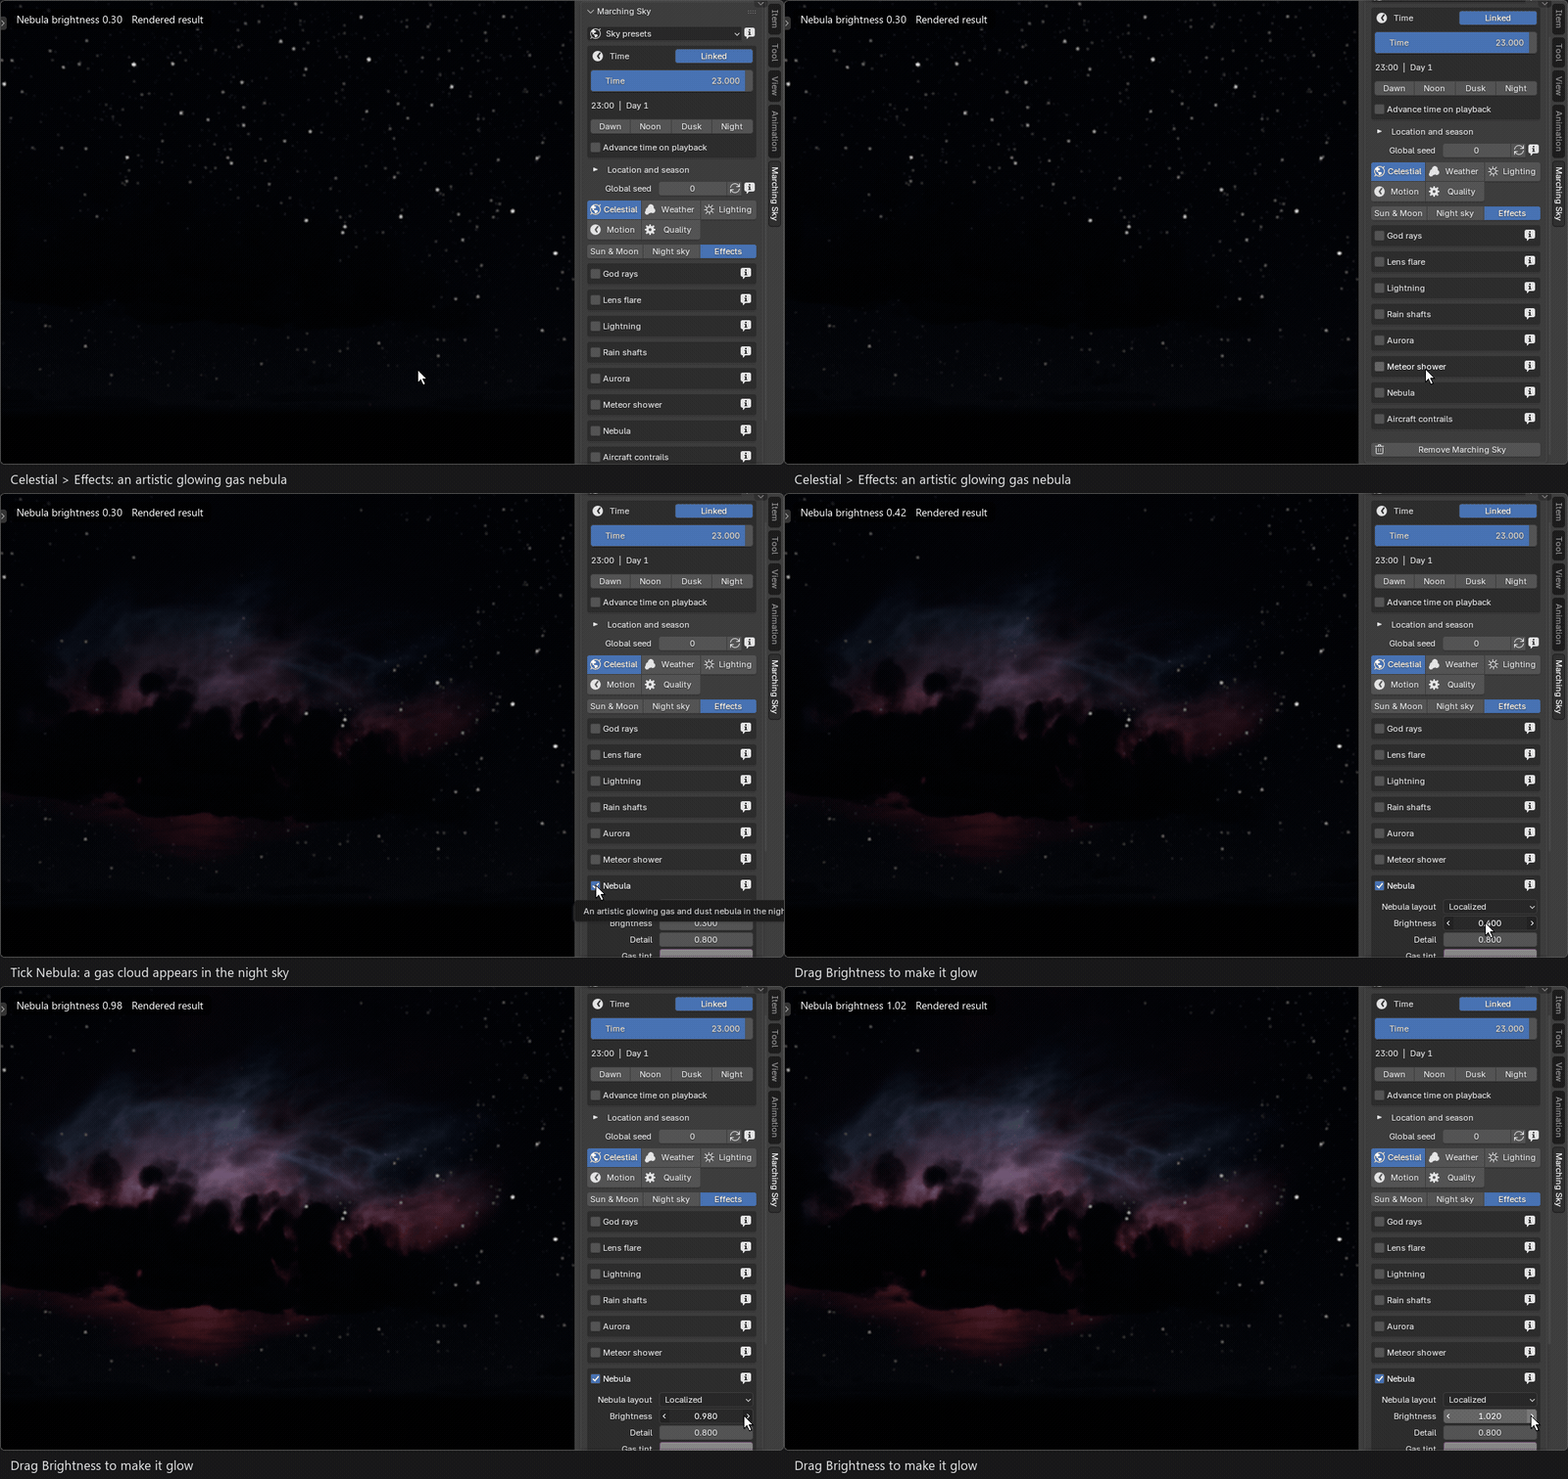
Tick Nebula: a glowing gas cloud appears; Brightness makes it glow.
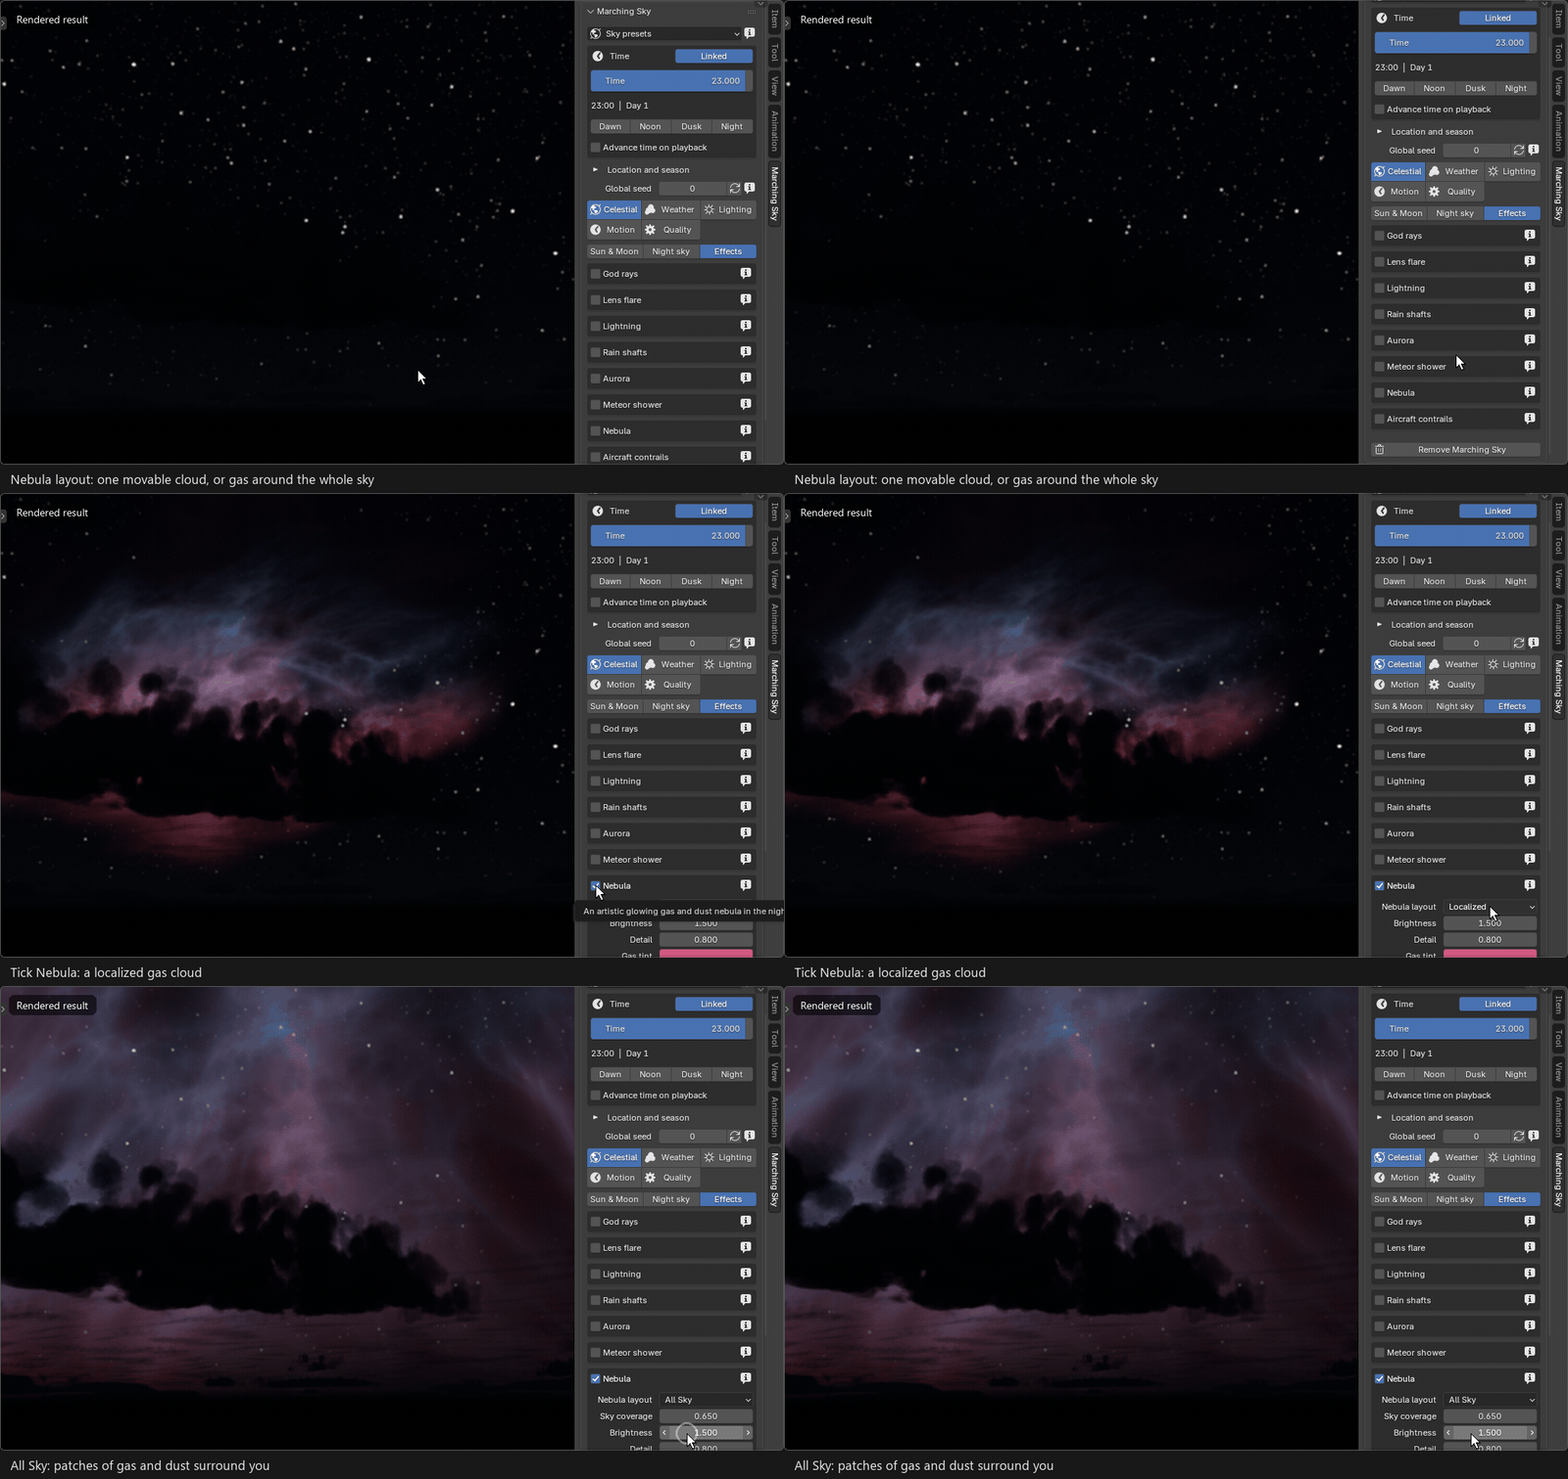
Nebula layout › All Sky surrounds you with patches of gas and dust.
An artistic gas nebula with dust pillars, either one movable Localized cloud or All Sky. Placement, Shape and Gas and dust hold the details, and two colour pickers tint the gas and its rim. Follow celestial sky rotation (on by default) turns it with the stars.
Aircraft contrails
Celestial › Effects › Aircraft contrails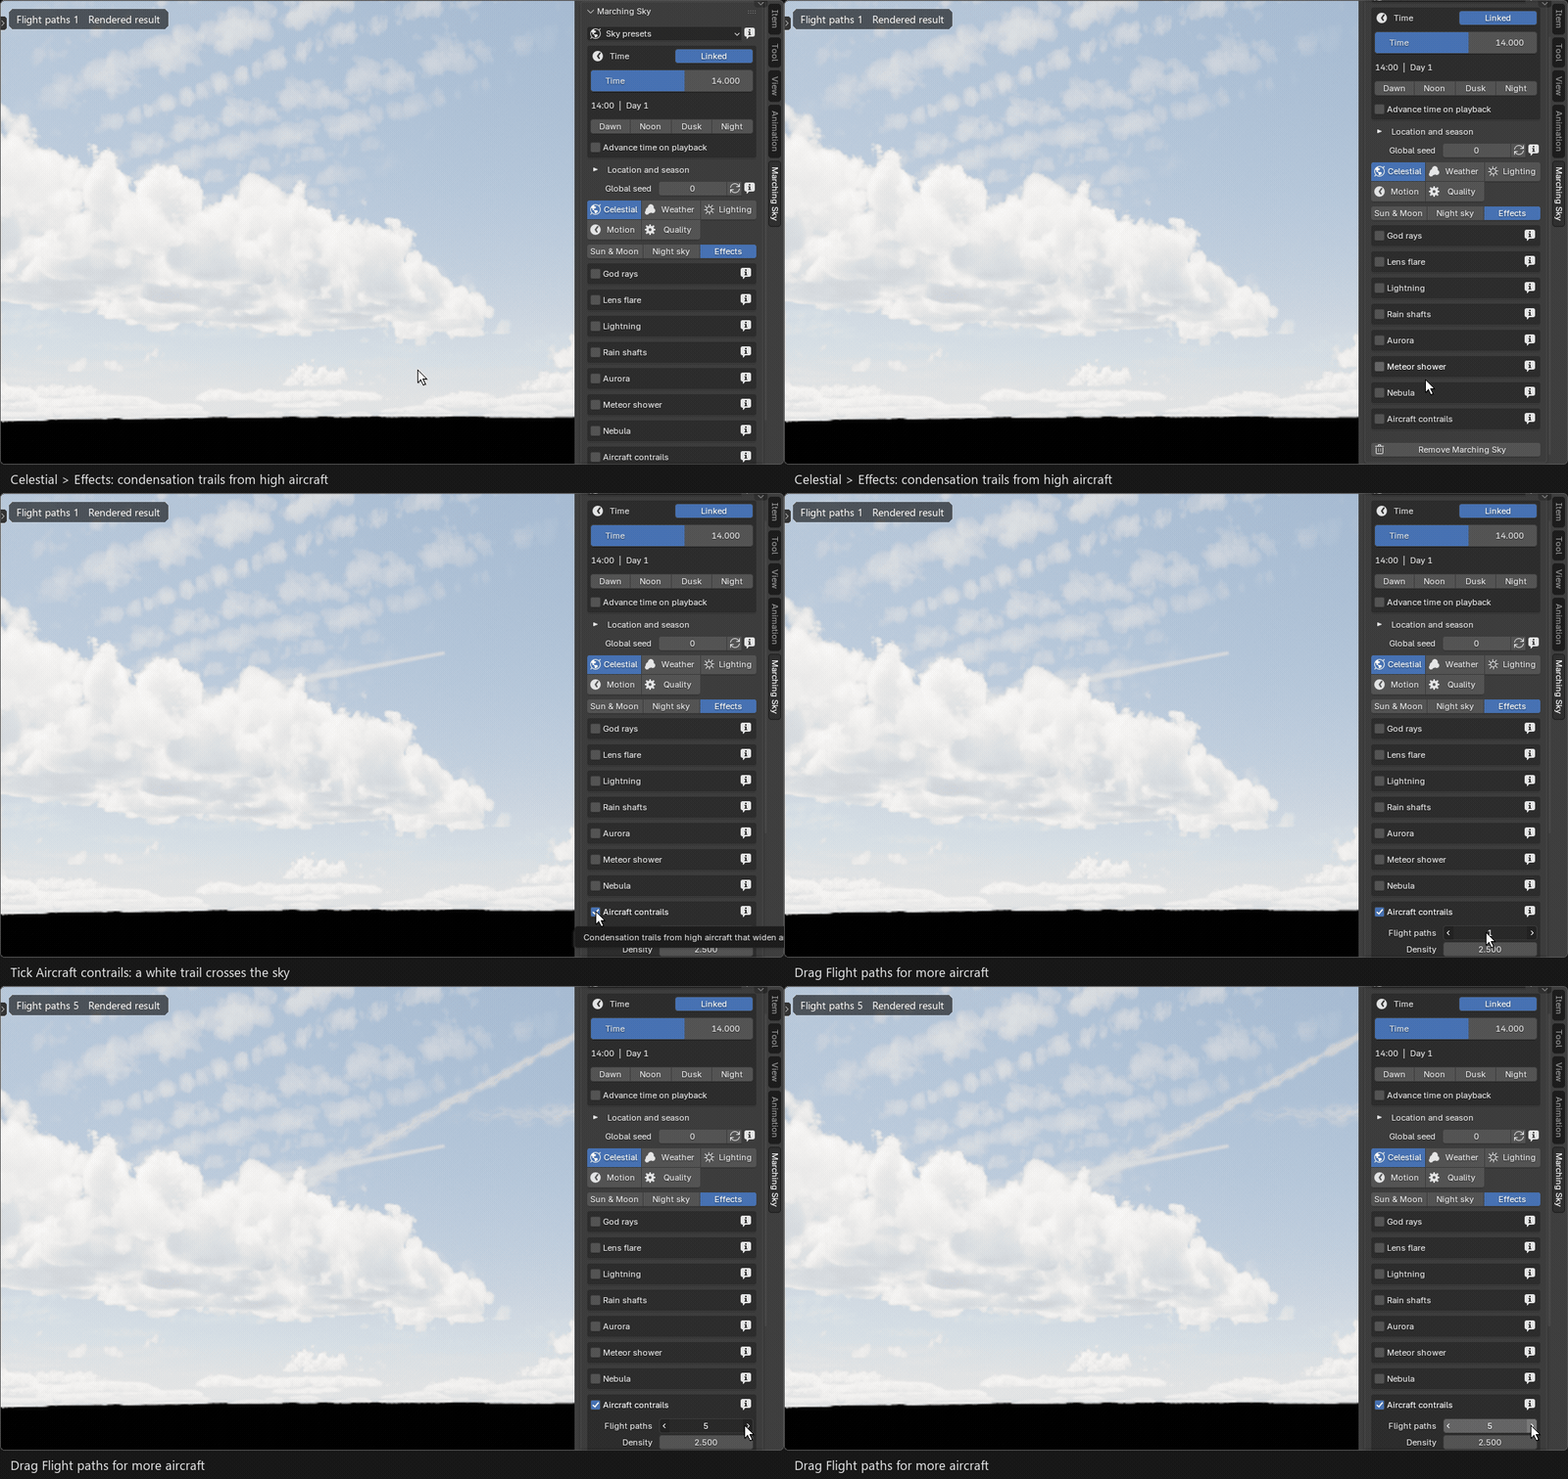
Flight paths from 1 to 5: more aircraft cross the sky.
Condensation trails with no plane object needed: fresh twin trails merge and spread into a soft wake. Flight paths adds up to six routes; Azimuth, Elevation and Heading place them, and Time (seconds) picks the age of the trail in a still.
MOTION
Animation
Everything animates from the Blender timeline with no baking. Scrub backwards, jump frames or render out of order: the same frame always looks the same.
Turn animation on
Motion| BOX | WHAT IT DOES |
|---|---|
| Timeline | Start frame, Speed and Time offset set one clock for every animation. Speed 1 is real time; raise it for a time lapse. |
| Clouds | Wind speed and direction drift the layers; Evolution reshapes the billows; Diurnal cycle builds cumulus by afternoon and dissolves it toward evening. |
| Star rotation | Turns the stars, Milky Way and nebula as time passes. |
| Aurora | Rays race along the curtains and folds travel, at real speeds when Motion Speed is 1. |
| Meteors · Contrails | Advance the shower or fly the aircraft with the timeline. |
RENDERING ANIMATIONS
Keep Cycles' Animated Seed off (Blender's default). A new noise pattern each frame turns into shifting blotches after denoising.
QUALITY
Quality and rendering
Trade detail for speed in one click, and keep the viewport responsive while you work.
Presets and preview
Quality| PRESET | USE IT FOR |
|---|---|
| Fast | Lowest sampling budget, for quick previews. |
| Balanced | Balanced detail and speed. |
| Fine | Refined cloud and sky sampling. |
| Ultra | Maximum sampling and fresh lighting at every cloud sample. Can be much slower than Fine. |
- Preview while navigating renders the clouds at a lower Preview quality while the view moves or the timeline plays, then returns to full quality. Final renders always use full quality.
- Atmosphere cache keeps the daytime atmosphere in memory so edits stay fast. Turn it off to evaluate every ray directly.
- Sky and effect sampling and Cloud sampling hold the individual step counts.
Scene and denoising
Quality › Scene and render- Viewport denoising gives a clean viewport a moment after you stop moving.
- Sky-safe denoising denoises the scene and clouds in final renders while keeping the stars sharp. It uses the compositor, so leave Compositing on.
- Refresh scene distances sets camera clip distances that reach the distant clouds.
EXISTING SCENES
Your own world or HDRI
Keep a world you already like and add the clouds on top.
Clouds over your world
- Add clouds to current world keeps your Sky Texture, HDRI or simple colour world and lights the clouds from it.
- After replacing the world or changing its nodes, click Refresh world lighting (Lighting tab).
- Use custom day and night sky switches to Marching Sky's own atmosphere with Moon, stars and effects.
- With an HDRI, the Sun controls aim the add-on's helper sun; they do not rotate the HDRI.
Remove Marching Sky deletes the clouds and sun it created and restores the previous world. It asks first, and supports Undo.
HELP
Troubleshooting
Quick answers to the most common questions.
Common questions
I see no clouds or sky.
Switch the viewport to Rendered shading and make sure the render engine is Cycles. Effects need the Marching Sky world; the Effects tab offers to switch to it.
Rendering is slow.
The first OptiX render compiles shaders, which can take minutes. Then use the Fast or Balanced preset, keep Preview while navigating on, and keep Cast shadows off unless you need cloud shadows.
It renders on my CPU.
Cycles runs OSL only on the CPU and NVIDIA OptiX, so AMD, Intel and Apple GPUs render the clouds on the CPU.
An effect does not show.
Check the hint inside its box. Aurora, meteors and the nebula need night; god rays need daylight and clouds; lightning and rain need low clouds. Also check where the camera faces.
The lens flare is missing.
It needs a perspective scene camera and Compositing on, and the Sun in view. It appears in final renders, or in the viewport with In viewport set to Camera or Always.
My lamps do not light the clouds.
By design: the clouds use the sky's sunlight, moonlight and ambient light only.
The file renders differently on another computer.
Install Marching Sky there too. The cloud noise data ships with the extension, not inside the .blend.
Limits
- The clouds are a distant sky layer: objects inside the cloud envelope are drawn in front of the clouds, and you cannot fly through a cloud.
- Aurora, nebula and contrails are distant sky effects, so moving the camera does not create parallax against them.
- The star field and Milky Way are procedural and artistic, not an astronomical catalogue.
Have questions about this product?
Login to message
| Blender Extension Compatible | Yes |
| Dev Fund Contributor | |
| Published | about 3 hours ago |
| Blender Version | 4.5 - 5.2 |
| Extension Type | Add-on |
| Render Engine Used | Cycles |
| License | GPL |
Discover more products like this
cumulus animated-sky volumetric atmospheric cloud animated sky skybox procedural atmosphere Raymarch clouds 360 Degree HDRI