Mask Canvas
 3DPRS
3DPRS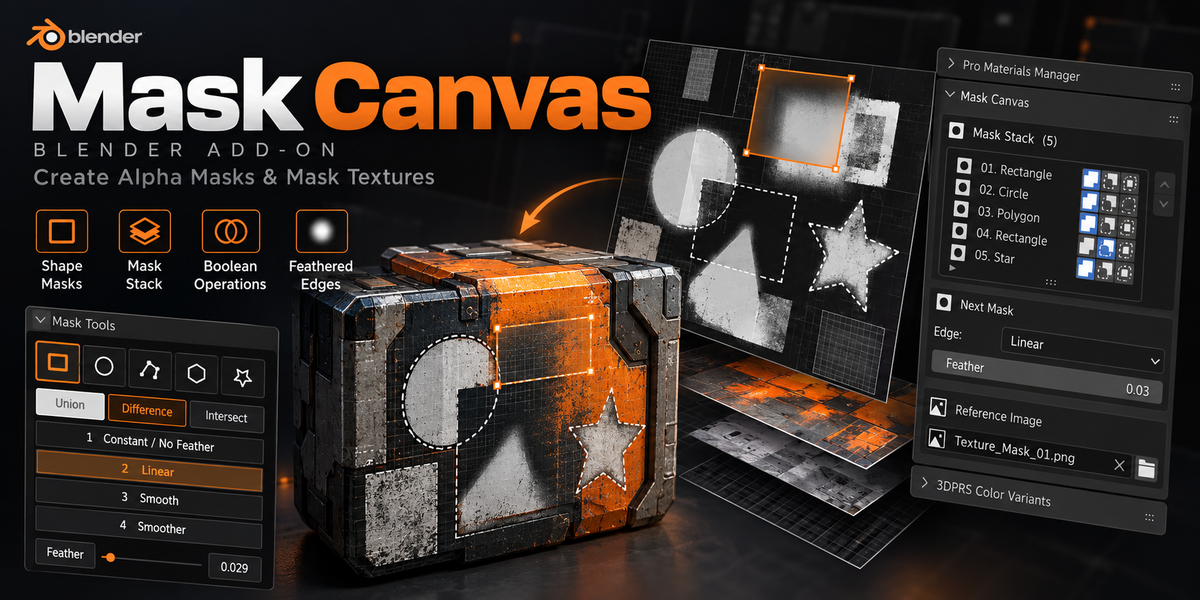
3DPRS Mask Canvas
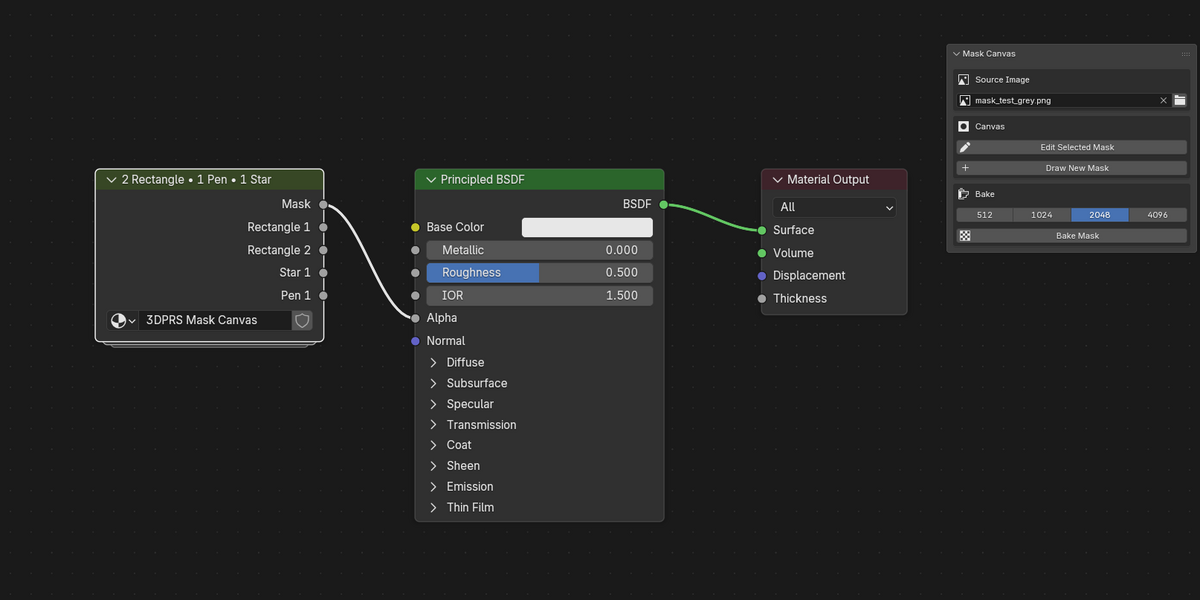
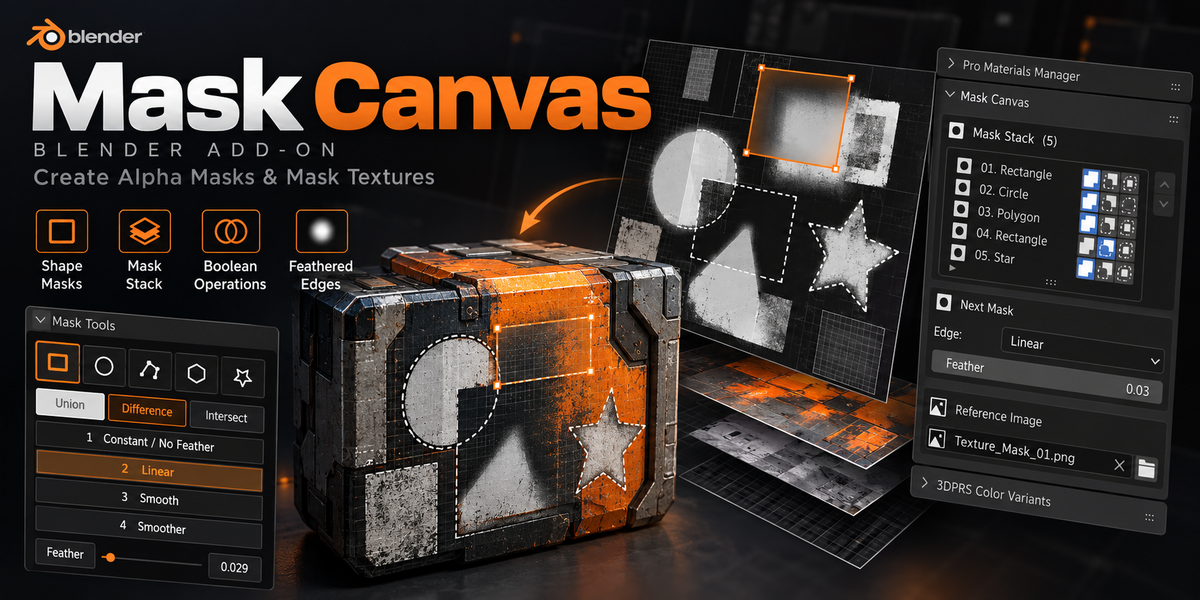
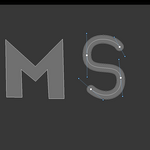
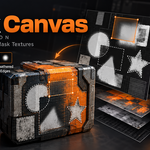
Draw UV-based masks directly over a reference image in Blender’s Shader Editor. Mask Canvas turns your shapes into an editable shader node group with a Mask output, ready to use as a factor for mixing colors, materials, or other shader effects.
Requirements
Blender 4.3 or newer.
Installation
Install the supplied add-on through Blender’s Add-ons or Extensions preferences, then enable 3DPRS Mask Canvas. In the Shader Editor, open the sidebar and select the 3DPRS tab.
Create your first mask
Select an Image Texture node that contains an image, or choose a Reference Image in the Mask Canvas panel.
Click Draw New Mask.
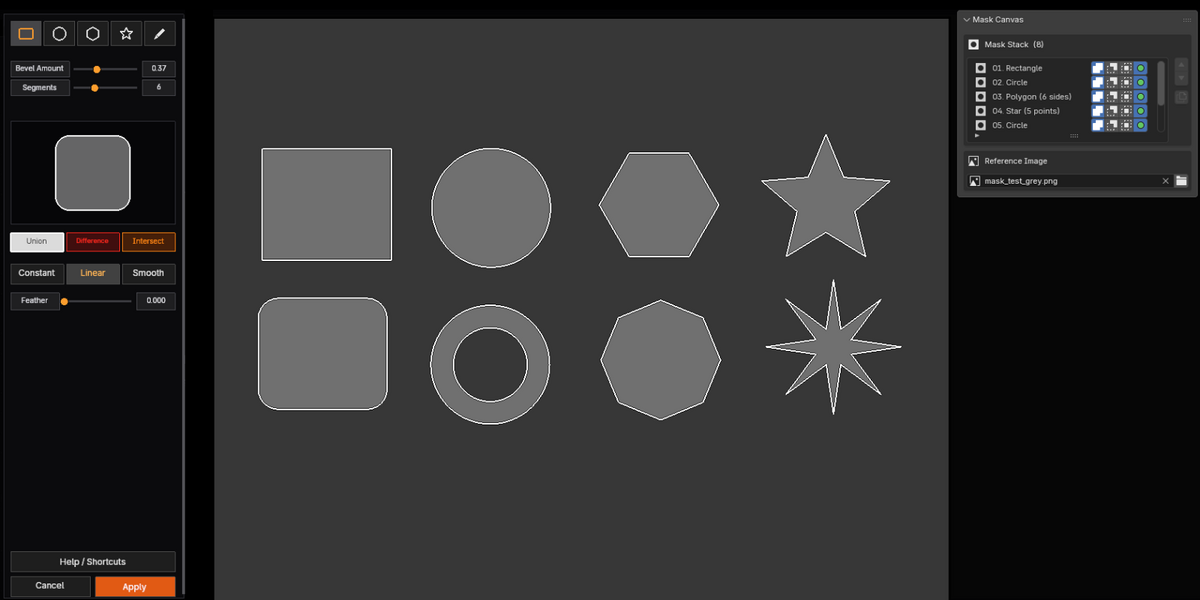
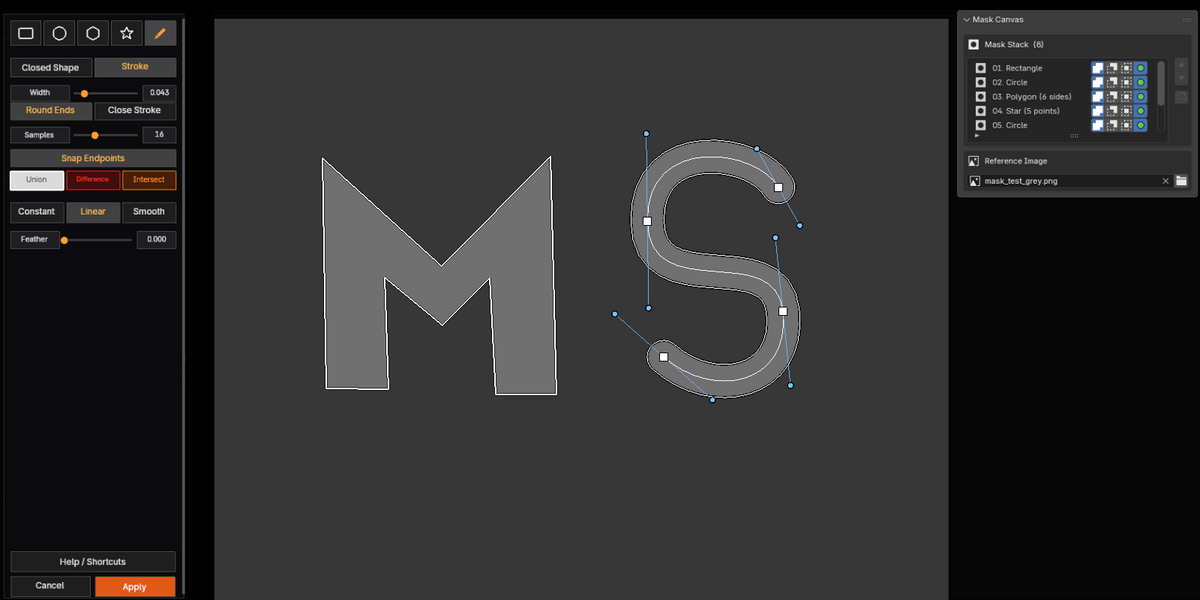
Draw a rectangle, circle, polygon, star, or freeform Pen shape over the image.
Choose an edge style and adjust feathering if needed. Add more shapes and combine them with Union, Difference, or Intersect.
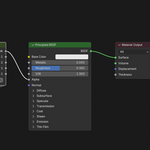
Click Apply. Mask Canvas creates a shader node group with a Mask output. Connect that output to the factor input of the shader setup you want to control.
The mask uses UV coordinates. UV unwrap your mesh so the mask lines up with its texture.
Shapes and editing
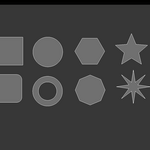
Rectangle and Circle: Draw simple regions quickly.
Polygon and Star: Adjust the number of sides or points. Stars also have an inner-radius control.
Pen: Click to add corners or click and drag to create curved points. Close the shape by clicking its first point or pressing Enter. Pen masks offer a Samples control for curve detail.
Edge styles: Choose Constant for a hard edge, Linear for a straight feather, or Smooth for a softer transition.
Mask Stack: Select, duplicate, reorder, and change how individual shapes combine. Use Union to add an area, Difference to subtract one, and Intersect to restrict overlapping areas.
To revise a mask later, select its Mask Canvas node group and click Edit Selected Mask Canvas. Your shapes reopen in the visual editor.
Useful shortcuts
| Action | Shortcut |
|---|---|
| Select shapes | Q |
| Rectangle / Circle | C |
| Pen | P |
| Polygon | G |
| Star | A |
| Scale / Rotate | S / R |
| Constrain scaling | X / Y |
| Move a mask backward / forward | B / F |
| Duplicate a mask | Shift + D |
| Delete a mask | Delete |
| Undo an editor action | Ctrl + Z |
| Pan / Zoom | Middle mouse drag / Mouse wheel |
| Apply | Right mouse button |
Press the Help / Shortcuts button in the editor for the full control list.
Saving and sharing your work
Save the Blender project after applying your mask. If you use an external reference image, keep that image available or pack it into the .blend file so the visual editor can find it when you return to the project.
 Included
Includes 12 months of
- Support from 3DPRS
- Product updates
Extend this product’s Support Period +12 months: 50% of product price
Have questions before purchasing?
Login to message
| Blender Extension Compatible | Yes |
| Published | 2 days ago |
| Blender Version | 4.3 - 5.2 |
| Extension Type | Add-on |
| License | GPL |