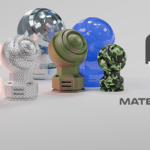
Material Vault
 Christopher Groff


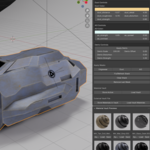
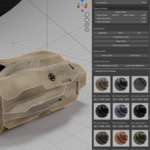
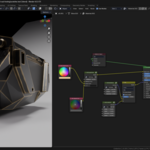
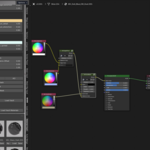
To Install:
download all zips
extract Material Vault Materials Folder
extract CG Decals Mega Pack
install other three zips
under preferences for Material Vault Addon set file path to Material Vault Materials folder
You can set the popup menu controls for both
✅ Instruction Guide for All Three Add‑Ons
✅ Material Vault – User Guide
1. Material Vault Core
Creating or Editing a Material
- Select an object
- Assign or create a material
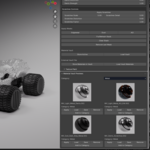
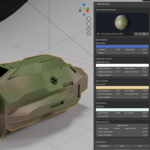
- Open the Material Vault panel in the Sidebar
- Adjust:
- Base Color
- Metallic
- Roughness
- Alpha
Changes update instantly.
Adding Mask Effects
- In the Material Vault panel, click:
- Add Edgewear
- Add Dust
- Add AO
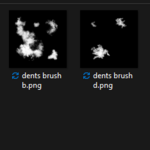
- Add Dents (Add Last if you want to adjust the other masks first)
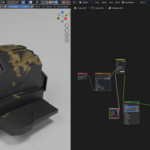
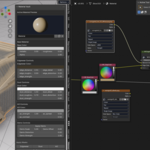
- Each mask appears as a node group in the shader
- Adjust mask settings in the panel:
- Color
- Strength
- Detail
- Distortion
- Spread
Masks stack automatically in the correct order.
- For adding bonus directional masks append node trees and add into shader menu through shift a group and search for the mask you want to add
Saving Materials to the Vault
- Select the object with the material
- Click Store Active Material
- The material is added to the Vault collection
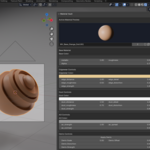
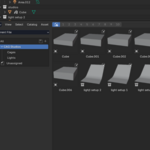
- Previews are generated automatically in the top of the menu, but for custom previews you need to use the included preview scene file as well as duplicate each camera for every new material created - whether within the add or imported from external source.
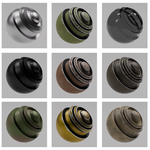
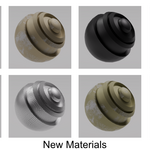
Loading Materials (15 included- add more as desired)
- Click Load Vault Materials to refresh
- Click any material preview to assign it
- Use Apply to Selected to assign to multiple objects
- don't change prepackaged materials unless your sure you want to change them-if you decide to change them you'll need to do so in the shader menu manually and change the preview image- not recommended)
Exporting / Importing Vault Libraries
- Use Export Vault Library to save your materials
- Use Import Vault Library to load them into a new project
2. Decal Placer
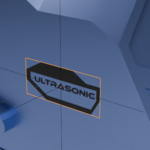
Placing a Decal
- Press Shift+Y (or your custom hotkey)
- Choose an image file (PNG recommended)
- Select:
- Shrinkwrap (optional)
- Fit / Fill / Stretch mode
- Click OK
- Move your mouse to position the decal
- Scroll to scale
- Shift+Scroll to rotate
- Left‑click to confirm
Tips
- Use FIT for logos and symbols
- Use FILL for panel graphics
- Use STRETCH for stylized effects
- Shrinkwrap helps decals follow curved surfaces
3. Quick Material Painter
Painting Materials on Faces
- Enter Edit Mode
- Press Shift+M (or your custom hotkey)
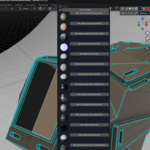
- A popup appears with:
- Material previews
- Search bar
- Click a material to start painting
- Click faces to assign the material
- Press Esc to stop painting
For creating categories, select add to category, type in box category to create. Press okay. For placing materials within custom already made categories make sure to clear input box for typing in name and just select from dropdown. When adding a new category use all for dropdown. Open a new blend file and press bottom load vault materials button and duplicates will disappear.
Tips
- Perfect for panel lines, color blocking, and mech detailing
- Works beautifully with Material Vault materials
-
$119
For studios up to 5 users
-
$24.99
For hobby and commercial applications
Have questions about this product?
Login to message
| Published | 9 months ago |
| Blender Version | 4.0 - 5.1 |
| Extension Type | N/A |
| Render Engine Used | Cycles, Eevee |
| License | GPL |