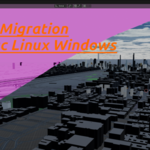
Migration "Universal Texture Disk Remapper "
 benoit dalmazzo




1. Installation
-
Download
-
Get the latest ZIP archive from the official product page.
-
-
Enable in Blender
-
Open Blender and go to Edit → Preferences… → Add‑ons.
-
Click Install…, select the downloaded ZIP, and confirm.
-
In the Add‑ons list, search for “Universal Texture Disk Remapper” and check its box to activate.
-
2. Quick Setup
-
Open the Migration Panel
-
In the 3D Viewport (Object Mode), press
Nto show the sidebar. -
Select the Migration tab.
-
-
Scan for Missing Textures
-
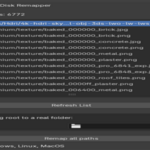
Click Refresh List.
-
The add‑on displays the total number of missing textures and lists each missing drive root.
-
3. Key Features
-
Single‑Click Scan & Remap
Instantly detects all missing file paths and updates them in your .blend. -
Multi‑Root Detection
If your textures span several drives or mount points (e.g.C:/,/mnt/data/,/Volumes/SSD/), each missing root is listed separately. -
Dynamic Folder Selectors
For each detected root, choose a new folder in the corresponding dropdown. Blender automatically shows as many selectors as there are missing roots. -
Confirmation & Logging
After remapping, the add‑on verifies that no textures remain missing and shows a success message in the Info header.
4. Typical Workflow
-
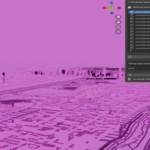
Open a .blend with “purple texture syndrome.”
-
Go to Migration → Refresh List.
-
For each missing root listed, select its new location (e.g.
/mnt/windows/Textures). -
Click Remap All Paths.
-
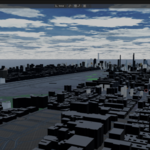
Confirm in the Info header that all textures are now found.
Have questions about this product?
Login to message
| Blender Extension Compatible | Yes |
| Published | about 1 year ago |
| Blender Version | 2.83 - 4.5 |
| Extension Type | Add-on |
| License | GPL |
