Modern Rig Studio
 Mergim Sahiti



Modern Rig Studio Pro — Documentation
1. Introduction
Modern Rig Studio Pro is a 2D character rigging and animation toolkit for Blender 5.0 and newer.
It brings together several tools for importing 2D artwork, preparing meshes, creating armatures, deforming characters with Lattice, managing sprite animation frames, and setting up motion paths.
The addon is designed to provide a convenient workspace for artists who want to work with 2D characters directly inside Blender.
Main Features
SVG artwork import and mesh conversion
PNG and image sprite import
Alpha-based mesh cutting for transparent PNG artwork
Basic armature creation
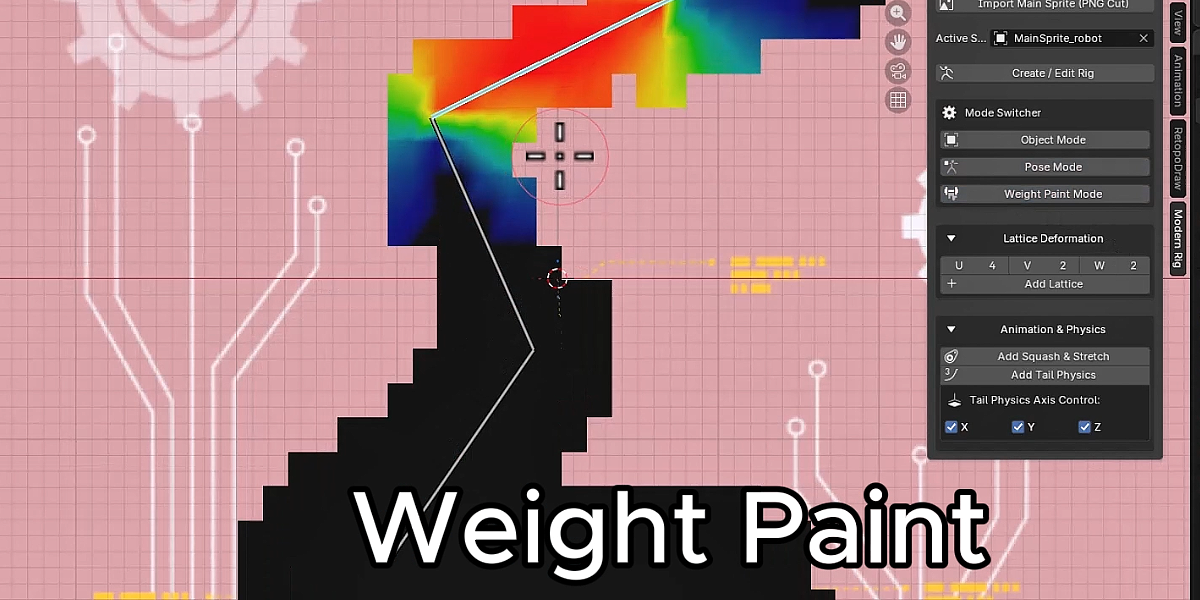
Object, Pose, and Weight Paint mode switching
Lattice creation and deformation
Lattice point keyframing
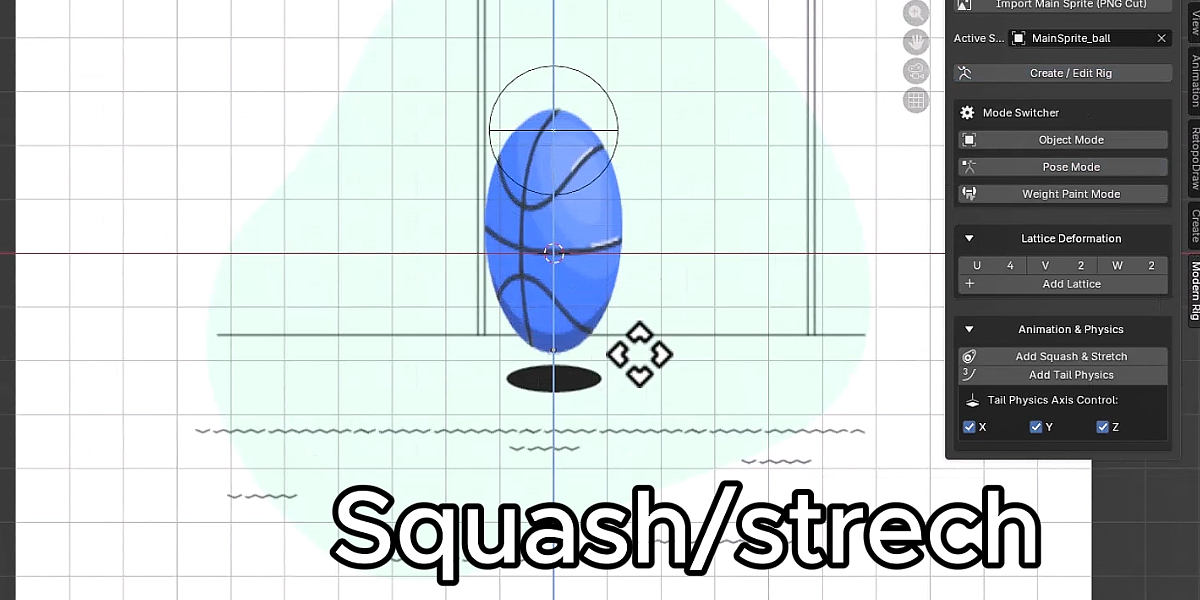
Squash & Stretch constraints
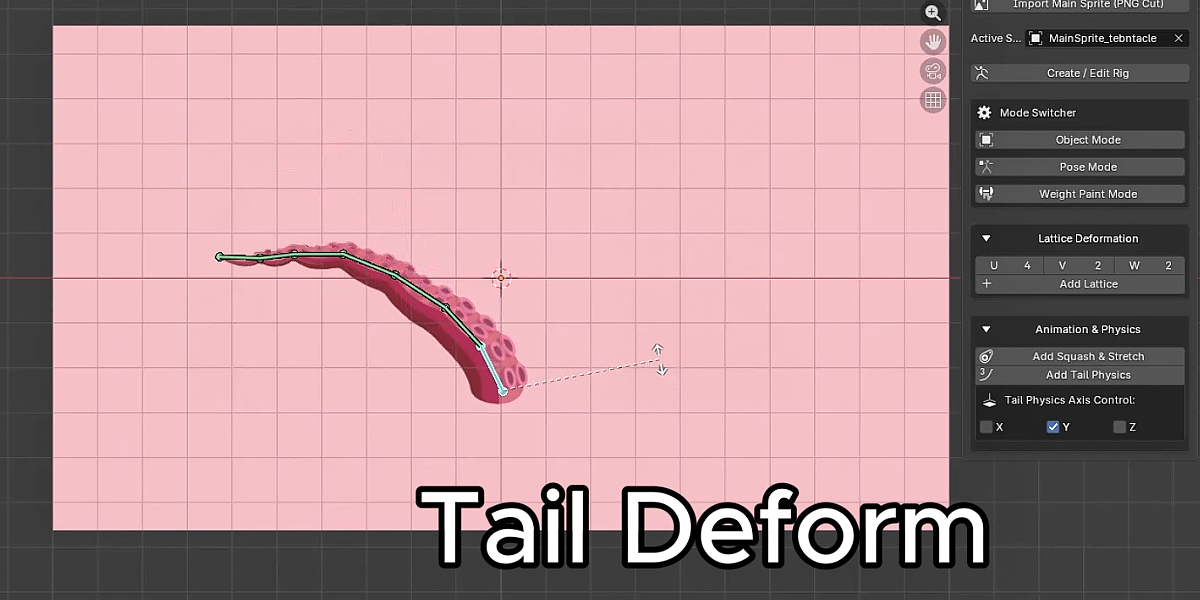
Tail Dynamics constraints
Spring Dynamics constraints
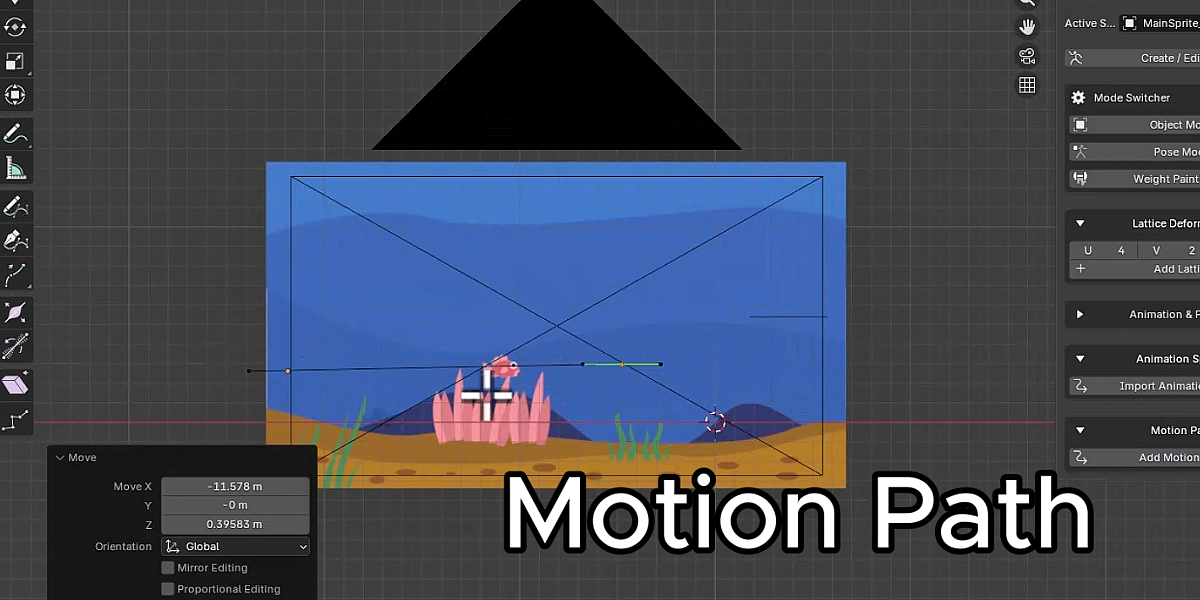
Motion Path animation
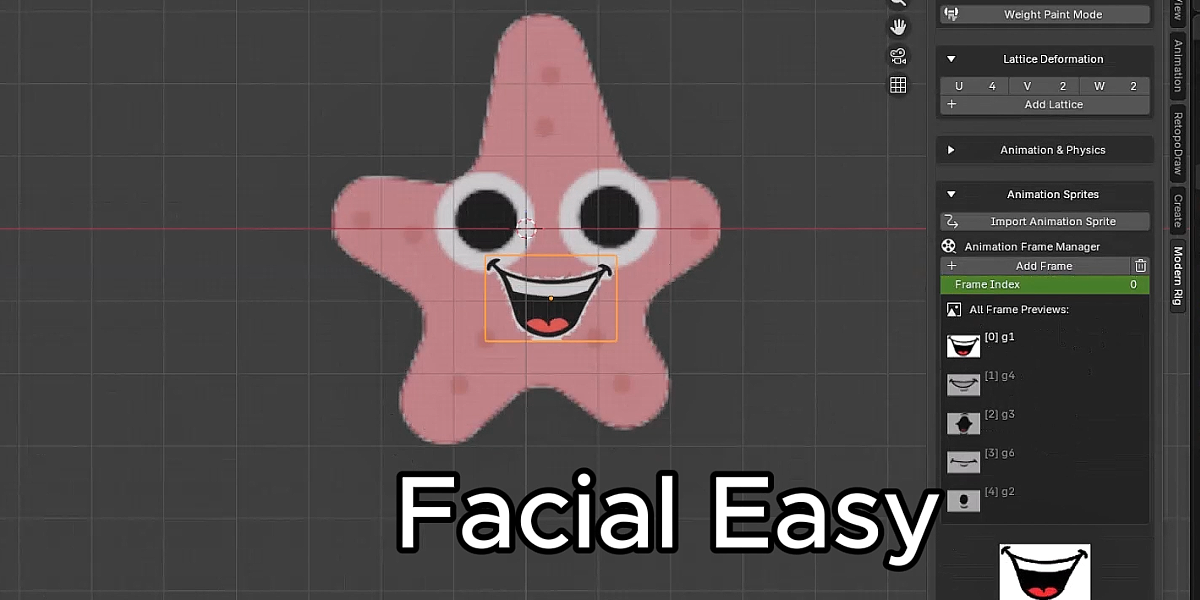
Animation Sprite Manager
2. Installation
Requirements
Blender 5.0 or newer
Windows, macOS, or Linux with a compatible Blender installation
A copy of Modern Rig Studio Pro
Installation Steps
Download the Modern Rig Studio Pro package.
Extract the downloaded ZIP file if necessary.
Open Blender.
Navigate to Edit → Preferences.
Open the Add-ons section.
Use the installation option to install the provided Python addon file.
Enable Modern Rig Studio Pro in the Add-ons list.
Return to the 3D Viewport.
Press
Nto open the Sidebar.Find the Modern Rig tab.
You should now see the Modern Rig Studio Pro interface.
Note: Installation instructions may differ if the downloaded package is distributed as a Blender Extension rather than a legacy Python addon.
3. Interface Overview
Modern Rig Studio Pro organizes its tools into sections inside the Blender 3D Viewport Sidebar.
The main interface contains:
Import Options
Active Sprite
Create / Edit Rig
Mode Switcher
Lattice Deformation
Animation & Physics
Animation Sprites
Motion Path
Each section provides access to a specific part of the workflow.
4. Importing Your Artwork
Modern Rig Studio Pro supports different import workflows for 2D artwork.
4.1 Import SVG
Use Import SVG (Rig-Ready Mesh) to import an SVG illustration.
Steps
Open the Modern Rig Studio Pro panel.
Click Import SVG (Rig-Ready Mesh).
Select your SVG file.
Confirm the import.
The imported curves are converted into a mesh.
The resulting object becomes the active sprite.
The imported mesh is subdivided to provide additional geometry for editing and deformation.
Important: SVG files can contain features that Blender's SVG importer does not fully support. Complex gradients, effects, text, and other SVG elements may not be preserved exactly. For predictable results, prepare and simplify your SVG artwork before importing.
4.2 Import PNG Sprite
Use Import Main Sprite (PNG Cut) to import a transparent image as a mesh.
Steps
Click Import Main Sprite (PNG Cut).
Select your PNG or another supported image file.
Adjust the import settings if necessary.
Confirm the import.
Import Settings
Display Width
Controls the width of the imported sprite in the 3D Viewport.
Grid Density
Controls the initial mesh subdivision.
A higher value creates more geometry, while a lower value creates a lighter mesh.
Alpha Threshold
Controls how transparent a pixel must be to be treated as transparent during the mesh-cutting process.
The addon checks the alpha values at mesh face corners and removes faces whose sampled corners are all below the threshold.
Important: The current implementation performs corner-based alpha sampling. It does not generate an exact polygon contour around every detail of the illustration. Very narrow features may require additional mesh editing.
5. Creating and Editing a Rig
Modern Rig Studio Pro includes a basic armature creation tool.
Steps
Import your sprite.
Make sure your sprite is selected or assigned as the Active Sprite.
Click Create / Edit Rig.
The addon creates an armature if one does not already exist.
Enter Edit Mode to position and edit the bones.
Build your character's bone structure according to your illustration.
If an armature already exists for the selected sprite, the addon attempts to reuse it.
Important Rigging Information
The Create / Edit Rig tool creates an armature and a starting bone. It does not automatically build a complete character skeleton, generate automatic weights, or bind the mesh to the armature.
For bone-based deformation, you must prepare the required vertex groups, weights, and Armature modifier in Blender.
6. Mode Switcher
The Mode Switcher makes it easier to switch between common character-editing modes.
Available modes:
Object Mode
Select and manage your sprite object.
Pose Mode
Select and pose bones on your armature.
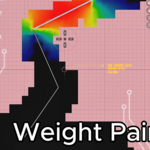
Weight Paint Mode
Paint and edit vertex weights on your character mesh.
The Weight Paint switcher attempts to keep the active pose bone and corresponding vertex group selected when possible.
Note: Your character must have an appropriately configured armature and vertex groups for bone-based Weight Paint deformation.
7. Lattice Deformation
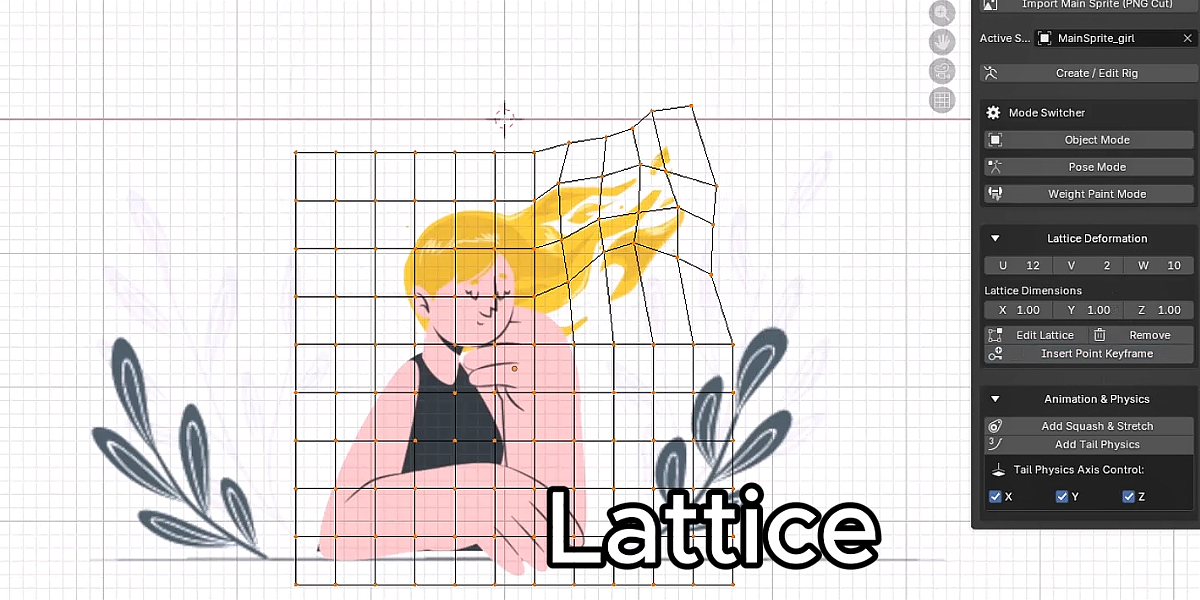
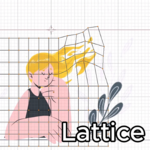
Lattice Deformation allows you to deform your character using a lattice control cage.
Instead of moving individual mesh vertices, you can manipulate lattice points to change the shape of your sprite.
7.1 Adding a Lattice
Import your sprite.
Select it as the Active Sprite.
Expand Lattice Deformation.
Adjust the lattice resolution if needed.
Click Add Lattice.
The addon creates a lattice object and adds a Lattice modifier to the active sprite.
7.2 Lattice Resolution
The lattice provides three resolution controls:
U – Controls the first lattice dimension.
V – Controls the second lattice dimension.
W – Controls the third lattice dimension.
Increasing the resolution provides more control points for deformation.
Higher resolutions can create more detailed deformation, but also require more editing.
7.3 Lattice Dimensions
Once a lattice has been created, you can adjust its dimensions using:
X
Y
Z
These controls change the lattice object's scale.
7.4 Editing Lattice Points
Click Edit Lattice.
Blender enters Lattice Edit Mode.
Select the points you want to manipulate.
Move, rotate, or edit the selected points.
Return to Object Mode when finished.
7.5 Animating Lattice Points
Modern Rig Studio Pro supports keyframing selected lattice points.
Steps
Select your sprite.
Open the Lattice Deformation section.
Click Edit Lattice.
Select the lattice points you want to animate.
Move to the desired frame on the timeline.
Click Insert Point Keyframe.
Move to another frame.
Change the selected points' positions.
Insert another keyframe.
The addon inserts keyframes for the selected lattice points' deformation coordinates.
You can repeat this process to create animated deformations.
7.6 Removing a Lattice
Click Remove to remove the lattice object and its associated Lattice modifier from the active sprite.
Warning: Removing a lattice also removes its associated deformation setup. Save your project before removing important animation controls.
8. Animation & Physics
Expand the Animation & Physics section to access additional animation tools.
8.1 Squash & Stretch
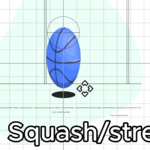
Squash & Stretch provides a constraint-based setup for selected pose bones.
Steps
Select your armature.
Enter Pose Mode.
Select the bones you want to use.
Expand Animation & Physics.
Click Add Squash & Stretch.
The addon creates a spherical Empty control near each selected bone's tail and adds a Stretch To constraint targeting that control.
You can move the generated Empty controls to influence the stretch setup.
8.2 Tail Dynamics
Tail Dynamics applies Copy Rotation constraints to selected pose bones.
Steps
Select your armature.
Enter Pose Mode.
Select at least two bones in the desired chain.
Expand Animation & Physics.
Configure the X, Y, and Z axis options.
Click Add Tail Physics.
The addon creates Copy Rotation constraints on the selected bones, using the preceding selected bone as the rotation target.
Axis Controls
X – Enables or disables X-axis rotation.
Y – Enables or disables Y-axis rotation.
Z – Enables or disables Z-axis rotation.
The constraint influence is set to 0.75.
Note: Tail Dynamics uses Blender constraints. It is not a physical simulation system.
8.3 Spring Dynamics
Spring Dynamics adds Damped Track constraints to selected pose bones.
Steps
Select your armature.
Enter Pose Mode.
Select the desired pose bones.
Click Add Spring Dynamics.
The addon adds a Damped Track constraint to each selected bone.
The constraints can be further configured through Blender's constraint settings.
Note: This feature creates constraint setups; it does not provide a complete automatic spring simulation or automatic secondary-motion animation.
9. Motion Path Animation
Motion Path allows you to create a Bezier curve and use it as an animation path for your sprite.
Steps
Select your sprite.
Expand the Motion Path section.
Click Add Motion Path.
Configure the available settings.
Confirm the operation.
Edit the generated Bezier curve in Edit Mode.
The addon creates a Bezier curve, enables its path settings, and adds a Follow Path constraint to the selected sprite.
Motion Path Settings
Start Frame
Defines the starting frame of the path animation.
End Frame
Defines the ending frame of the path animation.
X Axis / Y Axis / Z Axis
Controls the selected forward axis for the Follow Path constraint.
Rotate Follow
Enables or disables curve-follow rotation.
Start from Curve End
Reverses the path evaluation direction.
Flip / Mirror X
Flips the sprite horizontally by changing its X scale.
Editing the Path
You can edit the generated Bezier curve in Blender's Edit Mode.
Move the control points and handles to customize the movement path.
10. Animation Sprite Manager
The Animation Sprite Manager allows you to import and organize multiple image frames for a sprite object.
This is useful for frame-based 2D image animation.
10.1 Import Animation Sprite
Expand the Animation Sprites section.
Click Import Animation Sprite.
Select an image.
Confirm the import.
The addon creates an animation sprite object and initializes its animation frame list with the imported image.
10.2 Add Animation Frame
Select an Animation Sprite.
Click Add Frame.
Select another image.
The image is added to the frame list.
You can repeat this process to add additional images.
10.3 Remove Animation Frame
Select the frame you want to remove and click the Remove Frame button.
The addon removes the selected frame from the animation list.
10.4 Selecting Animation Frames
Use the Frame Index control or select an item from the frame list.
The active image is updated in the sprite's texture node.
The addon also includes a timeline frame handler that updates the displayed image when the animation frame index changes.
Important: The Animation Sprite Manager manages image frames and their selection. It does not currently provide a complete automatic playback editor with configurable FPS, playback controls, or automatic image-sequence timing.
11. Recommended Workflow
A typical workflow for preparing a 2D character is:
Step 1 — Prepare Your Artwork
Create your character illustration and prepare it as a supported image or SVG file.
Step 2 — Import Your Sprite
Use the SVG or PNG import tool.
Step 3 — Prepare Your Mesh
Inspect the generated geometry and make any additional mesh adjustments needed for your character.
Step 4 — Create Your Rig
Create an armature and edit the bones to match your character.
Step 5 — Prepare Bone Weights
Set up the required vertex groups and weights if you want to use bone-based deformation.
Step 6 — Add Deformation Controls
Use Lattice Deformation to create additional control over the shape of your character.
Step 7 — Animate
Use lattice keyframes, Blender's armature animation tools, constraints, and Motion Path.
Step 8 — Review Your Animation
Play through your animation and adjust the timing, deformation, and movement as needed.
12. Troubleshooting
The Modern Rig tab does not appear.
Check that the addon is enabled.
Restart Blender if necessary.
Check the Blender Console for installation or Python errors.
Confirm that you are using Blender 5.0 or newer.
My SVG import does not look exactly like the original.
SVG import compatibility depends on the contents of the original file.
Try simplifying the SVG, converting text to paths, and reducing unsupported effects before importing.
My PNG mesh has missing details.
The current alpha-cut method samples the alpha channel at face corners. Small or narrow features may not be represented accurately.
Try adjusting the Grid Density and Alpha Threshold settings or edit the mesh manually.
My character does not deform when I move bones.
Creating an armature does not automatically bind the mesh.
Check that:
The mesh has an Armature modifier.
The modifier references the correct armature.
The mesh has vertex groups matching the bone names.
The vertex weights are assigned correctly.
My lattice does not deform the sprite.
Check that:
The lattice object still exists.
The sprite has an MRS Lattice modifier.
The modifier references the correct lattice object.
The lattice is positioned around the sprite.
My animation sprite does not change automatically.
Check that the animation frame list contains valid images and that the Frame Index property is being changed or animated.
13. Support
If you experience any issues while using Modern Rig Studio Pro, please contact me through the Superhive product support system.
When reporting a problem, please include:
Your Blender version.
Your operating system.
The steps required to reproduce the issue.
A screenshot or error message, if available.
Bug reports, suggestions, and feature requests are welcome.
Thank you for supporting Modern Rig Studio Pro!
Have questions about this product?
Login to message
| Published | about 17 hours ago |
| Blender Version | 4.0 - 5.0 |
| Extension Type | N/A |
| Render Engine Used | Cycles, Eevee |
| License | GPL |
