Modulynx – Modular Assembly System
 Frederik Vollbrecht
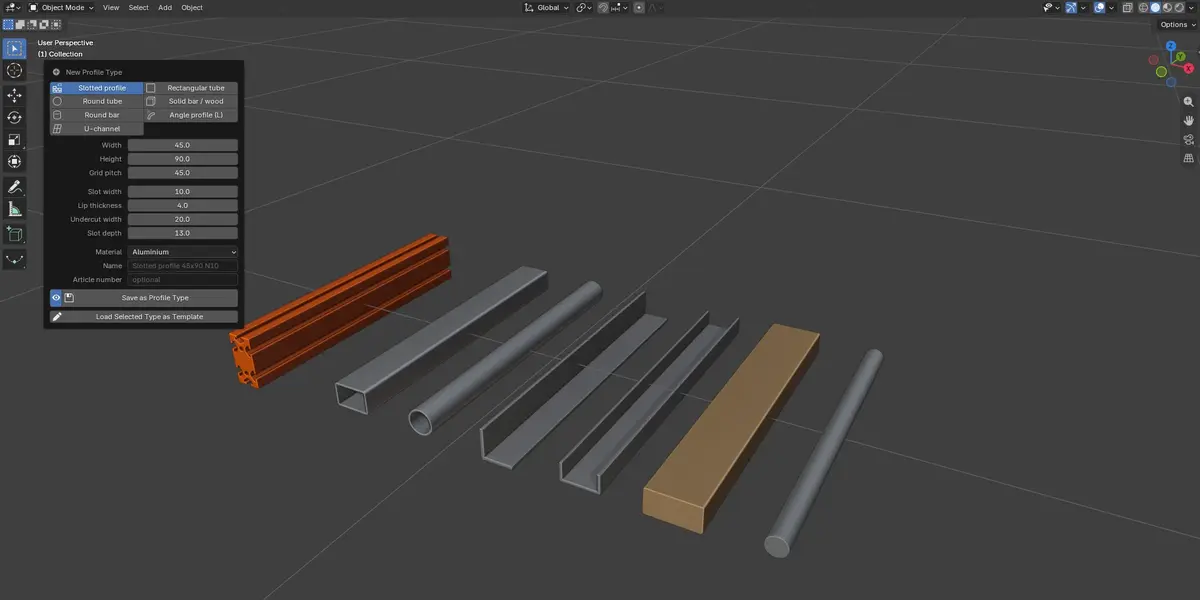
Installation
- Download modulynx-1.0.0.zip – do not unzip it.
- In Blender 5.2 or newer open Edit › Preferences › Get Extensions, open the menu in the top right corner and choose Install from Disk…. Select the zip file.
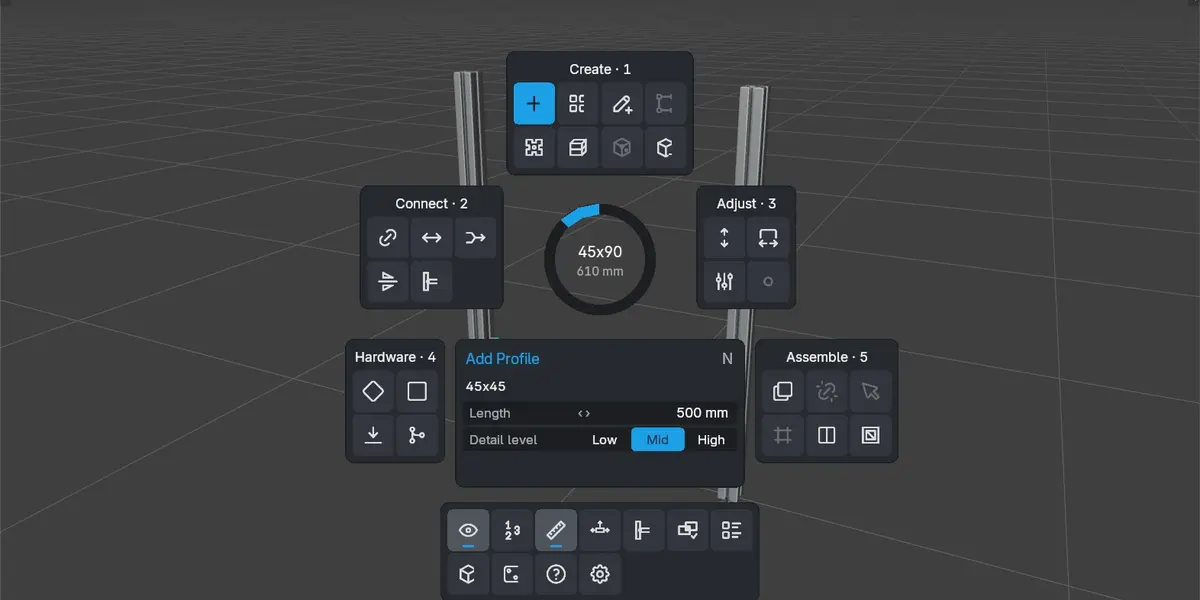
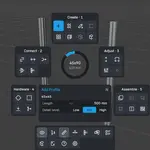
- The MODULYNX tab appears in the sidebar of the 3D Viewport (N). In Object Mode press P for the radial menu (the key can be changed in the preferences).
Updating: install the new zip the same way – it replaces the old version. Your settings, profile types, prices and components stay in place.
Quick start
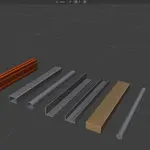
- Add a profile: Create › Add Profile (or P, then N). Type, length and detail level are set above the button.
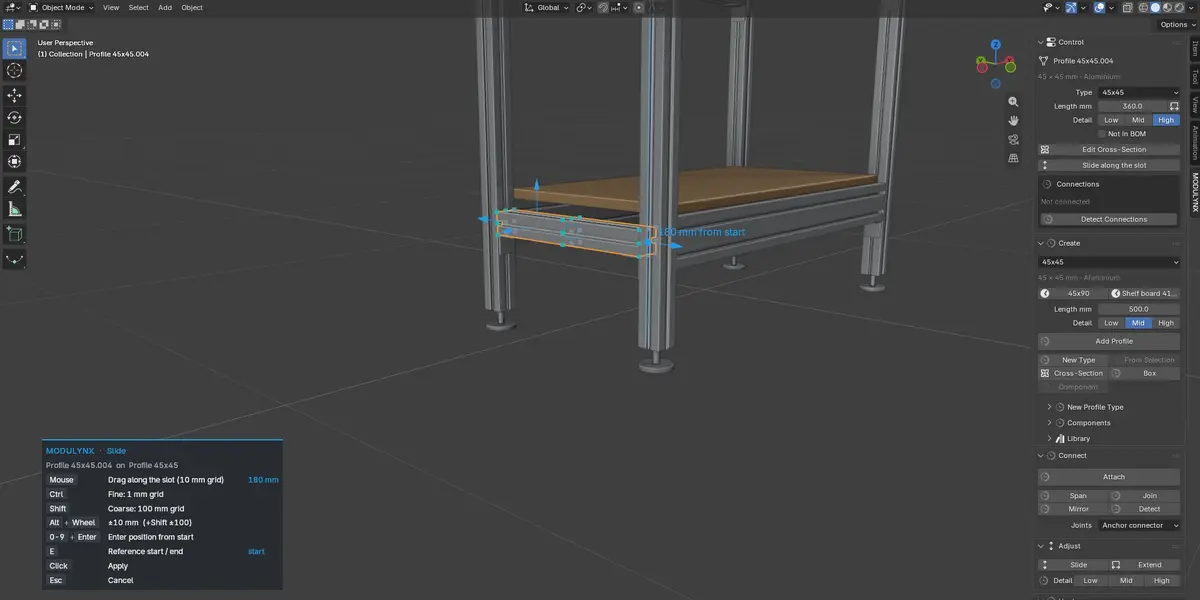
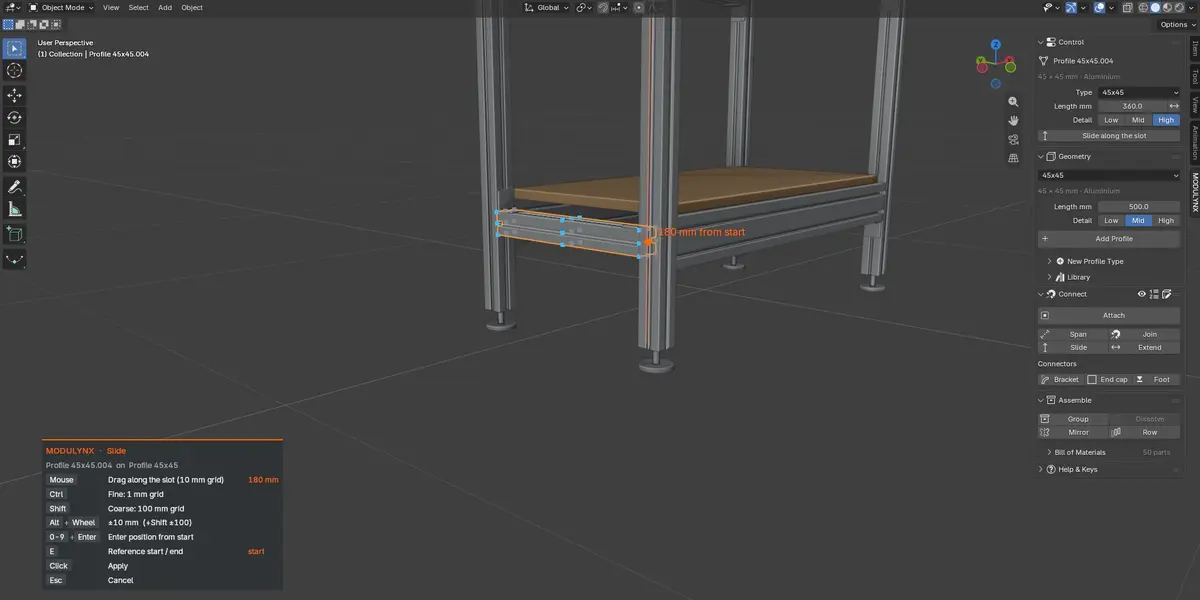
- Attach: Connect › Attach, point at a node and click – the next profile snaps on with its end face. R rotates, Alt+Wheel slides along the slot, type a number and press Enter for the length, Shift+Click places and continues.
- Span: takes two nodes and sets the length from their distance.
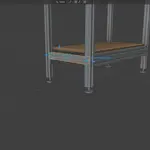
- Box: Create › Box (P, then O) – click a corner, drag the footprint, drag the height.
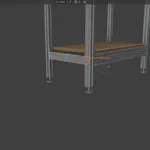
- Panels: Assemble › Panel (P, then I) – point into a frame opening and click.
- Components: select any mesh and choose Make Component; attach profiles to its nodes.
- Output: View & Export › Bill of Materials (CSV), STEP for CAD or DXF for laser cutting.
The keys of the running tool are always shown at the bottom left of the viewport. Full documentation with all keys: modulynx-addon.netlify.app/#docs
 Included
Includes 12 months of
- Support from Frederik Vollbrecht
- Product updates
Extend this product’s Support Period +12 months: 50% of product price
Have questions before purchasing?
Login to message
| Blender Extension Compatible | Yes |
| Published | about 7 hours ago |
| Blender Version | 5.2 |
| Extension Type | Add-on |
| License | GPL |

Discover more products like this
t-slot modular aluminium profile extrusion rack dxf step-export assembly frame bill of materials workbench cad