Morphix Blender Addon
 Youthcloud
OFFICIAL USER DOCUMENTATION • VERSION 1.0.0 • BLENDER 3.6 LTS – 5.2+
MORPHIX — Complete User Manual & Reference
Everything you need to install, configure, and animate multi-object & Collection morphs in Blender—featuring Weight Proximity Empty Control, 6 Displace Map Transitions, One-Click Auto-Keyframes, and a 7-Language N-Panel.
📑 Documentation Contents
1. Product Overview & Compatibility
MORPHIX v1.0.0 is a non-destructive Blender addon/extension that morphs seamlessly between any number of Mesh Objects and entire Collections—even when every target has completely different vertex counts, polygon layouts, or topology.
| Specification | Details |
|---|---|
| Addon Version |
1.0.0 (Extension ID: morphix) |
| Supported Blender | Blender 3.6 LTS, 4.0–4.5, and 5.0–5.2+ (Geometry Nodes + Layered Actions + RNA Sockets) |
| N-Panel Location | 3D Viewport > Sidebar (Press N) > MORPHIX |
| Dependencies | 100% pure Python (bpy & bmesh) — works completely offline |
🎬 Official MORPHIX Video Preview & Demo
▶ Watch on YouTube (youtu.be/27zEy6lnBtM)2. Installation & Upgrading
| Method A: Blender 4.2 – 5.2+ (Recommended Extension)
| Method B: Blender 3.6 – 4.1 (Legacy Single-File)
|
MORPHIX_Addon.zip, and restart Blender so preview icons and RNA sockets reload cleanly. 3. 60-Second Quick Start Workflow
| Step 01 · Load Queue Open 1. Models & Targets and click Load 6 Base 3D Models (or add your own Objects/Collections), then click Generate / Update Morph 3D. | Step 02 · Control & Style Scrub Morph Progress or click Spawn Empty Controller to drive localized Weight Proximity morphing, and pick a Displace Style. | Step 03 · Auto-Keyframe Open 3. Auto-Keyframe Transitions, choose Hold/Transition Frames & Easing, click Generate Auto-Keyframes, and press Spacebar! |
4. 1. Models & Targets Panel
Manage your morph sequence in any order. MORPHIX automatically constructs a Geometry Nodes engine object named MORPHIX_Object without modifying your original source meshes.

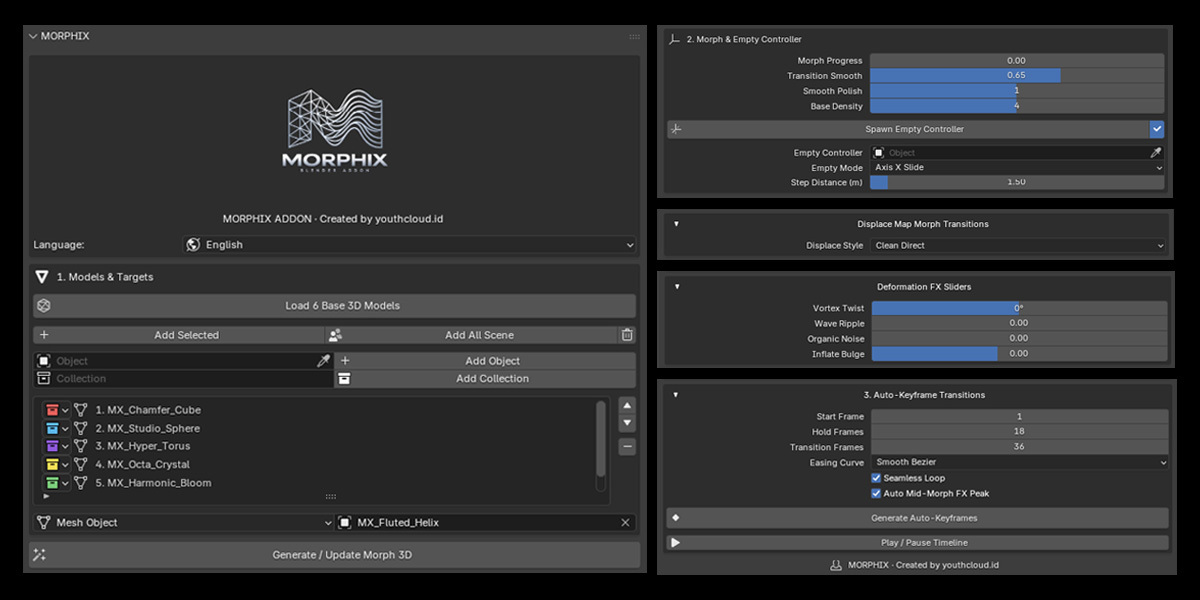
Figure 1 — MORPHIX Brand Header, Language Switcher, and 1. Models & Targets Queue inside Blender's N-Panel.
-
Load 6 Base 3D Models: Spawns 6 procedural studio shapes (MX_Chamfer_Cube, MX_Studio_Sphere, MX_Hyper_Torus, MX_Octa_Crystal, MX_Harmonic_Bloom, MX_Fluted_Helix) inside a
MORPHIX_Base_Modelscollection for instant testing. - Add Selected / Add All Scene: Queue multiple selected Viewport meshes or all visible scene meshes in one click.
- Single Object or Entire Collection Picker: Choose Mesh Object or Collection in the picker to add complex multi-part assemblies as a single morph stage.
- Queue Controls: Use ▲ / ▼ arrows to reorder targets, ➖ to remove an entry, or 🗑 to clear the queue. Always click Generate / Update Morph 3D after changing queue items.
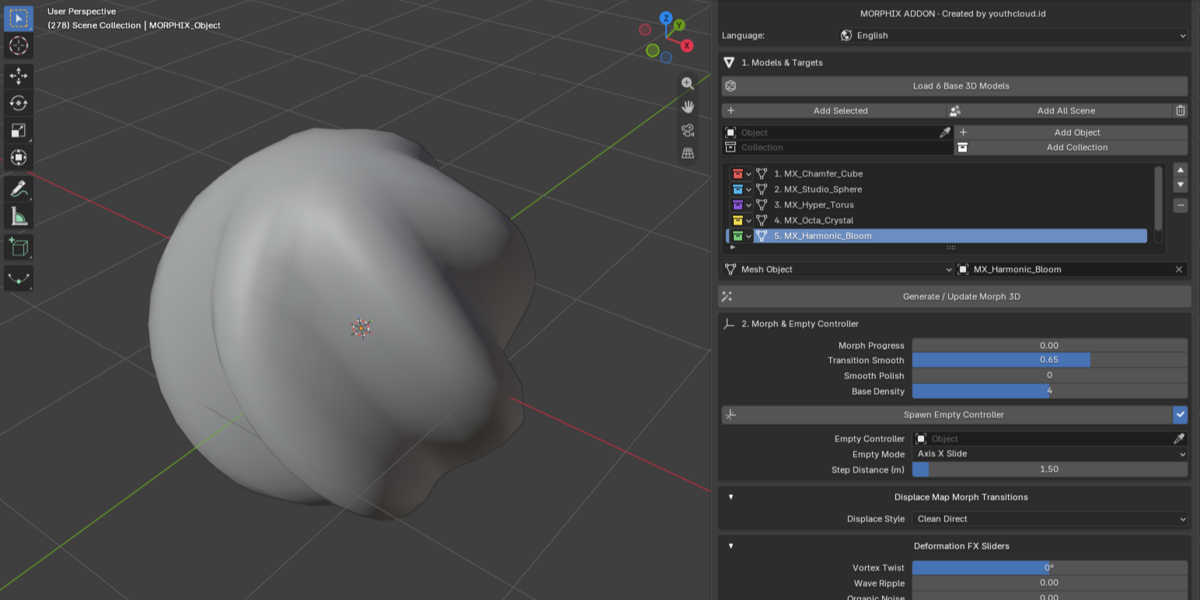
5. 2. Morph & Empty Controller (Weight Proximity & Shape Purity)
Click Spawn Empty Controller to create a 3D Sphere Empty (MORPHIX_Empty_Controller) paired with Blender's native Vertex Weight Proximity (MORPHIX_Weight) and Proximity Blend. Move the Empty (G) in the 3D Viewport to drive transitions spatially:

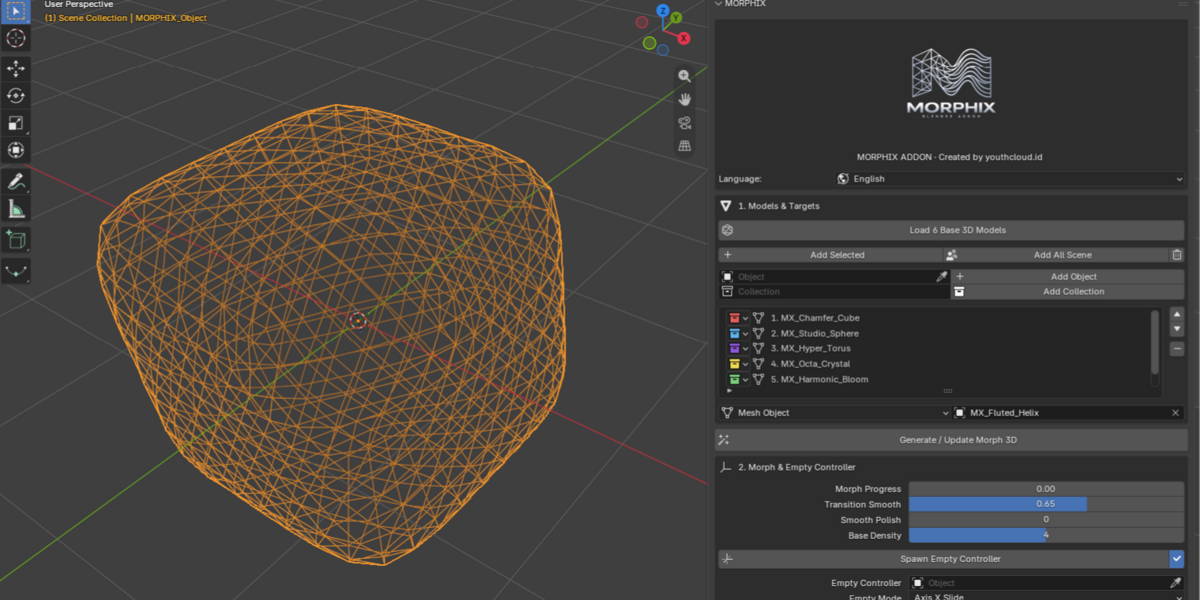
Figure 2 — 2. Morph & Empty Controller with Morph Progress, Transition Smooth, Smooth Polish, Base Density & Empty Mode controls.
| Setting | Options | Behavior in Blender |
|---|---|---|
| Empty Mode |
Weight Proximity / Axis X Slide / Any-Direction Follow
| Weight Proximity masks morphing to the Empty's radius; Axis X Slide sweeps left-to-right; Any-Direction Follow steps sequentially by total travel distance. |
| Proximity Scope |
Per-Object Island / Per-Vertex
| Per-Object Island morphs whole mesh islands uniformly when touched; Per-Vertex creates organic localized wave-fronts across a mesh. |
| Inner / Falloff Radius |
0.0 – 1.5 / 0.5 – 3.5 m
| Inside Inner Radius = 100% Target 2 (Weight 1.0); outside Falloff Radius = 100% Target 1 (Weight 0.0) with smooth falloff in between. |
| Safe Re-Spawn | Automatic Recovery | If you delete MORPHIX_Empty_Controller in the Outliner, clicking Spawn Empty Controller again cleanly re-links & restores it in the active ViewLayer. |
🎯 Why Object 1 & Suzanne Never Distort (4-Tier Exact Shape Preservation)
At integer stages (t = 0.0, 1.0, 2.0...) and outside Weight Proximity bounds, MORPHIX renders the exact unmodified target geometry. Between stages, deformation FX and Displace strength follow a sin(π × frac) bell envelope—peaking at 0.5 and returning to 0.0 at both endpoints.
6. Deformation FX Sliders & Displace Map Morph Transitions
Sculpt mid-morph stylized motion using Deformation FX Sliders (Vortex Twist, Wave Ripple, Organic Noise, Inflate Bulge) plus Blender's native Displace Modifier (MORPHIX_Displace + procedural MORPHIX_DispTex). Choose Normal, RGB to XYZ, or Z Axis direction alongside Strength & Texture Scale:


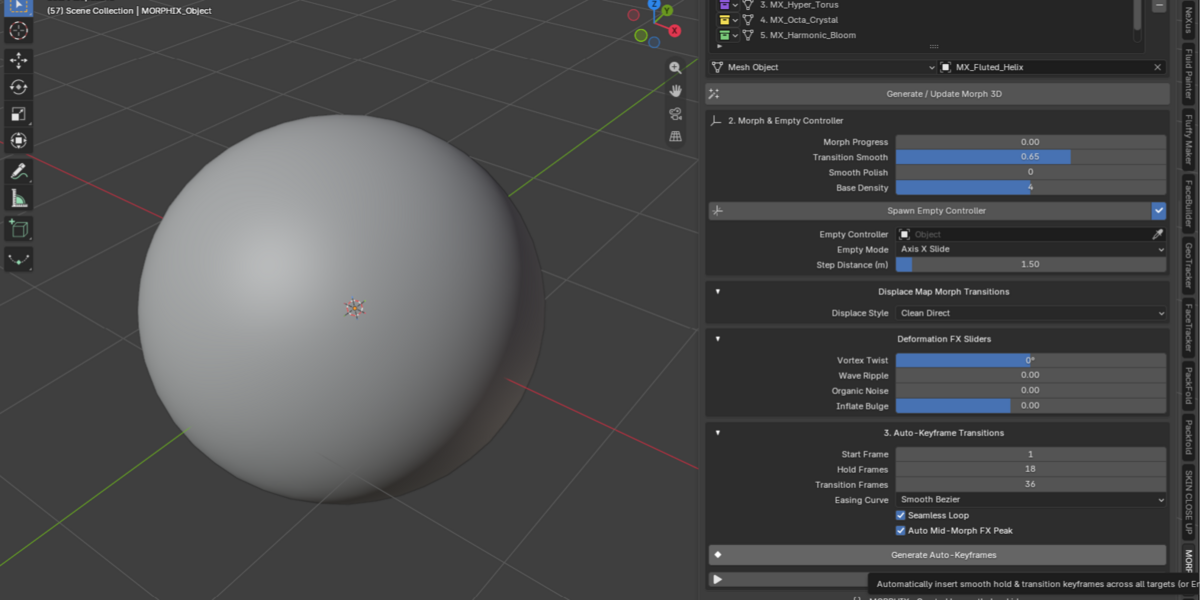
Figures 3 & 4 — Deformation FX Sliders (top) and Displace Map Morph Transitions style selector (bottom).
| Transition Style | Blender Texture | Best Use Case |
|---|---|---|
| Clean Direct | NONE | Pure, crisp product reveals & architectural transitions. |
| Cloud Boil | CLOUDS | Soft organic cloud-like expansion & clay sculpting swells. |
| Cell Shatter | VORONOI | Hard-surface crystal facets & sci-fi hologram assembly. |
| Liquid Marble | MARBLE | Silky flowing sine ribbons & molten chrome ripples. |
| Shockwave Rings | WOOD (Rings) | Concentric energy shockwaves & audio-pulse bands. |
| Plasma Warp | DISTORTED_NOISE | Turbulent high-energy plasma swirls mid-transition. |
| Coral Erode | STUCCI | Porous bio-organic coral & stone erosion textures. |
7. 3. Auto-Keyframe Transitions

Figure 5 — 3. Auto-Keyframe Transitions panel with Start/Hold/Transition Frames, Easing Curve, Seamless Loop & Auto Mid-Morph FX Peak.
-
Start / Hold / Transition Frames: Control the starting frame, how long each target holds still cleanly (e.g.,
18frames), and transition duration between stages (e.g.,36frames). -
Easing Curve: Supports
Smooth Bezier,Sine,Elastic,Back,Bounce,Quad, andLinear—compatible with both legacy F-Curves and Blender 5.2+ Layered Actions. - Seamless Loop & Auto Mid-Morph FX Peak: Automatically returns smoothly back to Target 1, sets the Timeline End frame, and pulses deformation FX strictly mid-morph.
- Generate Auto-Keyframes & Play / Pause Timeline: Build your full keyframed animation and preview playback directly from the N-Panel.
8. Built-In 7-Language N-Panel UI
Switch the entire MORPHIX N-Panel interface (headers, labels, buttons, and tooltips) live from the Language dropdown shown at the top of Figure 1:
| Code | Language | Code | Language |
|---|---|---|---|
EN | English (Default) | DE | Deutsch (German) |
ID | Bahasa Indonesia | RU | Русский (Russian) |
JA | 日本語 (Japanese) | ES | Español (Spanish) |
ZH | 中文 (Chinese) | — | Instant UI switch (no restart needed) |
9. Troubleshooting & Pro Tips
- Morphing looks slow on ultra-high-poly sculpts: Lower Base Density from 4 to 3 while blocking animations, then raise back to 4–5 for final renders.
-
Target object jumps in position during morph: Apply Location/Rotation/Scale (
Ctrl+A) or align origins on custom objects before clicking Generate / Update Morph 3D. - Deleted the Empty Controller by mistake: Simply click Spawn Empty Controller again—MORPHIX automatically recreates/re-links it into the active ViewLayer.
- Only want part of a scene/object to morph: Enable Weight Proximity, move the Empty over the desired area, and tune Inner Radius + Falloff.
 Included
Includes 12 months of
- Support from Youthcloud
- Product updates
Extend this product’s Support Period +12 months: 25% of product price
Have questions before purchasing?
Login to message
| Blender Extension Compatible | Yes |
| Published | about 22 hours ago |
| Blender Version | 3.6 - 5.3 |
| Extension Type | Add-on |
| Render Engine Used | Cycles, Eevee |
| License | GPL |