 JB FX
JB FX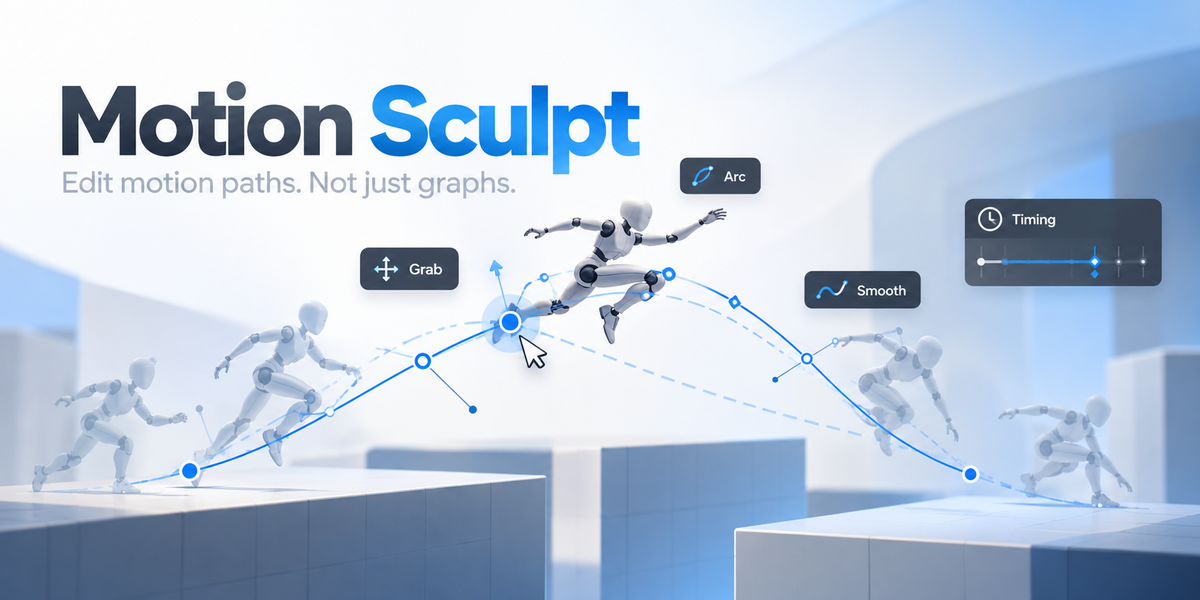
MOTION SCULPT V1 - SIMPLE DOCUMENTATION
Version: 0.4.5
Blender: 4.2+
OVERVIEW
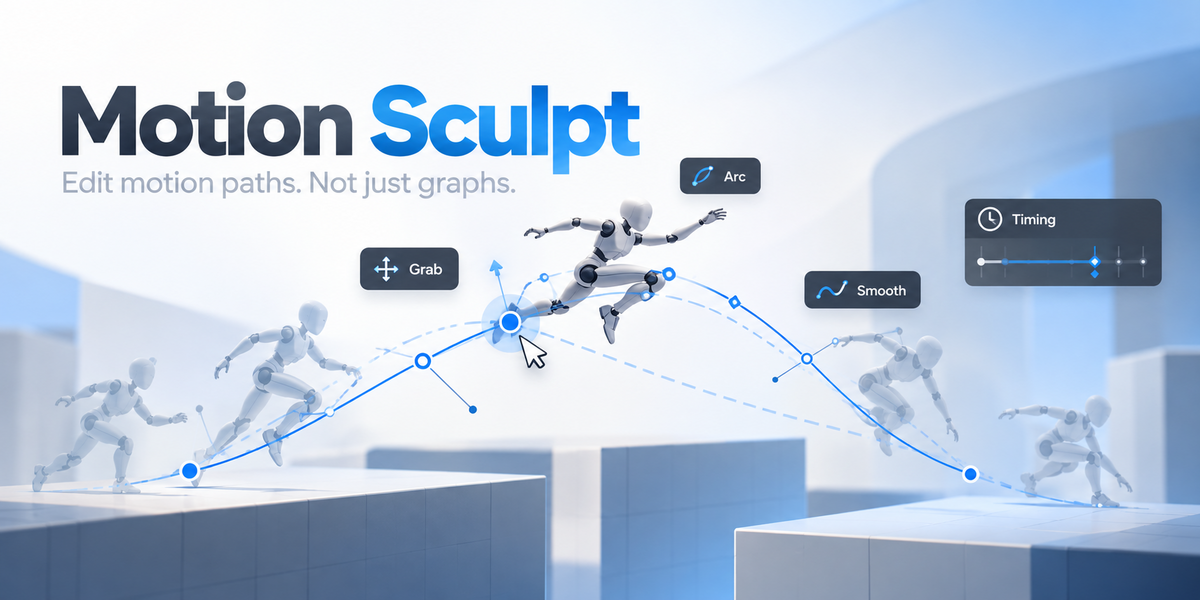
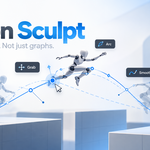
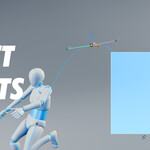
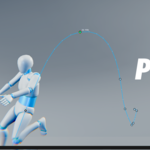
Motion Sculpt lets animators edit Location animation paths directly in Blender's 3D Viewport. The main workflow is visual: show a motion path, select its key points, and reshape the motion without constantly switching to the Graph Editor.
V1 keeps the direct point-editing workflow from 0.4.3 and adds a faster Show Path startup. Editable key points are evaluated exactly first; the in-between path detail can continue refining after the path becomes visible.
1. INSTALLATION
1) Save your Blender file.
2) Disable or remove an older Motion Sculpt installation.
3) In Blender, go to Edit > Preferences > Add-ons.
4) Choose Install from Disk.
5) Select the Motion Sculpt V1 ZIP file without extracting it.
6) Restart Blender after replacing an older enabled version.
7) Enable Motion Sculpt.
8) In the 3D Viewport, press N and open the Motion Sculpt tab.
2. BASIC WORKFLOW
1) Select an animated object, or select an animator control in Pose Mode.
2) Press Show Path.
3) Click a large path point to select it.
4) Drag the point directly in the viewport to reshape the motion.
5) Use the X/Y/Z handles or G then X/Y/Z for constrained movement.
6) Select multiple points when you want to shape a section of motion.
7) Play the animation and inspect the result.
8) Use Ctrl+Z for Blender's normal Undo.
Show Path may display the editable path before every in-between rig sample has finished evaluating. While this happens, Motion Sculpt may show "Path visible - refining detail". The editable key points are already exact.
3. EVERYDAY CONTROLS
- Click point: Select a motion key.
- Drag point: Move selected key point(s) in the viewport.
- Drag X/Y/Z handle: Constrain movement to a world axis.
- G, then X/Y/Z: Keyboard-constrained movement.
- Shift while moving: Precision movement.
- Shift-click: Add/remove a point from the selection.
- A: Select all visible path points.
- Alt+A: Deselect all path points.
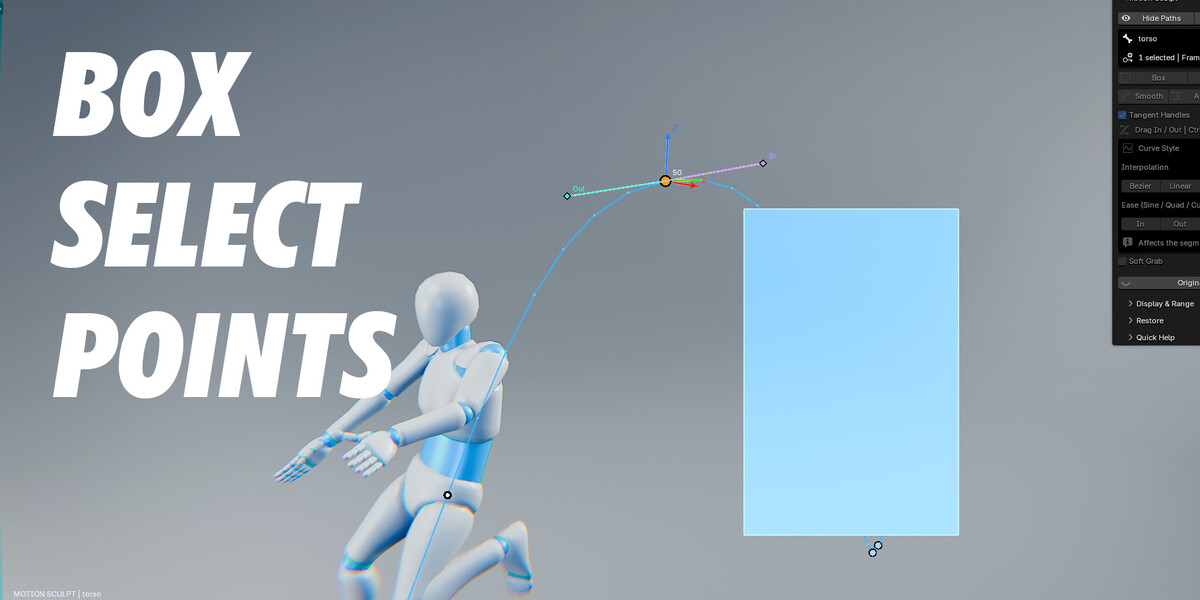
- B: Box-select path points.
- Between: Select all visible points between the outer selected points.
- Double-click point: Jump to that keyframe.
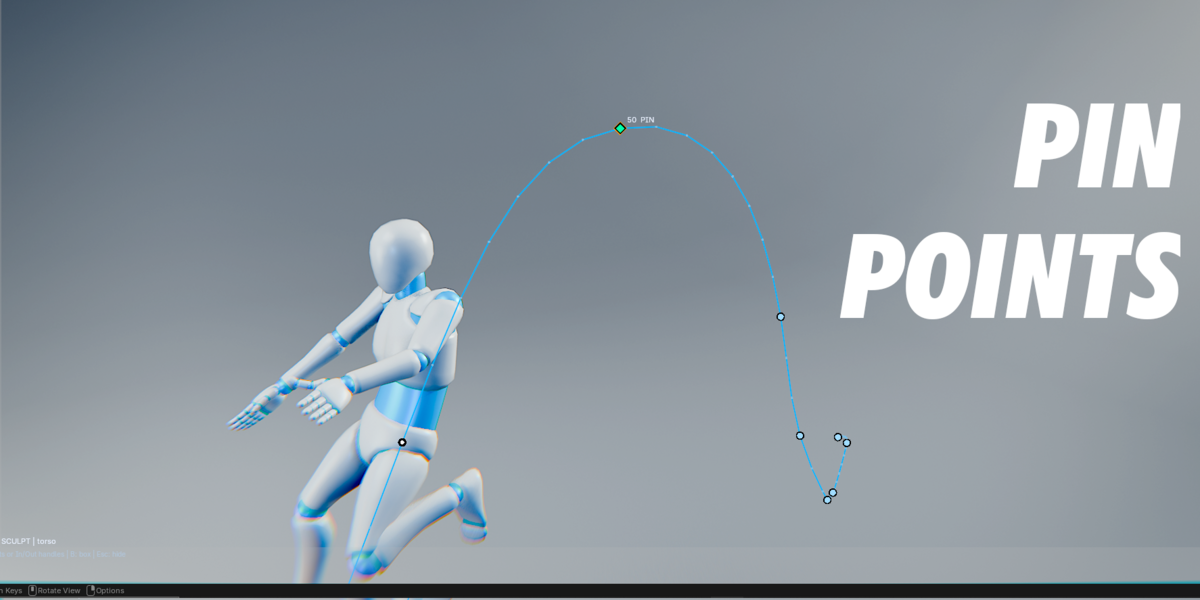
- Pin / Unpin: Protect selected points from shaping tools and Soft Grab.
- Esc / right-click during a move: Cancel the current move.
- Ctrl+Z: Blender native Undo.
4. TANGENT HANDLES
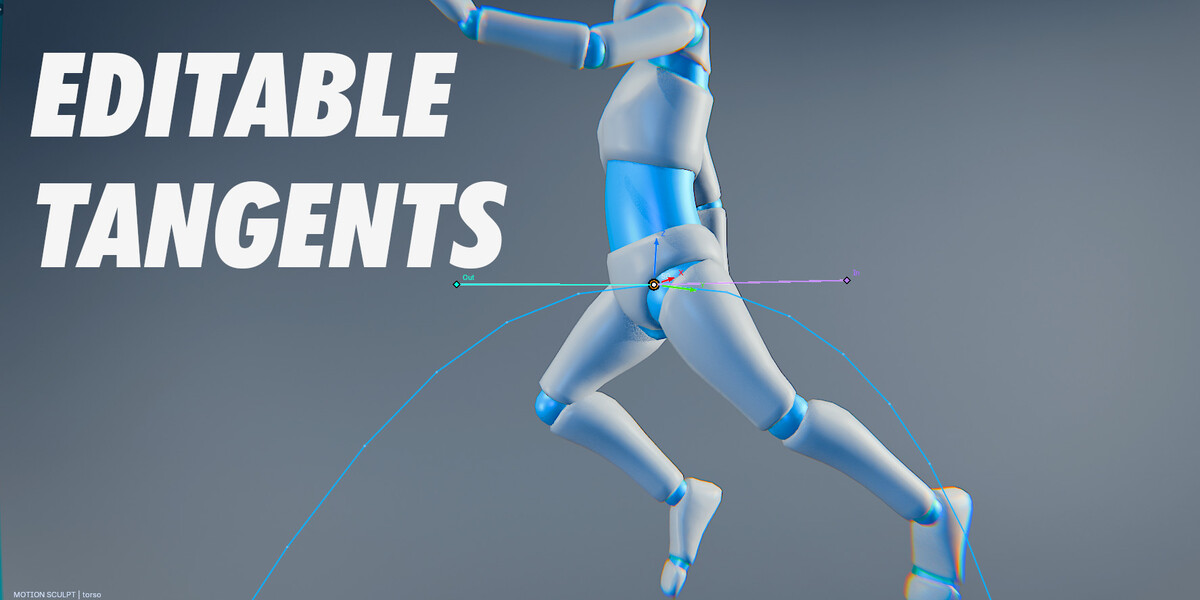
Select a waypoint to display its In and Out tangent handles.
- Drag In: Change how motion enters the selected key.
- Drag Out: Change how motion leaves the selected key.
- Shift while dragging: Precision tangent movement.
- Ctrl while dragging a tangent: Temporarily edit both sides together.
- Chain/link control: Keep both tangent sides linked persistently.
Tangents reshape the curve around a key; they do not intentionally move the keyframe point itself.
5. SOFT GRAB
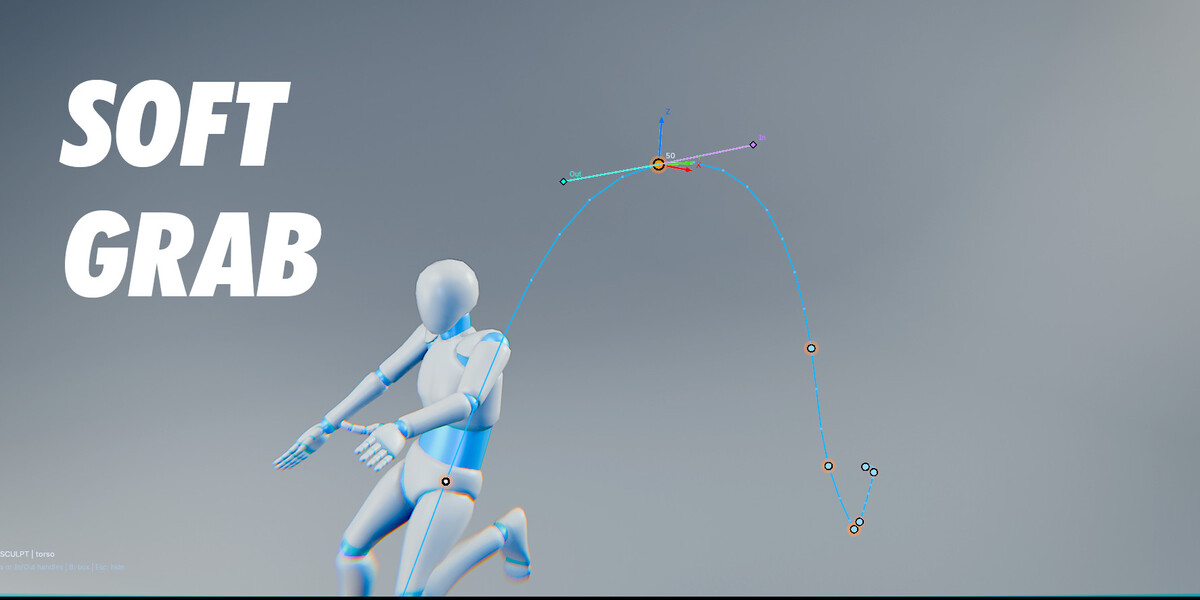
Soft Grab lets a dragged point influence nearby keyframes.
- Turn on Soft Grab.
- Reach is measured in frames.
- Nearby keys receive a gradual falloff.
- Use the mouse wheel during a move to adjust the reach.
- Pinned keys are protected from Soft Grab.
Use Soft Grab for broad, natural trajectory adjustments rather than moving many points individually.
6. SMOOTH
Smooth has two modes:
RELAX - Recommended default
Reduces local bumps and unevenness while trying to preserve the overall arc and shape.
STRAIGHTEN
Pulls selected keys more strongly toward the line between their neighbors. Use it when a straighter trajectory is actually desired.
Pinned points and protected endpoints remain fixed.
7. MAKE ARC
Make Arc reshapes three or more selected points into a cleaner arc.
1) Select at least three points.
2) Press Make Arc / Arc.
3) Adjust the arc height and bend direction.
4) Apply the result.
The first and last selected points act as the arc endpoints. Pinned interior points remain fixed.
8. CURVE STYLE - QUICK INTERPOLATION AND EASE
When path points are selected, Curve Style controls become available.
Quick Interpolation:
- Bezier
- Linear
- Constant
- Additional interpolation types are available in the dropdown, including Sine, Quadratic, Cubic, Quartic, Quintic, Exponential, Circular, Back, Bounce and Elastic.
- Revert restores the interpolation values from immediately before the last quick interpolation change.
Quick Ease:
- Ease In
- Ease Out
- Ease In/Out
- Additional options, including Auto, are available in the dropdown.
- Revert restores the easing values from immediately before the last quick easing change.
These controls affect the selected existing Location keys. In Blender, a key's interpolation/easing controls the segment leaving that key.
9. PATH VISIBILITY
Selected Only / All Paths lets you control how multiple cached paths are displayed.
- All Paths OFF: Show only the active object's or active bone/control's path.
- All Paths ON: Previously created paths can remain visible as dim references while the active path stays editable.
- Hide Paths: Hide the overlays without deleting completed animation edits.
Use All Paths sparingly on heavy rigs for the cleanest and fastest viewport.
10. ORIGINAL PATH
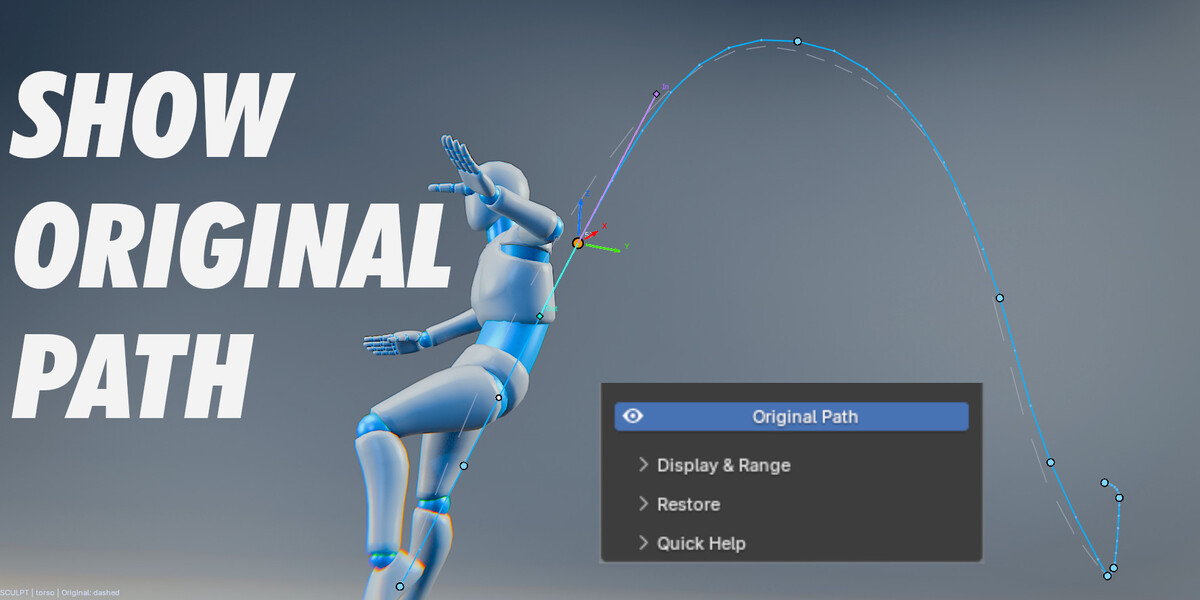
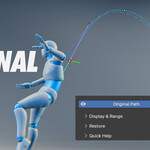
Original Path displays a frozen reference of the motion captured when the current path session began.
Use it to compare the edited trajectory against the starting trajectory without undoing your changes.
Original Path is a visual reference. It does not replace the Action or change keyframes.
11. SHOW PATH, REFINEMENT AND REFRESH
V1 uses a faster two-stage Show Path startup:
1) Every editable Location key is evaluated exactly, plus a small set of extra anchors.
2) The path becomes visible using the normal full-density display.
3) Remaining in-between samples are refined in small chunks while the path is already visible.
This improves responsiveness without reducing the final path density used by 0.4.3.
REFRESH
Use Refresh when you want a conservative, fully synchronous exact rebuild of the path - especially after changing parent animation, rig relationships, constraints, or other scene inputs that affect the evaluated trajectory.
For heavy rigs, avoid refreshing repeatedly when it is not necessary.
12. OBJECTS, BONES AND CONSTRAINTS
Motion Sculpt is designed for directly Location-keyed objects and animator controls.
It supports many common animator-control situations, including partial-axis movement on constrained controls.
For rigs using IK, select the animator-facing IK target/control when possible. A true IK/Spline IK solver bone or a deform bone whose position is completely solver-driven is not equivalent to the animation control that drives it.
If a rig completely overrides all translation axes of a bone, that bone's own Location keys cannot physically move it. In that situation, edit the actual driving control instead.
13. PERFORMANCE TIPS
- Keep All Paths off unless comparison is useful.
- Work on the smallest practical frame range for very long shots.
- Let Show Path finish its background refinement when exact in-between rig motion matters.
- Use Refresh only when an exact full re-evaluation is needed.
- Normal point and tangent editing is designed to use cached/local updates rather than scrubbing the entire timeline.
- Native Blender Undo is preserved for stability.
14. TROUBLESHOOTING
PATH DOES NOT APPEAR
- Confirm the selected object/control has Location animation.
- Confirm Motion Sculpt is enabled.
- Try Show Path again after selecting the actual animator control.
POINT WILL NOT MOVE
- Check whether it is pinned.
- Check Location locks or locked F-curves.
- Pause playback before editing.
- On rigs, make sure you selected the real animation control rather than a solver/deform bone.
PATH LOOKS STALE
- Press Refresh, especially after changing parent animation, constraints, rig relationships or the active Action.
TANGENT HANDLES DO NOT SHOW
- Select a visible editable waypoint first.
- Ensure tangent handles are enabled in Motion Sculpt's display controls.
- If the session became stale after major rig/action changes, use Refresh or rebuild the path.
UNDO IS SLOW ON A VERY LARGE SCENE
Motion Sculpt reduces its own post-Undo overlay work, but Ctrl+Z still uses Blender's native global Undo system. Very large Blender scenes can make native Undo itself expensive.
15. RECOMMENDED V1 WORKFLOW
Select control > Show Path > adjust points > refine with tangents > Relax if needed > use Soft Grab for broad changes > Arc when useful > set interpolation/ease > compare Original Path > play animation > Refresh only when exact re-evaluation is needed.
16. VERSION NOTES
Motion Sculpt V1 is version 0.4.5.
It is deliberately based on the approved 0.4.3 behavior. The 0.4.4 tangent/path-detail experiment is not included.
The V1 runtime keeps:
- 0.4.3 tangent behavior
- direct point dragging
- Soft Grab
- Relax / Straighten
- Make Arc
- interpolation and easing controls
- IK/constrained-control handling
- native Blender Undo
- selected/all path visibility
- faster two-stage Show Path startup
License: GPL-3.0-or-later.
-
$17.99
Motion Sculpt V1 for individuals
-
$50
Motion Sculpt V1 for a studio setup with 2 to 5 people.
-
$89.99
Motion Sculpt for studio with 6 to 10 people
 Included
Includes 12 months of
- Support from JB FX
- Product updates
Extend this product’s Support Period +12 months: 50% of product price
Have questions before purchasing?
Login to message
| Blender Extension Compatible | Yes |
| Published | 2 days ago |
| Blender Version | 5.2 |
| Extension Type | Add-on |
| Render Engine Used | Cycles, Eevee |
| License | GPL |

Discover more products like this
Animation curves Motion paths animation path Interactive animation blender graph editor blender graph editor tools animation addon Arc-animation