MP_Comp
 Momo



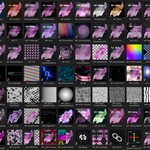
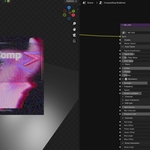

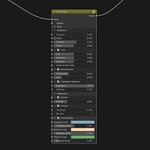
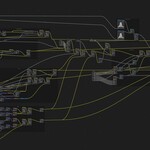
Full official documentation: https://moportfolio.de/en/mp_comp/installation-of-mp_comp/
Installation
MP_Comp uses Blenders Asset Library to manage the assets contained in the file.
The installation is as easy as every other installation of a Blender asset catalog.
Requirements
To run MP_Comp V2.0.0 you will need to be on Blender 4.5.0 or later.
Earlier versions of MP_Comp will require Blender 4.4.0 or later.
Installation process
After downloading MP_Comp, simply drag-and-drop the folder into any directory on your PC of your choice.
Launch Blender and navigate into the User Preferences (Edit > Preferences).
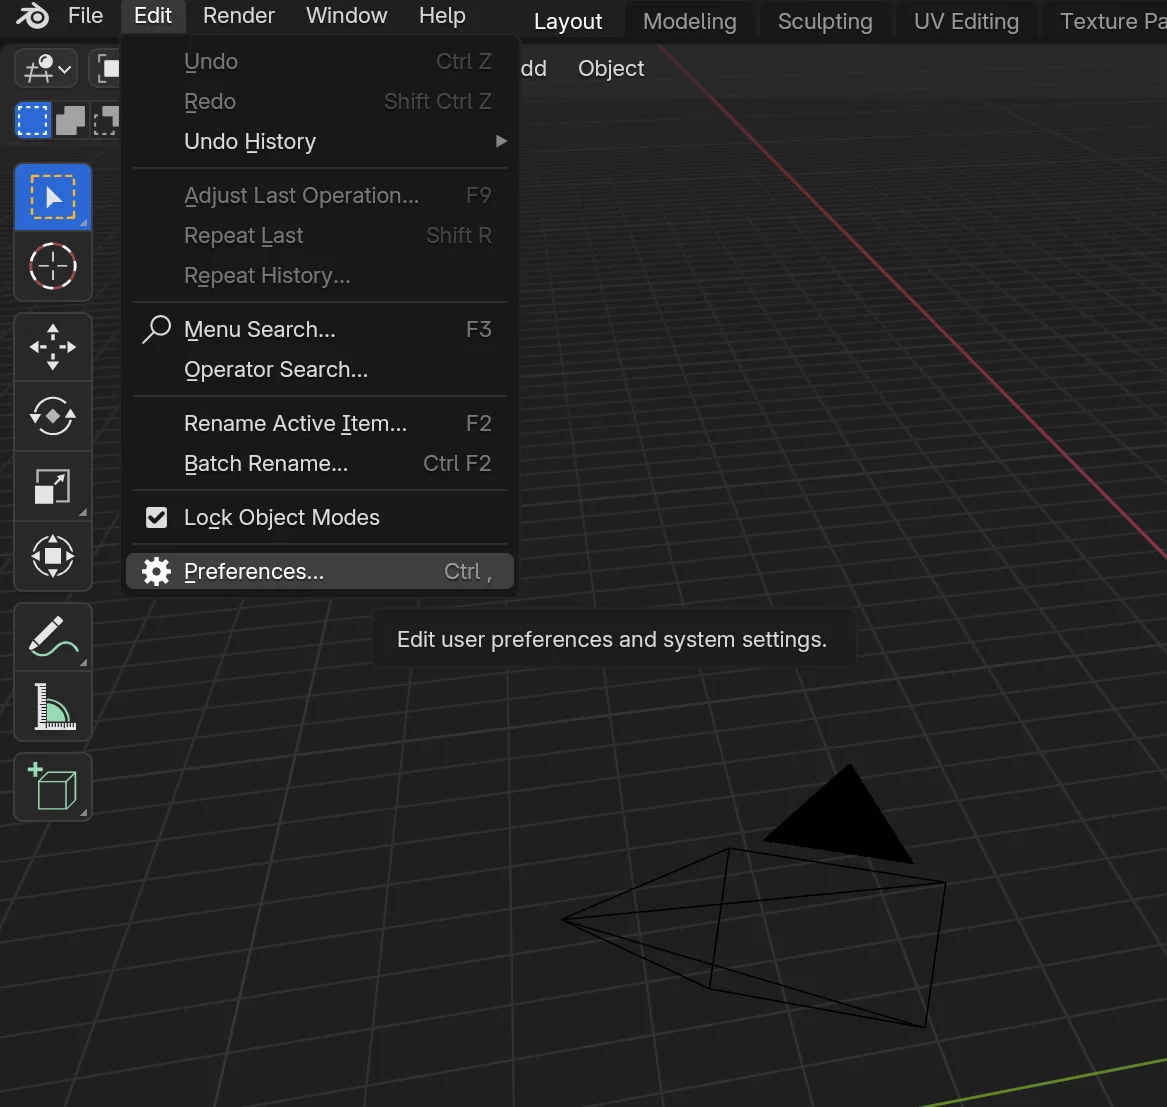
In the newly opened window, navigate to the “File Paths”-Panel on the left side and make sure the “Asset Libraries”-Dropdown is opened.
Click the “+”-icon on the right side of it. Now Blender will launch a new window with a file-explorer. Navigate into the folder you extracted from the .zip-file.
Which means you should only see the .blend-file of MP_comp right now.
Click Add Asset Library to confirm the choice.
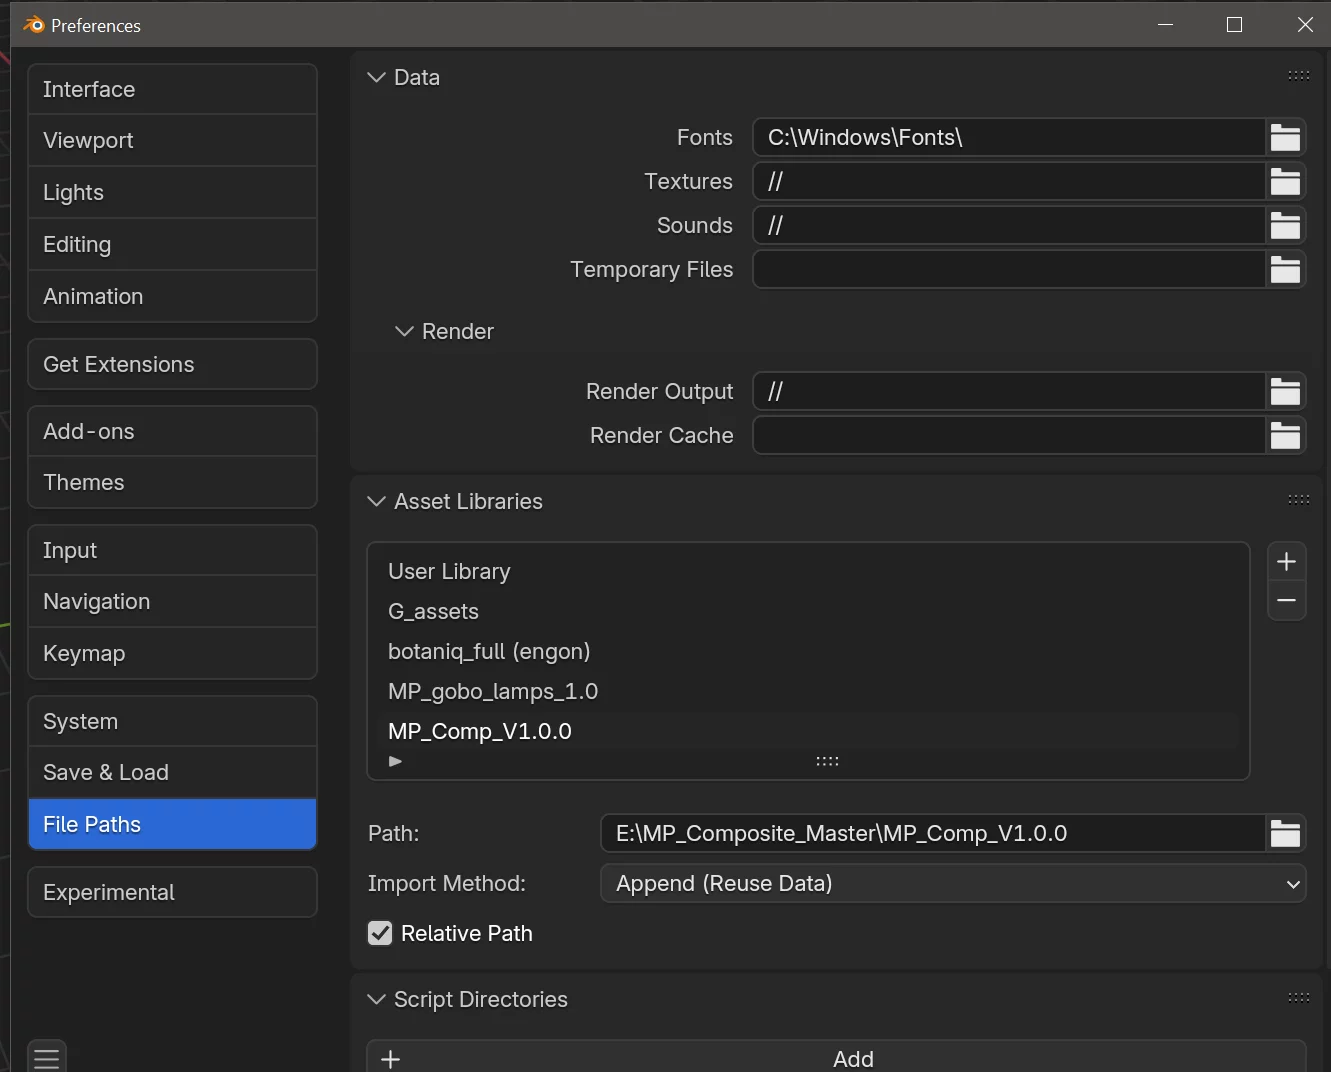
If “MP_Comp_V#.#.#” appears in the Asset Libraries panel like in this screenshot, you have successfully installed MP_Comp!
How to access the effects
You can access the effects of MP_Comp by changing one of the windows in your Blender workspace into the editor-type “Asset Browser”.
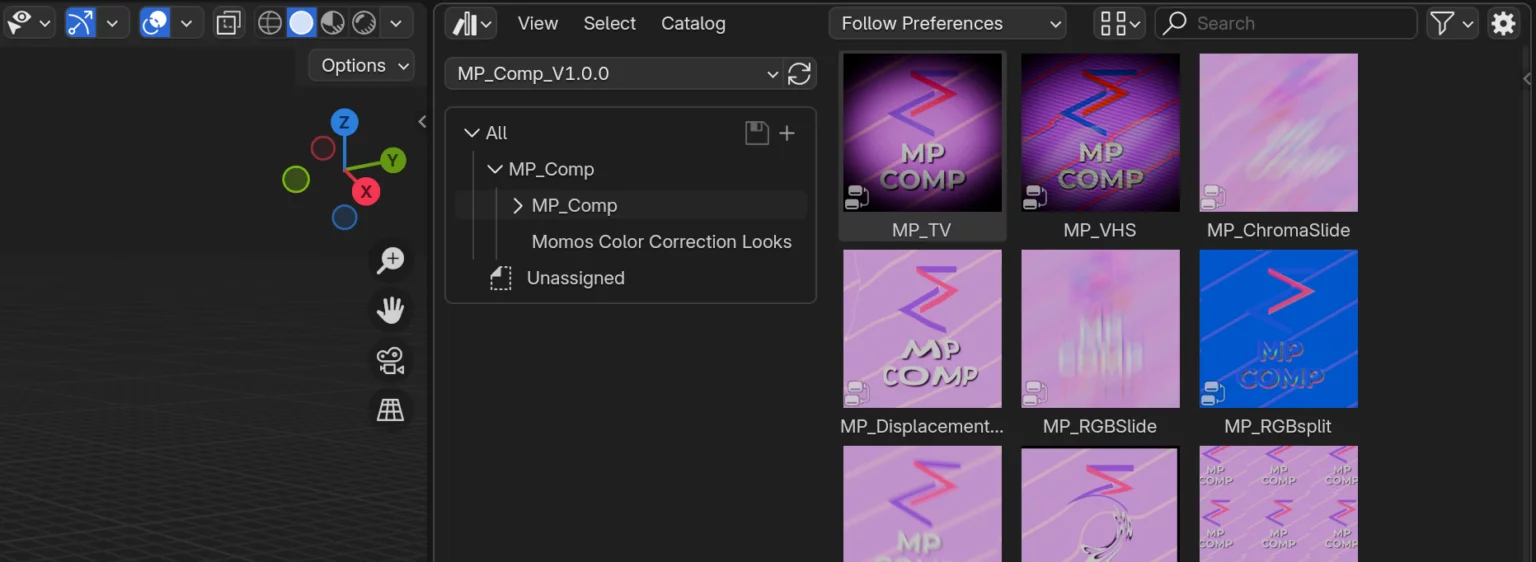
MP_Comp inside Blenders asset browser
As the Asset Browser will continously change, make sure to keep a look at Blenders own documentation about the Asset Browser.
How to use the effects of MP_Comp
Change one of your windows in your Blender workspace to the “Compositor”-editor and make sure to check the Use nodes-checkbox.
Now you can simply drag-and-drop the effects and color-corrections from the asset browser into the compositor and they will appear as a node-group.
Have questions about this product?
Login to message
Includes an Asset Library
170 drag-and-drop assets for Blender’s Asset Browser.
Browse included assets| Sales | 50+ |
| Rating | 1 ratings |
| Dev Fund Contributor | |
| Published | over 1 year ago |
| Blender Version | 4.5 - 5.2 |
| Render Engine Used | Cycles, Eevee |
| License | Creative Commons |
Discover more products like this
aftereffects color grading color grading presets BlenderCompositor effect FX color Blender Compositing VFX procedural ae compositor