MPG (Metals Plastics and Glass)
 dgraphycs
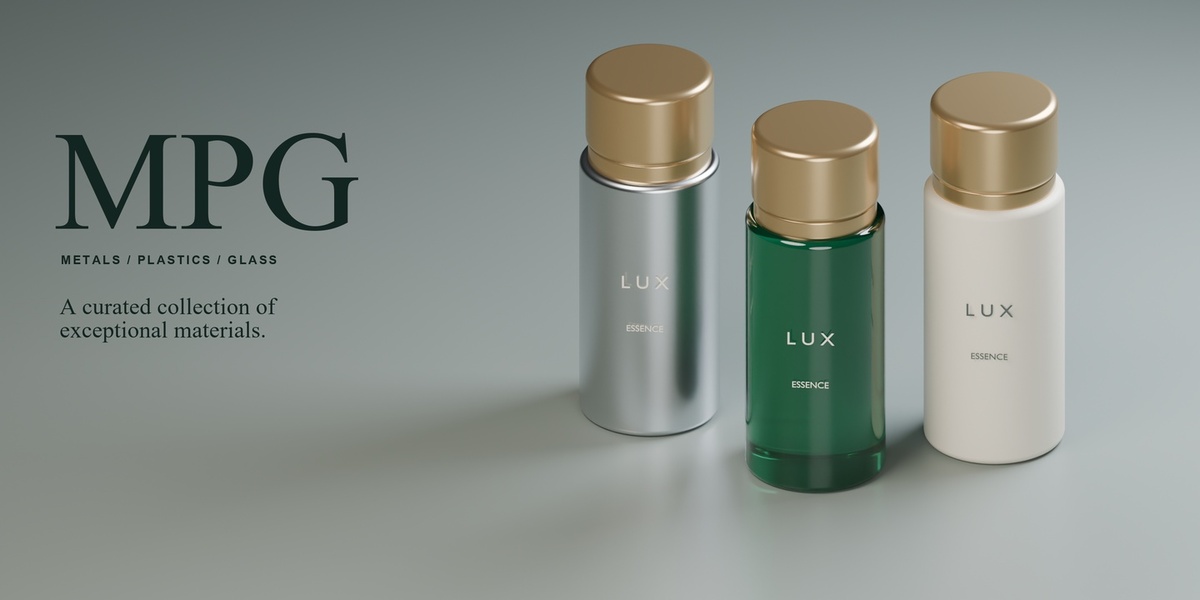
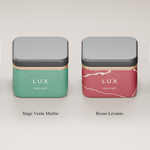
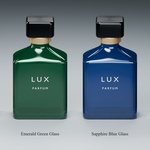
MPG — Metals, Plastics & Glass
User guide · MPG 3.10.10 · Blender 4.2 or newer
MPG is a Blender extension for choosing product materials, adding surface graphics, and exploring coordinated colorways. Use **Materials** to finish individual parts and **Concept Forge** to develop a color, material, and finish (CMF) direction for a complete product.
## Install
1. Open **Edit → Preferences → Get Extensions** in Blender.
2. Open the menu at the upper right and choose **Install from Disk**.
3. Select the MPG ZIP, such as `metals_plastics_glass-3.10.10.zip`. Leave the ZIP intact. Enable the extension if it is not enabled automatically.
4. In the **3D Viewport** or **Shader Editor**, press **N** to open the sidebar and select **MPG**.
The stock library is procedural and the previews are included with MPG. You do not need a separate texture library, LUX Stage, or MMR to use it. MMR is optional for rendering concept comparisons.
## Apply materials
1. In Object Mode, select the objects you want to finish. For a product with separate body and cap objects, select only the part you want to change.
2. Open **MPG → Materials** and choose a collection, such as **Glass**, **Finishes**, or **Stone**.
3. Choose **New Material** or **Reuse Existing**, then click a material thumbnail. The thumbnail applies the preset immediately.
4. Switch to **Material Preview** or **Rendered** shading to judge the finish. Use the **Base Color** control when available to change its color.
MPG replaces the active material slot or creates the first slot if the object has none. On an object with several slots, check the active slot in Blender's Material Properties before clicking a thumbnail.
| Material source | Use it when |
| --- | --- |
| **New Material** | You want a fresh material for this selection, such as a separately branded bottle or a new colorway. Make separate assignments if each object needs its own material. |
| **Reuse Existing** | You want to share a material that already exists in the file, including its edits. Use **Existing Copy** to choose between matching variations. If none exists, MPG creates the first copy. |
Edits to a shared material can affect every object using it. Also, changing the material source or **Existing Copy** can apply the selection immediately, so check which objects are selected before switching.
### What is in the library?
| Browser tab | Presets | Examples |
| --- | ---: | --- |
| Raw Metals | 20 | Sterling Silver, Pure Platinum |
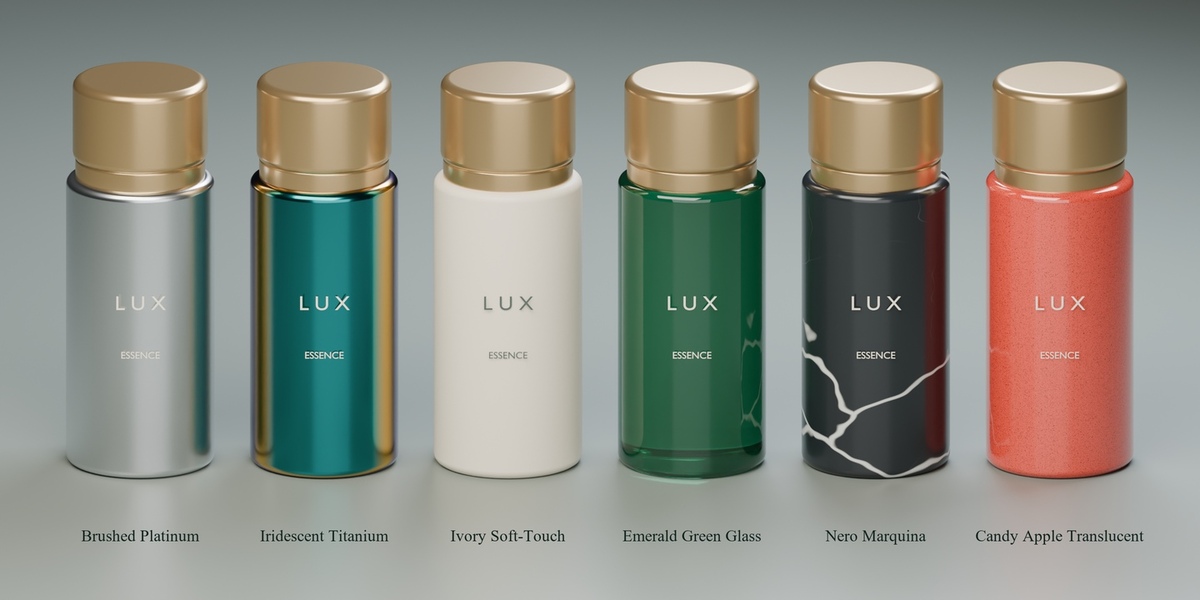
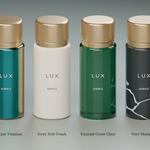
| Finishes | 21 | Brushed Platinum, Studio Champagne Metal, Iridescent Titanium |
| Paints | 20 | Candy Apple Translucent, British Racing Green |
| Plastics | 20 | Ivory Soft-Touch, Studio Satin Lacquer |
| Rubber | 20 | Obsidian Soft Rubber, Clear Platinum Silicone |
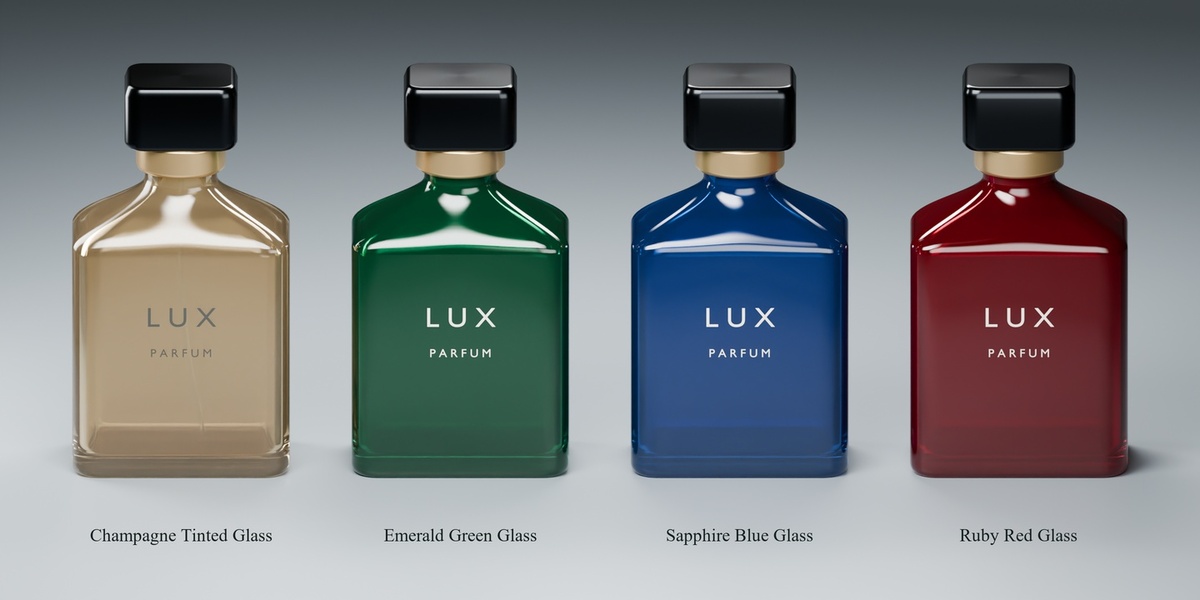
| Glass | 20 | Optical Crystal, Emerald Green Glass |
| Leather / Vinyl | 20 | Smooth Nappa Leather, Diamond Quilted Leather |
| Textiles | 20 | Silk Satin Textile, Bouclé Upholstery |
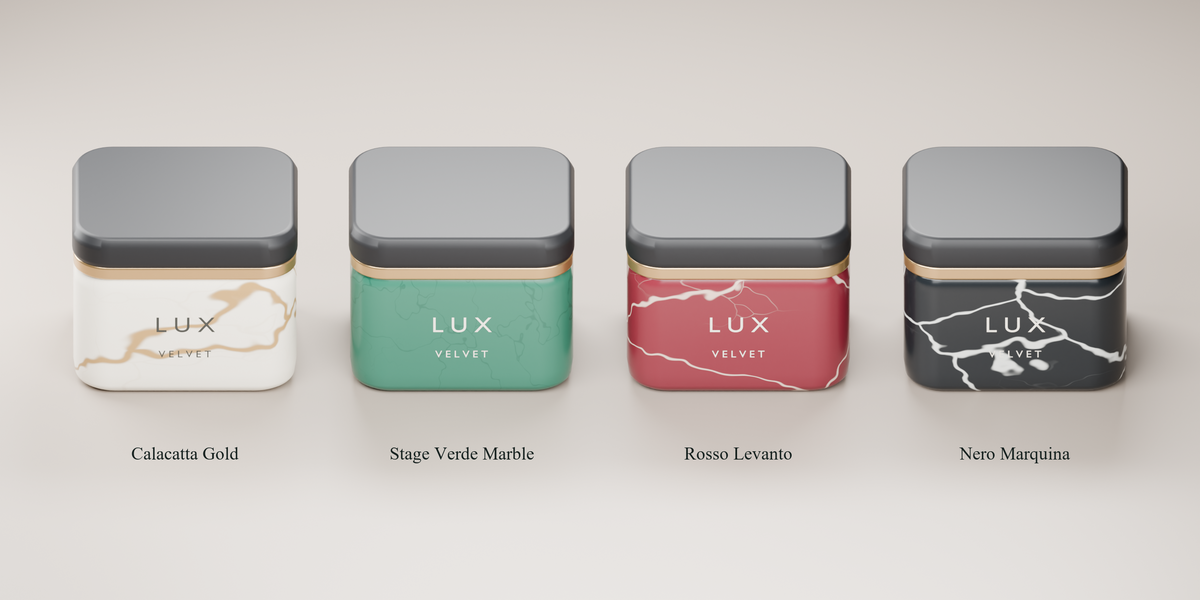
| Stone | 16 | Calacatta Gold, Nero Marquina, Honed Basalt |
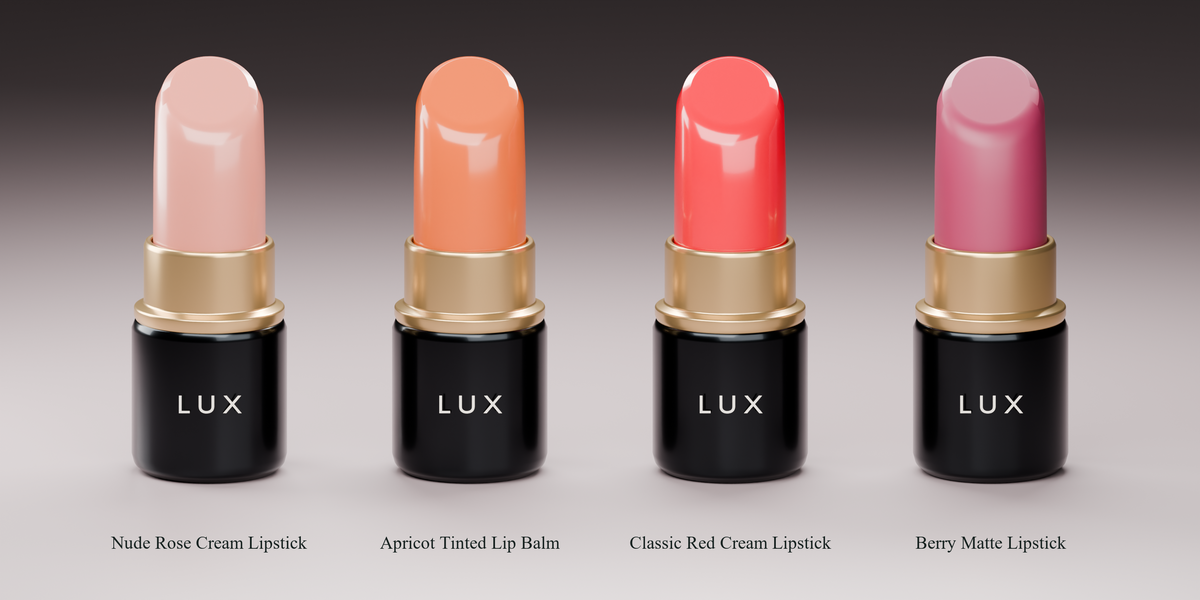
| Liquids | 20 | Cream lipstick, masks, moisturizers, serum |
| Bottles | 20 | Opaque polymers, tinted PET, cosmetic glass, acrylic |
| **Total** | **217** | [Full material catalog](MPG-Material-Catalog.md) |
**Temp** is a separate browser for materials created from palettes. **Bottles** and **Liquids** provide shaders for geometry you already have.
## Adjust the finish
In **Materials → Adjustment** (the fourth tool icon), use **Material Projection** to control how the base shader's texture and grain follow the object.
| Projection | When to try it |
| --- | --- |
| **Smart / Triplanar** | Start here for most products and parts with several visible faces. |
| **UV Directional** | Follow an existing UV layout when direction or placement has been authored. |
| **Cylindrical** | Wrap directional grain around a round object whose length follows local Z. |
| **Object Space** | Keep the texture anchored to the object's local coordinates. |
| **Legacy Generated** | Use normalized generated coordinates when matching an older setup. |
Use **Grain Density** to change the frequency of surface detail, **Grain Rotation** to turn it, and **Relief** to control the strength of supported bump detail. For brushed metal, fabric, or fluted glass, judge the result along the edges as well as on the main face. Material projection and pattern projection are separate controls.
## Add patterns and branding
The four tool icons under the material preview are **Pattern**, **Text**, **Image**, and **Adjustment**. Start with a material already applied and select the product part you want to edit.
### Apply a built-in pattern
1. Open **Pattern** and pick a motif, such as **Art Deco Fans**, **Fine Herringbone**, or **Geometric Mashrabiya**.
2. Choose a **Paint Color** and click **Create Pattern**.
3. Adjust **Projection**, **Pattern Scale**, **Rotation**, and the **Start** and **End** coverage. These controls update the applied layer live.
4. Use **Delete Pattern** to remove the pattern layer.
Use **Automatic** as a starting point, **Cylindrical** for a round container, **Product Sleeve** for a continuous wrap around a rectangular product, **UV** to follow an authored UV layout, or **Box** for projection across multiple faces. Coverage uses object-local XYZ coordinates from 0 to 1. For example, on an upright bottle with local Z pointing up, bringing the Z start and end closer together confines the effect to a band. **Solid Alpha** works well for a solid band or panel.
### Use your own image as a repeat
In **Image**, choose **Repeating Pattern**, click **Choose Image**, and load your artwork. Click **Add Pattern**. Adjust **Alpha Threshold**, **Paint Color**, **Repeat Scale**, **Projection**, **Coverage Start / End**, and **Rotation**. Use **Replace Pattern** to swap the artwork.
A built-in pattern and an image repeat occupy the same pattern slot. Text and a single placed logo can coexist with that pattern.
### Place text on a curved surface
1. Select the target object, open **Text**, and click **Add Text**.
2. Select the text entry. Enter the wording, choose a font, and set the color.
3. Under **Appearance**, choose **Text Alpha** for a flat printed layer or **Raised Mesh** for dimensional lettering. New entries start as **Raised Mesh**.
4. Choose a **Surface**, then adjust **Position**, **Size**, and **Rotation**. In **Raised Mesh** mode, use **Thickness**, **Offset**, and **Wrap Quality** to refine the fit.
5. To remove a text layer, select its entry and click the trash icon.
Surface directions are local to the object: **Front** is local −Y and **Top** is local +Z. If text lands on an unexpected side, check the object's orientation and the **Surface** setting. Use **Text Alpha** for ink on glass or a printed label where no physical depth is needed.
### Add one brand logo
1. Select the target object and go to **Image → Brand Logo**.
2. Click **Choose Image**, then **Add Logo**. A transparent PNG is a good starting point for artwork without a background.
3. Set **Mask** to **Transparency**, **Dark Artwork**, or **Light Artwork** to match the source. Adjust **Threshold** if the mask includes too much or too little of the artwork.
4. Enable **Original Image Colors** for a multicolor logo, or set **Ink Color** for a single-color mark. Adjust **Surface**, **Position**, **Size**, and **Rotation**. MPG preserves the image's aspect ratio.
5. Choose another image and use **Replace Logo** to update the same placement. The trash icon removes only the logo.
Each object has one independent brand-logo placement. **Brand Logo** is a surface layer. To turn artwork into separate editable geometry, use **Image Alpha → Mesh** in the same tab, set the size, thickness, and resolution, and choose **Create Solid Mesh**.
## Generate palettes
Open **Concept Forge**. There are three ways to start:
| Starting point | What to do |
| --- | --- |
| Curated palette | In **Palettes**, select a palette and a **Harmony**, then edit its swatches. |
| Single inspiration color | In **Moodboard**, set **Inspiration** and click **Create Mood from Color**. The selected harmony guides the result. |
| Reference image | In **Moodboard**, click **Extract Palette from Image** and choose an image. Use **Re-extract** to run it again or **Choose Another Image** to change the reference. |
The five swatches are **P** (Primary), **S** (Secondary), **A** (Accent), **N** (Neutral), and **G** (Glass). Palettes from an image or inspiration color are locked for refinement. Use **Lock Palette** to retain your edited swatches while exploring concepts, or unlock it when you want generation to change them. **Palette Overlay** shows the palette in the viewport.
To use the colors without generating a whole concept, choose a style under **Palettes → Palette Materials**. Click a role to make and apply its material to selected objects, or choose **Create All Five Materials** to make the set without assigning it. Find the resulting materials under **Materials → Temp**.
## Use Concept Forge
1. **Discover the product.** Select the parent object or empty that holds your model and click **Discover Selected Product**. MPG lists material-capable parts under **Product**. For a one-piece object, select that object.
2. **Review the parts.** Use the list's checkboxes to include only the parts MPG should change. Set roles and material families as needed, and use **Material Choice** for a part-specific recipe. **Lock Color** lets a part retain a custom color instead of following its palette swatch.
3. **Choose a direction.** Set the palette in **Palettes** or **Moodboard**. In **Concept Forge → Materials**, choose a **Generation Style** and a **Material Assignment** mode. **Keep Class Assignment** varies the colorway while respecting part families; **One Material Type** uses the chosen recipe across included parts. **New Colors Every Concept** gives each generation a fresh palette when the palette is unlocked.
4. **Generate and compare.** Name the concept and click **Generate Concept**. Each generation advances the seed. In **Product → Saved Concepts**, click **Save Current** before exploring another direction. Select a saved concept and use **Apply / Compare** to bring it back, or **Duplicate** to start a variation from it.
5. **Restore or share.** **Restore Original** restores the assignments captured at discovery. **Export CMF Specification** writes a JSON record of the saved concept data for review or handoff.
**Example:** Discover a perfume bottle with separate glass, cap, and collar objects. Keep the glass in the Glass family, give the collar a Metal finish, and exclude the existing label if it is a separate part. Lock the palette to compare material choices within the same colors. Save the result, then unlock the palette and generate a second direction.
### Render comparisons with MMR
With compatible **Multi Material Render (MMR)** installed and enabled, **Send to MMR** appears in Concept Forge. Use it to send the active saved concept, or save and send the current generated concept, for comparison renders. The rendering and export controls are in MMR.
## Troubleshooting
| If this happens | Try this |
| --- | --- |
| The MPG tab is missing. | Check that MPG is enabled in Preferences. Open the 3D Viewport or Shader Editor, press **N**, and look for **MPG** in the sidebar. |
| Clicking a thumbnail changes the wrong object or surface. | Check the selection and active material slot. Use **New Material** when a variant should be independent, and **Reuse Existing** when it should stay linked. |
| A pattern looks stretched or has a visible seam. | Check the object's local axes. Try **Product Sleeve** on a rectangular bottle, **Cylindrical** on a round one, or **UV** for precise seam placement. Then adjust coverage and rotation. |
| The logo shows a rectangle or the artwork looks reversed. | Use **Transparency** for a transparent PNG. For an opaque source, choose **Dark Artwork** or **Light Artwork** to match the image, then tune **Threshold**. |
| Raised text clips into the surface or floats above it. | Check the selected **Surface**, then adjust **Offset**, **Thickness**, and **Wrap Quality**. For printed graphics, switch to **Text Alpha**. |
| Glass looks flat or overly dark. | Preview it in **Cycles** with a lit backdrop. Check for correct normals, closed glass walls with thickness, and overlapping faces near the neck or cap. |
| A product part does not change during generation. | Verify it was discovered and that its **Include** checkbox is on. Check its material and color overrides in **Product**. |
| Generation keeps the same colors. | If you want a fresh palette, turn off **Lock Palette** and turn on **New Colors Every Concept**. |
| **Send to MMR** is missing. | Enable a compatible MMR version. For sending, generate or save a concept first. |
## Sharing a project
Save the `.blend` after editing your materials or concepts. For projects that use imported images or fonts, keep the source assets with the project or pack them where Blender supports it, and reopen the file to check that the artwork resolves. Stock MPG materials do not require external image textures.
Have questions about this product?
Login to message
| Blender Extension Compatible | Yes |
| Dev Fund Contributor | |
| Published | about 3 hours ago |
| Blender Version | 5.2 |
| Extension Type | Add-on |
| Render Engine Used | Cycles, Eevee |
| License | GPL |

Discover more products like this
materials professional luxury product addon Palette procedural blender color 3d