 Mr. Miniman


Blender 5.0 Update!
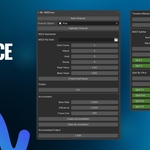
Custom Curves: you can now draw your own custom animation curve instead of using the attack/decay/hold parameters!
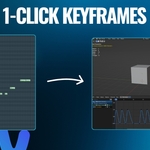
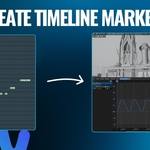
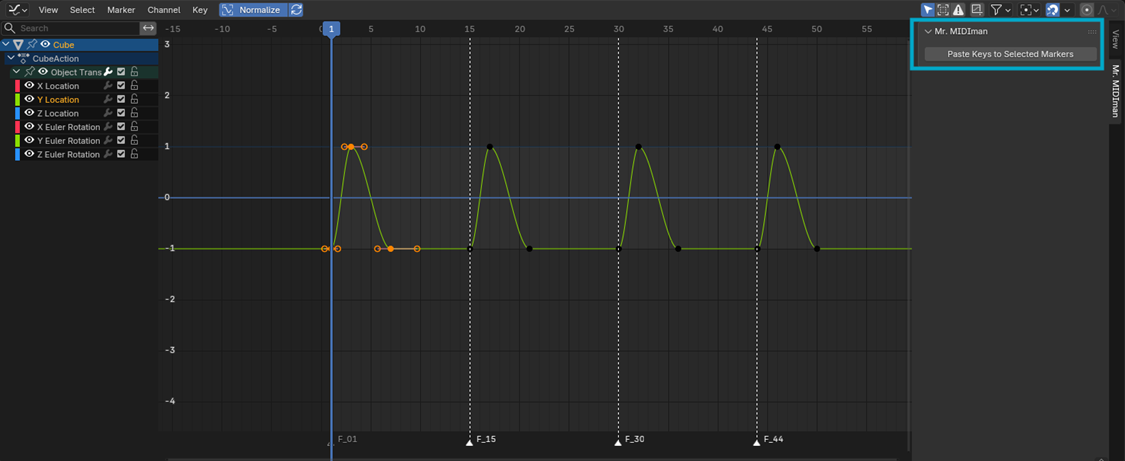
Paste Selected Keyframes on Markers: I added a sidebar panel to the Graph Editor for a new streamlined workflow. On any object, on any animation channel, you can now selected any keyframes you want, and with the press of a button, those keyframes will be pasted on all the timeline markers you have selected.
What is Mr. MIDIman?
Mr. MIDIman is a Blender add-on for creating music-synced animations. It converts MIDI files into precise keyframes that match your audio perfectly, eliminating the guesswork of manually timing animations to music.
Why use MIDI files?
Blender wasn’t built for music. There’s no tempo, no beats, no visual feedback that represents how music is structured. You’re left with a tedious process of placing and shifting keyframes with no clear sign of where a beat should land. Getting tightly synced animations is a pain.
MIDI, on the other hand, is a format designed for musical precision and ease. In audio software, you place notes on a tempo-based grid that makes identifying the timing of sounds in any song simple and intuitive.
That’s where Mr. MIDIman comes in. It takes any MIDI file and converts it into animation-ready keyframes, bridging the gap between MIDI and Blender. The result? Perfectly timed animations that match the music exactly—whether it's a complex drum fill or a rapid-fire dubstep stab.
It’s not just more accurate, it's faster. Once you get the hang of it, making a MIDI file only takes minutes but can save you hours of manual keyframing. If you already have the song’s MIDI file – even better.
How does it work?
Mr. MIDIman organizes your animation data using Channels. Channels are empty objects that store keyframes generated from your MIDI input.
The basic workflow is this:
Create a Channel and load your MIDI file
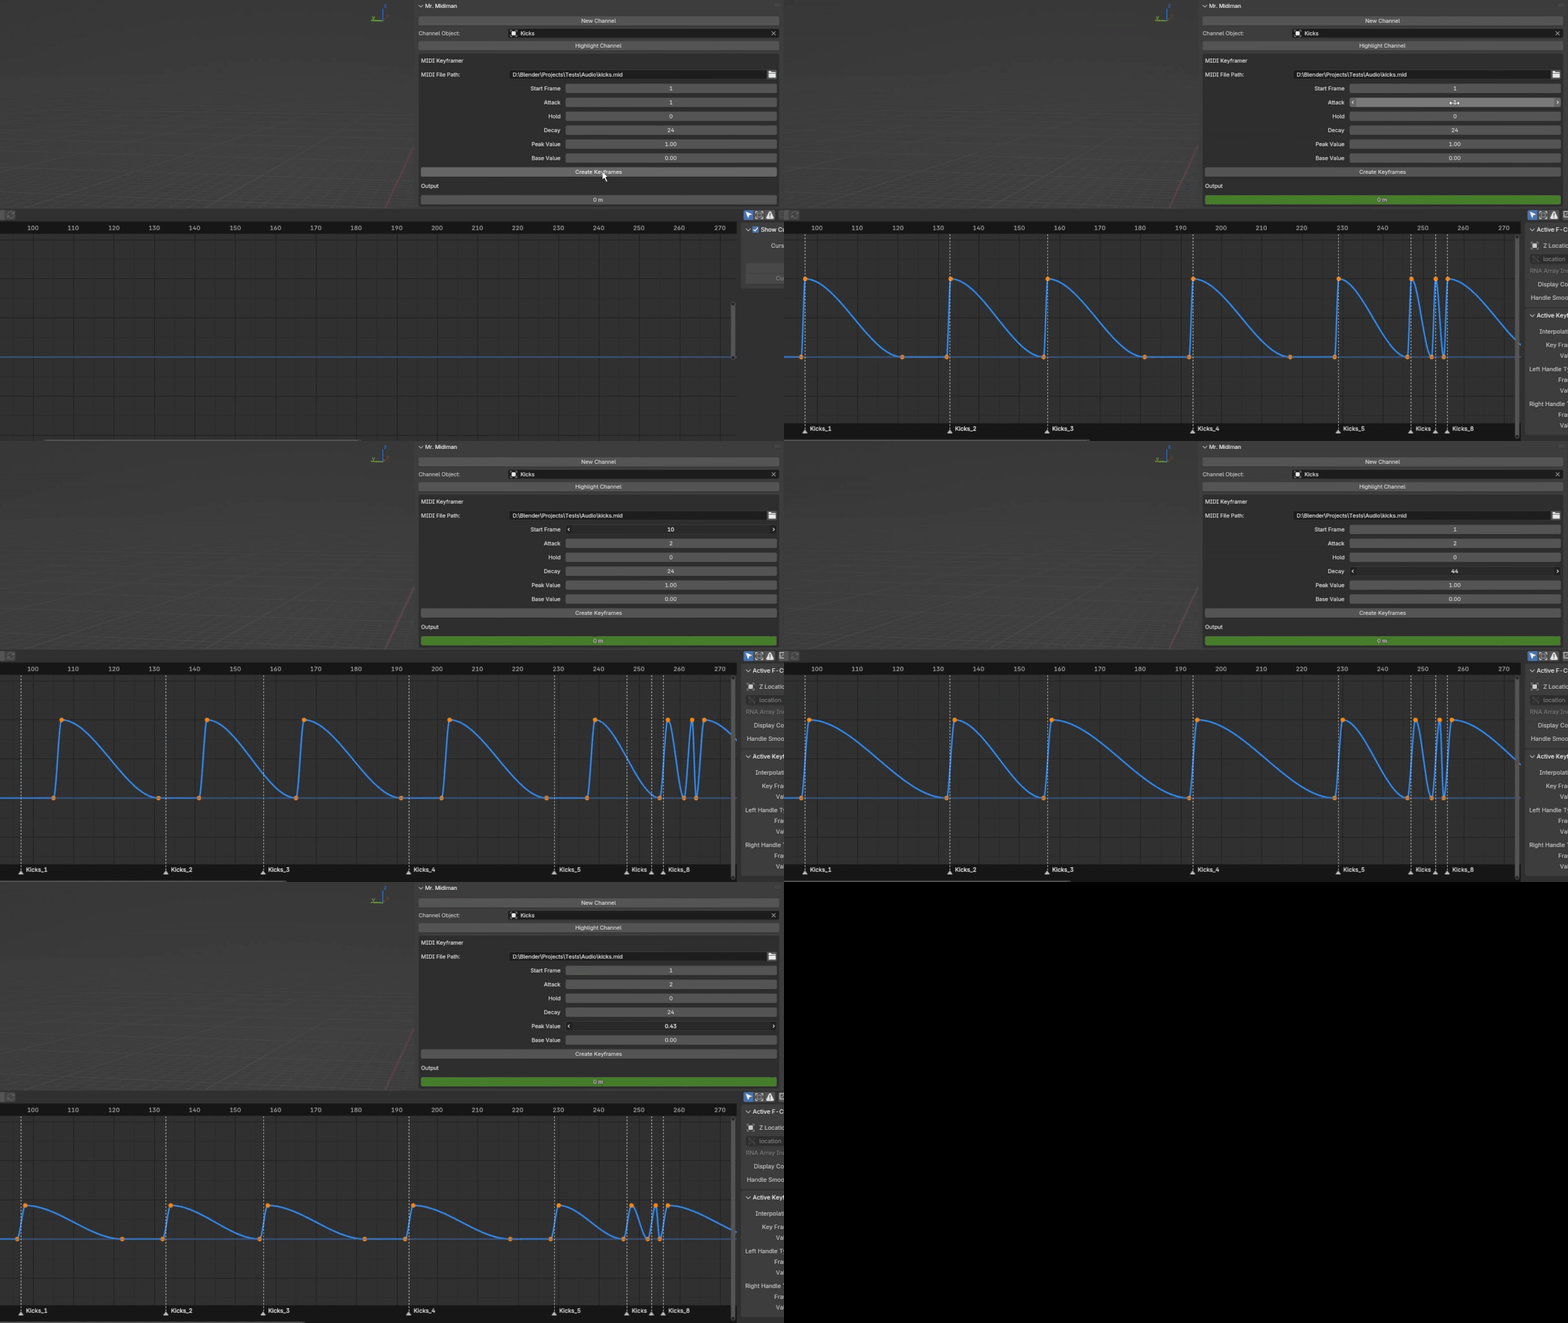
Set your envelope settings (attack, hold, decay, base/peak values)
Watch as keyframes generate and update in real-time
Use the animation however you want—copy/paste the keyframes or link them via drivers to any parameter in your scene
You can create as many Channels as you need, each with its own MIDI file and envelope settings. It’s a flexible system built to keep your project organized while giving you full control.
Features
Custom Curves
Create custom animation curves to be placed on each MIDI note instead of using the attack, hold, decay, and base/peak parameters.
Accumulator
Builds cumulative values over time based on your MIDI data. Creates smooth, growing effects that increase with musical intensity rather than just on/off animations.
Timeline Markers
Places visual markers in Blender's timeline at each MIDI note event. Provides reference points for building more complex animations around the musical structure.
MIDI Splitter
Distributes MIDI notes across multiple sub-channels, either sequentially or randomly. This lets you route notes to different objects - perfect for animating multiple elements from a single musical part.
Split By Pitch
Creates separate sub-channels for each unique note pitch in your MIDI file (up to 16 notes).
Paste on Markers
Use the UI in the Graph Editor sidebar (separate from the main UI) to paste selected keyframes on selected timeline markers at any time. This works on any object and any animation channel in your project, not just MIDIman channels.
You Maintain Creative Control
While the default keyframes provide a great starting point and may be sufficient in many use cases, creation of more complex animations was kept top of mind when creating this add-on. Create timeline markers to guide more complex animations and copy out keyframes to provide a quick and easy starting point for editing your curves.
How do I make MIDI files?
Example MIDI files for a
variety of BPMs are provided. If you need custom timing, download any
free DAW (e.g. FL Studio free version) and create your own MIDI file.
I made a tutorial to show you how: https://youtu.be/CP4xsTJNIno
It's
very quick and easy once you learn how - much faster than figuring out
timing in Blender. A small time investment in learning MIDI creation
pays off huge in the long run.
What's Included
- Add-on installation zip package.
- Example MIDI files at 80-180 BPM.
Installation & Requirements
Requires Blender 4.0 or later.
For Blender versions 4.0-4.5 install version 1.1.4. For Blender versions 5.0+ install version 1.3.0.
To install:
1. Download the MrMIDIman.zip file
2. Open Blender
3. Go to Edit > Preferences > Add-ons
4. Select Install from Disk
5. Select the MrMIDIman.zip file (do not unzip)
6. Enable the add-on by checking the box next to "Mr. MIDIman"
Access the Add-on:
1. Open the 3D-Viewport
2. Press N to open the sidebar
3. Look for the "Mr. MIDIman" tab.
