Multi Objects Workflow - Sculpt, Paint & Weight Paint Multiple Meshes Non-Destructively
 blenderustad


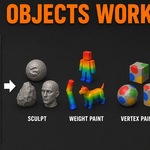
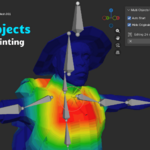
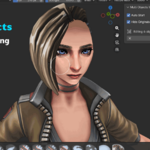
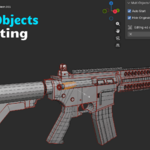
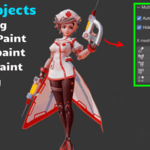
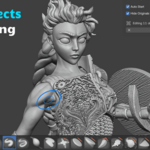
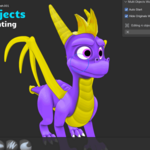
Multi Objects Workflow — Documentation
Installation
- In Blender, go to Edit → Preferences → Add-ons
- Click Install from Disk
- Select
multi_objects_workflow-1.3.1.zip - Enable Multi Objects Workflow
- Open the 3D Viewport sidebar with N and find the Multi Workflow tab
How to Use
Step 1 — Select your objects Select two or more mesh objects in the 3D Viewport. Make sure the one you want as the active object is highlighted last.
Step 2 — Start a session In the Multi Workflow sidebar panel, click the mode you want to work in Sculpt, Weight Paint, Vertex Paint, Texture Paint, or Edit Mode.
Alternatively, enable Auto Start in the panel and simply switch modes normally. The session starts automatically whenever you switch mode with multiple meshes selected.
Step 3 — Work A temporary combined mesh is built from all selected objects. Your originals are hidden. Work exactly as you would on a single object sculpt across seams, paint weights across body and clothing, texture paint without borders.
Step 4 — Finish Return to Object Mode. Edits transfer back to each original object automatically. The temporary mesh is removed. Your originals reappear exactly as they were modifiers, shape keys, UV maps, materials, and vertex groups all intact.
Step 5 — Cancel (optional) If you want to discard the session entirely, click Cancel in the sidebar. No edits are written back. Originals are untouched.
Supported Modes
| Mode | What transfers back |
|---|---|
| Sculpt | Vertex positions (basis mesh) |
| Weight Paint | Vertex group weights per object |
| Vertex Paint | Color attributes per domain |
| Texture Paint | Writes directly to image textures |
| Edit Mode | Positions, weights, and attributes |
Important Notes
- Topology changes are skipped safely. If you use dynamic topology, remesh, or add/delete geometry in the temporary mesh, the addon detects the mismatch and skips transfer protecting your originals from corrupted data.
- Shape keys are preserved. Sculpt edits apply to the basis (Reference Key). All existing shape key offsets remain relative and intact.
- Texture paint writes directly to the image textures used by each object's materials same as painting on a single object.
- At least two mesh objects must be selected to start a session.
FAQs
Q1: Will this break my shape keys, modifiers, or UV maps?
No. The addon never modifies your original objects during a session they are simply hidden. When you finish, only the edited data (vertex positions, weights, or attributes) transfers back. Modifiers, shape keys, UV maps, materials, and custom attributes remain exactly as they were. If you sculpt with shape keys present, edits apply to the basis mesh so all existing shape key offsets stay intact and relative.
Q2: What happens if I use dynamic topology or remesh inside the session?
The addon detects topology changes automatically by comparing vertex, edge, face, and loop counts between the working mesh and the session record. If anything has changed, it skips the transfer entirely and leaves your original objects untouched. You will see a warning in the sidebar. Your originals are always safe the worst outcome is that the session edits are simply not applied.
Q3: Do I have to use the sidebar every time, or can it work like normal Blender mode switching?
Enable Auto Start in the Multi Workflow sidebar panel once, and you never need to touch it again. From that point on, switching to Sculpt, Weight Paint, Vertex Paint, Texture Paint, or Edit Mode with two or more mesh objects selected automatically launches a session identical to how native Blender mode switching feels on a single object.
Have questions about this product?
Login to message
| Blender Extension Compatible | Yes |
| Published | 3 months ago |
| Blender Version | 3.0 - 5.2 |
| Extension Type | Add-on |
| Render Engine Used | Blender-Internal, Blender-Game-Engine, Cycles, Eevee |
| License | Mit |

Discover more products like this
blender addon weight paint characters blender sculpt multiple meshes blender rigging weight paint addon sculpt across mesh boundaries blender paint multiple objects simultaneously blender blender modular asset workflow non-destructive multi mesh workflow texture paint multiple objects blender weight paint multiple objects blender multi object sculpt blender