 Neatmesh
Installing
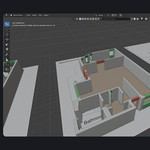
Download nm_plan-1.0.1.zip. In Blender open Edit → Preferences → Get Extensions, click the ⌄ menu in the top right corner, choose Install from Disk… and pick the zip, or simply drag the zip into the Blender window. The add-on lives in the 3D Viewport sidebar (press N) under the Plan tab.
1. Load the plan
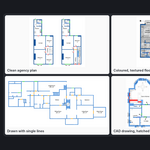
Load Plan Image opens a file browser for PNG, JPG, BMP, TIFF, WebP and other images. The plan appears as a flat plane at the 3D cursor. If you only have a PDF, save the page as an image first; around 3000 pixels on the long side works well.
2. Set the scale
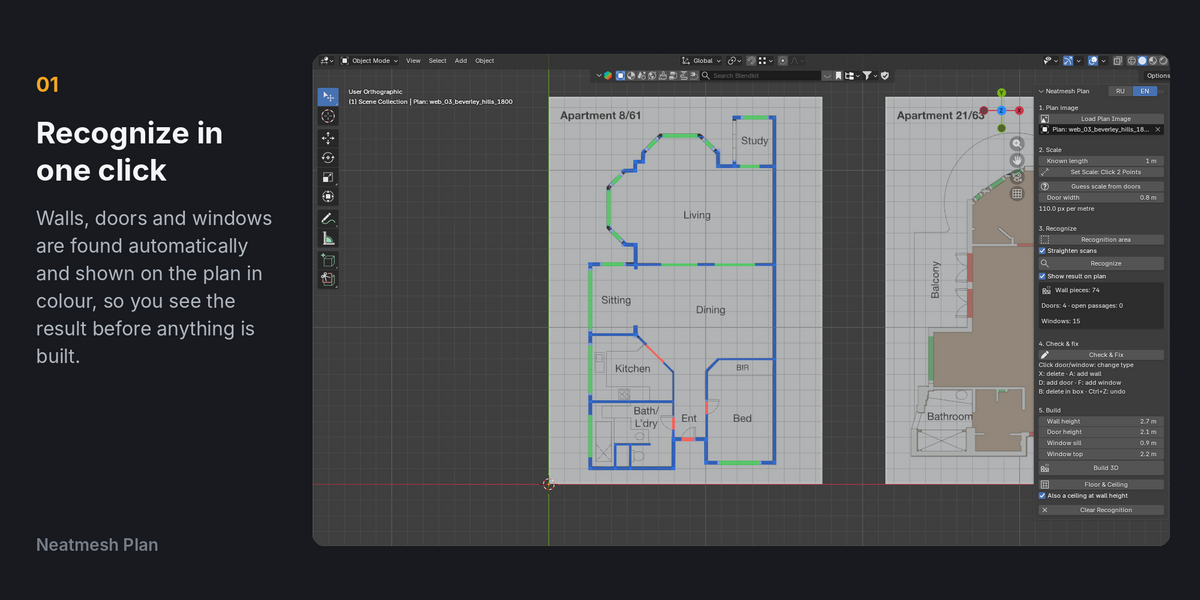
Type a length you know into Known length (a room width written on the plan, for example), press Set Scale: Click 2 Points and click both ends of that distance on the plan. Or press Guess scale from doors: the add-on looks for doors with a swing arc, assumes the Door width from the panel (0.8 m by default) and tells you how many doors it used and how sure it is. A quick check with two clicks afterwards never hurts.
3. Recognize
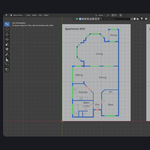
If the sheet has a title block, a legend or more than one drawing, press Recognition area and click two corners around the part you want; the × button goes back to the whole sheet. Straighten scans fixes a slightly rotated scan. Recognize runs with a progress bar (Esc cancels) and draws the result on the plan in colour. Show result on plan toggles that view.
4. Check & Fix
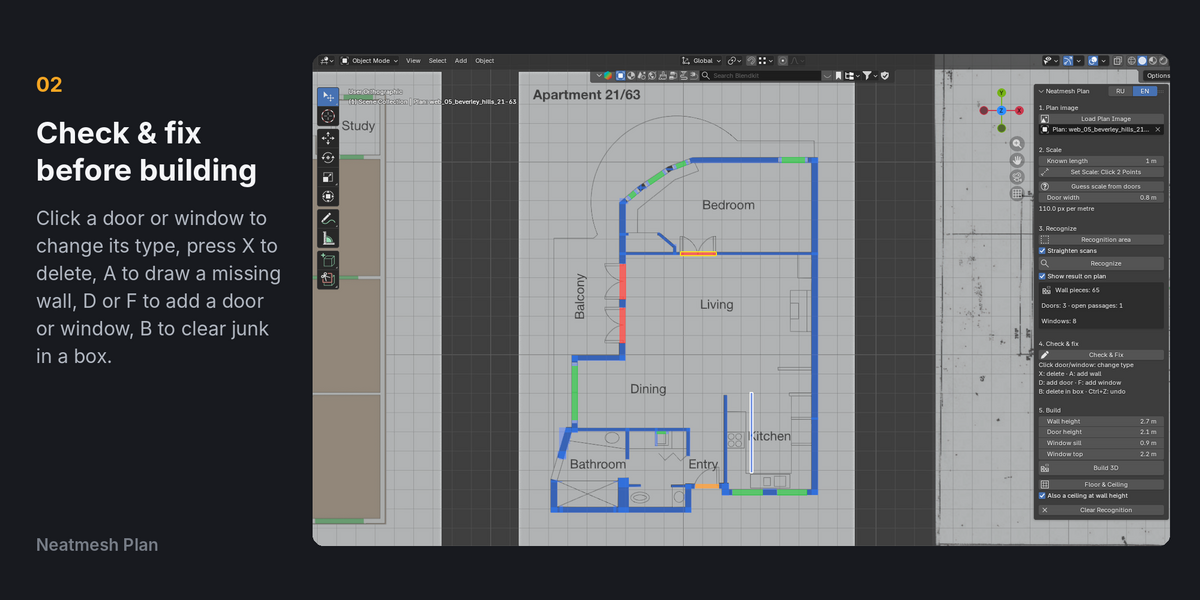
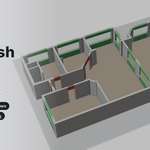
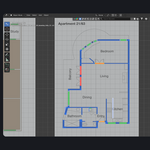
Press Check & Fix and work right on the plan. Click a door, window or passage to cycle its type. Hover something and press X to delete it. Press A and click two points to add a wall (it snaps to existing walls; hold Shift for a free angle, Ctrl to turn snapping off). Press D or F and click the two ends of a door or window on a wall. Press B and click two corners to delete everything inside a box. Ctrl+Z undoes, Enter finishes, Esc leaves without changes. You can orbit, pan and zoom the whole time.
5. Build
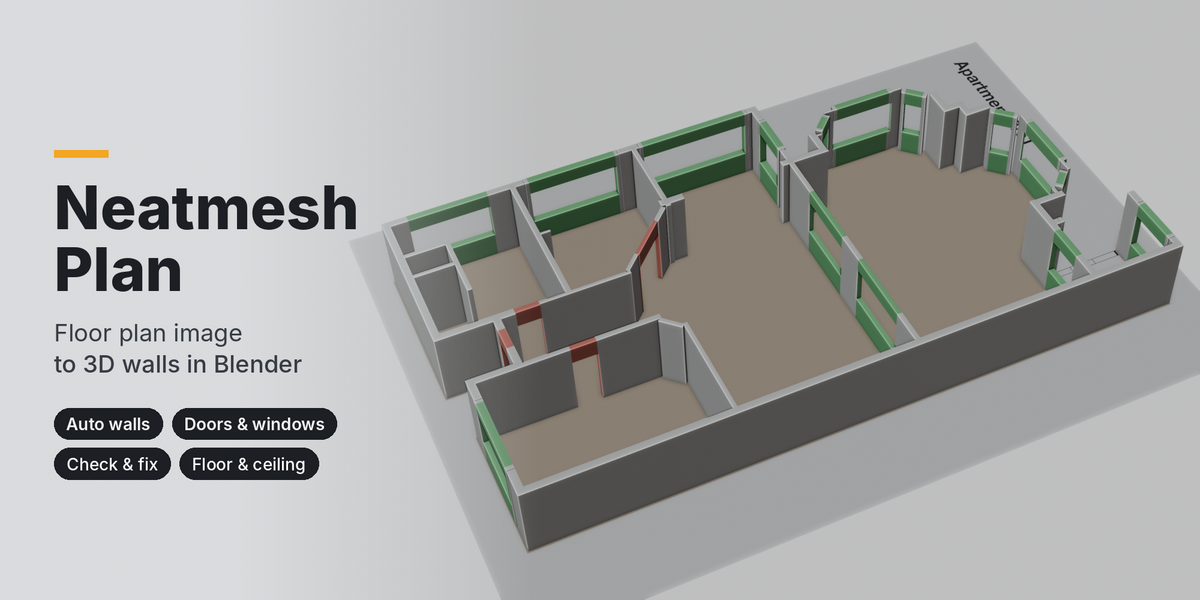
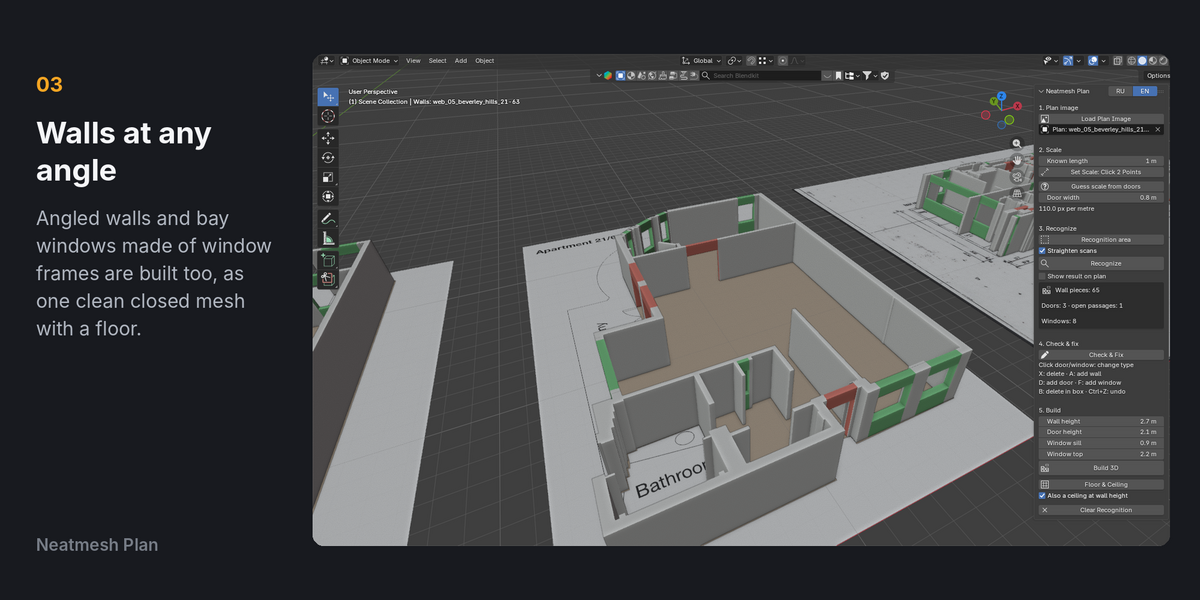
Set Wall height, Door height, Window sill and Window top, then press Build 3D. Floor & Ceiling adds a floor following the walls, and a ceiling at wall height if that box is ticked. Building again replaces the previous result. Clear Recognition forgets the recognized walls of the plan.
If something goes wrong
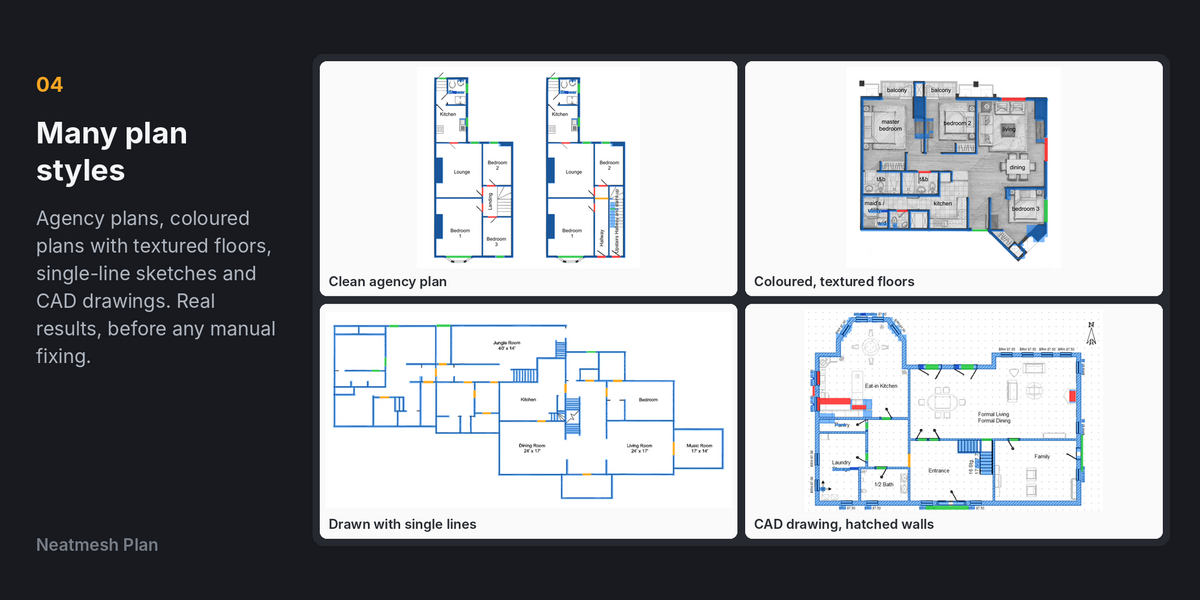
If walls are missing or broken, check the scale first, then add the missing walls in Check & Fix. If text, furniture or stairs became walls, delete them with X or B, or set a Recognition area. "No closed outline of walls found" when making the floor means a wall of the outer outline is missing; add it and try again. "No doors with a swing arc found" means the plan has no door arcs to measure, so set the scale with two clicks.
Support
Ask through the Superhive product page and mention your Blender version; the plan image helps a lot if you can share it.
Have questions about this product?
Login to message
| Blender Extension Compatible | Yes |
| Published | 2 days ago |
| Blender Version | 4.2 - 5.2 |
| Extension Type | Add-on |
| License | GPL |
Discover more products like this
walls ArchViz Interior recognition doors windows blueprint real estate Automatic import floor plan architecture