 Neatmesh
Installation
- Download
nm_sketch-1.0.0.zip. - In Blender: Edit → Preferences → Get Extensions → ⌄ (top right) → Install from Disk… and choose the .zip. You can also drag the .zip into the Blender window.
- Open the 3D Viewport sidebar (N) and choose the Sketch tab.
Common controls
| Action | Key |
|---|---|
| Place a point / confirm | Left mouse button |
| Type an exact value | Just type it, then Enter |
| Lock an axis | X, Y or Z |
| Finish a line / build walls | Right mouse button |
| Exit the tool | Esc |
| Undo | Ctrl+Z |
You can navigate the view (orbit, pan, zoom) while a tool is active, and click buttons in the panel to switch tools at any time.
Typing values. Numbers use your scene units. Examples: 4.2 (4.2 m in metric), 350cm, 4.2;3 (rectangle 4.2 × 3). Backspace deletes the last character.
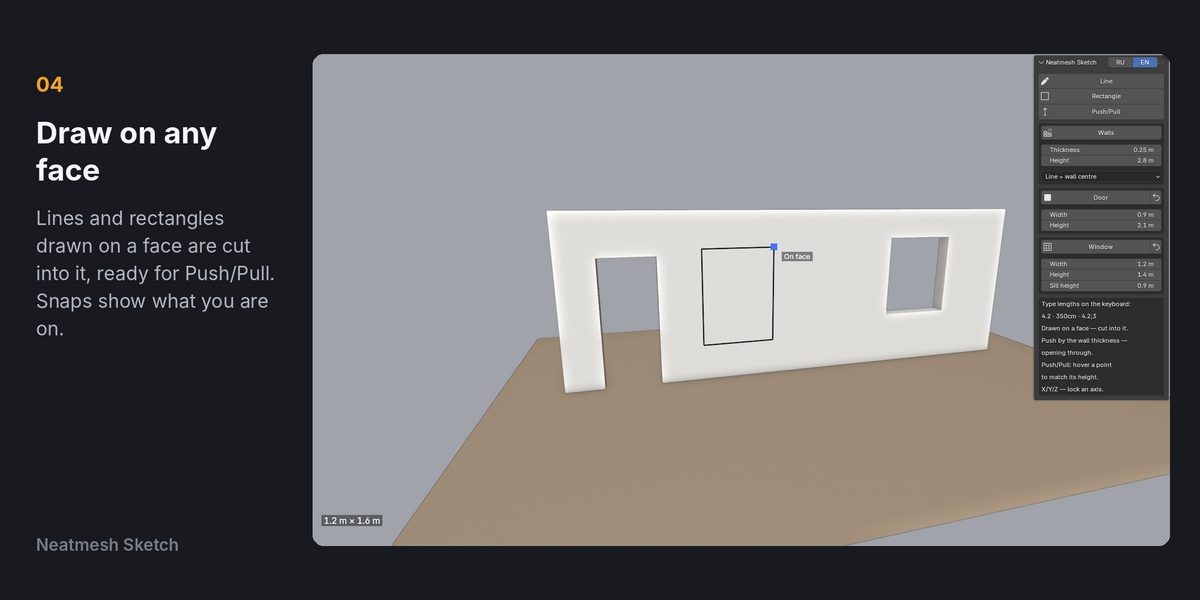
Snapping. The cursor label shows what you are snapped to: Endpoint, Midpoint, On edge, On face, On X / Y / Z axis.
Line
Click to place points. Type a length and press Enter to place the next point at that exact distance in the cursor direction. Return to the first point to close the outline and create a face. Drawn on an object's face, the outline is cut into that face. Right-click to finish.
Rectangle
Click the first corner, then the second. Or click the first corner, type width;height (for example 1.2;2.1) and press Enter. Drawn on a face, the rectangle is cut into that face — then use Push/Pull on it.
Push/Pull
Click a face, move the mouse, click again to finish. Or type a distance and press Enter.
- Hover a vertex or edge midpoint of any object while dragging to match its height (cursor label "To point").
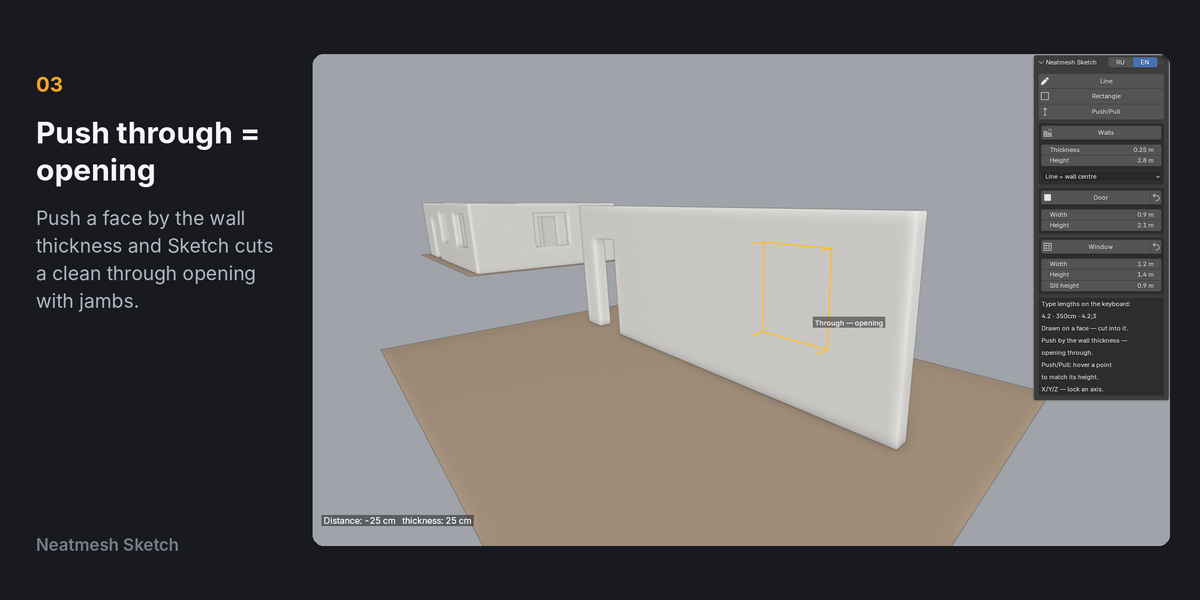
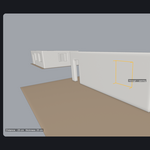
- Push a face in by the wall thickness: the cursor label says "Through — opening" and the result is a through opening with clean jambs.
- Faces that lie flat between perpendicular neighbours are moved; otherwise a new extrusion is created.
Walls
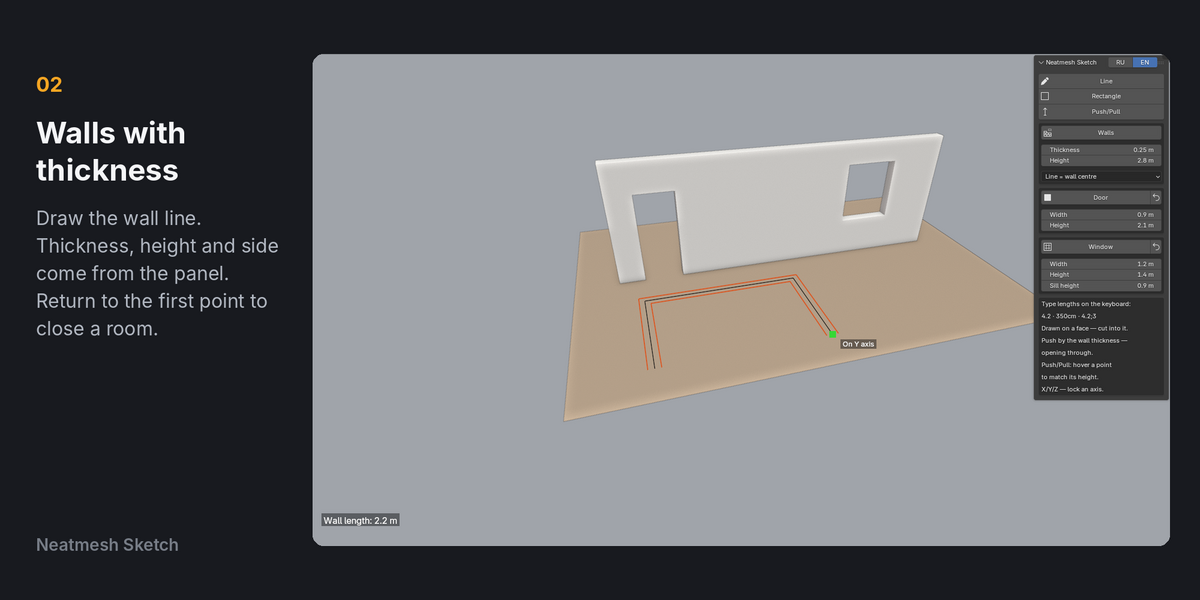
Set Thickness, Height and alignment in the panel:
- Line = wall centre — the line runs through the middle of the wall.
- Wall left of line / Wall right of line — the line is one face of the wall (useful when tracing a plan).
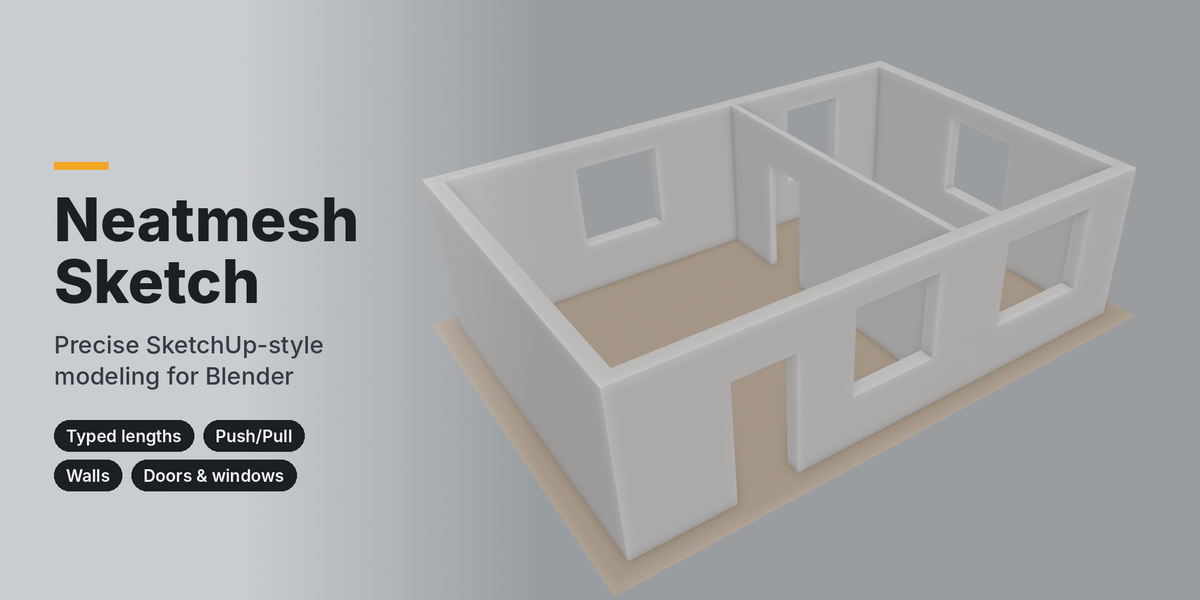
Click points of the wall line; type lengths for exact walls. Return to the first point to close a room, or right-click to build an open chain.
Door and Window
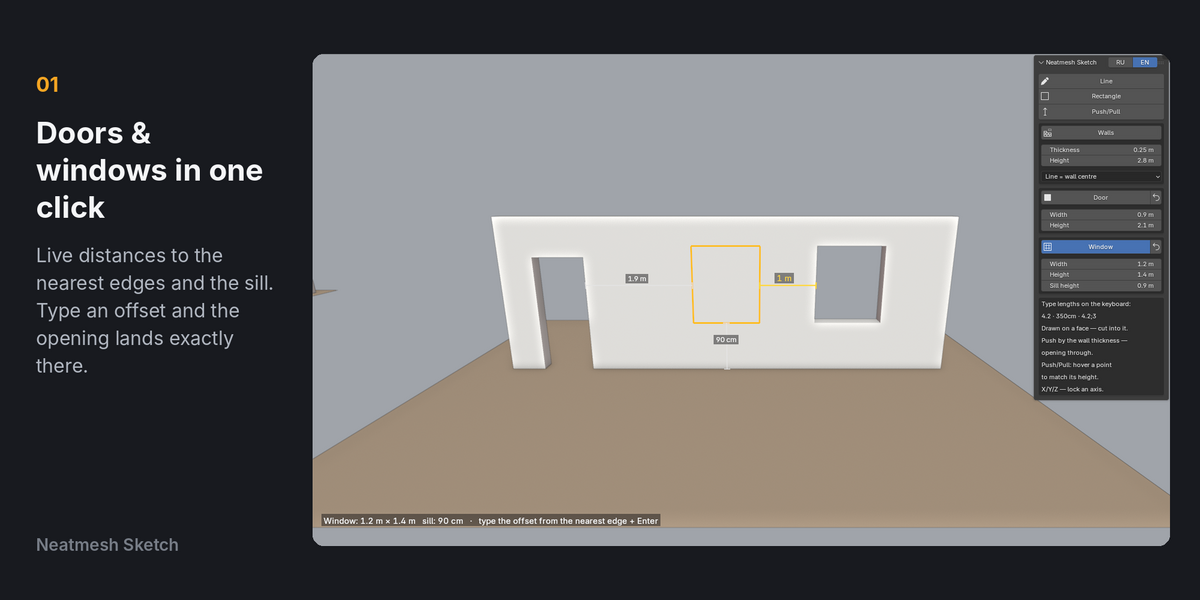
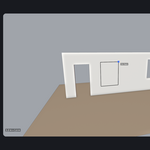
Set the size in the panel (Window also has Sill height). Hover a wall: a preview shows the opening and its distances to the nearest edges on the left and right. Click to cut it through the wall. To place it exactly, type an offset from the nearest edge (for example 0.6) and press Enter. The ↺ button resets the size to standard (door 0.9 × 2.1 m, window 1.2 × 1.4 m, sill 0.9 m).
Openings never overlap each other: if there is not enough space, the tool tells you.
Troubleshooting
- "Modifiers change this object's mesh" — apply or disable the modifiers (Mirror, Array, Solidify…) on that object first.
- "Openings go on walls (vertical faces)" — hover a vertical face.
- "The opening does not fit here or overlaps another one" — move the cursor or make the opening smaller.
- "No parallel face behind" — the face has no back side at a constant thickness (for example a single plane); the outline is cut in but not through.
Support
Questions and bug reports: through the Superhive product page (Ask a question). Please include your Blender version and a short description or screenshot.
Changelog
1.0.0 — first release: Line, Rectangle, Push/Pull, Walls, Door, Window; typed lengths; snapping; English and Russian interface.
Have questions about this product?
Login to message
| Blender Extension Compatible | Yes |
| Published | 9 days ago |
| Blender Version | 4.2 - 5.2 |
| Extension Type | Add-on |
| Render Engine Used | Cycles |
| License | GPL |