 NebulaKit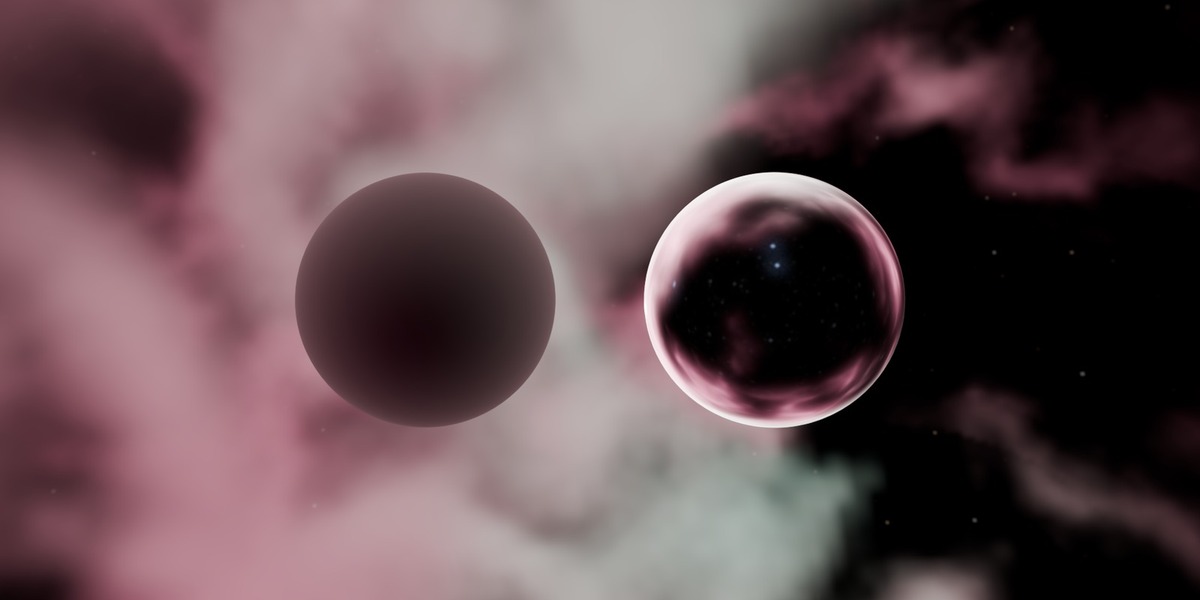
Install
- In Blender: Edit › Preferences › Add-ons › Install from Disk
- Choose
nebula-forge-blender-1.1.1.zip— install the zip itself, do not unpack it first - Tick the checkbox next to Nebula Forge to enable it
- In the 3D viewport press N for the sidebar and pick the Nebula Forge tab
Blender 3.6 or newer. No external dependencies — it uses only Python and numpy, both of which ship inside Blender.
Your first sixty seconds
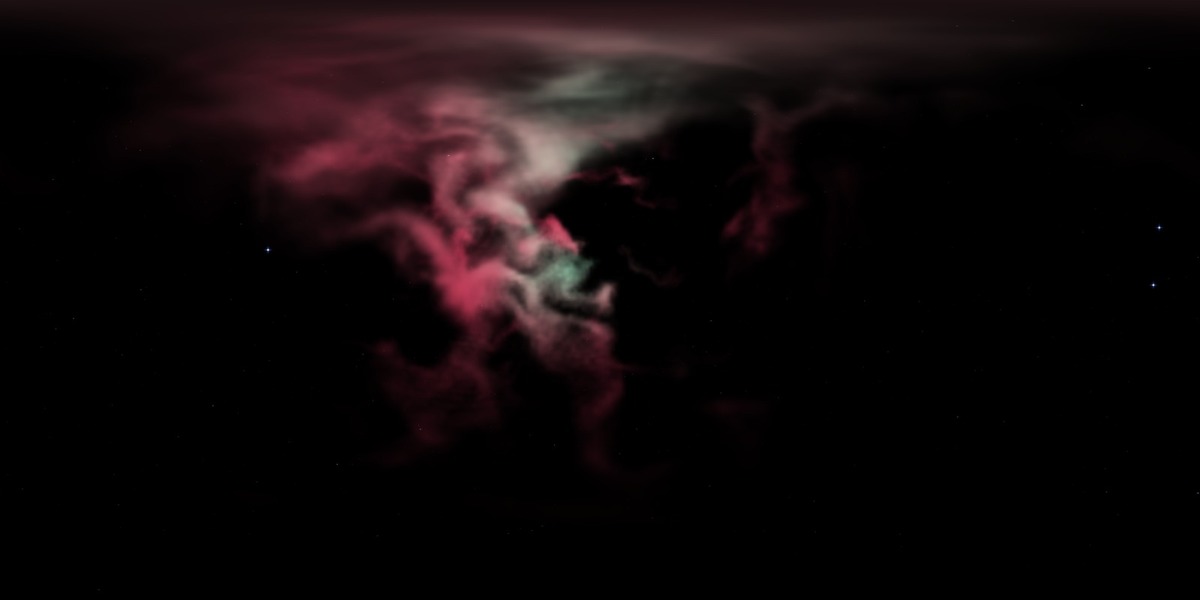
Press Generate Sky. At the default Preview quality that takes about three seconds, and your world background is a nebula that is lighting the scene. Everything below is optional.
The controls
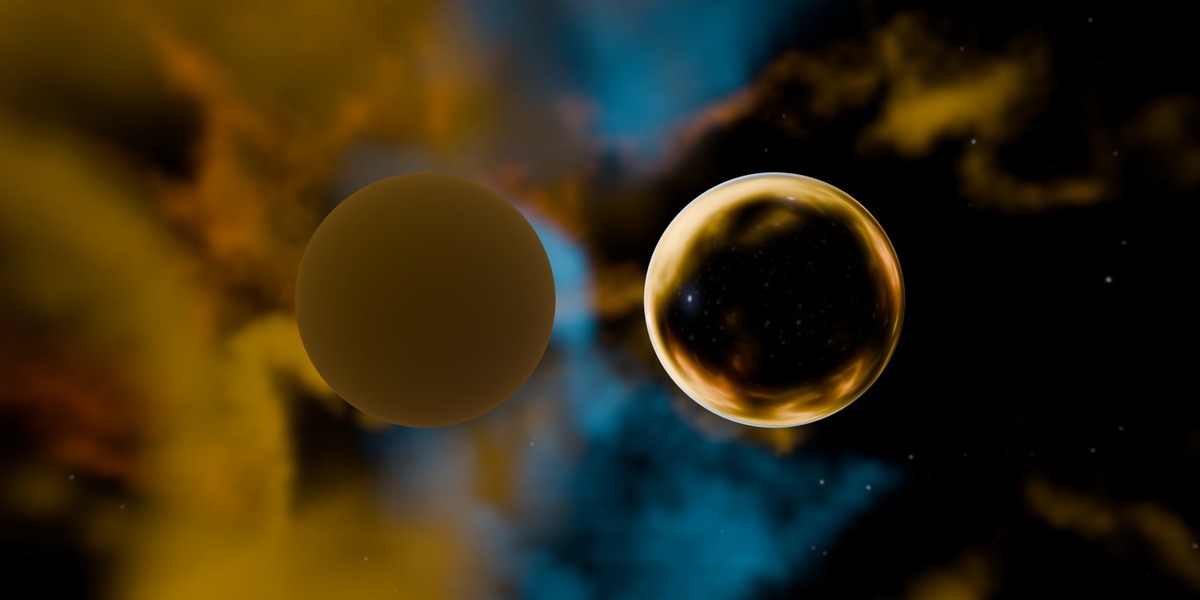
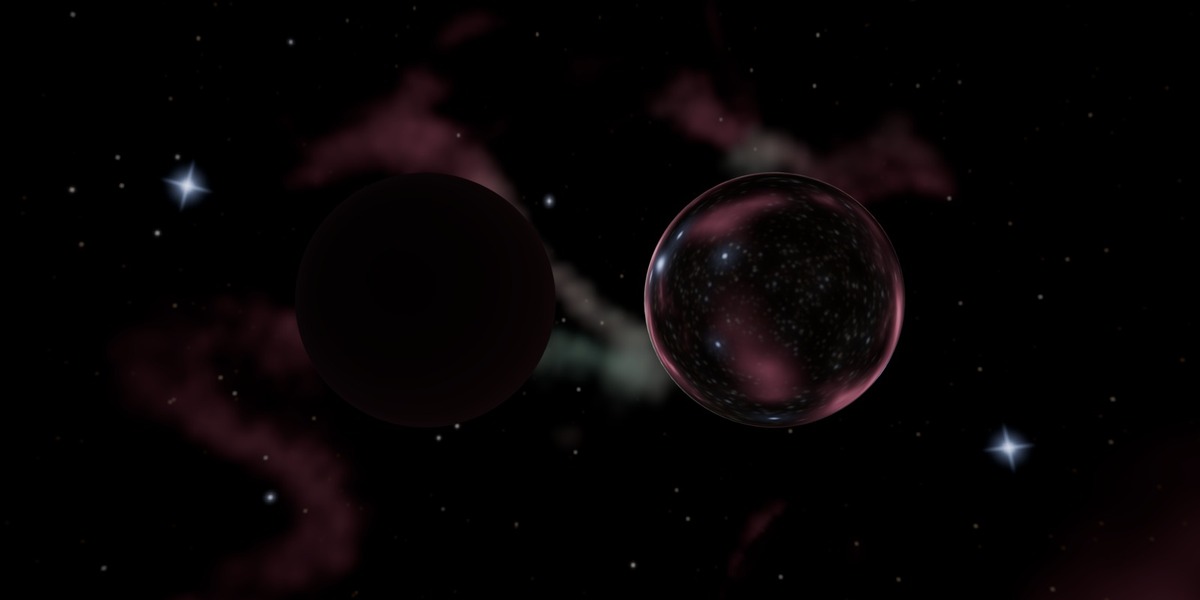
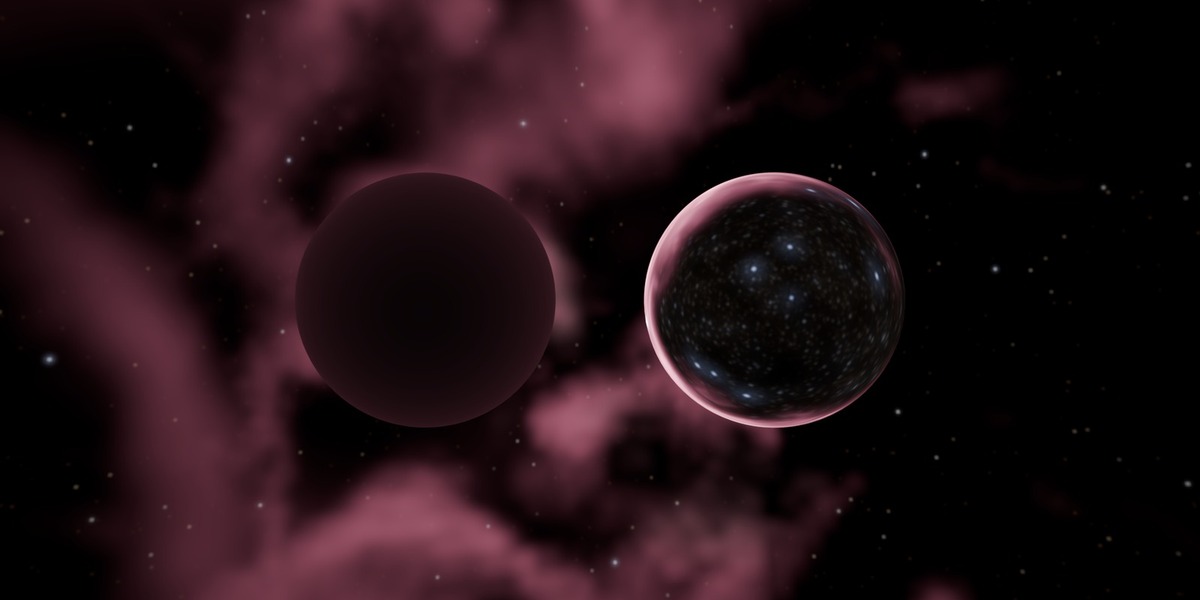
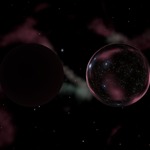
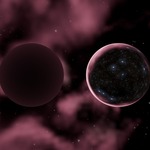
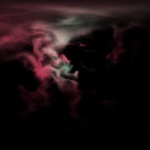
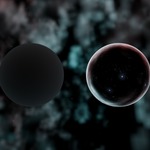
- Look — five presets: Orion Bloom, Pillars (Hubble SHO), Dark Rift, Ion Storm, Deep Field.
- Quality — Preview (512×256, ~3 s), Standard (1024×512, ~14 s), High (2048×1024, ~30 s), Ultra (4096×2048, ~3 min). Measured on a laptop CPU; thermal state moves these by up to 2×.
- Seed — any integer. The same seed always produces the same sky, so a look you like is reproducible.
- Brightness — multiplies the baked sky’s linear radiance. Needs a re-bake.
- Light Boost — how much brighter the sky is for lighting than for the camera. No re-bake needed.
- Sky Rotation — turns the sky to frame the nebula where you want it. No re-bake needed.
- Apply to World — wires the result into the world background automatically. On by default.
Light Boost, and why it exists
A real nebula is dim — linear radiance around 0.01–0.2. A sky that looks correct behind the camera therefore leaves your models nearly black. That is astronomy, not a bug.
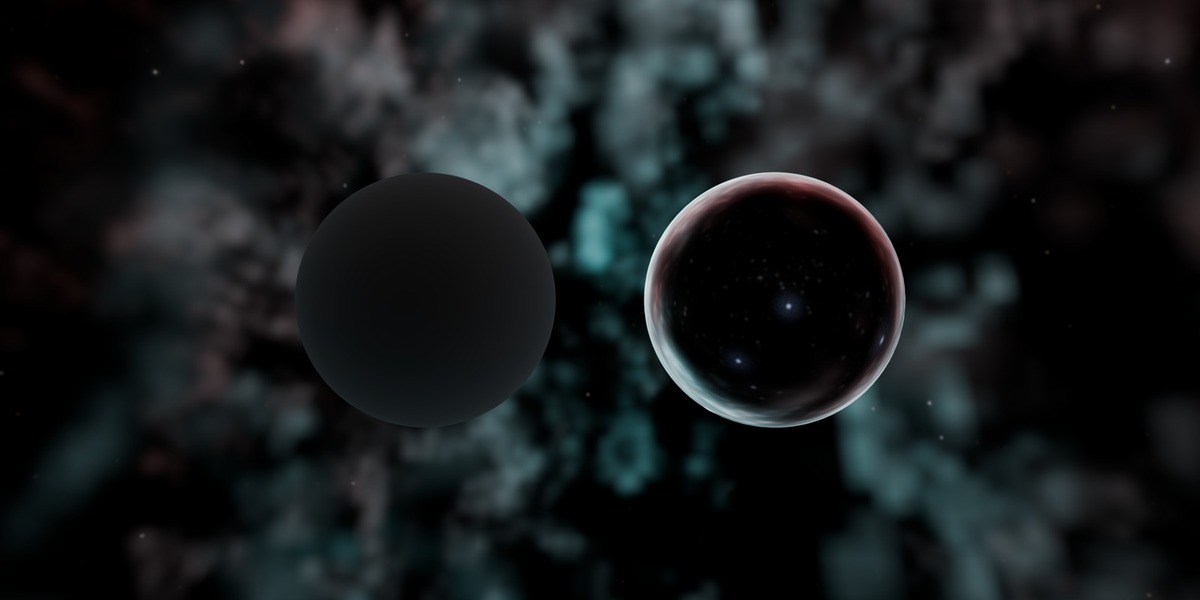
Rather than cheat the sky brighter, Nebula Forge splits the world shader on Light Path > Is Camera Ray. Camera rays see the sky at strength 1, so the backdrop stays correct; every other ray sees it multiplied by Light Boost. Raise it to light your scene without changing how the backdrop looks. The default of 6.0 suits most scenes; 20–40 is reasonable for a scene lit only by the nebula.
Exporting
-
Save Sky — writes the equirectangular sky to disk. Choose
.exrto keep the full linear range for use as an HDRI in any renderer, or.pngfor an 8-bit preview. -
Save Volume — writes the source volume as OpenVDB, for Blender, Houdini or Unreal. With Add to Scene ticked it also imports the
.vdbwith its emission material already wired. Leave that on: a bare .vdb renders black in every engine, because nothing tells the renderer the density grid should emit.
Performance
The sky is baked once to an ordinary Environment Texture. After that it costs the renderer nothing per frame — unlike a volumetric nebula, which is re-integrated every frame. If a bake runs out of memory, drop Quality one step and retry; the add-on reports this rather than failing silently.
Colour, stated precisely
Star colour comes from Planck’s blackbody law at real stellar temperatures, converted through the CIE 1931 colour matching functions. Gas emits in the nebular lines H-alpha (656 nm), O III (501 nm) and H-beta (486 nm) at the Balmer decrement. Dust follows Beer–Lambert extinction. Ionisation runs outward to a Strömgren radius, putting O III teal inside the ionised core and H-alpha red outside it.
One honest caveat: on the two narrowband presets the colours follow the standard SHO/HOO false-colour conventions rather than mapping wavelengths directly, exactly as real narrowband astrophotography does. Three of the five presets map an actual spectrum; two map a convention.
Support
Message me through Superhive and I will answer. If something is broken, tell me your Blender version, your OS, and the preset and quality you were using — every sky is reproducible from its seed, so with those four things I can generate exactly what you saw.
Have questions about this product?
Login to message
| Published | 26 days ago |
| Blender Version | 3.6 - 5.2 |
| Extension Type | N/A |
| Render Engine Used | Cycles, Eevee |
| License | GPL |
