 NexStudio
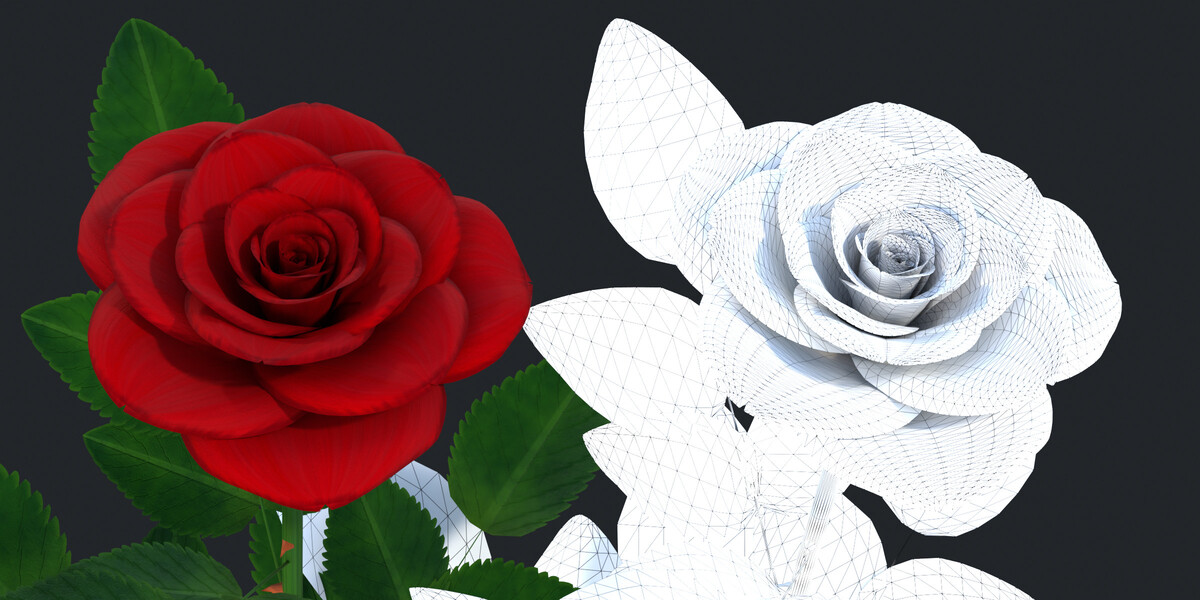
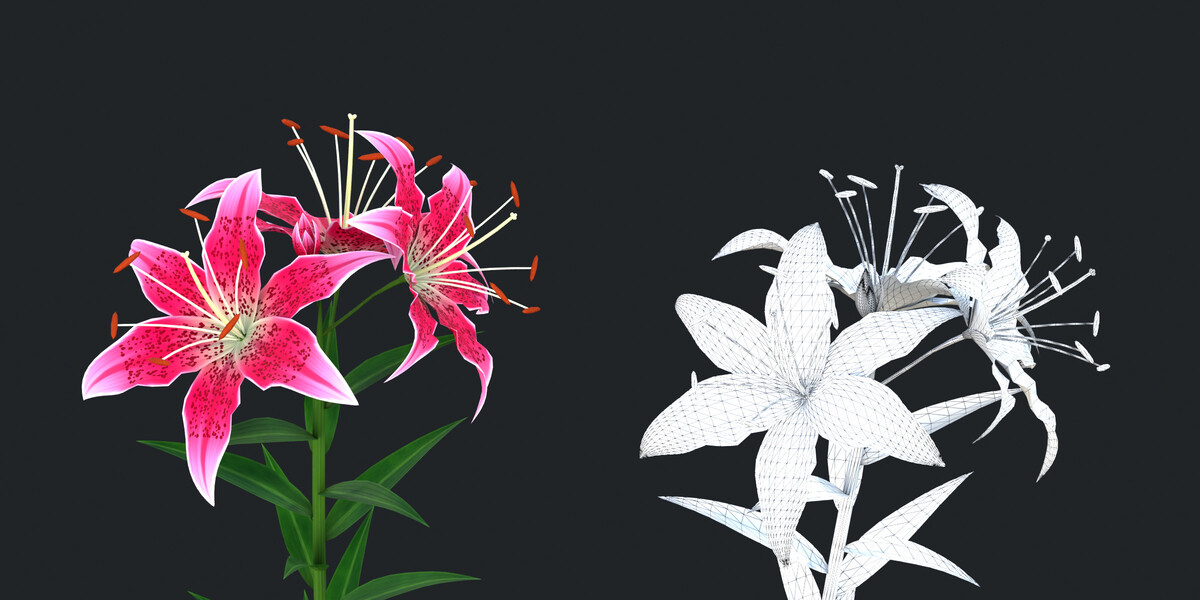

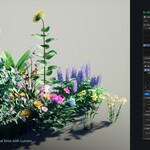

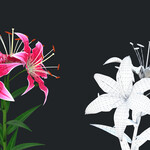
1. Installation
- Download
nexfoliage-1.0.0.zip. Do not unzip it. - In Blender, open Edit › Preferences › Get Extensions.
- Click the ▾ menu in the top-right corner and choose Install from Disk….
- Select the zip. NexFoliage is enabled straight away.
To update, install the new zip the same way. It replaces the old version, and your saved presets and assets are kept.
To remove it, open Edit › Preferences › Add-ons, click the ▾ menu next to NexFoliage, and choose Uninstall.
2. Quick start
- In the 3D Viewport, press N to open the sidebar and click the NexFoliage tab.
- In Library, click Open NexFoliage. The NexFoliage screen opens (see section 8).
- Click a plant in the shelf at the bottom, or drag it into the viewport.
- Change it on the right, under Plant. Try Bloom, Height, the leaf settings and the colors.
- Click Randomize for a new individual of the same species.
- Click Back to Blender when you are done. Press F12 to render: the plant is a normal mesh with a normal material, so it works in Cycles and EEVEE.
Everything also works from the sidebar without the screen. You can also add plants with Add › NexFoliage (Shift+A), where the plants are grouped by category.
3. The Library panel
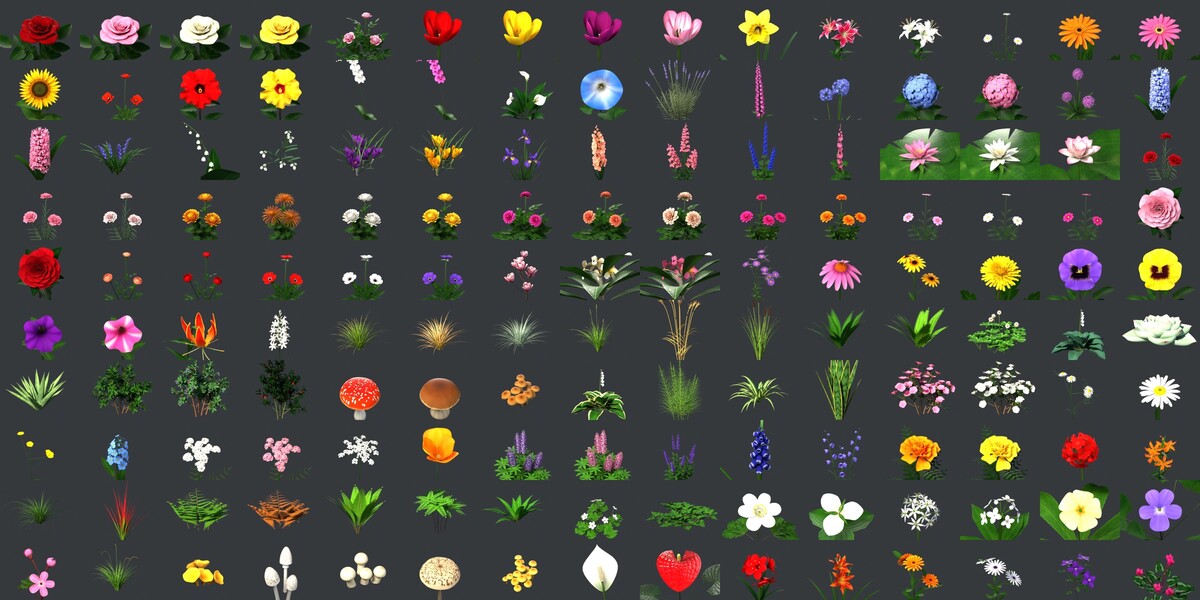
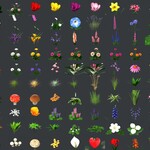
- Category menu and Search field: filter the 150 plants.
- Thumbnails: click one to add that plant. The slider next to the category menu sets the thumbnail size.
- Random Variation: when on, every plant you add gets its own seed, so no two plants are identical.
- Open NexFoliage: opens the NexFoliage screen (see section 8).
- Asset Library: writes the library to disk and registers it in the Asset Browser (see section 7).
4. The Plant panel
The Plant panel shows the active plant: its name, Latin name and triangle count.
- Live Update: rebuilds the plant whenever a setting changes. Turn it off to change several settings, then click Rebuild.
- Randomize: gives a new seed, a new individual of the same species.
- Rebuild: rebuilds the mesh and textures now.
- Change Species: turns the plant into another species. Its position, rotation, scale and seed are kept.
- Reset (circular arrow): resets every setting to the species preset.
- Backspace over a single setting (or right-click > Reset to Species Value) sets just that setting back to this plant's species value.
- Save to Library (bookmark icon): saves the plant as your own preset. It appears under My Presets in the library.
- Save as Asset (asset icon): saves the plant to the Asset Browser under My Plants.
Plant settings
The panel only shows the settings that fit the plant. A grass shows no petal settings; a mushroom shows its cap. Everything else comes from the species, so the panel stays short.
-
Shape
- Scale.
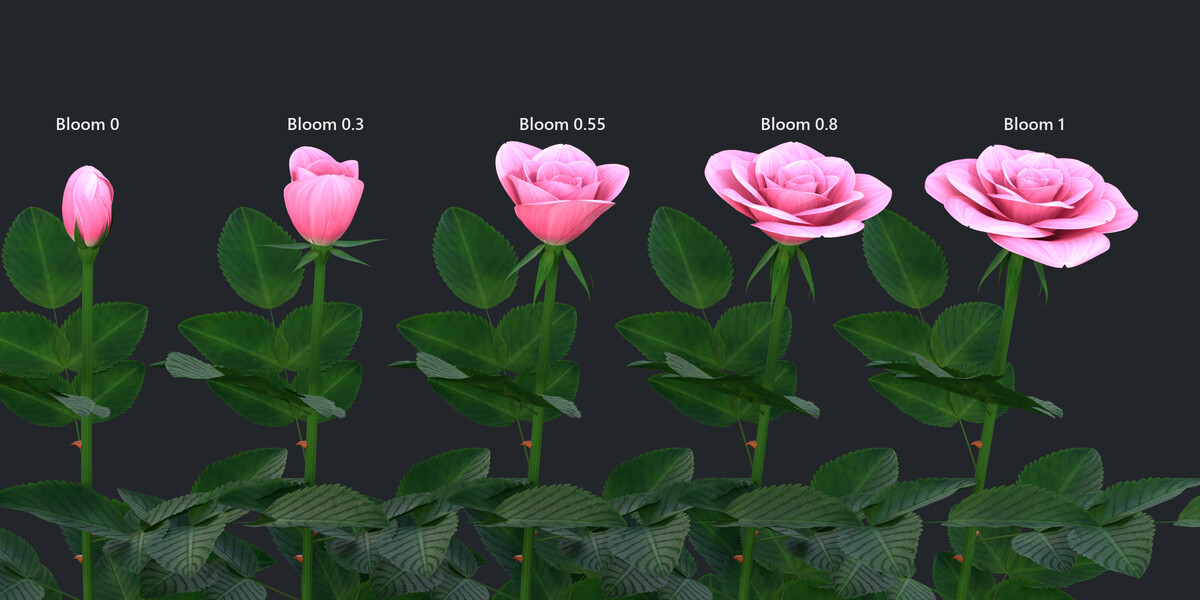
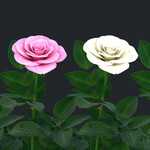
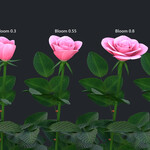
- Bloom: 0 is a closed bud, 1 a fully open flower.
- Stems: how many stems grow from one spot. Spread (how far apart) appears when there is more than one.
- Height, Curve and Lean.
- Draw Stem with a Curve (see section 5).
-
Leaves
- Count, Length, Width, Droop, Petiole and Petiole Thickness.
- Start and End: where on the stem the leaves begin and stop (not on rosettes).
- Size Falloff: leaves get smaller toward the top (in a rosette, toward the middle).
- Size Variation and Angle Variation: random differences between the leaves.
- Branches (shrubs): Branches, Leaves per Twig, Length, and leaf size and angle variation on shrubs whose leaves grow only on twigs.
-
Flowers
- Flower Size.
- Petals (not on rose-type spiral flowers), or Florets on spikes and clusters.
- Bloom Variation: random bloom differences between the heads of a clump.
- Mushroom: Cap Size, Cap Dome, Size Variation.
- Berries: berries per cluster and berry size.
- Colors: the main petal, leaf and stem colors.
-
Detail
- Mesh Detail: resolution of every part, from 0.1 (very light) to 2 (close-ups). 1 is the default.
- Texture Size: 128 px to 4K.
While you drag a slider, heavy plants (big shrubs, large clumps) show a quick low-detail preview, then rebuild at full detail when you let go. Texture updates are delayed slightly, so color sliders stay smooth.
5. Drawing the stem with a curve
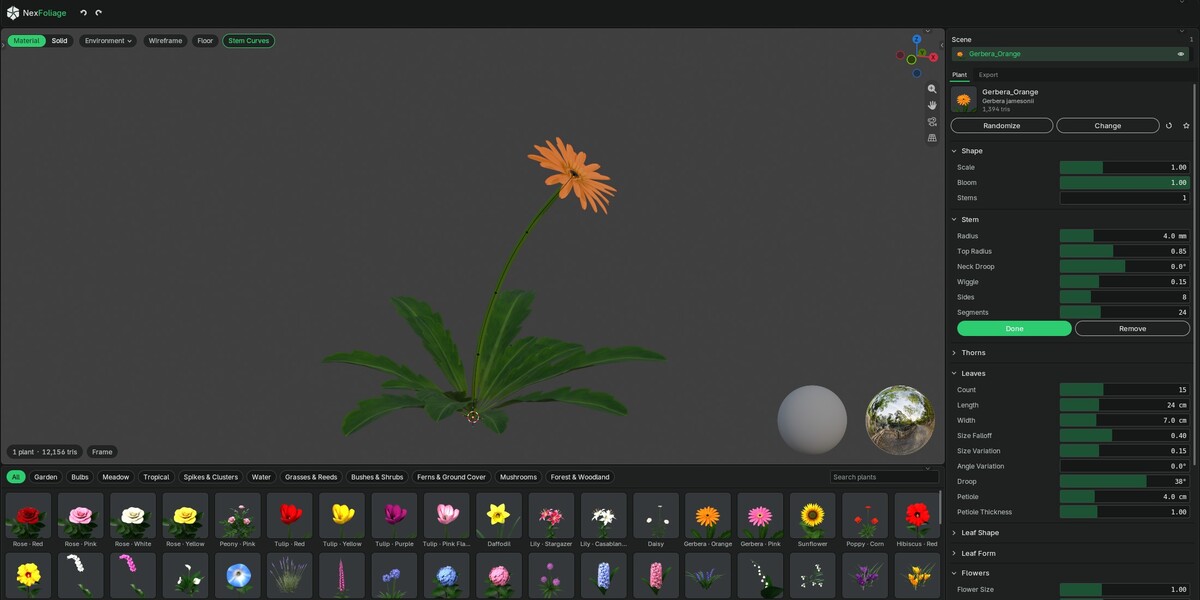
- Select a plant and click Draw Stem with a Curve in the Shape box.
- A Bezier curve that follows the current stem is added and opened in Edit Mode. It is parented to the plant.
- Move, add or delete curve points, or sketch a new stroke with the Draw tool in the toolbar. The plant follows live: stem, leaves and flower. It follows the newest stroke; older strokes are removed when you leave Edit Mode. The Plant panel stays open, so you can change any other setting while you shape the stem.
- Click Done to leave Edit Mode and select the plant again.
- The curve's length sets the stem height.
- Edit Stem reopens the curve. Remove deletes it and returns to the generated stem.
- In a clump, every stem takes the drawn shape, each turned and scaled a little differently.
- Moving the plant moves its curve, because the curve is parented to it.
- A plant duplicated on its own (Shift+D without its curve) keeps using the original's curve. Duplicate the plant together with its curve to edit the two separately.
6. Animating plants
Every plant setting can be keyframed. Right-click a setting and choose Insert Keyframe. For example, key Bloom at 0 on frame 1 and at 1 on frame 100, and the flower opens. The plant rebuilds on every frame, in the viewport and in final renders. If you keyframe a setting that changes the shape (anything except Bloom and the colors), the leaves skip the step that moves them apart. That step makes small jumps, which would show as flicker in the animation. For an animation render, turn on Render › Lock Interface, as Blender recommends for add-ons that change meshes while rendering.
7. Asset Browser
Library › Asset Library writes the whole library to a folder and registers it as the NexFoliage asset library. The default folder is Documents/NexFoliage Library; you can change it in the add-on preferences.
- Catalogs: NexFoliage › Plants › Garden / Bulbs / … and My Plants.
- Small download: assets are stored as settings plus a low-poly placeholder, so the library is only about 19 MB.
- Full quality on drop: a plant dragged into the scene rebuilds itself at full quality and stays a live, editable NexFoliage plant. With Random Variation on, each dropped plant gets a new seed.
-
Save as Asset (Plant panel) stores your own plant with a rendered thumbnail under My Plants. Each saved plant is its own small
.blend, so you can share or delete them one by one.
Run Asset Library again after updating NexFoliage, so the Asset Browser shows the new plants and thumbnails.
8. The NexFoliage screen
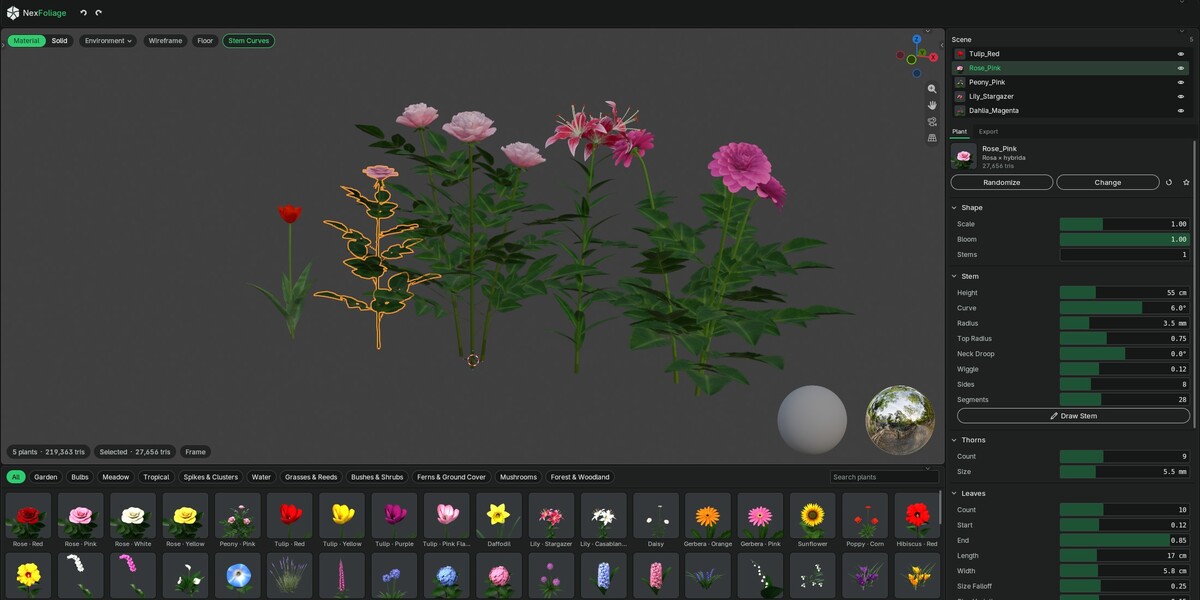
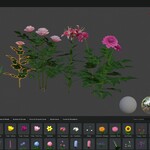
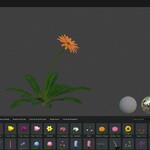
The NexFoliage screen is the easiest way to work. Open it from 3D View sidebar (N) › NexFoliage › Library › Open NexFoliage (or the add-on preferences). It appears as a NexFoliage tab in the top bar; Back to Blender returns to the workspace you came from.
- Top bar: Undo, Redo and Back to Blender.
- Viewport: pills for Material / Solid shading, Environment (light picture, strength, background, preview balls), Wireframe, Floor and Stem Curves. The bottom left shows the plant and triangle count, then the triangles of the selected plants; Frame zooms to the selection.
- Plant shelf (bottom): category chips, a search field and a thumbnail for every plant. Click a thumbnail to add the plant at the 3D cursor, or drag it into the viewport and drop it where you want it (on the floor or on another object).
- Right side: the plants in the scene (click to select, eye to hide), then two tabs. Plant holds the settings of the active plant (see section 4). Export holds Bake Textures, Make LODs, Make Variations, Export and Convert to Mesh.
- Sliders: drag, click to jump to a value, or double-click to type one. Backspace over a slider puts it back to the species value.
The screen is only added when you open it, and your own layouts are never changed.
9. Game export
Open the Game Export panel.
- Update Textures: regenerates the texture atlas of the selected plants.
-
Generate LODs: creates
Name_LOD0toName_LOD3, sharing one material. - Make Variations: places copies of the active plant in a row, each with its own seed and a slightly different bloom.
-
Export for Game Engine: writes the selected plants with their textures.
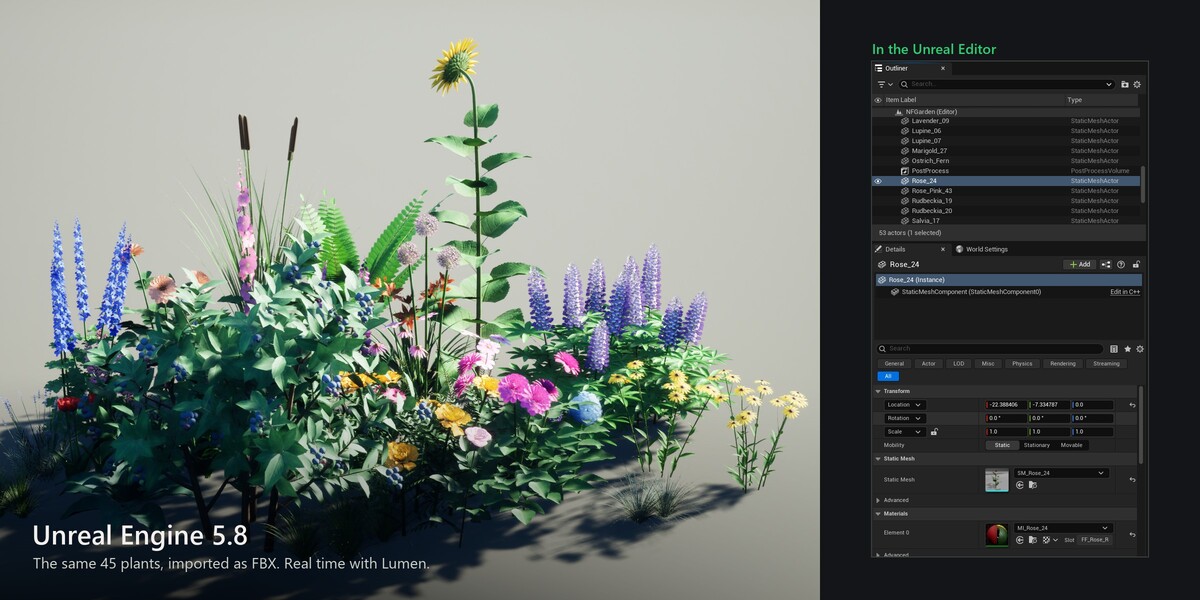
- Format: FBX (Unreal, Unity) or glTF Binary (Godot, web).
- Texture Size: 128 px to 4K (2K by default).
- Normal Map: OpenGL (Unity, Godot, Blender) or DirectX (Unreal). DirectX applies to FBX only; glTF files always use OpenGL.
- Include LODs.
- Reset Location: exports each plant with its base at the origin.
- Next to the files it writes
NexFoliage_textures.txt, a short guide to hooking up the textures in Blender, Unreal, Unity and Godot.
- Convert to Static Mesh: freezes the plant into a plain mesh, without the procedural link. Do this before you give a plant your own material: a live plant keeps its generated material and replaces any other on the next change.
About the LODs
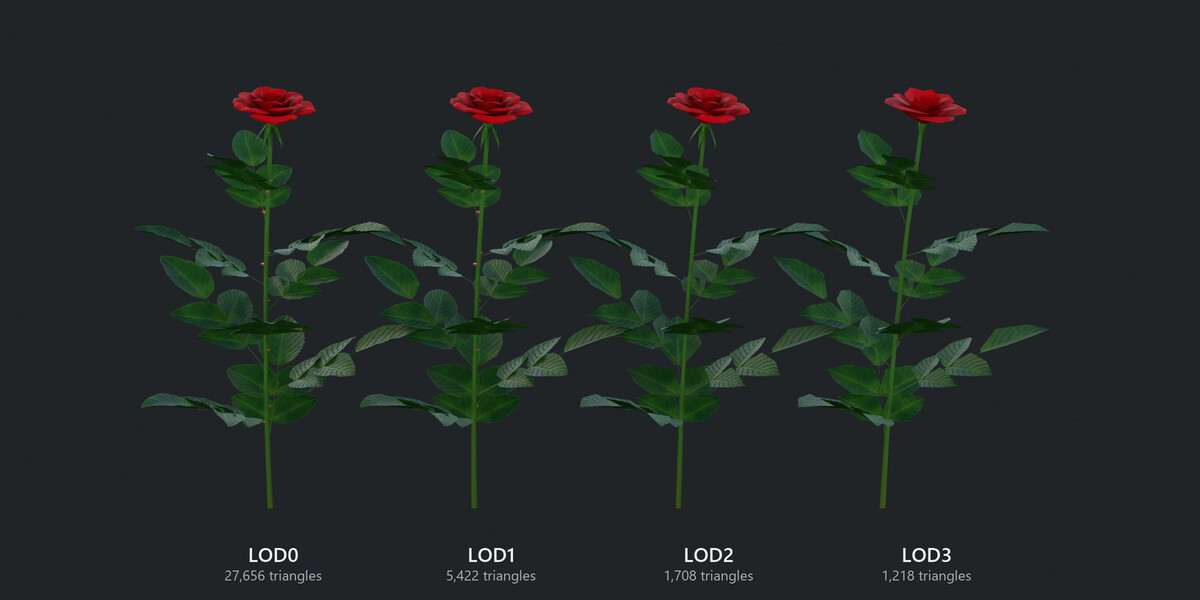
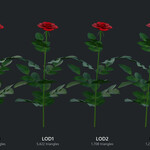
LODs are not decimated meshes. Every LOD is generated again from the same surface:
- Petal cups, curls and the silhouette stay the same; only the vertex density drops.
- Every part keeps its random shape on every LOD, so nothing jumps when the LOD switches.
- Hidden inner petals of roses and peonies are thinned first.
- Spikes and clusters keep fewer florets at a distance and make them a little bigger, so the color mass stays the same.
The library median is 26,000 / 6,900 / 2,800 / 1,600 triangles for LOD0 to LOD3.
Textures
| File | Contents |
|---|---|
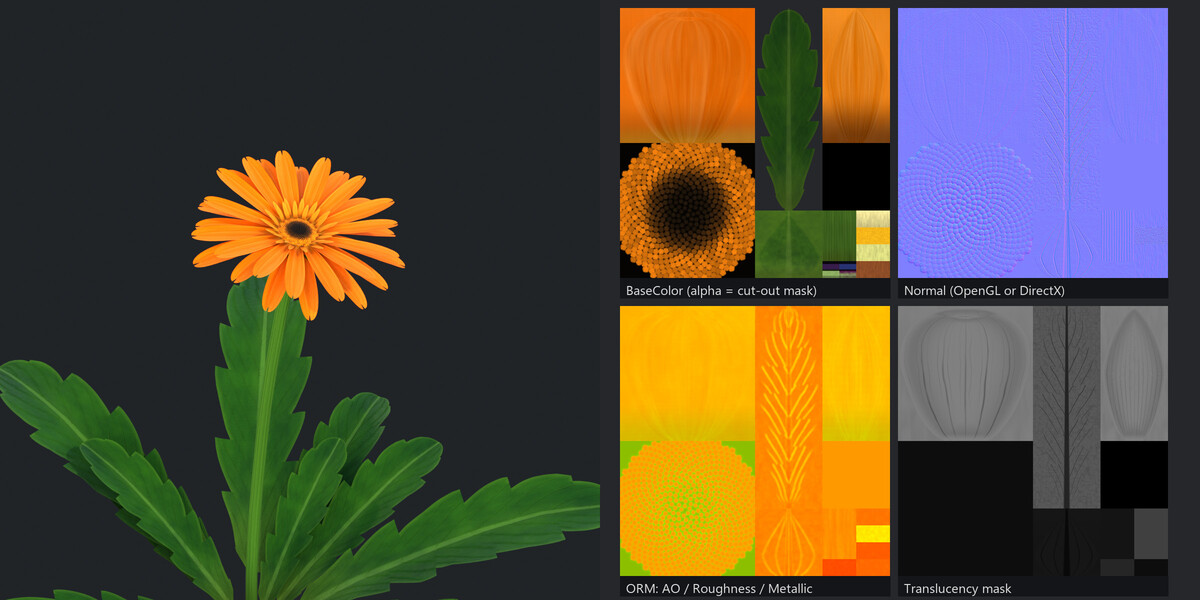
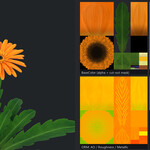
_BaseColor.png |
sRGB albedo. Alpha is an opacity mask: leaf teeth and petal fringes are cut out by alpha, so use a masked material (clip at 0.5). |
_Normal.png |
Non-Color. Tangent-space normal map, OpenGL or DirectX. Alpha holds a sheen (velvet) mask. |
_ORM.png |
Non-Color (not sRGB). R = ambient occlusion, G = roughness, B = metallic. Alpha holds a translucency mask. |
_Translucency.png |
Non-Color. The translucency mask as a separate grayscale map, for subsurface or two-sided foliage shaders. |
To bring a plant back into Blender with every map connected, import the .glb. The FBX importer connects only BaseColor and Normal; add the ORM yourself (Image Texture set to Non-Color, then Separate Color: green to Roughness, blue to Metallic).
In Blender the plant's material is this same setup: the three textures go straight into one Principled BSDF, plus the light through leaves and petals and the alpha cut-out. What you see in Blender is what the exported files give.
Engine setup
- One material per plant, so one draw call.
- Petals and leaves are single-sided cards: render them two-sided.
- Use a masked blend mode (alpha clip 0.5).
- Real-world scale in meters, Z-up, pivot at the base of the stem.
- Vertex color Wind (motion masks for your engine's foliage shader):
- R = sway mask (0 at the ground, 1 at the flower)
- G = flutter mask (0 at the base of a blade, 1 at its tip)
- B = random value per part (use it for a slight hue or brightness shift per petal or leaf)
- A = random value per stem
10. Rendering tips
- Color management: Blender's default AgX view desaturates bright, saturated colors. Yellow daffodils turn creamy and reds shift toward orange. For vivid flowers, use AgX with the Punchy look, or the Standard or Khronos PBR Neutral view.
- Scattering: scatter plants with Blender's particles or Geometry Nodes instancing.
11. Making your own species
- Start from the closest plant (Change Species) and adjust it with the panel's settings and colors.
- Save to Library keeps it as a preset under My Presets.
- Save as Asset puts it in the Asset Browser.
- Developers can add species in code. See Adding a species in the included README.
12. Troubleshooting
- The Plant panel is missing. Select a NexFoliage plant or its stem curve. The Game Export panel only appears when the plant itself is selected: click Done after editing the stem.
- Colors look washed out. See Color management in section 10.
- New plants are missing from the Asset Browser. Click Asset Library again after an update.
- A slider feels slow on a big shrub. The shrub shows a quick preview while you drag and rebuilds when you let go. Lower Mesh Detail or turn off Live Update while you change many settings.
- Leaves look like rectangles in the game engine. Set the material to masked (alpha clip) and two-sided.
13. Version history
- 1.0.0: First release.
More updates are coming: more plants and new features. Updates are free for owners. Questions or bugs: [email protected]
Have questions about this product?
Login to message
| Blender Extension Compatible | Yes |
| Sales | 20+ |
| Dev Fund Contributor | |
| Published | about 22 hours ago |
| Blender Version | 4.2 - 5.3 |
| Extension Type | Add-on |
| Render Engine Used | Cycles, Eevee |
| Misc Data | Uvs-Unwrapped, Low-High-Resolution, Normal-Mapped, Textured |
| License | GPL |
Discover more products like this
LOD procedural #nature plants game assets garden flowers vegetation foliage asset library botanical PBR