 HanaYou

Installation
Extension package (recommended)
- Download node_quick_spawn-1.0.0-extension.zip.
- Open Edit → Preferences → Get Extensions (or Add-ons), click the arrow menu at the top right and choose Install from Disk….
- Select the ZIP. Node Quick Spawn is installed and enabled.
- Open a Shader Editor, Geometry Node Editor or Compositor, press N and choose the Quick Spawn tab.
You can also drag the product from your Superhive purchase page into Blender, or add Superhive as a remote repository (Blender 4.2 and newer) to install and update it from inside Blender.
Regular add-on ZIP
- Download node_quick_spawn-1.0.0.zip.
- Edit → Preferences → Add-ons → arrow menu → Install from Disk… → select the ZIP.
- Enable Node Quick Spawn, then open the node editor sidebar (N) → Quick Spawn.
Install only one of the two. If both are enabled, the second copy refuses to start and tells you so. To switch to the extension, disable and remove the regular add-on first. On its first start the extension copies your library, dependencies and backups into its own folder; add-on preferences such as language and the search shortcut start from their defaults there.
Updating
Install the new ZIP over the old one and restart Blender. Your presets, shortcuts and preferences are kept. Exporting your library before an update is still a good habit.
Quick Start: Select → Save → Spawn
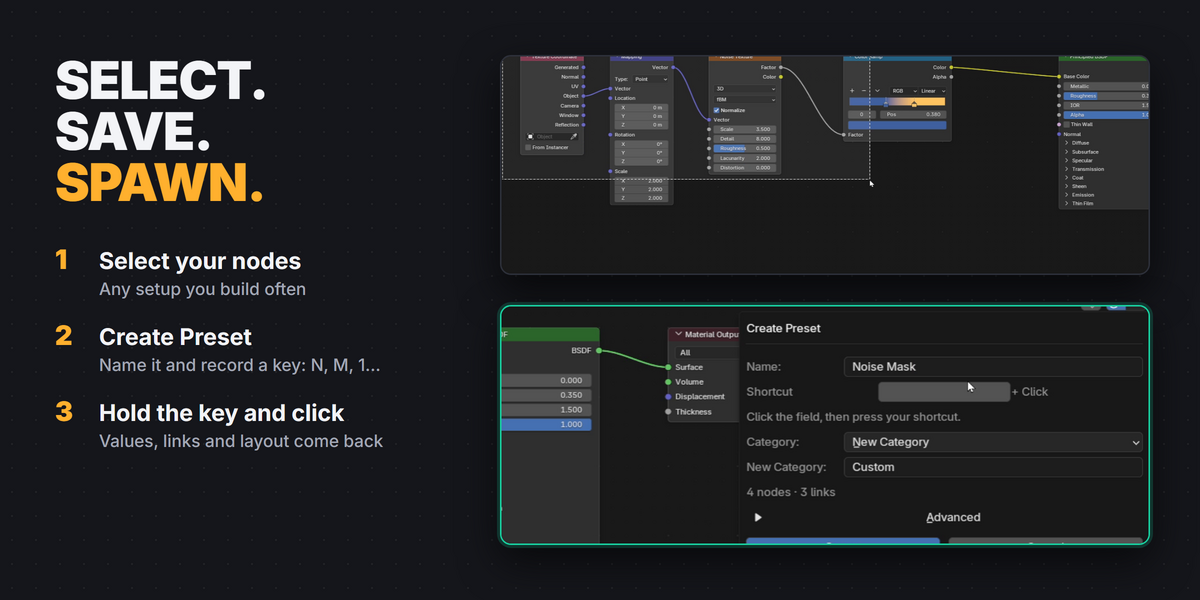
- Select the nodes you want to reuse.
- Open N → Quick Spawn → Create Preset.
- Keep the suggested name or edit it. Click the shortcut field and press a key combination, such as Shift + N.
- Click Create. On the canvas, hold Shift + N and click to spawn the preset.
Click again while still holding the key to create more copies. Release the key without clicking to run its original shortcut. Presets can also be saved without a shortcut and spawned from the list, search or drag.
New users get a small, dismissible guide in the sidebar. English is the default; choose 한국어 (Korean) in the add-on preferences.
Spawning a Preset
- Shortcut: hold the preset's key and click on empty canvas. The preset appears at the mouse position.
- Spawn button: select a preset in the sidebar and click Spawn. The button below it shows the preset's shortcut; click it to record a new one.
- Search and drag: see below.
Each spawn is one Undo step.
Inserting into a Link (Auto Insert)
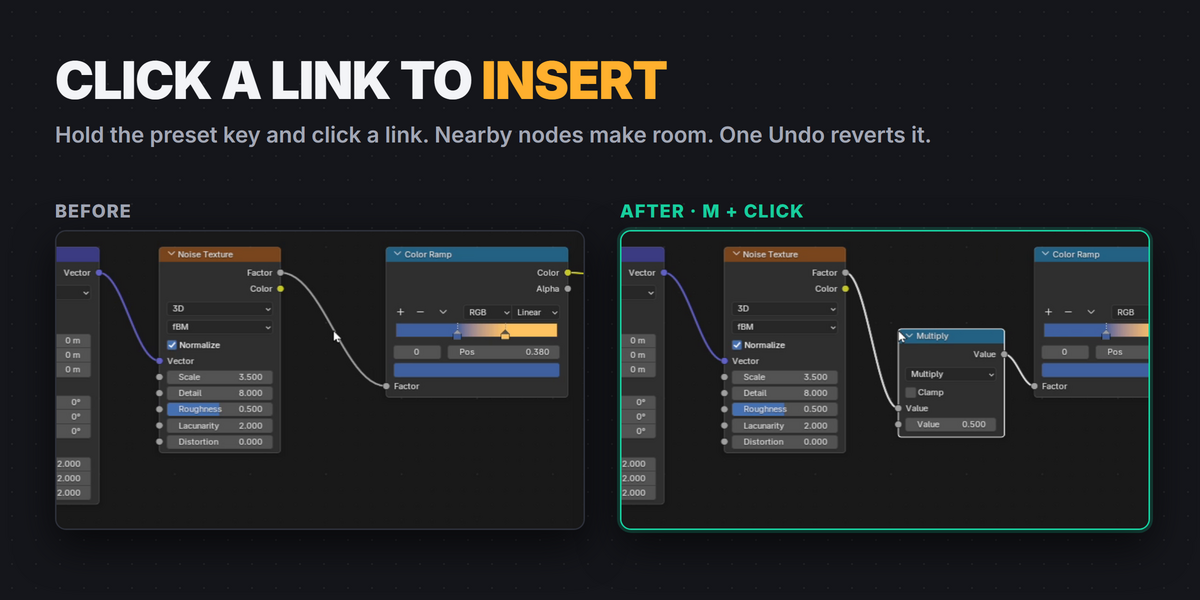
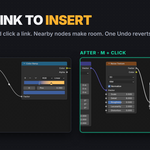
Hold your preset shortcut and click an existing link. The preset is inserted into the link and nearby nodes make room with a short animation, following Blender's auto-offset settings. One Undo restores the nodes, links and positions.
Links into multi-input sockets such as Join Geometry work too: the preset takes the replaced link's place and the input order is kept.
If the preset cannot connect to that link, it is simply placed and the link stays intact. Which sockets are used is shown under Connections. Link insertion can be turned off in Preferences → Advanced. Menu sockets are not used for insertion, and dragging an existing link while holding a preset key is not intercepted.
Quick Preset Search
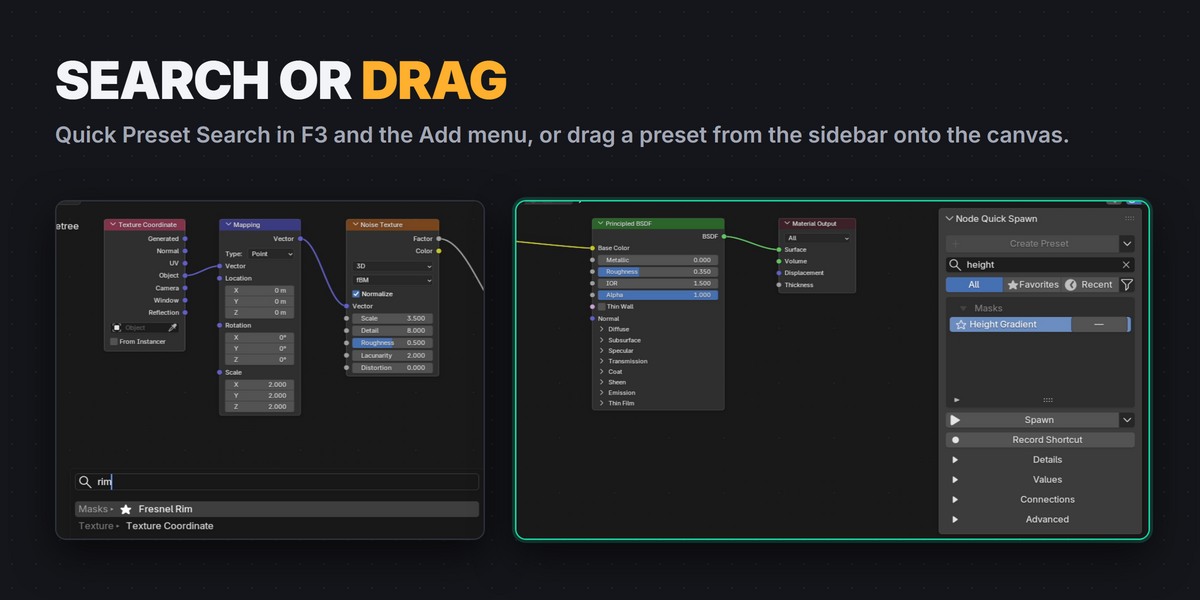
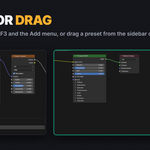
Use F3 → Quick Preset Search, or Add → Quick Preset Search. You can record a dedicated search shortcut in the add-on preferences; none is assigned by default so no existing key is taken.
The menu shows your categories. Start typing to switch to the native search, use Up/Down and Enter, or choose an item with the mouse. Esc cancels. Only enabled, nonempty presets for the current editor appear.
The preset is placed at the mouse position from before the menu opened. Starting from the sidebar uses the center of the visible canvas. Search finds preset names and category paths; the sidebar filter also searches descriptions, included node names and types, and shortcuts.
Drag from the Library
Hold a preset name in the sidebar list and drag it into the same editor's canvas. A hint shows the preset and whether dropping will create it, reorder the list or cancel. Drop to create; Esc or right-click cancels. In Manual sort mode, dropping within the list changes the order.
Managing Presets
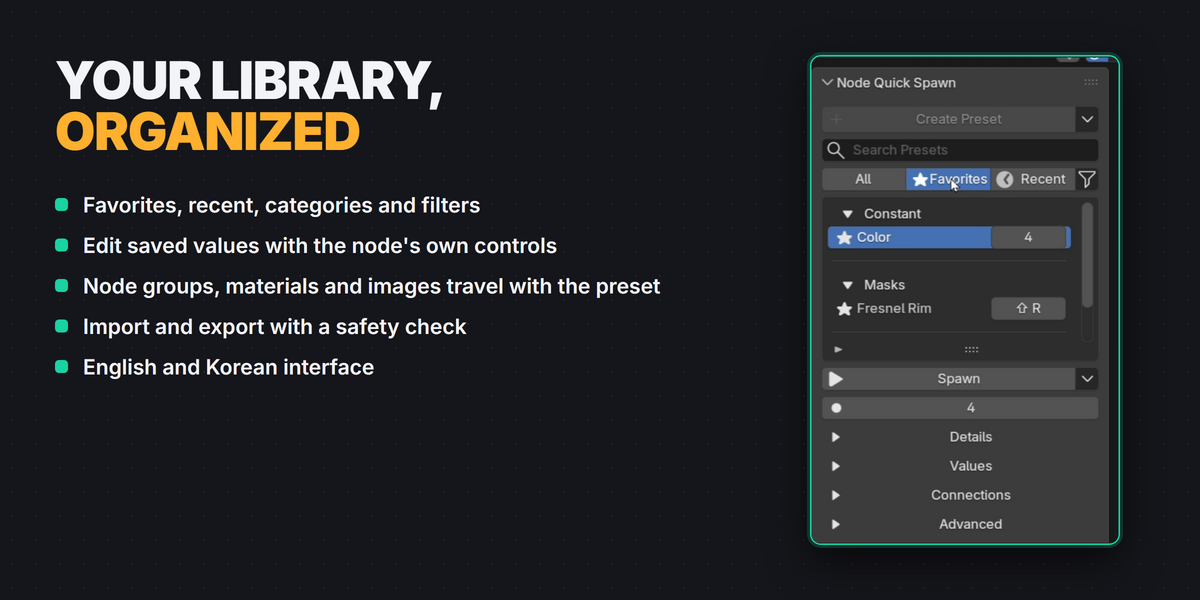
- Star: toggle a favorite directly in the row.
- All / Favorites / Recent: narrow the list quickly.
- Filter icon: categories, grouping, sort order and Show Hidden Presets.
- Category title: collapse or expand. Searching temporarily reveals matching categories.
- F2 over the list: rename the selected preset.
- Shortcut button: record a new shortcut. If it is already used, choose Replace (the other preset is disabled), Keep Existing, Keep Both Disabled or Cancel.
- Update from Selection (preset menu): replace the saved nodes with the selected ones while keeping name, shortcut, category, favorite and description. Boundary input/output choices return to Auto.
- Details / Values / Connections / Advanced: open only what you need.
- Menu beside Spawn: duplicate, export, disable, delete and more. Deletion asks for confirmation. Built-in presets can be updated, disabled or deleted too.
The small menu beside Create Preset has Create Empty Preset and Browse Nodes. Browse replaces the selected preset's node with any node available in the current editor.
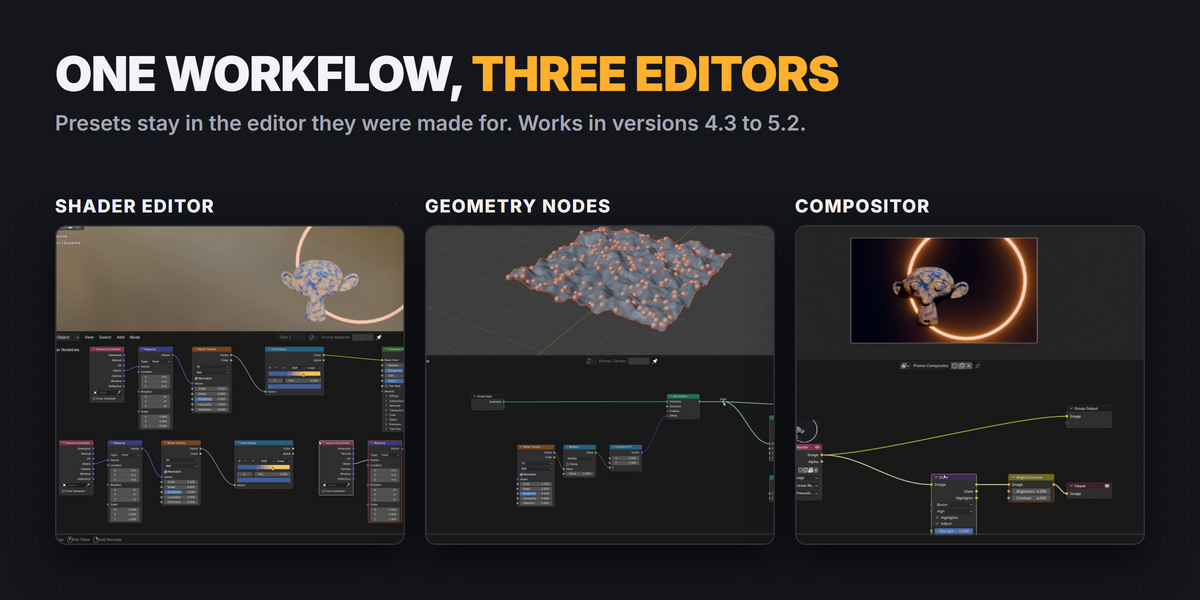
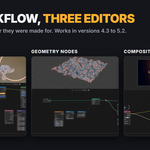
Sixteen Shader starter presets are included. Geometry Nodes and the Compositor start with your own presets. All three editors share one library; the list always shows the presets for the current editor.
Editing Saved Values
Open Values to edit a preset with the node's own controls: menus, checkboxes, color ramps, curves and every editable input. Multi-node presets show one node at a time with previous/next arrows. Click Apply to Preset to save all pages; the reset arrow discards unapplied changes.
Unapplied edits survive saving the .blend file and Undo/Redo, and are never written into your .blend file. Loading another file, reloading scripts or disabling the add-on clears them, so apply first. If a change would remove the preset's internal links, Apply is refused to protect the preset.
A node group in a preset shows its inputs; the group's contents are shared data and are edited in the group itself.
Preset Library and Dependencies
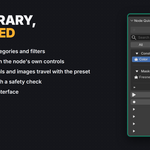
Presets are stored globally in your user configuration at node_quick_spawn/library-v2.json (the extension package uses the extensions user folder instead). Preferences → Library shows the location and provides Import and Export.
New presets automatically store referenced node groups, materials and packable images, including nested ones, in compressed .blend bundles under node_quick_spawn/assets/. Spawning in another file adds the stored data when needed; data with the same name in that file is not overwritten. Your .blend file is never overwritten. Storing dependencies runs a short background process while you save a preset; large textures take longer and use more disk space.
Missing data: if a preset reports a missing group or image, open a file that still contains it, select the preset and choose Advanced → Store Dependencies once. The warning also offers Relink to use existing data in the current file.
Export and import: export the whole library in Preferences → Library, or one preset from its menu. Keep the exported JSON and the .json.assets folder next to it together. When importing presets that match existing ones, choose Import as new copies, Replace matching presets or Cancel; a backup is made before replacing. Imported presets never take a shortcut that is already in use; they arrive disabled instead.
Import safety: stored dependencies are .blend data, so a shared preset could carry Python that runs by itself. Before new dependency data is accepted, a separate process with scripts disabled checks it. Text blocks registered as Python modules and drivers with Python expressions are refused and nothing is imported. Simple driver expressions such as frame * 2 are allowed. Only import presets from sources you trust.
Backup: a full backup is library-v2.json plus the assets folder.
Preferences
- General: interface language (English / 한국어), Enable Quick Spawn, Input Behavior and the optional Quick Search shortcut. Tap / Hold (recommended) runs a key's original shortcut when you release it without clicking; KeyMap Only lets existing shortcuts run before the click.
- Library: library location, Import Library, Export Library and Open Library Location. Migration and import backups are kept in the same folder.
- Interface: show recent presets, recent count, category spacing, category title height, shortcut minimum width and the Getting Started guide.
- Advanced: Insert on existing links, Reset Built-ins, and diagnostics (shortcut bindings, presets, conflicts and missing data) for bug reports.
Save Messages
| Preset saved: Name | Saved completely. |
| Preset saved: Name — Other add-on settings not included: … | Saved. The named add-ons stored their own data on these nodes, which is not part of the preset. |
| Preset saved: Name — Settings not included: … | Saved, without the listed settings. |
| Preset not saved: reason | Nothing was changed; your existing library is kept. |
The latest result is also written next to library-v2.json as last-save-report.json, and failures keep a last-error.log. These files can contain node names and local paths; share only what is needed.
Known Limitations
- Simulation and Repeat zones need both their input and output nodes. Simulation results, bake caches and evaluated geometry are not saved. For Each Geometry Element zones are not supported.
- Node group interfaces are not created or changed. If required internal links cannot be made, spawning is cancelled safely.
- File Output keeps its paths, inputs and formats but not nested color-management overrides, and never writes files by itself.
- Custom data from other add-ons and runtime-only state cannot always be saved; the save message lists what was left out.
- Stored dependencies do not include movies, image sequences, Movie Clips, external caches or volumes. Edited UDIM images must be packed first.
- Library edits are saved immediately and are not part of Undo. Spawning and inserting are one Undo step each.
- Very narrow sidebars shorten names and shortcut labels; the shortcut button's tooltip shows the full text.
Troubleshooting
- Nothing appears in the list: make sure the editor shows an editable node tree, and check the search, category and hidden filters. Presets belong to the editor they were created in.
- Create is unavailable: select at least one node in an editable tree. Linked (read-only) trees cannot be edited.
- Shortcut unavailable: record another combination or resolve the shown conflict. Other add-ons' tools that capture the keyboard can still affect input.
- A group or image is missing: open a file that still contains it and use Advanced → Store Dependencies, restore the exported .assets folder, or Relink to existing data.
-
Library cannot be read: your file is kept and nothing is written. Close Blender, copy the configuration folder somewhere safe, then restore a known-good export or backup as
library-v2.json. Reset Built-ins restores the starter presets; it does not repair a damaged library. - "Another copy of Node Quick Spawn is enabled": both the regular add-on and the extension are installed. Disable or remove one, then enable the other.
- Import blocked for safety: the preset's stored data contains Python that would run by itself (named in the message). Ask the author to remove it and export again.
- Storing dependencies was stopped: very large or many textures took too long. Try again, or reduce or pack the textures first.
Support
Send a message through Superhive. Please include your Blender and add-on versions, operating system, editor, the steps, what you expected and what happened, and which other add-ons are enabled. Preferences → Advanced shows preset, shortcut and dependency counts. Include any error from the system console, without private paths. I aim to reply within 72 hours.
Have questions about this product?
Login to message
| Blender Extension Compatible | Yes |
| Published | about 19 hours ago |
| Blender Version | 4.3 - 5.2 |
| Extension Type | Add-on |
| Render Engine Used | Cycles |
| License | GPL |
Discover more products like this
Shortcut shader nodes Node Editor Node presets geometry nodes presets productivity node wrangler Workflow compositor