 BinhouOuO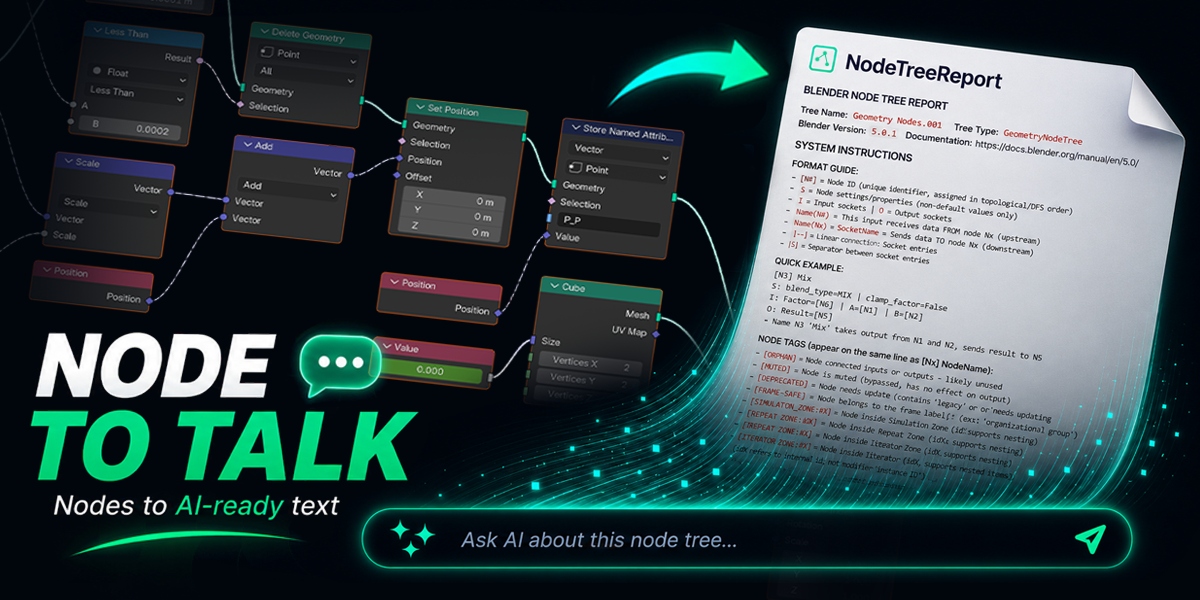



| // 01 INSTALLATION |
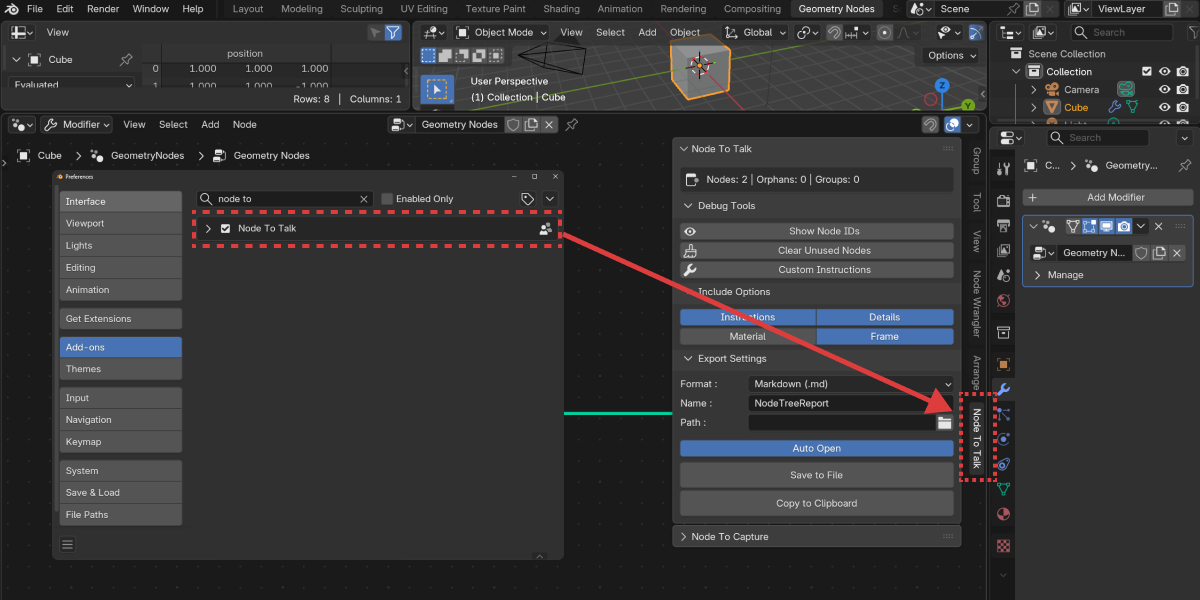
- Download the NodeToTalk.zip file
- Edit → Preferences → Add-ons → Install from Disk
- Confirm that Node To Talk is enabled
- Open the N Panel inside the Node Editor window and confirm that the Node To Talk / Node To Capture tabs are visible
| // 02 NODE TO TALK |
|  |
// PANEL REFERENCE
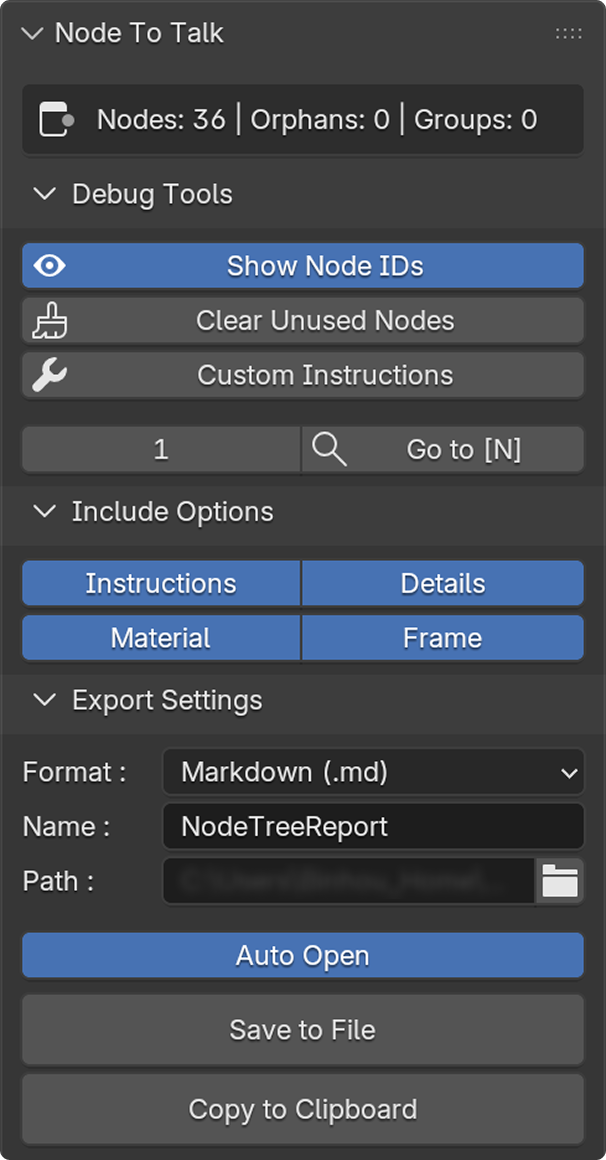
| Top Info Box
Nodes — Total number of nodes in the current node tree.
Orphans — Number of disconnected nodes with no connections. If the count is high, consider running Clear Unused Nodes before exporting.
Groups — Number of Node Groups present in the current node tree.
Debug Tools
Show Node IDs — Displays an ID label on every node. Once enabled, IDs are frozen and will match the exported report exactly, making Go to [N] reliable. When disabled, IDs are dynamic and will shift whenever nodes are added, deleted, or duplicated.
Clear Unused Nodes — Automatically removes all disconnected orphan nodes, keeping the exported report clean and focused on active logic.
Custom Instructions — Opens the add-on's built-in instruction files, which can be edited to adjust how AI interprets and prioritizes node information.
Go to [N] — Enter a node ID in the input field and click to jump directly to that node in the editor. Requires Show Node IDs to be enabled for IDs to match the report.
| Include Options
Instructions — Includes your custom instruction file in the export, guiding AI on how to read the node structure. Can be disabled on follow-up questions to save tokens.
Details — Includes Tree Statistics, Interface (exposed group inputs/outputs), and Root Context (active modifier values). Disable on follow-up questions once the context is established.
Material — Includes material information linked to the node tree. For Geometry Nodes, enable this when you want AI to understand the full material behavior—note that this will increase token usage.
Frame — Includes Frame node labels and boundary information, helping AI understand the logical grouping of nodes.
Export Settings
Format — Choose the export format: Markdown (.md) or plain text (.txt).
Name / Path — Set the filename and destination folder for the exported report.
Auto Open — Automatically opens the file after export for quick copying.
Save to File — Saves the report as a file. Recommended for larger node trees to avoid AI truncation from oversized clipboard content.
Copy to Clipboard — Copies the report directly to the clipboard. Best for smaller node trees where quick pasting is sufficient.
|
| // 03 NODE TO CAPTURE |
|  |
// PANEL REFERENCE
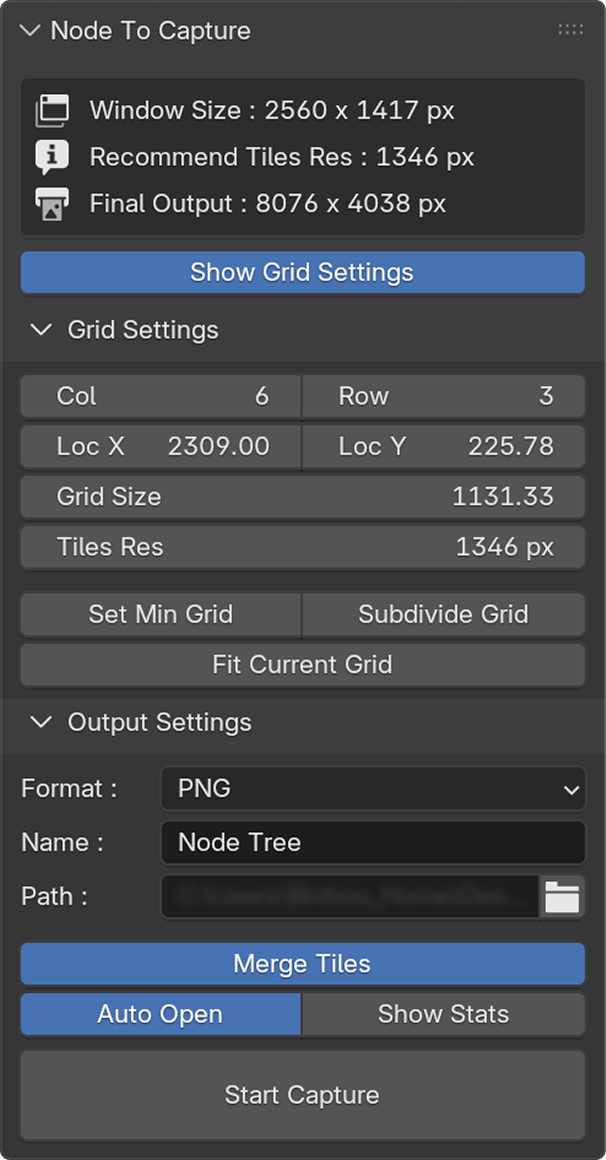
| Top Info Box
Window Size — The pixel dimensions of the entire Blender application window. This is used as the base resolution for each tile capture.
Recommend Tiles Res — The suggested per-tile resolution automatically calculated based on the current window size and grid configuration.
Final Output — The total pixel dimensions of the merged output image across all tiles.
Grid Settings
Col / Row — Number of columns and rows in the capture grid. Higher values produce finer tile divisions and greater final resolution.
Loc X / Loc Y — Adjusts the grid position within the node editor coordinate space.
Grid Size — The physical size of each tile within the node editor space.
Tiles Res — Output pixel resolution per tile. Matching this to the Recommend Tiles Res value captures at your screen's physical limit—the maximum detail your display can provide.
Set Min Grid — Automatically calculates and sets the minimum grid area needed to fully contain all nodes in the current tree.
Subdivide Grid — Increases the number of tiles within the existing grid boundary, boosting the final output resolution.
Fit Current Grid — Resizes the grid boundary to fit the current node layout without changing the number of tiles.
| Output Settings
Format — Choose the output format: PNG / JPG / WEBP.
Name / Path — Set the filename and destination folder for the output file.
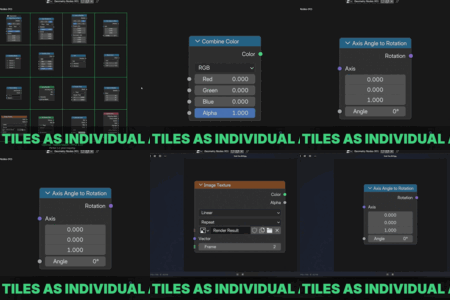
Merge Tiles — When enabled, all tiles are merged into a single full-resolution image. When disabled, each tile is saved as an individual file—useful for tile-by-tile AI reading or custom layout workflows.
Auto Open — Automatically opens the output folder or file after capture completes.
Show Stats — Overlays a stats panel in the bottom-right corner of the captured image, displaying information such as node count, group count, orphan count, and Blender version—similar to a watermark.
Start Capture — Begins the capture process, screenshotting each tile in sequence according to the current grid settings.
|
| // 04 TIPS |
- First session: Enable all Include Options for a complete report. For Geometry Nodes, the Materials toggle is optional—enabling it gives AI full context including material behavior, but will increase token usage.
- Follow-up questions: Disable Instructions to save tokens. Details can be kept enabled if AI still needs parameter specifics; turn it off once the problem is focused.
- Using NTT + NTC together: In most cases, the text report from Node To Talk is sufficient for AI to understand your node structure. If the final image exceeds 2000×2000px, AI will likely compress it regardless of how you prompt. For reliable results, disable Merge Tiles and send each tile as a separate image instead.
- Show Node IDs + Go to [N]: Node IDs are dynamic—they shift whenever nodes are added, deleted, or duplicated. Enable Show Node IDs before exporting to freeze the IDs in place. Once frozen, the IDs match the report exactly.
| // 05 OTHER INFO |
 OpenGL Warning
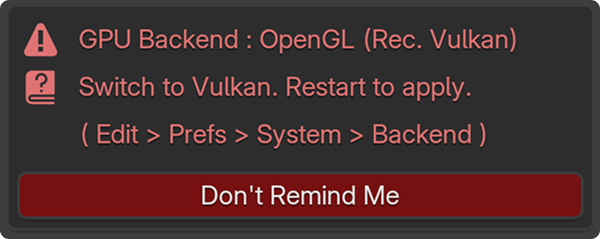
 When running Blender with OpenGL, you may see warnings or visual artifacts—such as color bleeding or unexpected color blocks—on the capture grid overlay and the stats text. This does not affect the captured image itself; the actual screenshot output remains accurate regardless. If you find the artifacts distracting, switching to Vulkan will resolve the issue. This is entirely optional and not required for normal use.
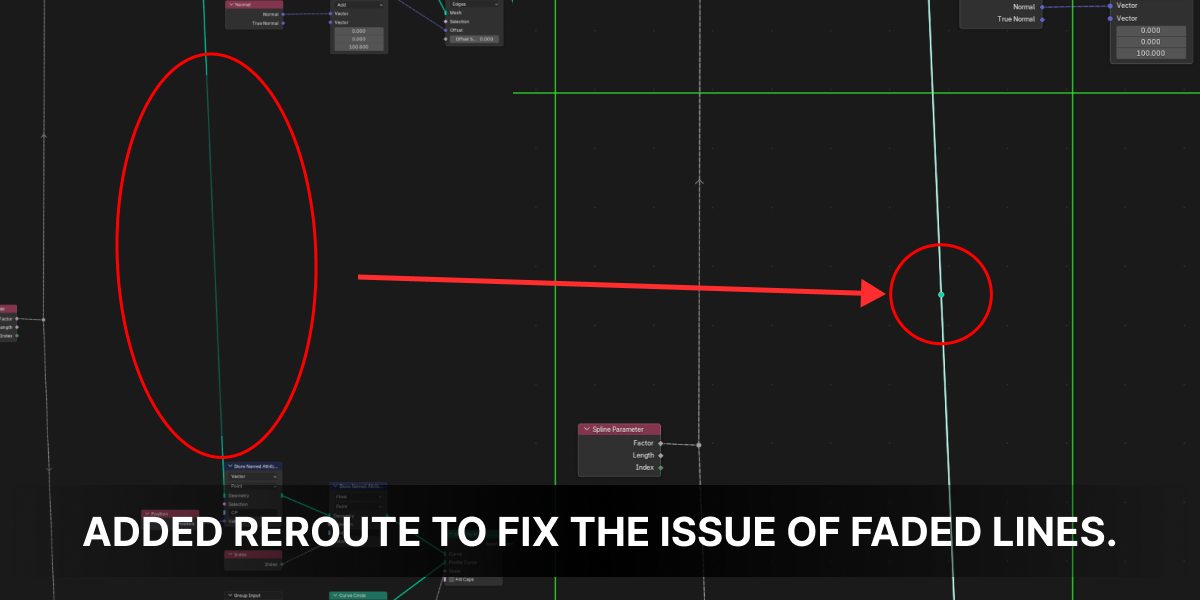
During high-resolution tiled captures, you might notice that long connection lines appear "faded" or have lower opacity in certain tiles. This is because Blender dynamically reduces the rendering priority (alpha) of long spans when they are partially off-screen during the panning process. To ensure consistent line darkness across all tiles, simply insert a Reroute node in the middle of long connections. This breaks the span and forces Blender to render the lines at full opacity.
Tested on Windows 11, macOS, and Linux. Verified across Blender 4.2.18, 4.3.2, 4.5.7, and 5.0.1. If you encounter any issues outside these environments, feel free to message me and I'll look into it.
If you run into any errors or unexpected results, feel free to send me a message directly or Join Binhou's Discord. I'm happy to help.
Have questions about this product?
Login to message
| Blender Extension Compatible | Yes |
| Sales | 10+ |
| Published | 7 months ago |
| Blender Version | 4.2 - 5.2 |
| Extension Type | Add-on |
| Render Engine Used | Cycles, Eevee |
| License | GPL |
Discover more products like this
Workflow ai documentation Node Editor Shader node-trees prompt-generator productivity blender screenshot addon compositor llm geometry nodes